
Personal Dog Tags
Today we will try to create Dog Tags illustration (you know just like Soldiers have). We will use standard PS layer styles techniques and Hand painting techniques if needed, will see.
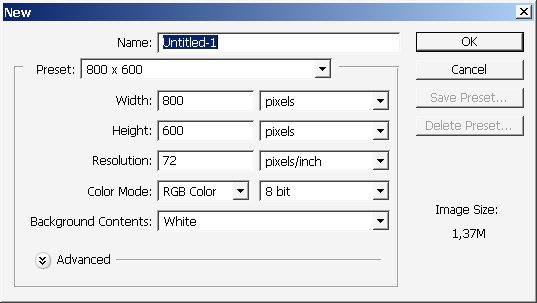
So begin by taping Ctrl+n and Ctrl+alt+n (new document and layer1). The dimensions: let’s say 800×600.
Well let’s start.
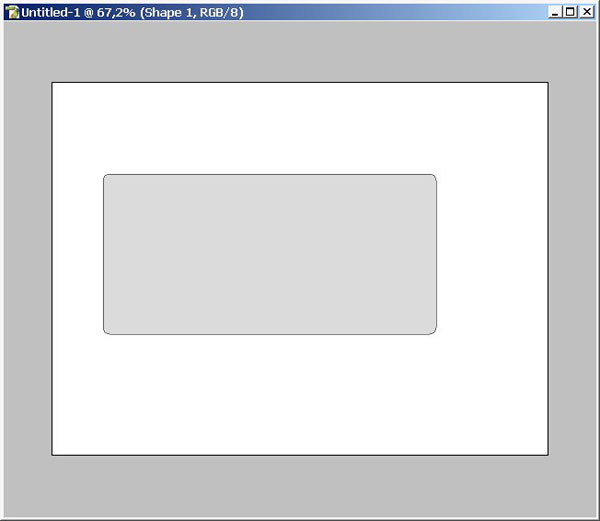
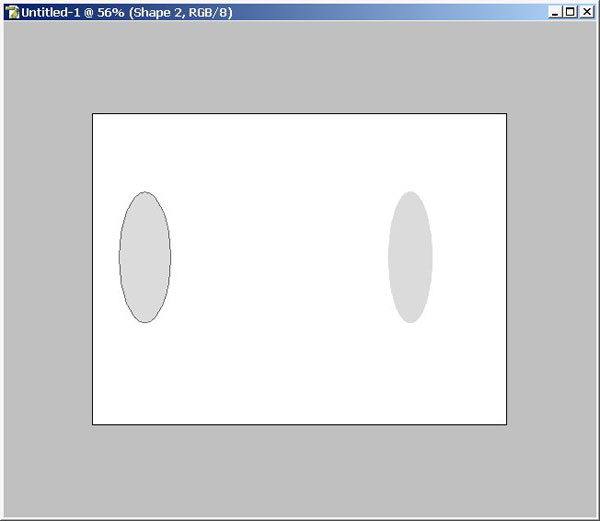
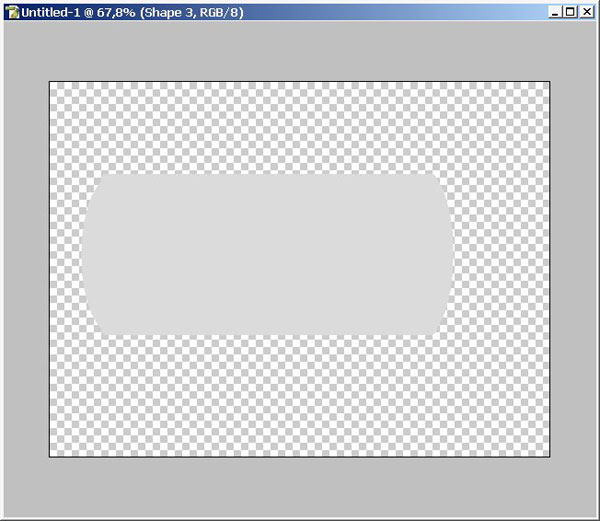
Use Rounded Rectangle Tool (U) to create out dog tag base form. For creating Rounded Edges I will use 2 separate layers and my Ellipse Tool (U).

Result: But this is not a dog tag Form so just use Merge visible (3 visible) command Layer Menu (shift+ctrl+e) (note to turn off Background visibility).
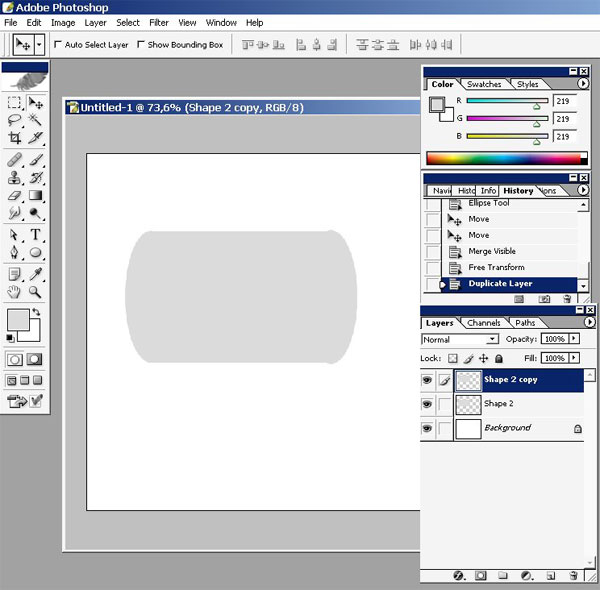
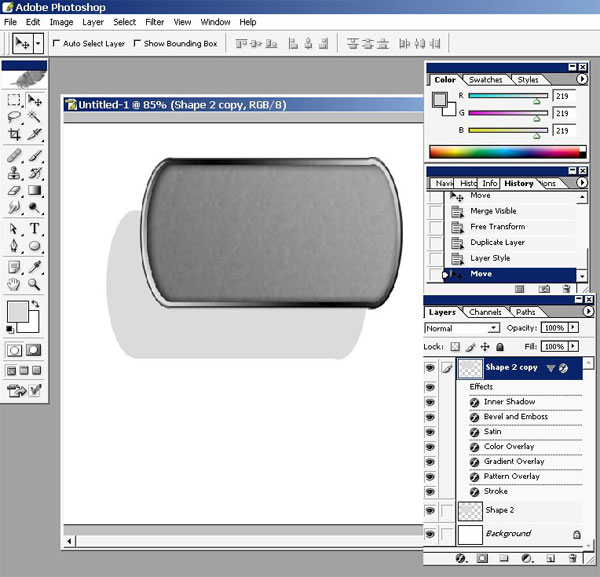
Then I suggest you to transform al this mess like this and to create a copy of our Key layer.
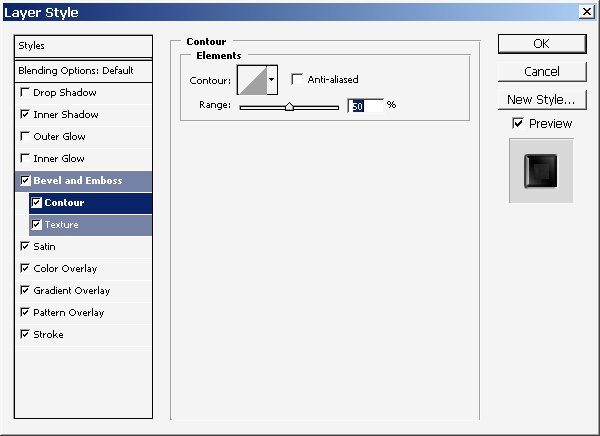
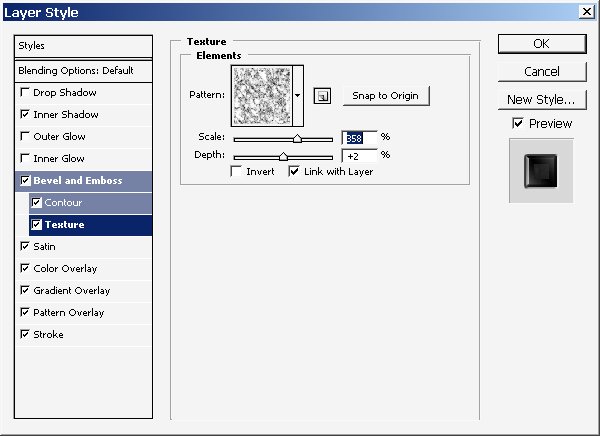
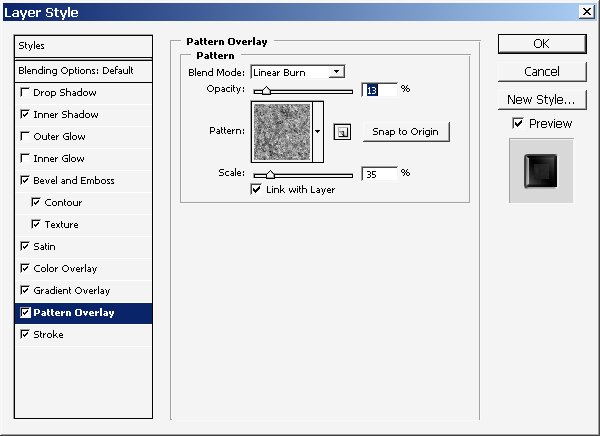
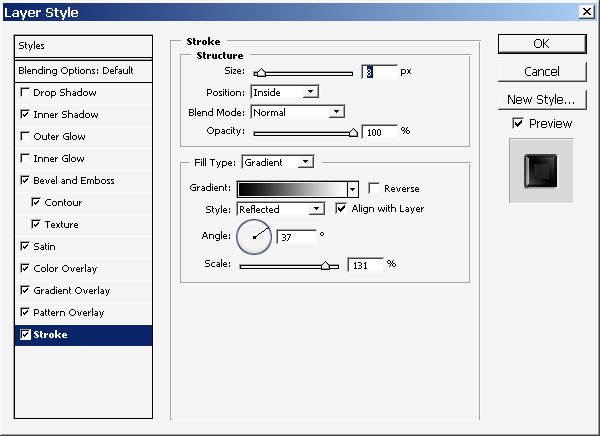
Then it’s texture and the look time.
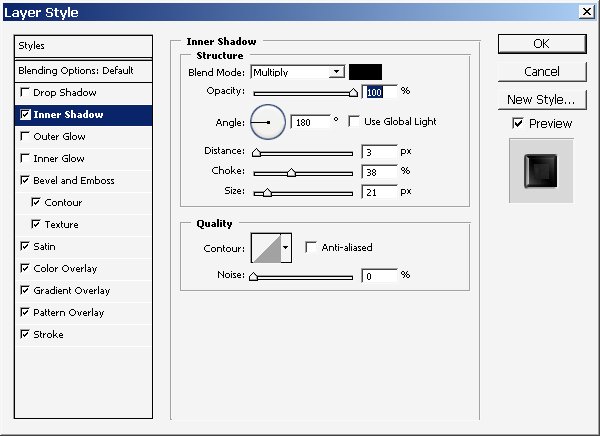
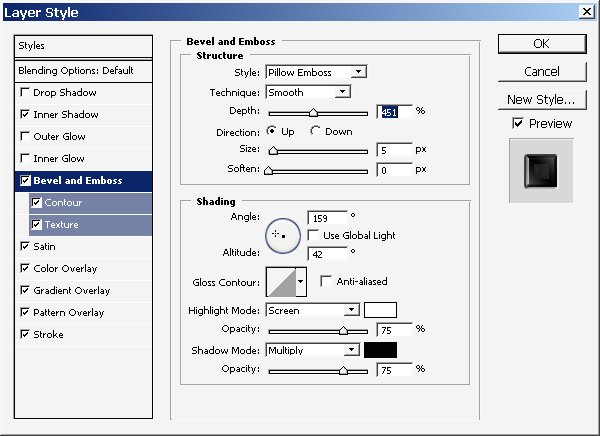
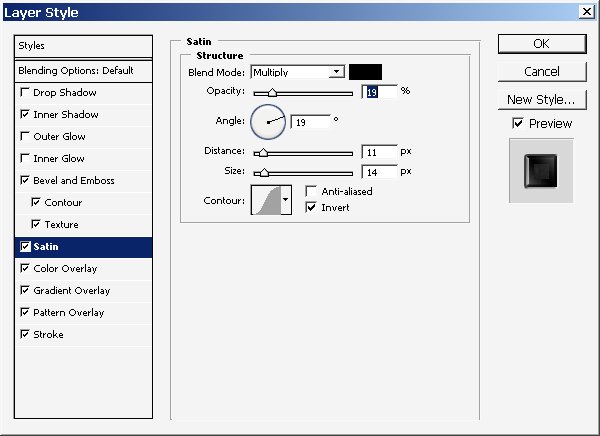
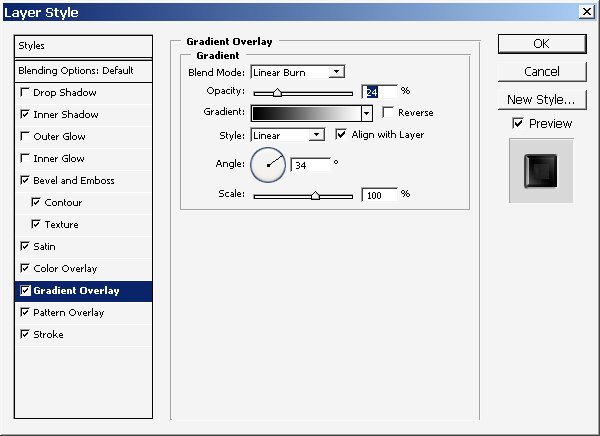
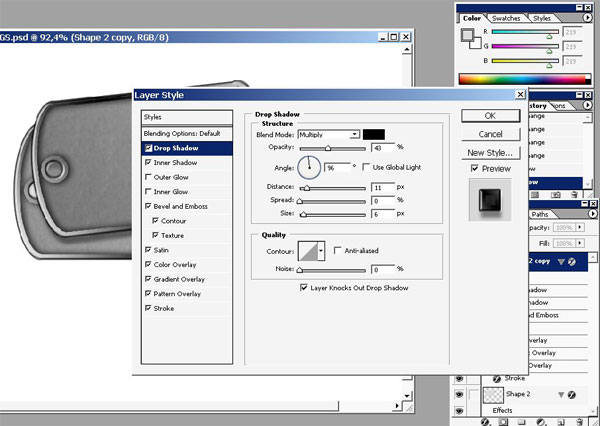
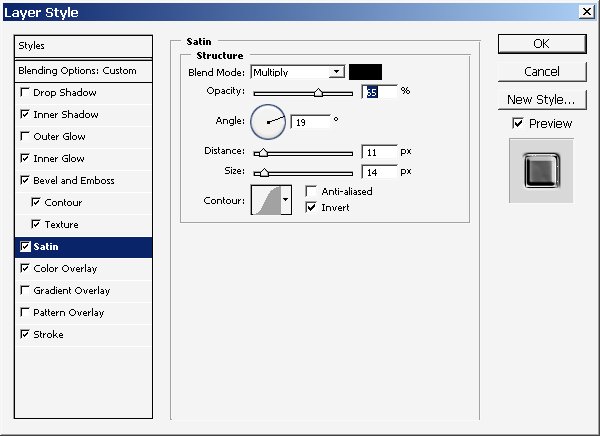
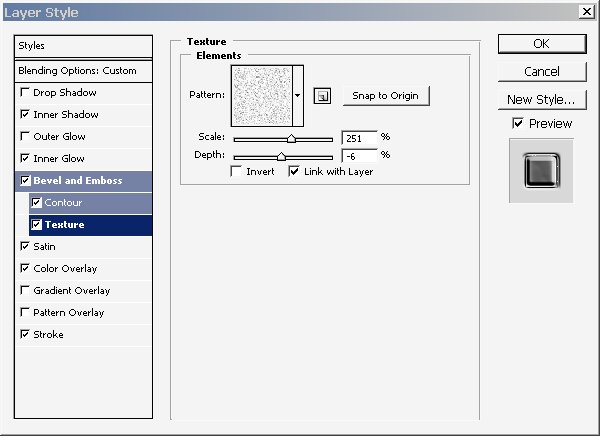
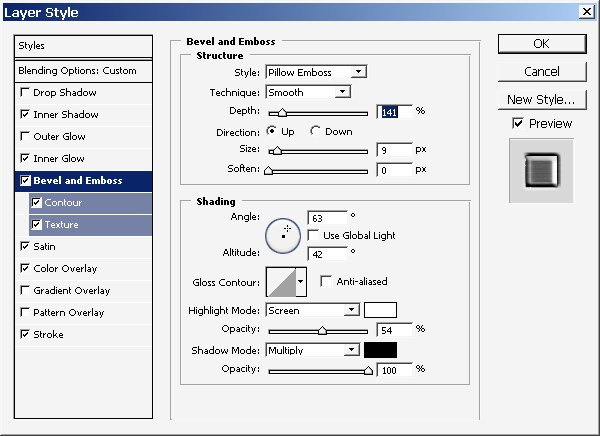
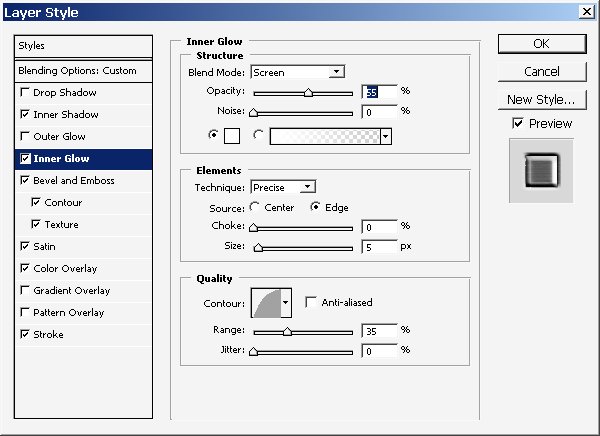
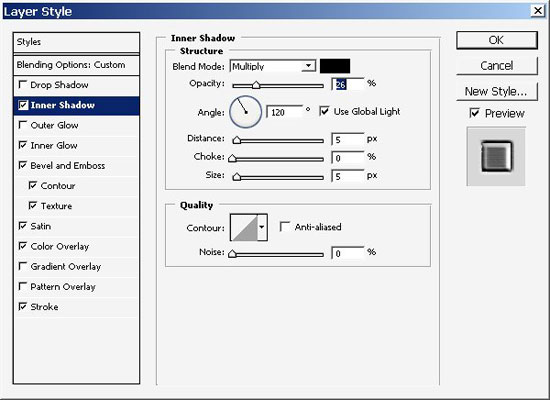
Well something like this ? I’m nearly satisfied with the result and here are layer styles settings.

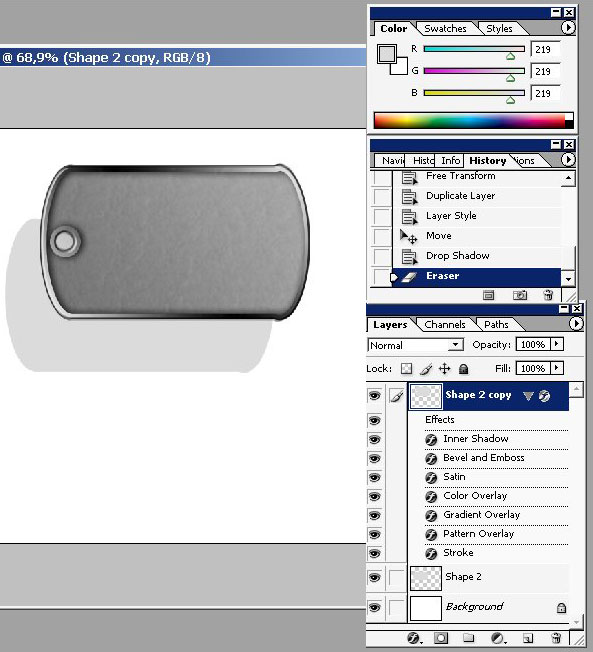
Use eraser with any settings and erase a hole in our Dog tag like so.
Now copy and paste layer style settings like so . use the same erase operation on the other dog tad and rotate both of them .
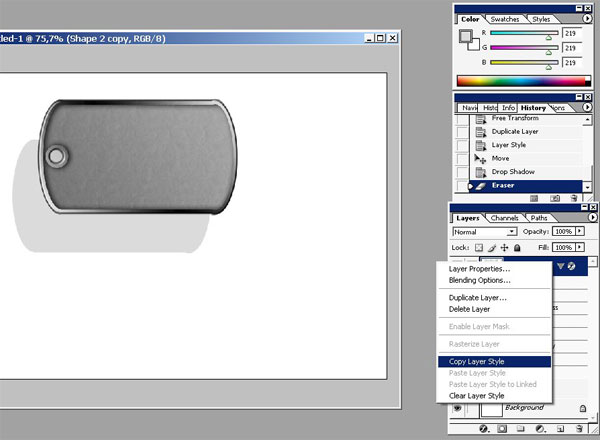
+ use a little bit of drop Shadow on our Foreground dog Tag.
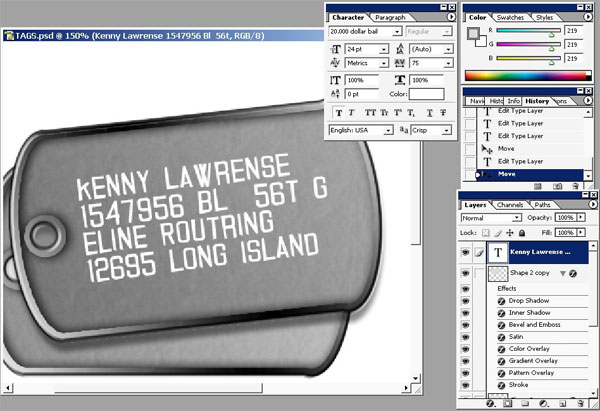
Now I want to write some text on our Dog tags.
So Tap (T) and begin.
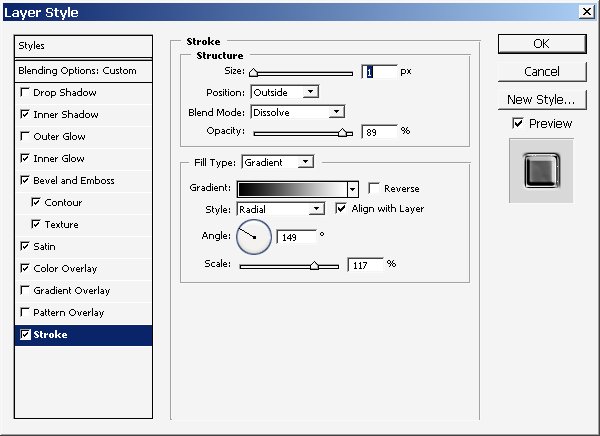
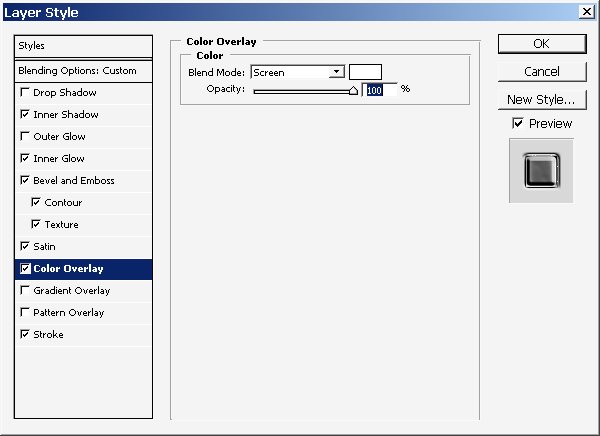
So here is our text . let’s set some layer styles.
And here are my layer settings:

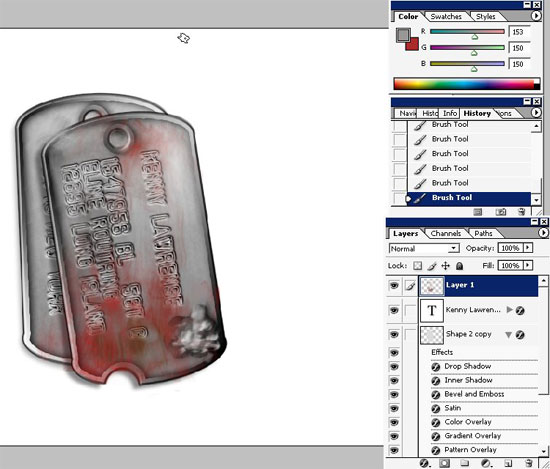
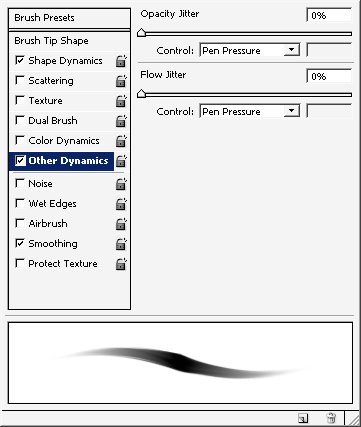
So basically my concept here is dome but I can’t leave it without hand painting).
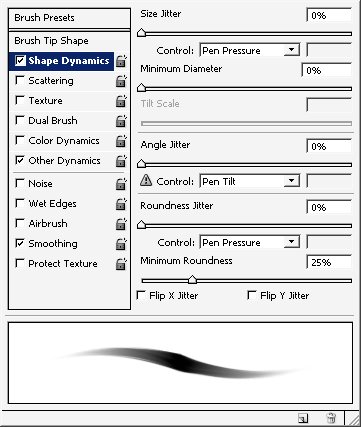
So define any RUST brush create a new layer and begin to paint.
And here is the result ? color scheme ? reds, white, black.
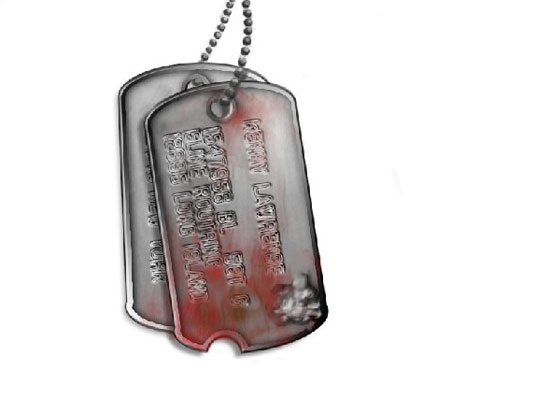
. I decided to paint a chain as well.
So here we have it 7 min chain (could have been better) now some background and Voiala, we are done!
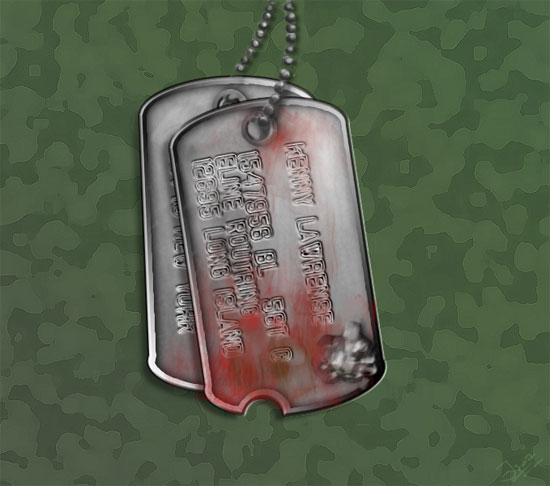
Enjoy!
Comments