
Oblivion. Part 3
The last part of the lesson includes picturing the starry night sky.
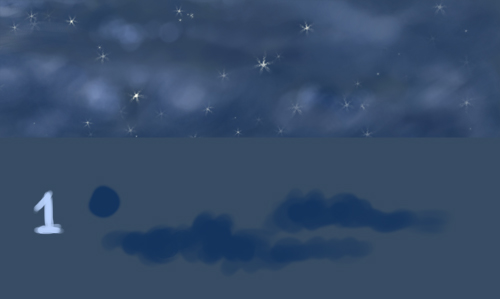
1) A fragment of the sky. I try to choose a neutral background for it,
placing the characters on the first plan. Use also soft colors and
uncomplicated ornaments for the clouds.
2) Start representing the clouds themselves. I use as a basic color the
dark – blue one, working with the standard brush, changing periodically
its transparency and the softness.
3) The light blue color may make the clouds’ nuances livelier when coloring the elements in an irregular way.

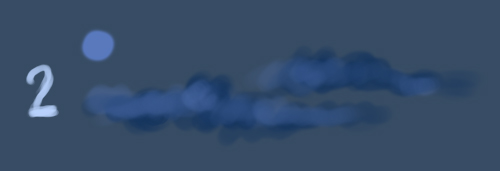
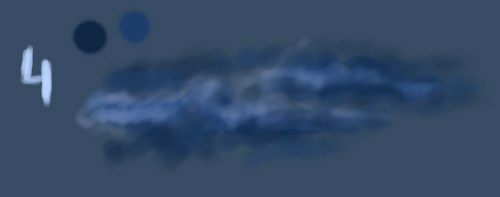
4) The clouds can look more voluminous if introducing an even lighter
color than the previous ones. Try not to cover definitely the previous
nuances.
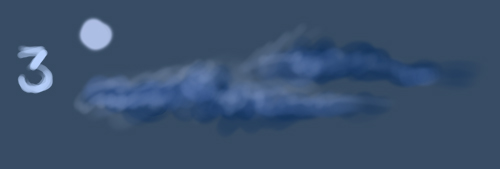
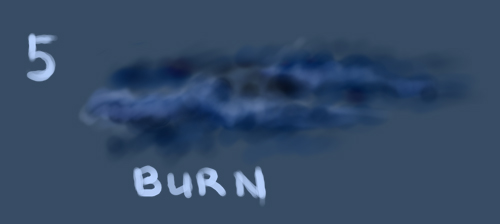
5) It’s time for the clouds’ “back plan” which must be colored with
dark nuances. I have chosen two blue – dark nuances, one of it being
almost black. We have to color out the elements also in an irregular
way, leaving some disorderliness on the picture.
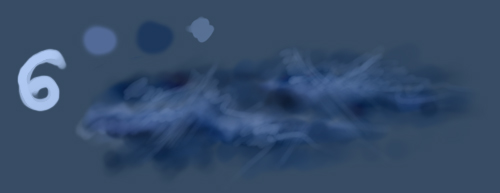
6) Select now the Burn Tool to insert the shadows and process the back plan with it. I like dark sky too.
7) Using three other colors is possible to make the picture giving the
impression of more confusion. I always have thought that seedy clouds
look more real and natural than the even ones.
8) Select a middle nuance to smooth out the picture, introducing thin
stratums of colors on several zones with a transparent brush.
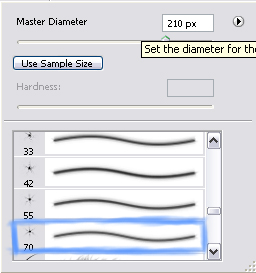
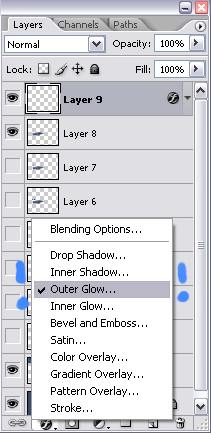
9) Let’s work with the stars now. Choose out of the standard brushes the same one indicated on the screen.
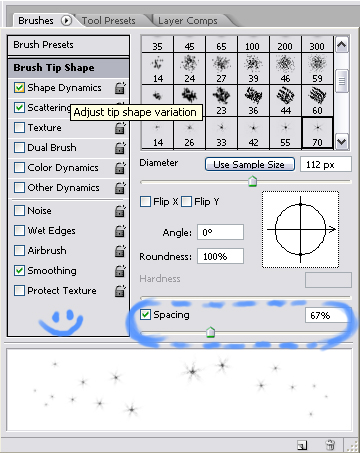
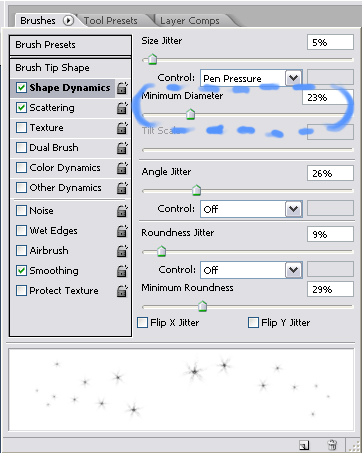
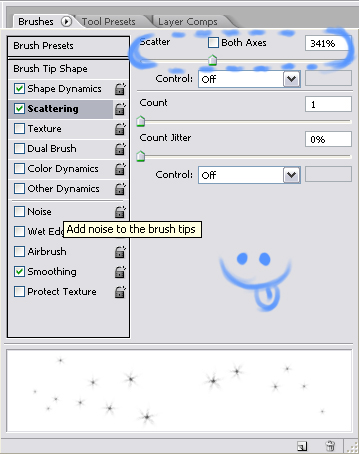
10) Set on the next three screens a kind of disorderliness among the
stars, choosing for them also the necessary placement. You may see
below the necessary options that are underlined.
11) –
12) –
13) –
14) Place appropriately the stars on our picture, applying the brush. You may see the options indicated on the screen.
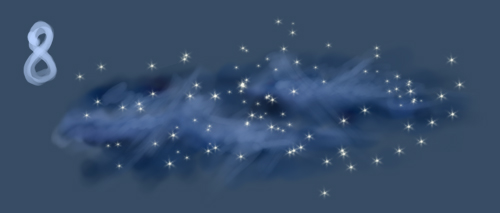
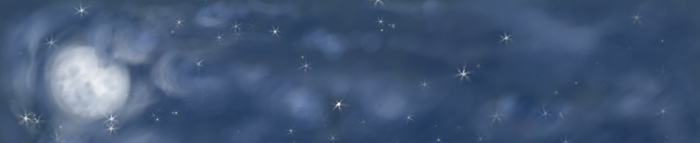
15) We’ve got the shining stars and now we have to work with their brightness and placement.

16) Let’s evaluate the composition we have on this stage. It’s obvious
that we have to select the Eraser Tool to minimize the level of
brightness of those stars getting out of the general picture.
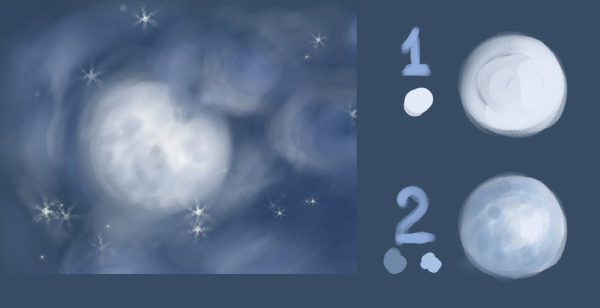
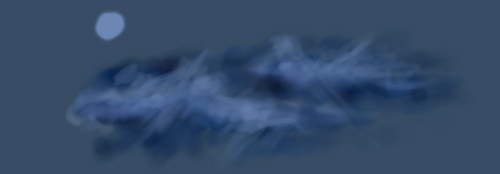
17) My modest Moon is drawn in two stages. Its basic layer is composed of a rounded element of white color.
18) Insert some darker nuances, choosing them depending on the colors
of the rest of the elements surrounding that zone we want to introduce
the color on. I have blue clouds and that is why the rest of the colors
are also connected with the main blue color. Leave on the Moon several
small patches and spots. Next we have to insert several highlights on
the nearest elements and on the veil. The Moon is finished!
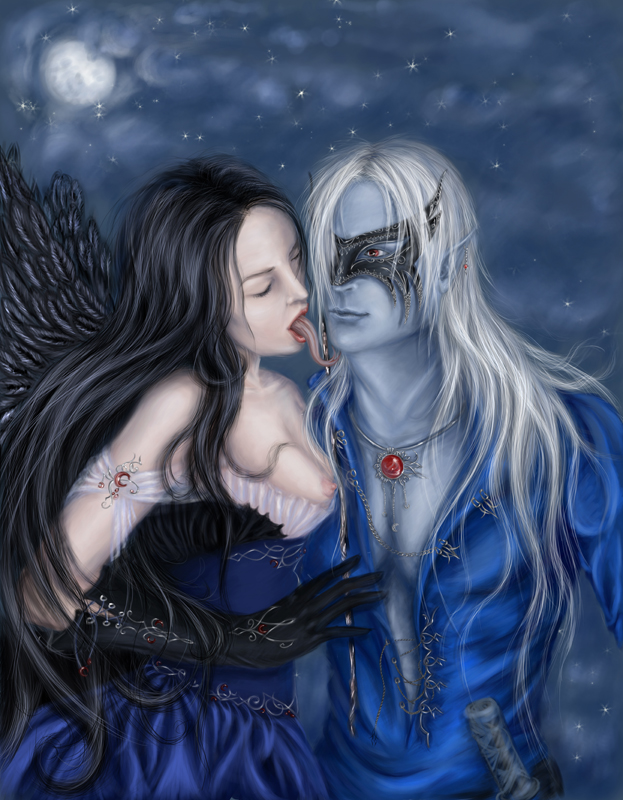
My lesson came to end. Have fun when painting! Don’t forget to make
different experiments and introduce your own details and elements.
Remember, you don’t have to be afraid of the possible mistakes!
Comments