
Illustrate a character
Today we are doing to illustrate a character using Vector like graphics in PS. I thing it’s better to use Adobe Illustrator for that but I will stick to Photoshop CS.
Let’s begin.
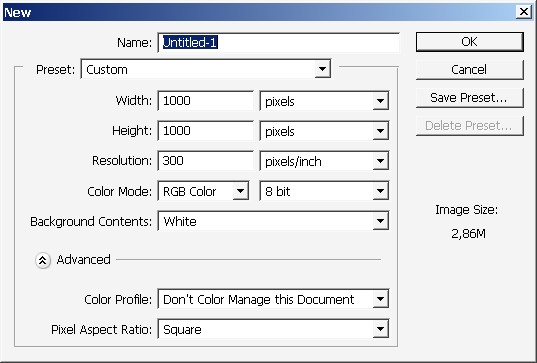
I will use square document for this one.
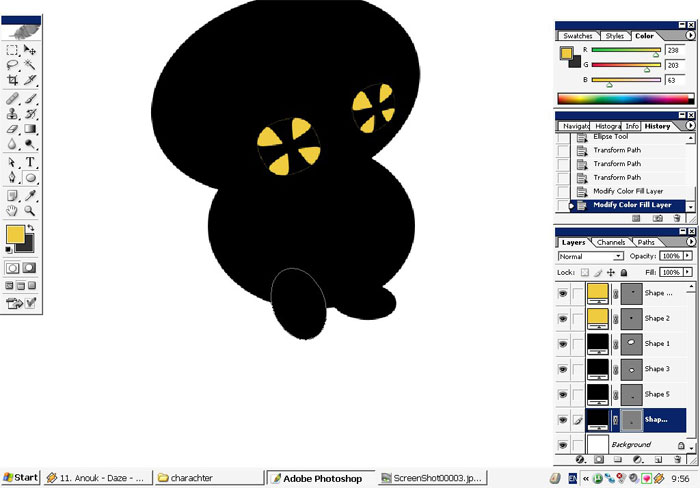
Now use shapes to create basic “parts” of the character: head, legs, body….
Here are the settings for shapes. Only the color must be black.


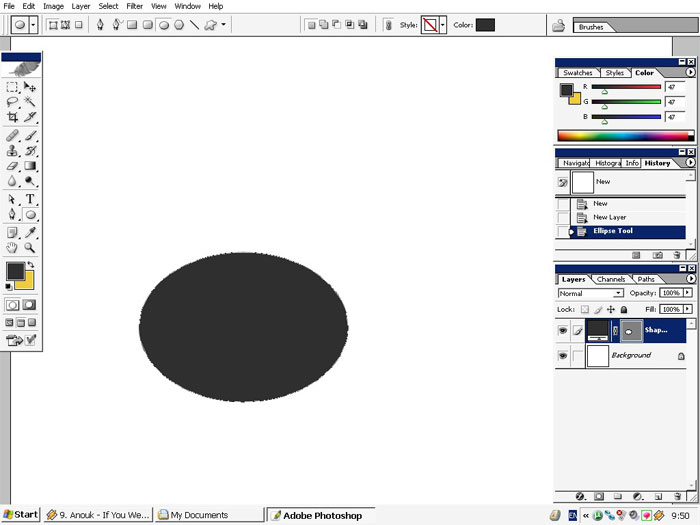
Then the eyes, I will pick a custom shape for that.
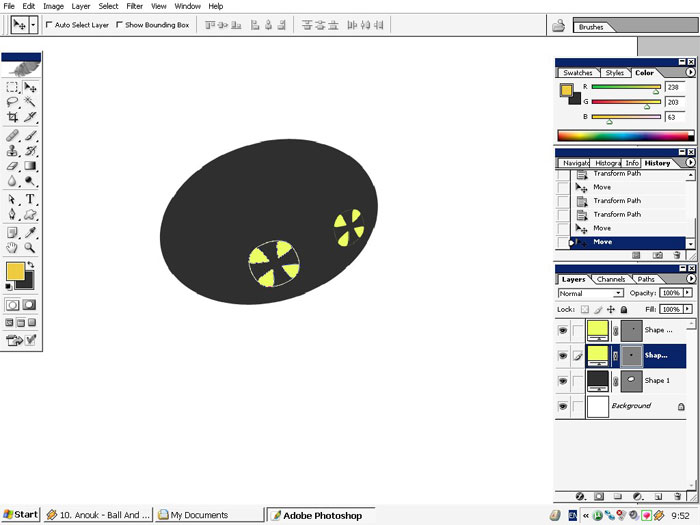
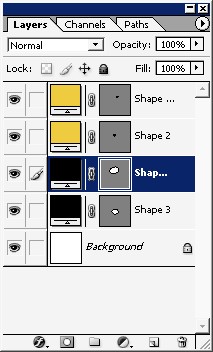
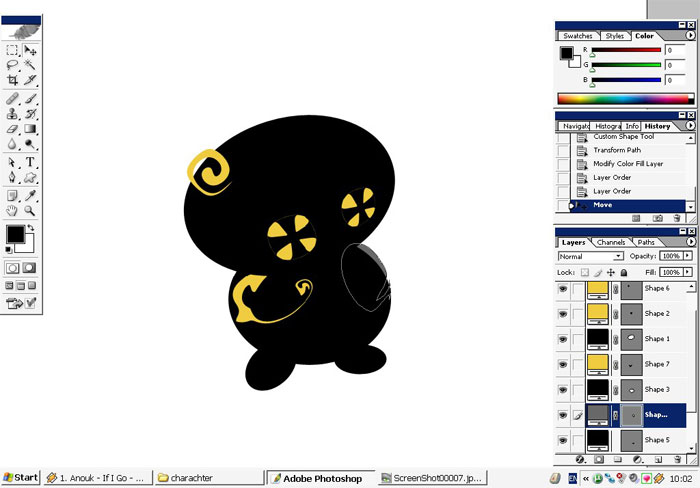
Now the body, you see every object stays on separate layer.
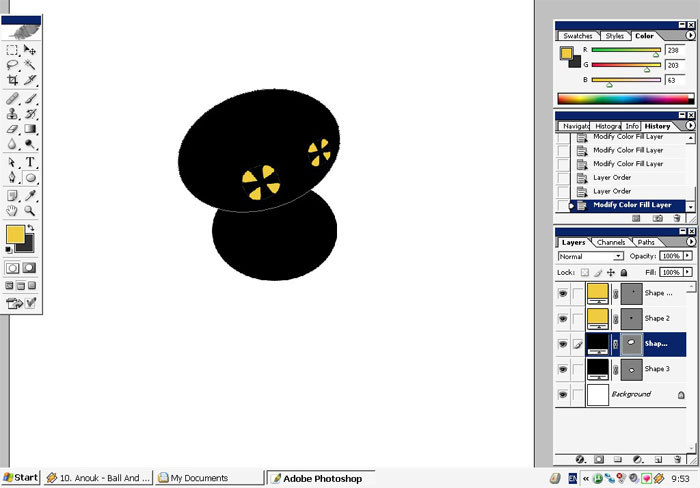
Now we will work with legs and some accessories.
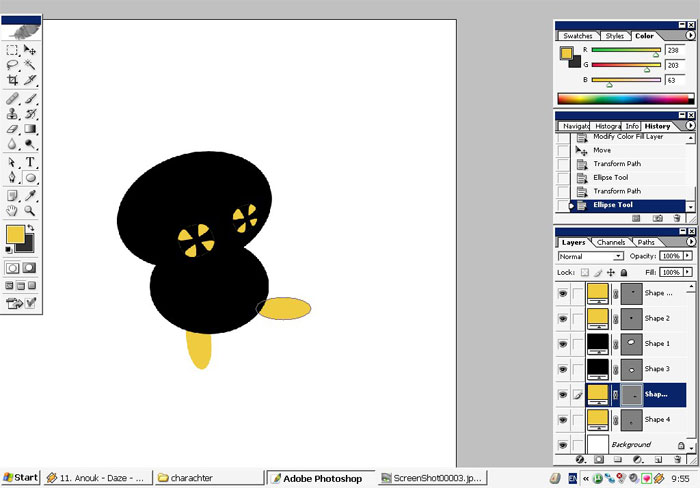
The legs will be yellow only for you to see how the are going to be positioned.
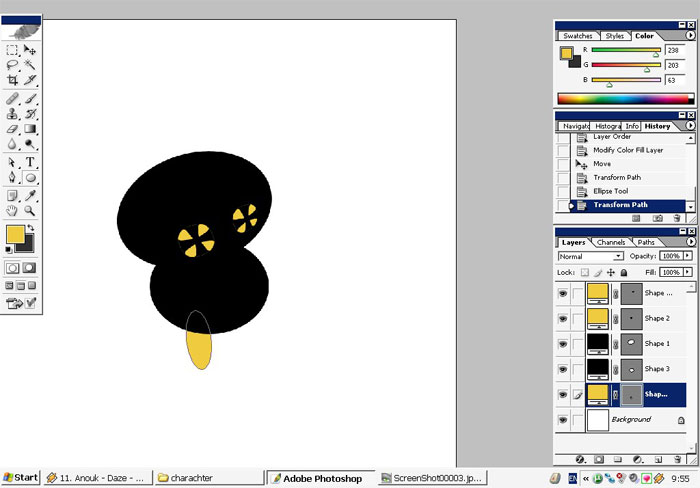
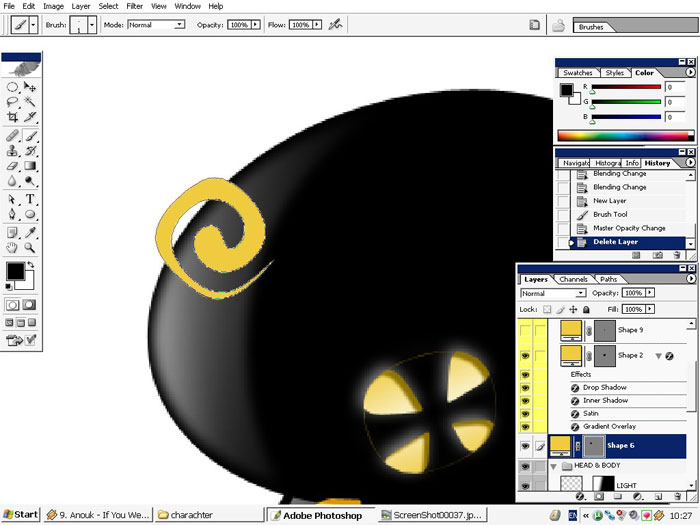
Good custom shape. Looks like hair.
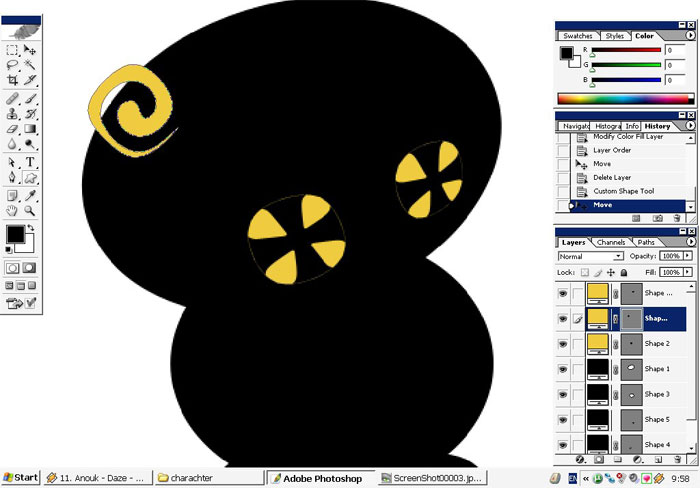
Don’t even know what it’s going to be but I like how it’s curved.
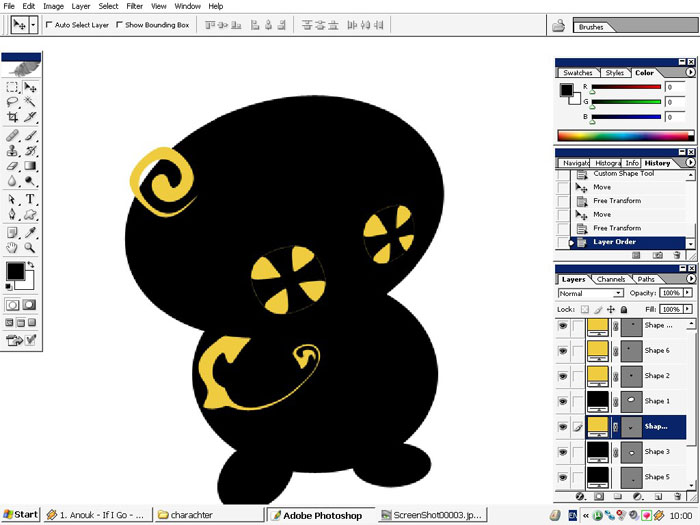
Don’t forget to watch your whole yellow/black balance. Zoom in, Zoom out, see how it looks in general.
And the hand using custom shapes.
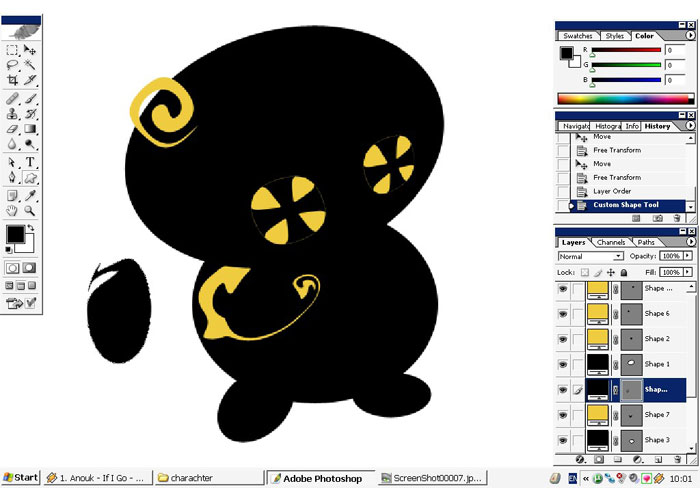
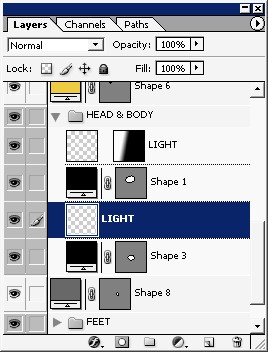
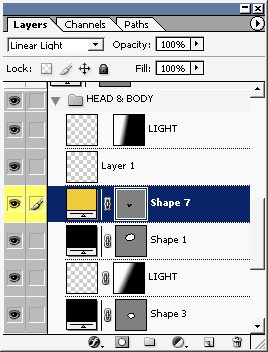
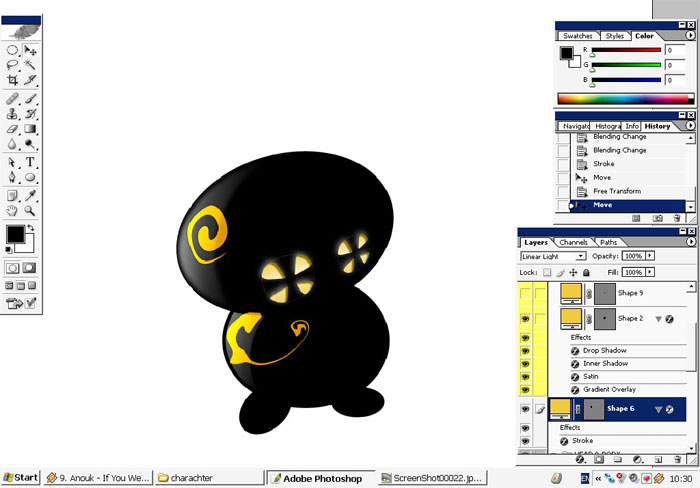
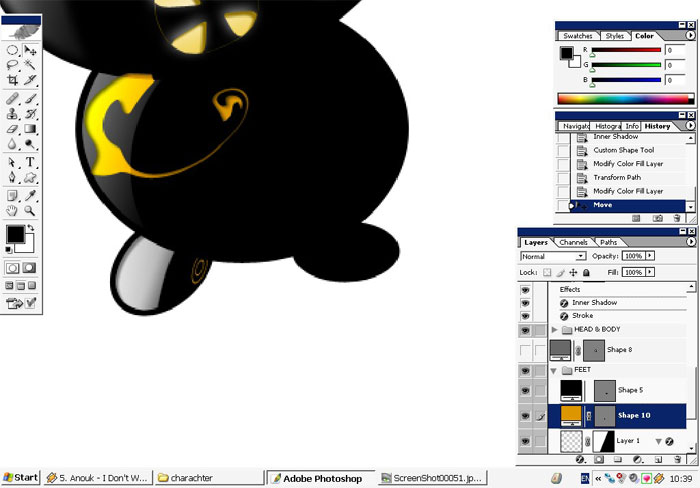
When you are dealing with multiple layers it is better to create LAYER GROUPS. I can use about 100 layers it the illustration. Layer groups will save you a lot of time searching your layers.
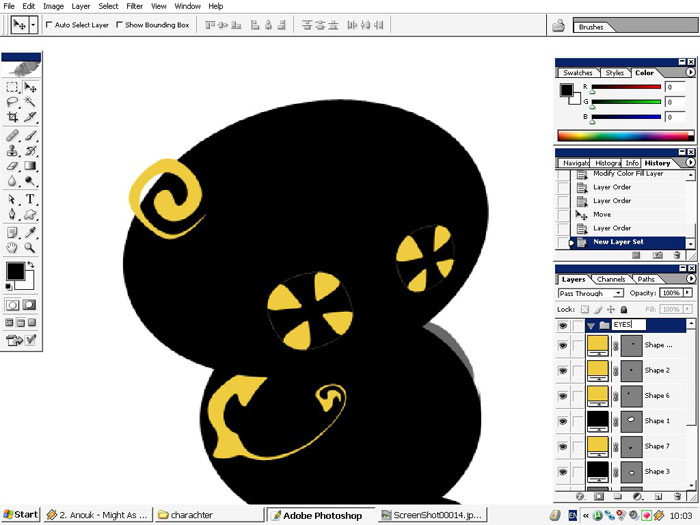
So we will create layer groups for Legs, feet and eyes.


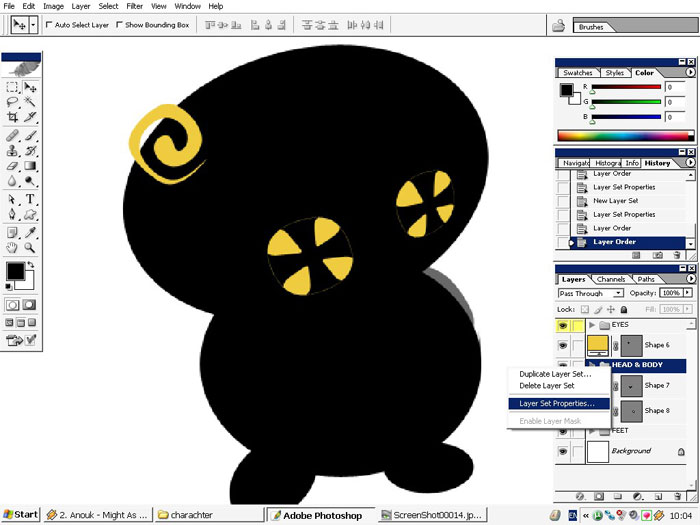
Set the colors to. Use layer properties.
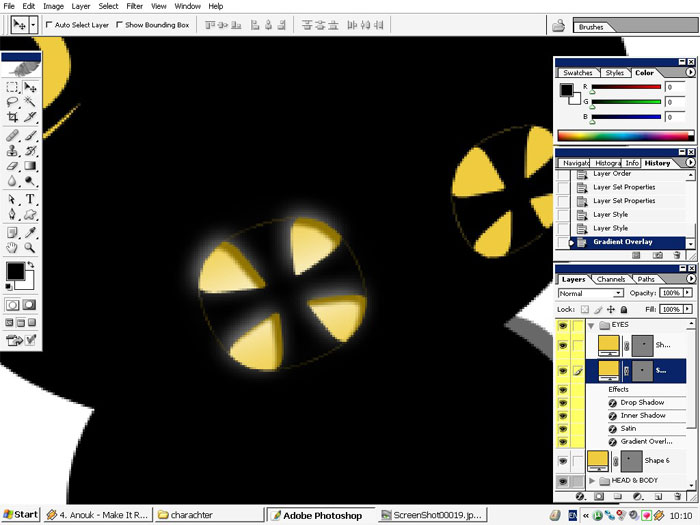
The Eyes!
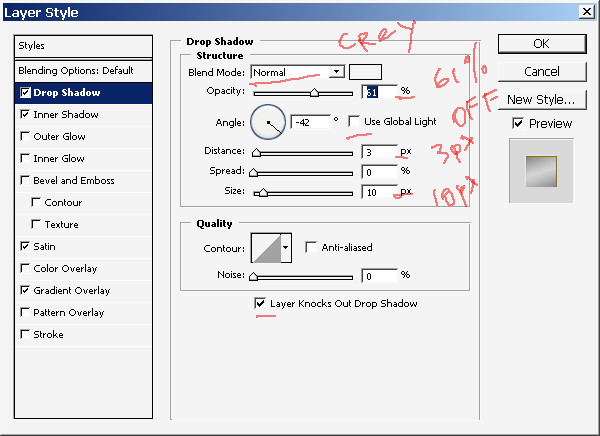
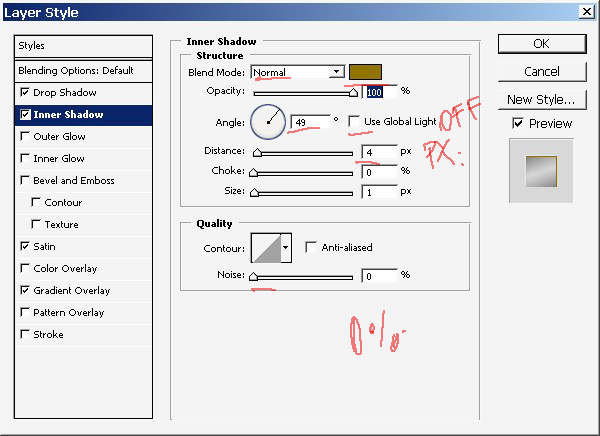
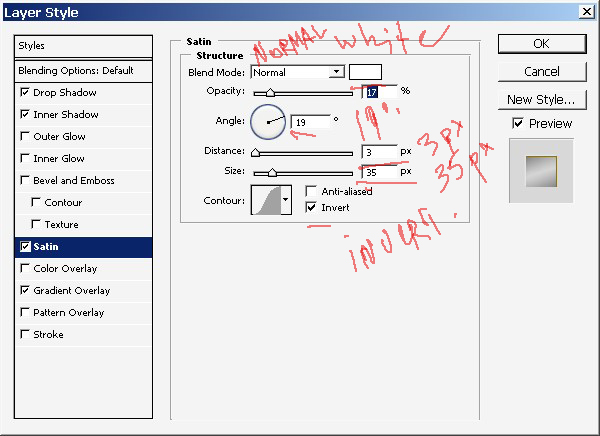
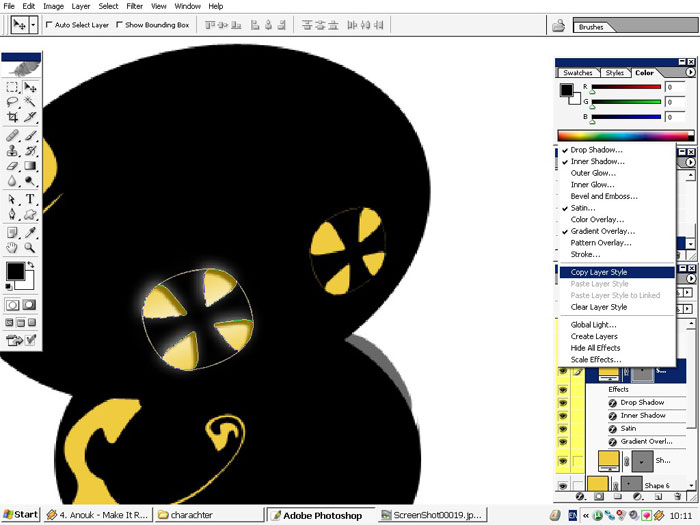
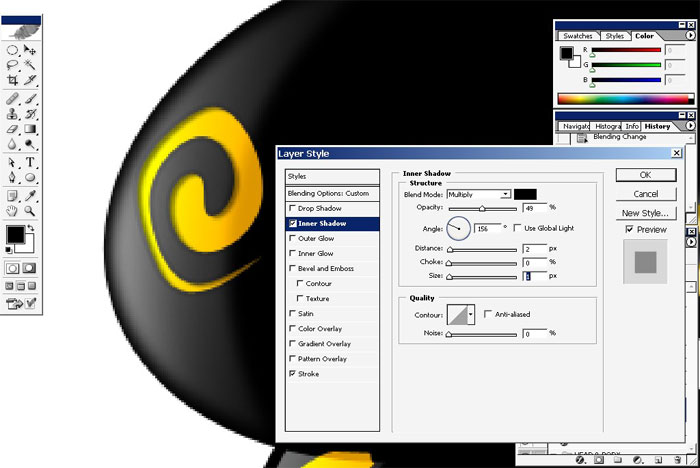
Some experiments with layer styles.

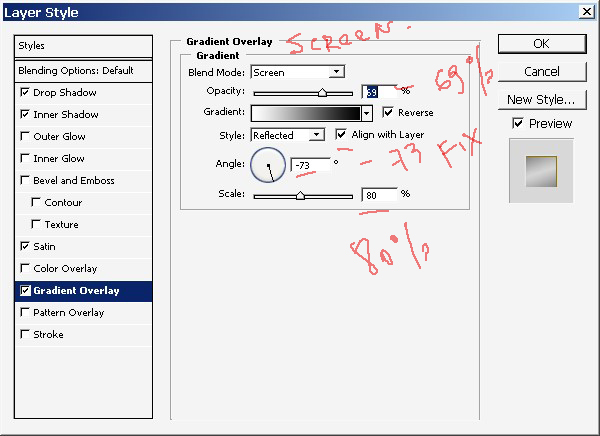
Now we have cool and very different eyes.
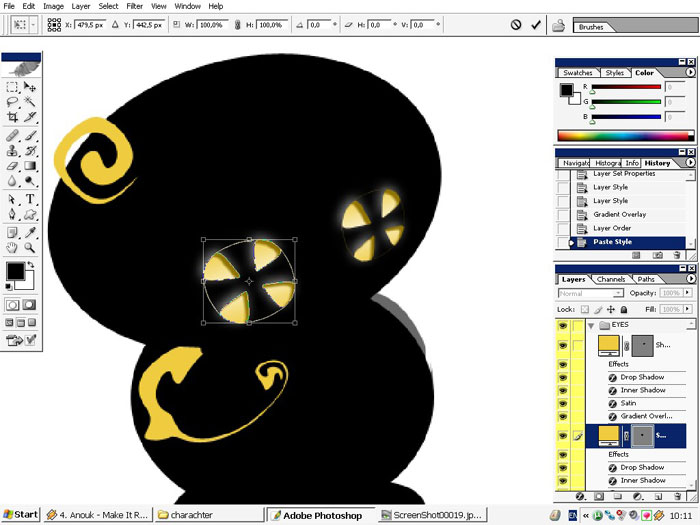
There is no need to do the same 2 times. Just copy the layer style from one object to another.
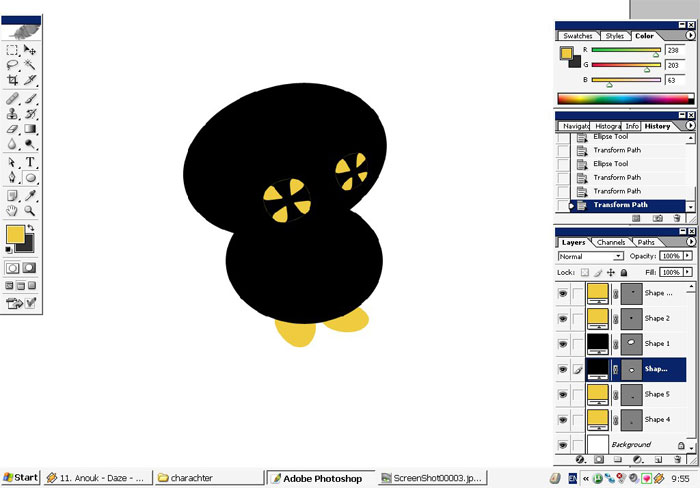
Oh, and do transform those eyes.
The right one if looking on the character must be smaller and a little bit distorted then the left one.
Now the second base step, let’s give some values.
For this we will use selection and the base technique.
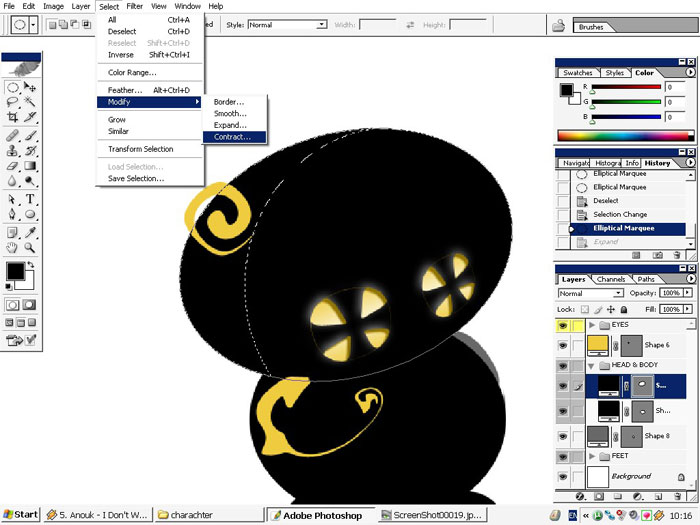
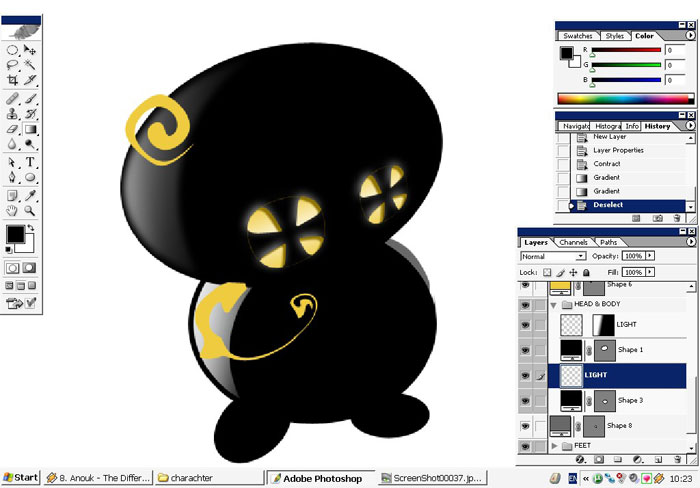
Let’s do the head first. Select the whole layer, then using the marquee
tool leave only the part of the selection we need. And we need this
selection.
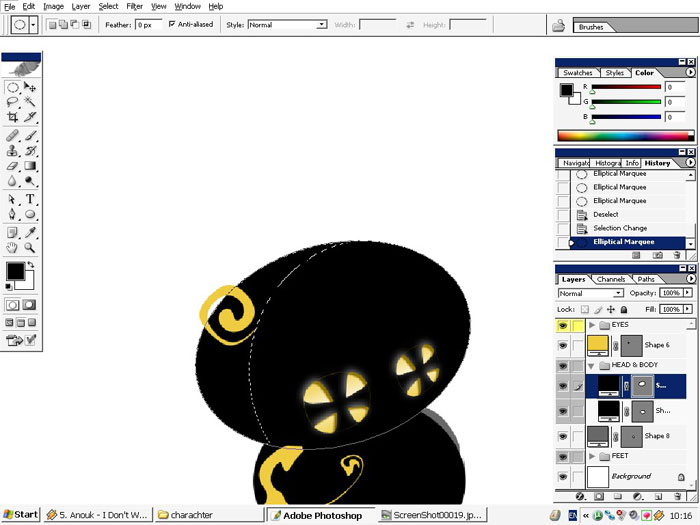
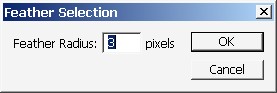
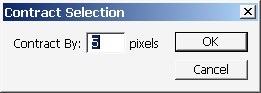
Use Select>Modify>Contract command along with Further Command.

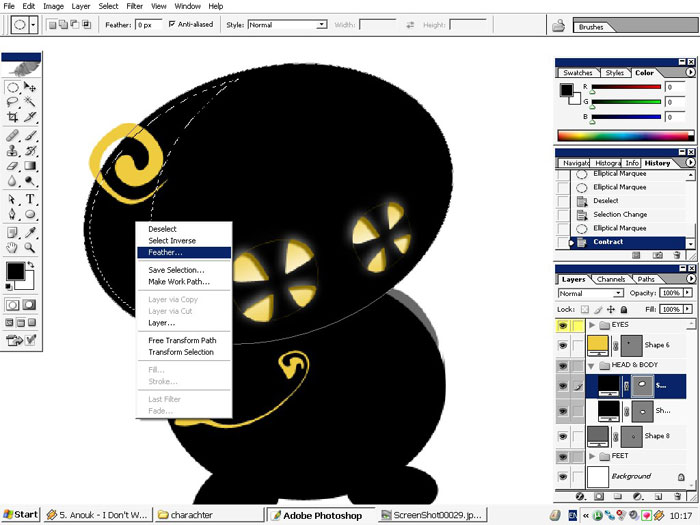
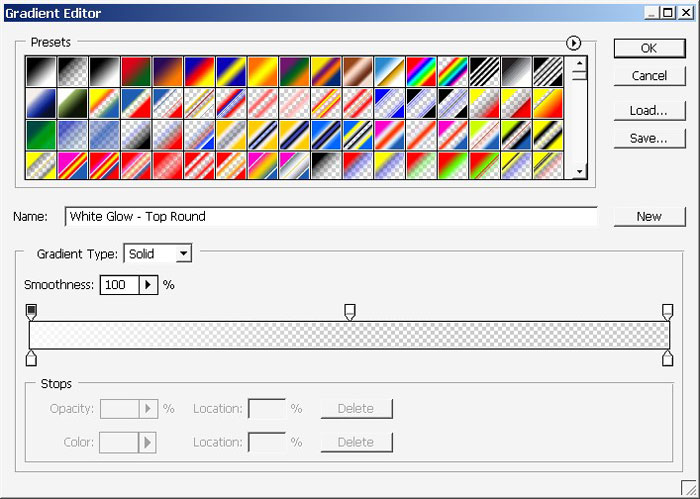
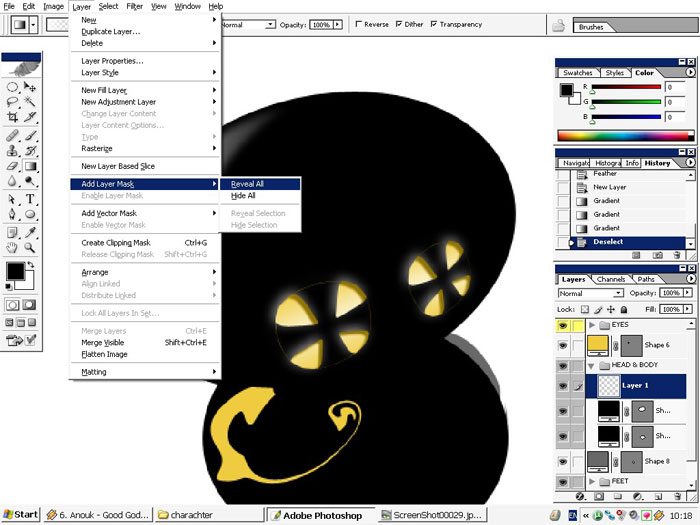
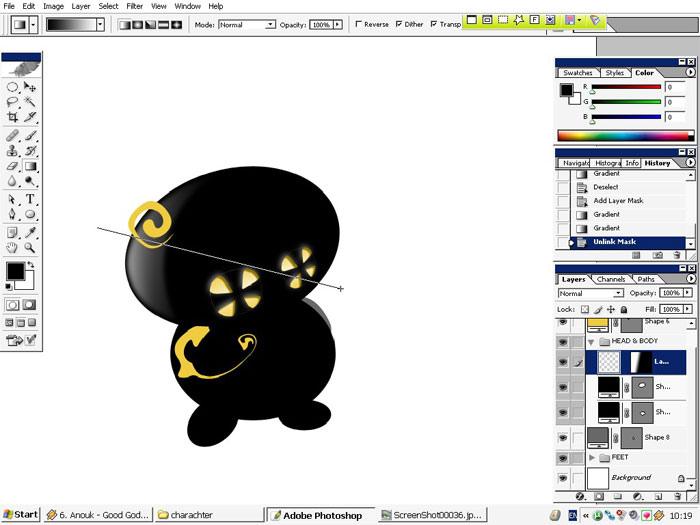
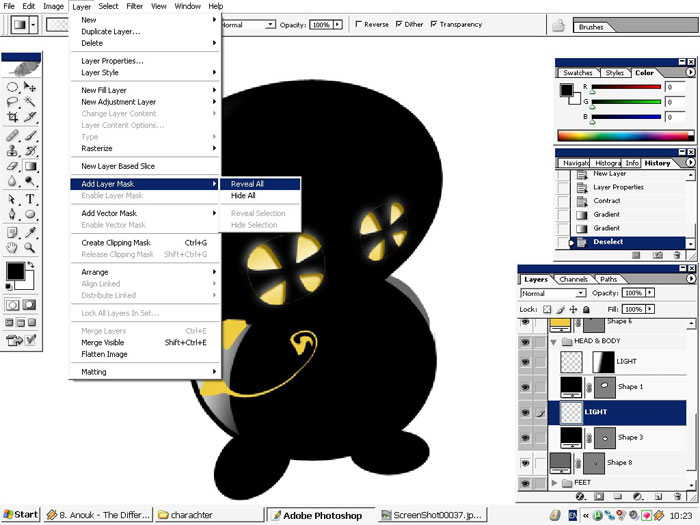
When the selection is right create a new layer and fill it with WHITE – TO – TRANSPARENCY gradient.


Layer mask – fill the mask with Black to White gradient.
Remember all these scheme because it will be used several time.
1. Select.
2. Contract and Further.
3. Create layer.
4. White Gradient fill.
5. Layer mask (reveal all).
6. Black > White gradient overlay.
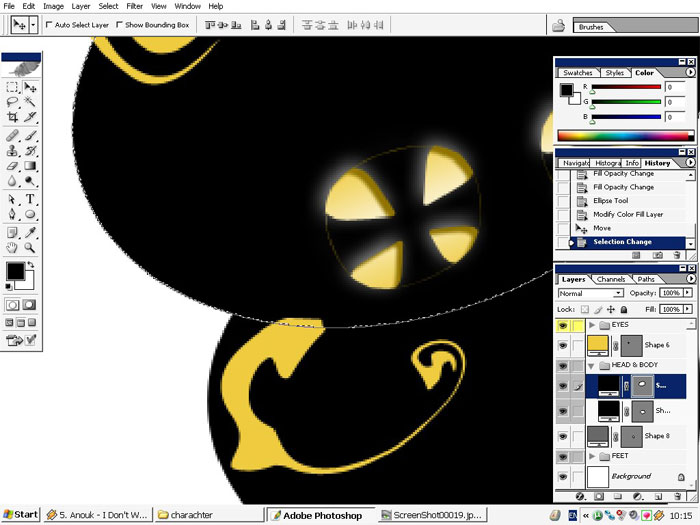
Now the body!
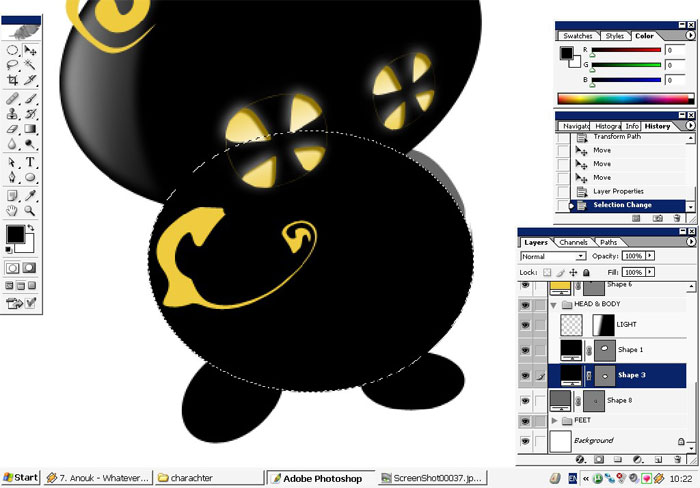
Same with the body.

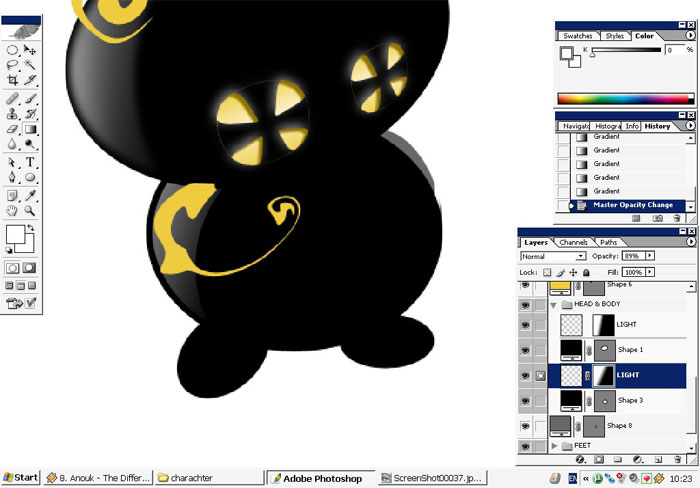
Now it looks better with this value.
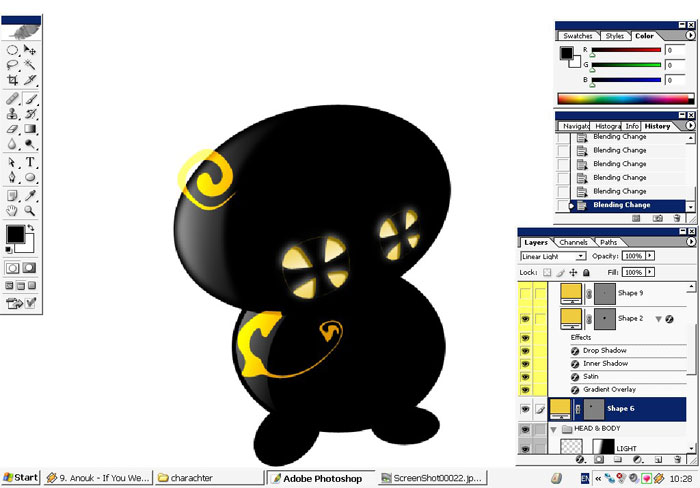
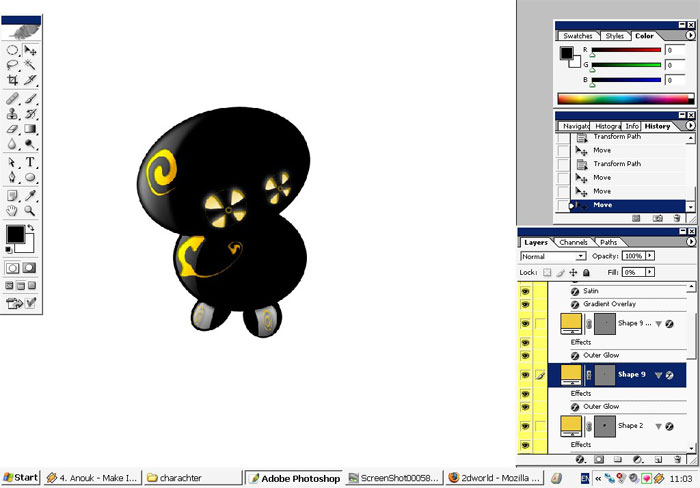
See the hair and body pattern. Change their blending mode.
Linear light:
Looks good. Love the orange dash.
I will transform the hair and maybe give him an effect.
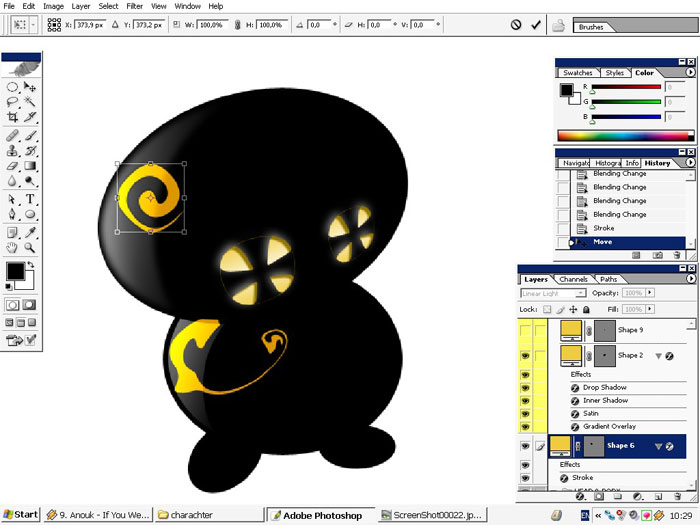
Remember where the light is? Same with the body pattern.
And yes, it is time to fix the legs.
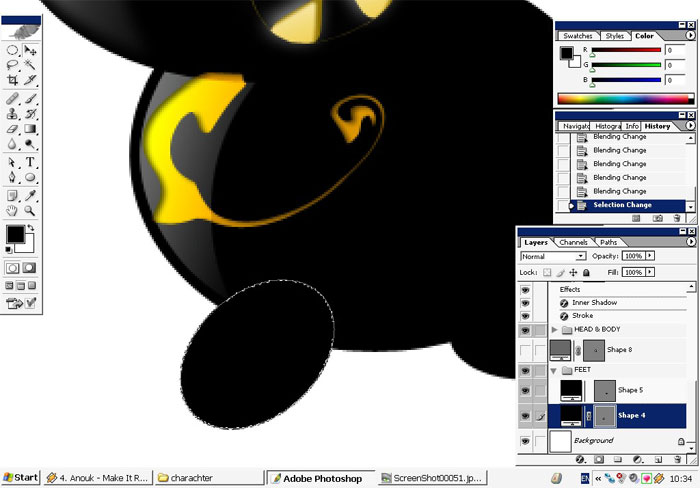
Moderate the selection.
Create a layer, overlay with a gradient and use layer mask just like the scheme says.
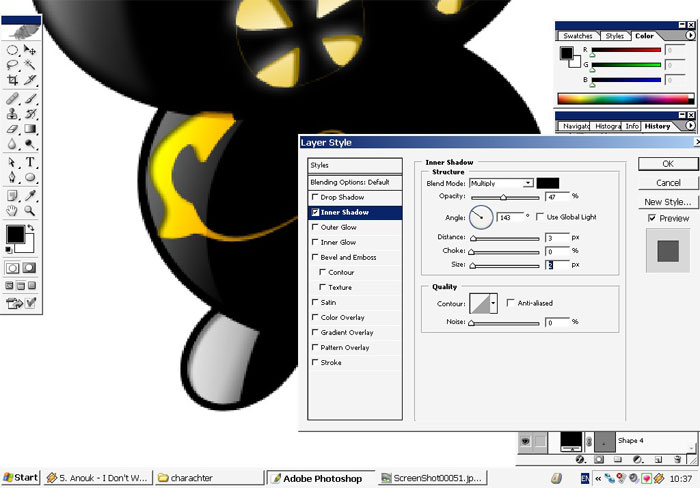
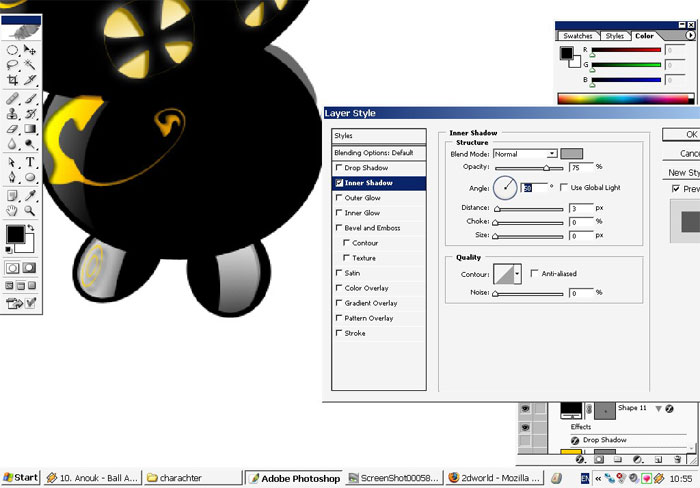
Use Inner shadow.
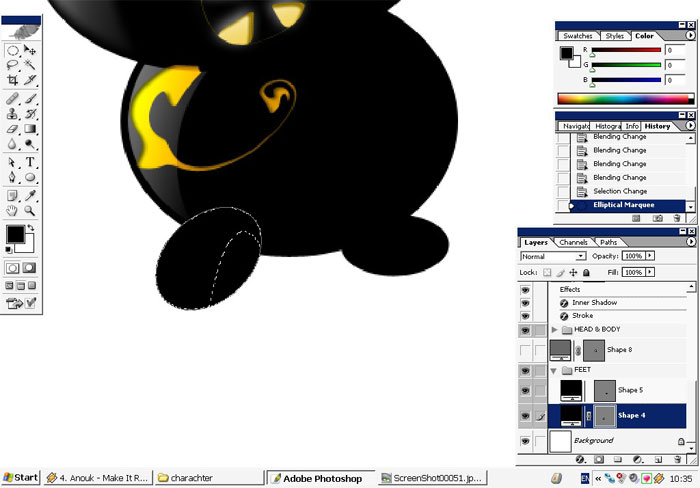
I do want to create something else on the foot. Study the design too.
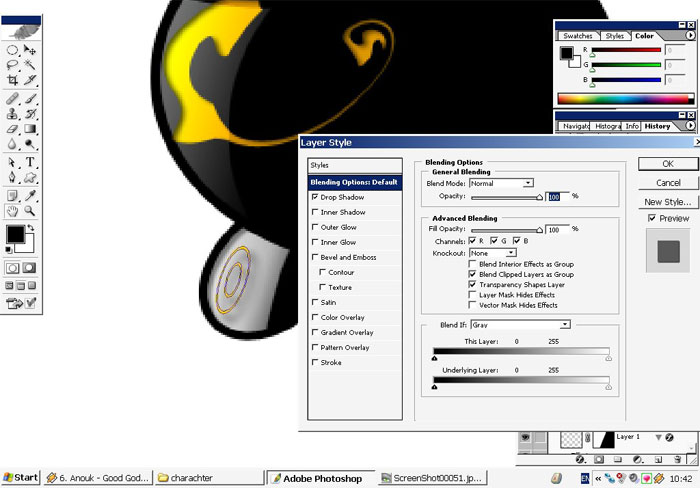
And here we have it accessorized.
The same with other foot.


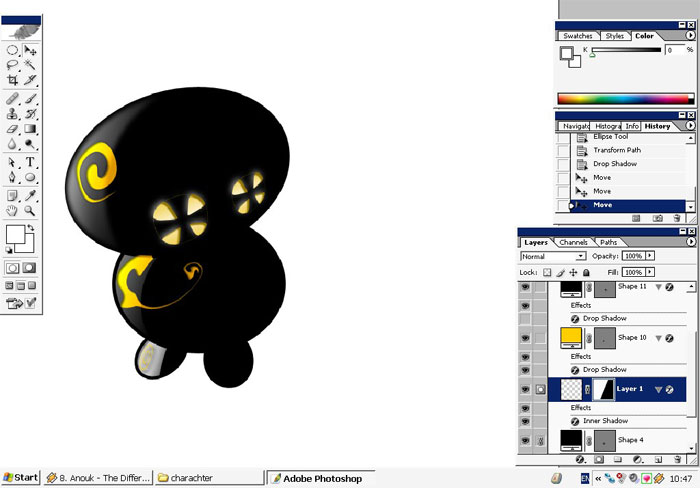
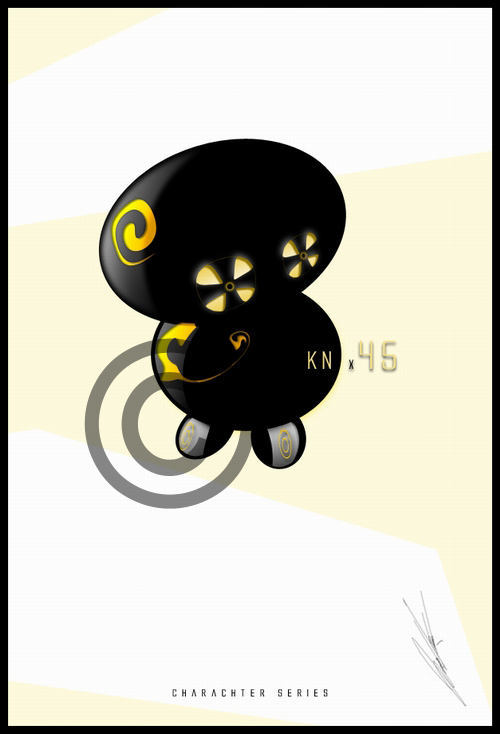
Final look:
I will also give a name to this creature) – first that came into my mind.
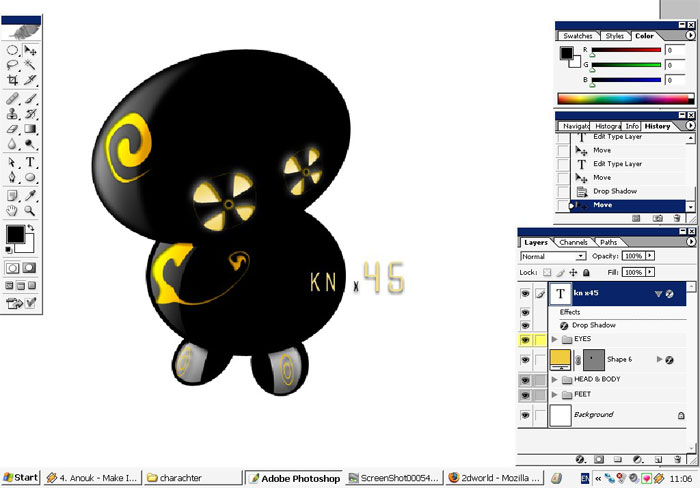
Done!
Comments