
Spotted Eagle Ray
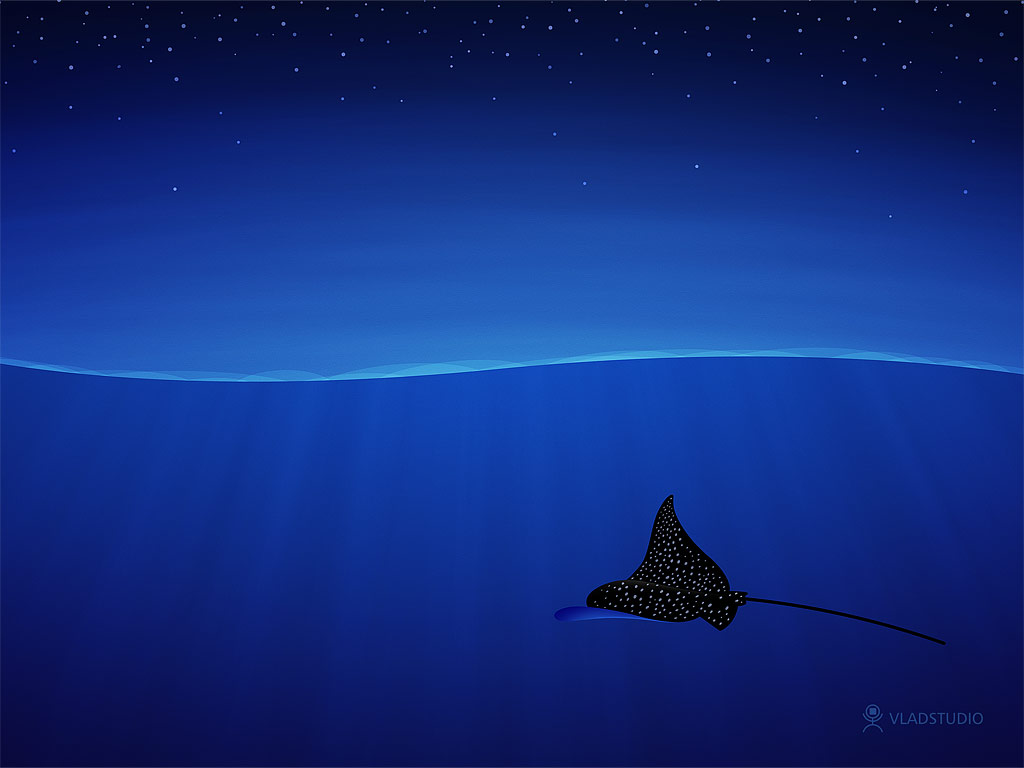
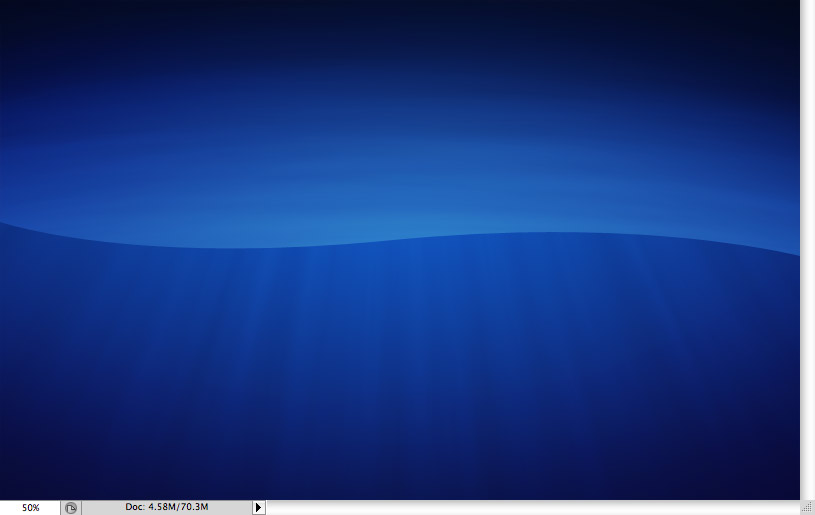
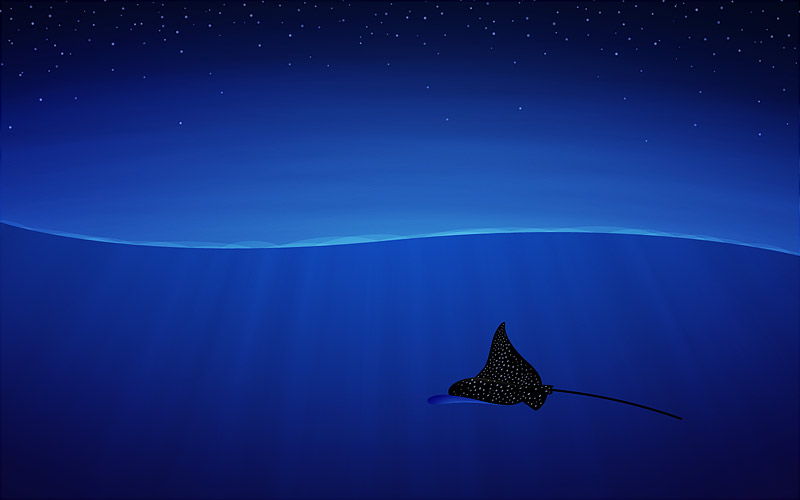
I was inspired by a photo of beautiful eagle ray, and I wanted to create an artwork that includes the eagle ray underwater, and the sky above him, with stars shining (see wallpaper).
So, the artwork will include the following parts:
– underwater;
– sky with stars;
– eagle ray.
Let’s start with the water.
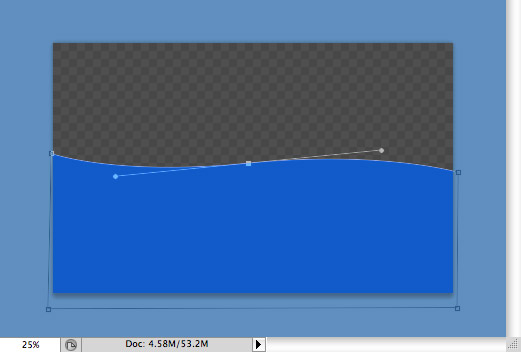
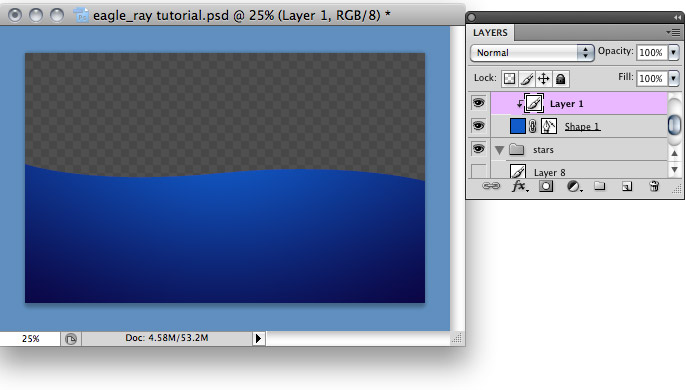
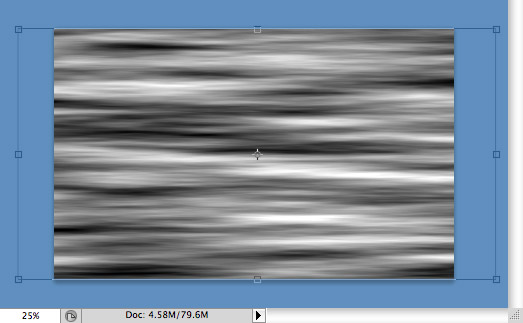
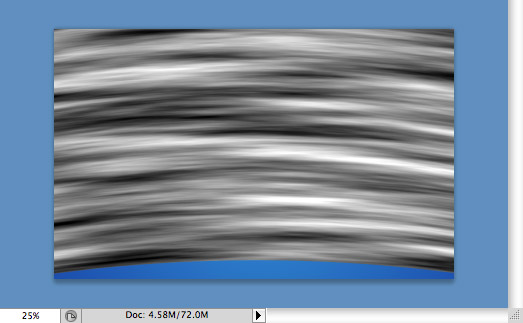
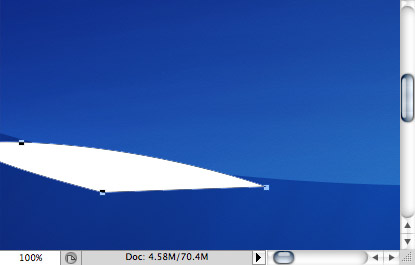
Set foreground color to saturated blue. Select Pen tool (P), and create a shape that fills bottom half of image, with wave on top, similar to shown here.
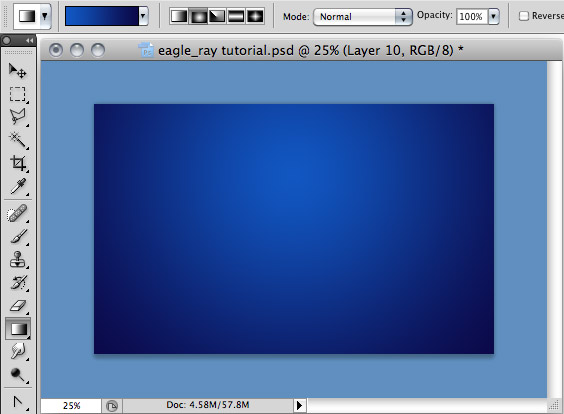
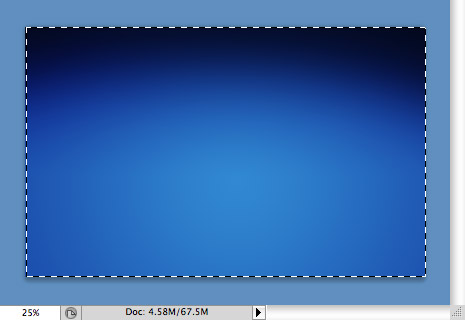
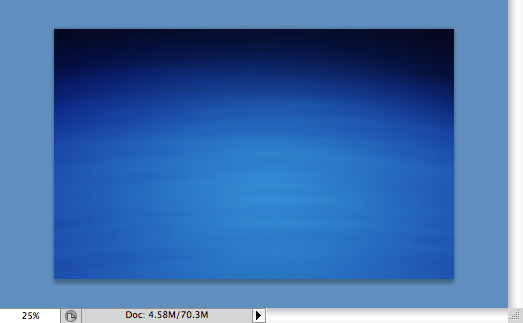
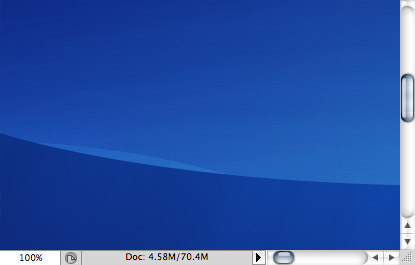
We need to add some depth to our water, and here is how. Create new layer, switch to Gradient tool (G), set background color to dark blue (almost black). In toolbar on top, switch to Radial gradient. Click-and drag the mouse from top-center of image to bottom-right (or bottom-left, does not matter). The result should look similar to this.

Create another new layer, switch to Linear gradient, and fill this new layer with gradient similar to this.
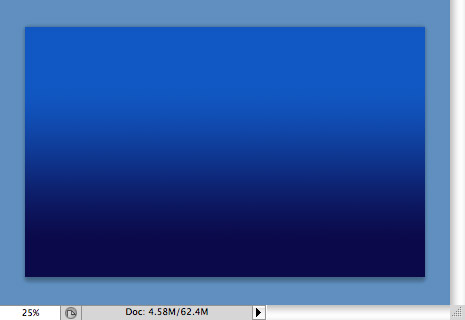
Now set this layer’s opacity to 50%. Now, 2 gradients (radial and linear) are equally visible, and it adds nice depth to the image (not as primitive as only 1 gradient would look). Merge 2 layers with gradients into one (Ctrl-E).
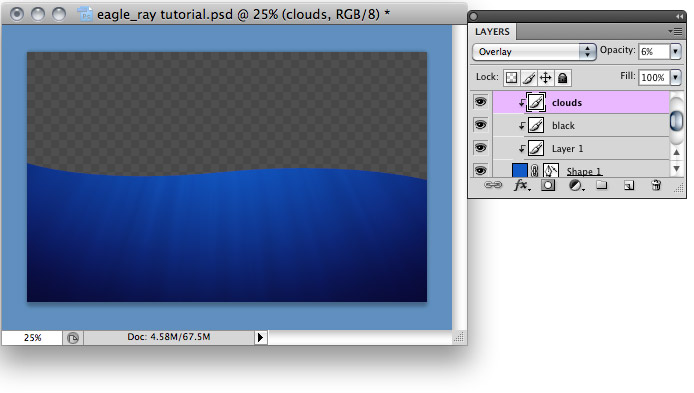
Go to Layer menu – ‘Create clipping mask‘ with previous (wave shape layer). You’ll notice that selected layer now has an arrow pointing to the layer below. Now we have shape of water with nice gradient, but we need something more – light reflections. Let’s do that!
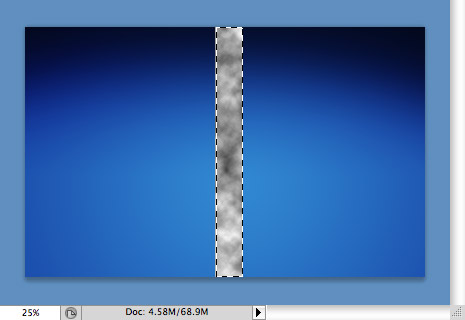
Create new layer, set foreground color to white and background color to black (or vice versa). with Selection tool (M), select narrow horizontal area in the middle of the image (similar to shown here). Go to Filter menu – Render – Clouds.
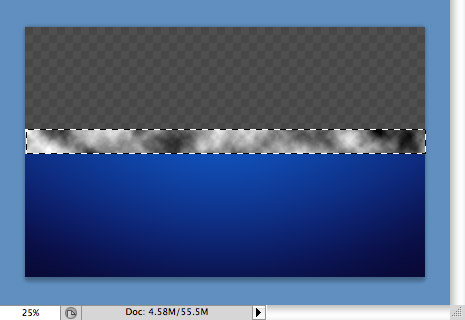
Transform selection (Ctrl-T or Edit menu – Transform), and scale it vertically, holding Alt key (so that it is scaled up and down). Hit Enter to apply resizing.
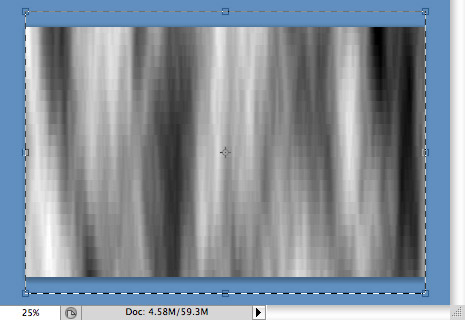
I decided I want even more distortion so I made selection again…
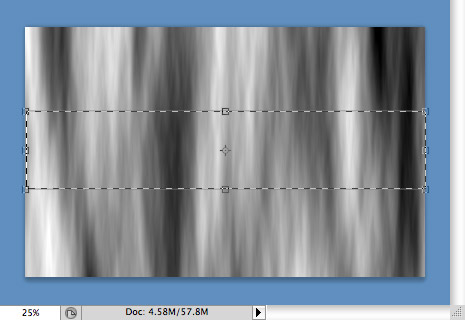
…and resized it again.
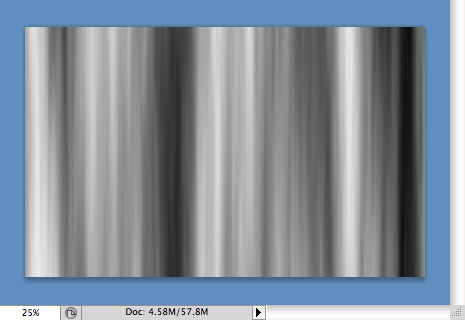
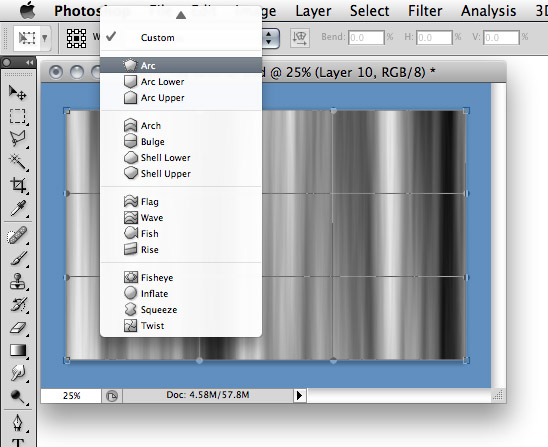
Go to Edit menu – Transform – Warp. In toolbar menu, open dropdown menu and select Arc. Next to it, there is Bend setting (50 by default). Change it to -50 (or adjust to your liking) and hit Enter to apply changes.
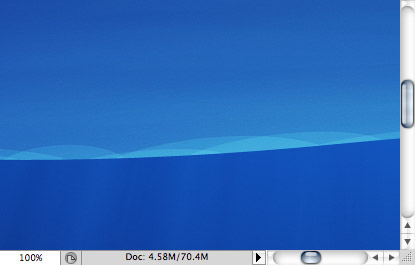
Here is how the result should look.
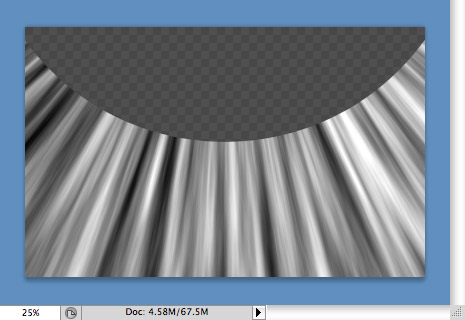
Go to Layer menu – create clipping mask (this way we group ‘rays of light’ with shapee of water), set layer blend mode to Overlay and opacity to 5-10%. Woo-hoo! Our water looks very good now.
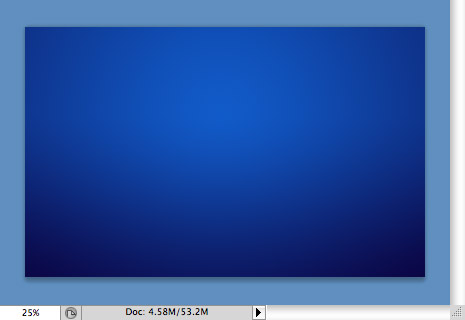
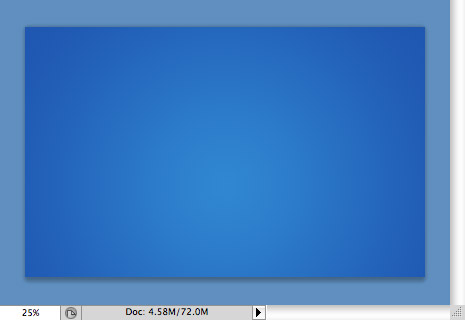
Let’s create the sky now (maybe I should have done it first, because the sky is behind the water). Anyway, create new layer, and move it down the layer palette (so that it is behind all other layers). Set foreground color or lighter blue, and background color to slightly darker blue. Select Gradient tool (G), switch to Radial gradient, and fill layer with gradient, clicking-and-dragging your mouse from about middle of artwork to top-left or top-right edge.
Switch to Brush tool (B), select very large soft brush, set foreground to very dark blue, set Brush opacity (on top toolbar) to 10%, and with accurate long movements, fill top of layer with dark areas. You can also set forecolor to completely black and add a little of black to top edges of the image.
Create new layer, set forecolor to white, and back color to black. With Selection tool (M), create selection similar to shown here (narrow vertical area in the middle of image). Go to Filter menu – Render – Clouds.
Similarly to what we did several steps before, resize layer (Ctrl-T, resize horizontally holding Alt).
Go to Edit menu – Transform – Warp, the dropdown menu will appear on toolbar. Open it, select Arch (not Arc 🙂 Set Bend to around 8-10, hit Enter to apply changes.
Finally, set layer’s blend mode to Overlay, and opacity to 5-10%.
Now, both water and sky are good!
Let’s draw the eagle ray now. I used the reference photo that I found in Internet (I removed parts of photo outside the eagle, so that they do not disturb me).
Find the photo for reference (I encourage you to not copy my photo, I already copied it 🙂 Create new layer on top of layers palette. Paste the reference photo, resize and move as you wish.

Set opacity of layer with reference photo to 20%. Create new layer ‘under’ (below) layer with reference photo (so that reference layer is on very top).
Set fore color to black, select Pen tool (P).
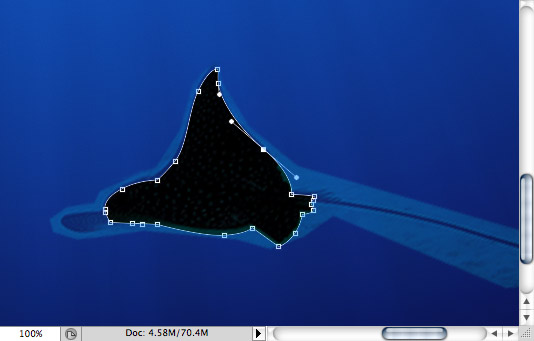
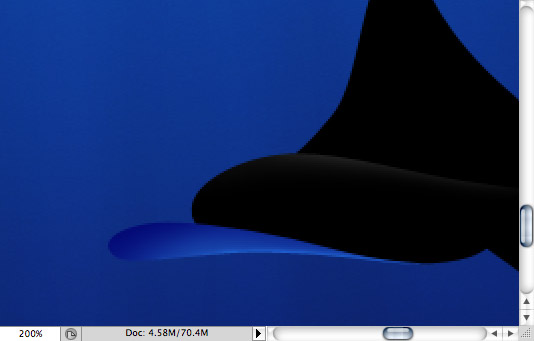
Looking at the photo of eagle ray, notice how it can be ‘divided’ into 2 parts: top (black with white spots) and bottom (part of bottom is visible on left wing of the ray). We’ll start with top (black) part.
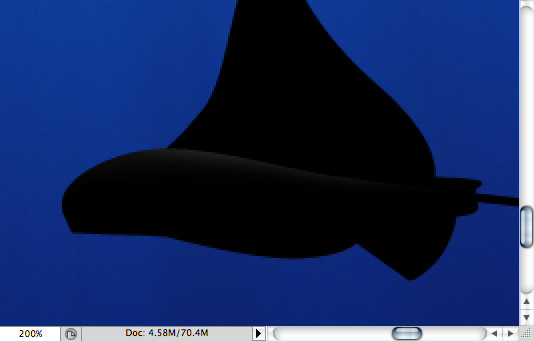
With accurate movements, create a silhouette of the ray. Working with Pen tool is the subject for separate tutorial. In short, you create a shape from ‘anchor points’, where each point is created by mouse click, and curve of shape around this point is created by dragging-and-releasing mouse after you clicked mouse to create a point. You’ll need to practice a lot 🙂
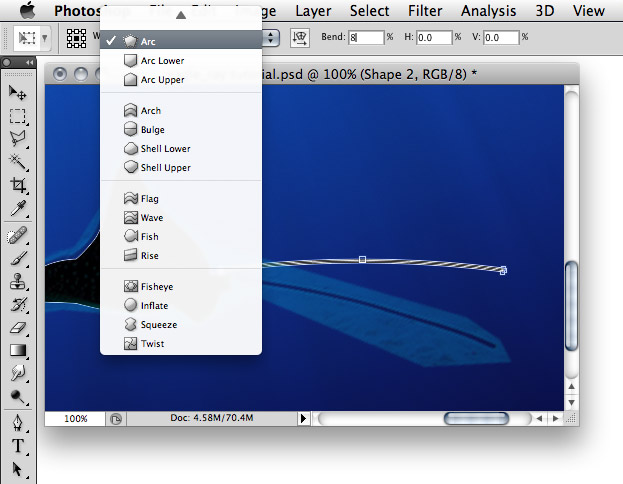
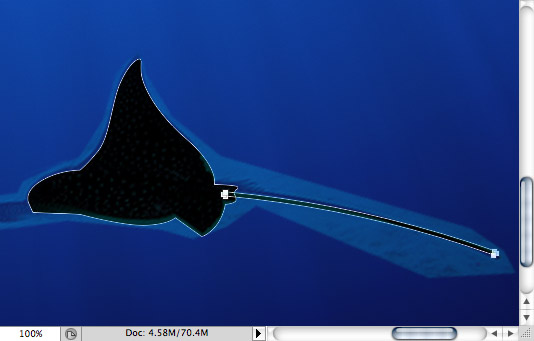
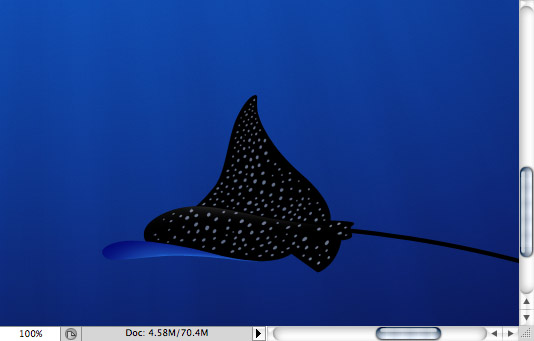
The tail of the ray is easier to do. Select Rounded rectangle tool (hit U, then select Rounded rectangle from toolbar on top). Create long and very narrow rectangle (a ‘line‘). Switch to Path selection tool (A), select the shape you just created, go to Edit menu – Transform – Warp, then select Arc from dropdown list. Set Bend to 8-10, hit Enter to apply changes.
Transform shape (Ctrl-T) to move and rotate as necessary.
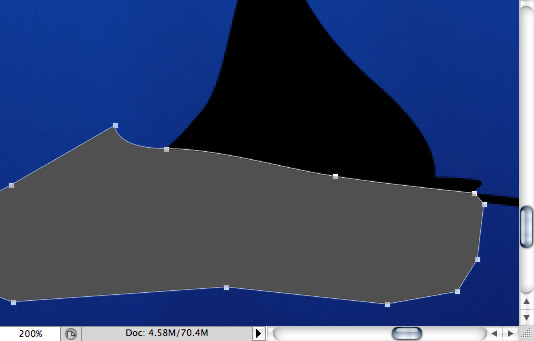
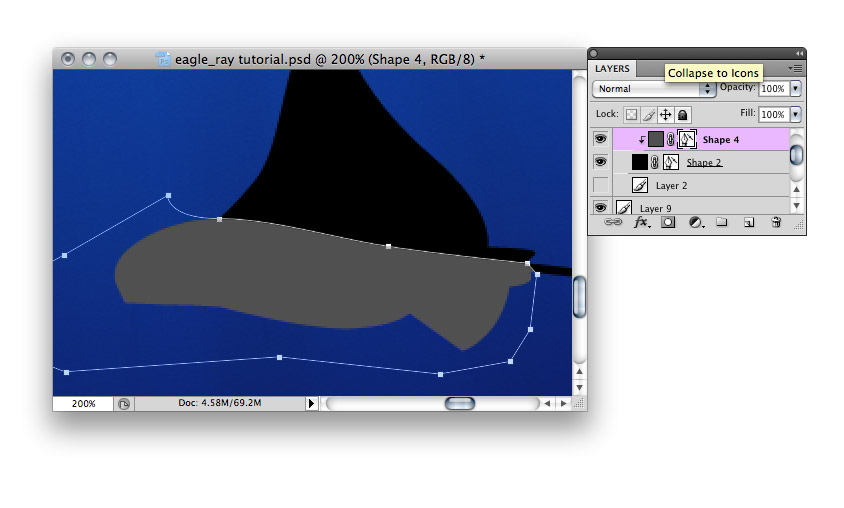
The top part of eagle ray is almost entirely black, except there is a little highlight going through the middle of ray’s body. Here is how to do it: create new layer, set forecolor to grey, switch to Pen tool, and create a shape similar to shown here (only top part of shape is important, other sides will be clipped).
Go to Layer menu – Create clipping mask.
To to Layer menu – Layer mask – Hide all. You’ll notice that ‘mask’ icon was added to selected layer in layers palette. Switch to Brush tool, select small soft brush, set fore color to white, and with gentle movements, draw where you want grey highlight to appear.
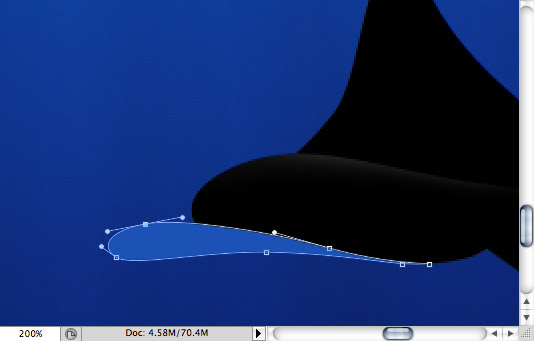
Now let’s complete the ray’s shape by adding ‘bottom‘ part of its left wing. Create new layer, set fore color to bright blue, switch to Pen tool and create a shape similar to that (you can show and hide reference layer to make sure you match the shape of actual ray).
Create another new layer, switch to Brush (B), add white highlights (smaller brush) and black shadows (larger brush).
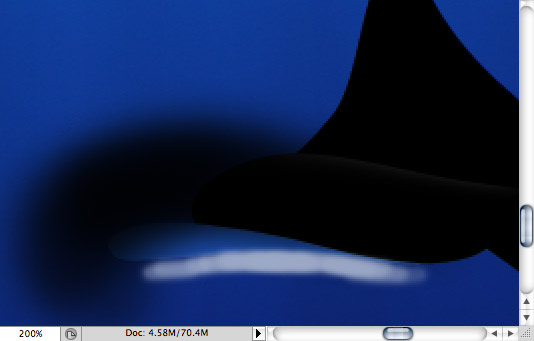
Go to Layer menu – create clipping mask, set layer’s blend mode to Overlay. Bingo!
Creating spots is very easy but a bit monotonous. Create new layer, switch to very small hard brush, set fore color to light-greyish-blue, and draw spots. Don’t forget to turn on reference layer, it will help you.
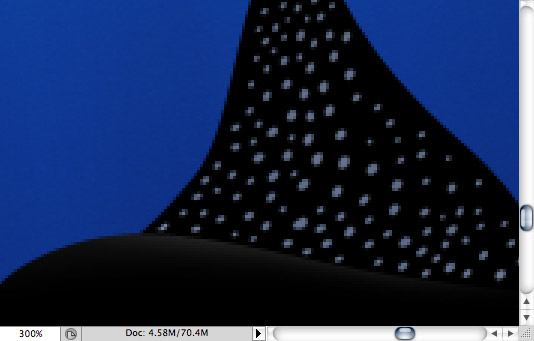
Here is how it looks with spots.
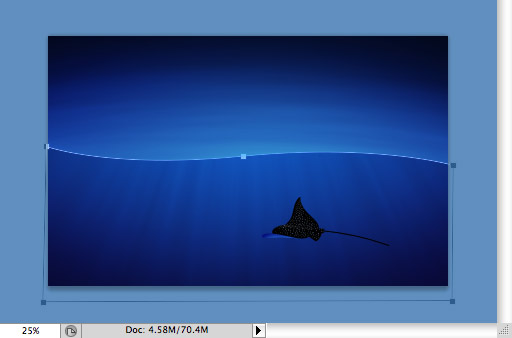
Now we need to add some little details to the border between water and air (You know, when you look at the photos taken half-underwater, the water border is not a plain line, it always has some twirls and bubbles). I decided to go quick way 🙂 and simply add some minimalistic curves. Before starting, switch to Path selection tool (A), select the shape of water that you created in the beginning, and copy it to clipboard (Ctrl-C).
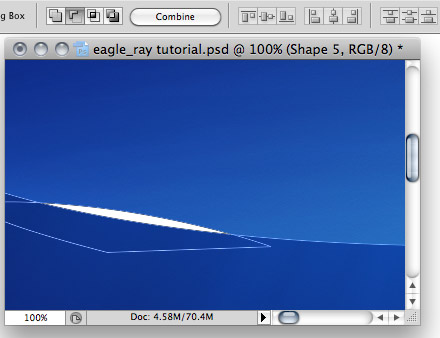
Create new layer, set forecolor to white, switch to Pen (P), and create a shape similar to shown here (only top curve will remain visible).
Paste path from clipboard into this layer (Ctrl-V). Change this path mode to ‘Substract‘ (second button in the row of 4 buttons in toolbar).
Set layer’s blend mode to Overlay, and layer’s opacity to 10-30%. What we just did looks almost invisible, but…
make another ‘wave’ (overlapping with previous), then again and again, until entire water line is filled with little waves on top of it.
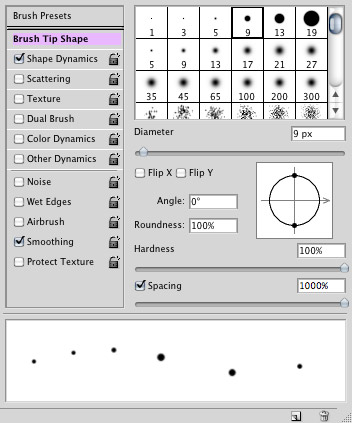
The final touch is the stars. They are very easy to do. The main trick is setting of Brush tool.
As always, create new layer. Set fore color to very light blue (almost white), and back color to darker blue. Select Brush tool (B), open Brush settings (Window menu – Brushes).
Click Brush Tip Shape section, select 9px (or 13px) preset. Now, modify the following settings:
– spacing: 1000 (maximum);
– click Shape dynamics;
– set Size Jitter = 100%, minimum diameter = 50%;
– click Color dynamics;
– set Foreground/Background jitter to 100%.
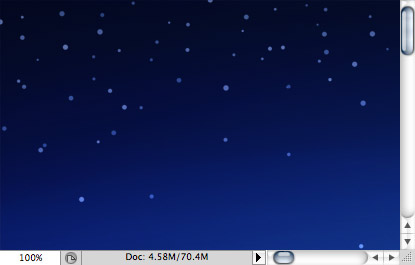
Now, simply click randomly on top of image, and you will see how stars of various size and colors are added!
Ta-da!
Once again, here is the final image.
Author: Vlad Gerasimov
URL:
http://www.vladstudio.com
Comments