
Making a plastic pepper project wallpaper.
Hallo and welcome in making a plastic pepper project wallpaper. So in this case we’ll take Photoshop as our basic tool – create some custom brushes: maybe 1 or 2 – and use this brushes to visualize the idea and develop complete design.

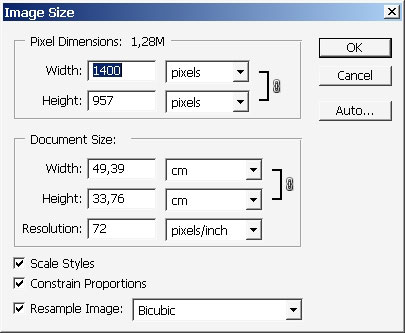
So let’s start by creating a document and brush creation.
Let’s create a brush. As my brush rough sample I will take standard PS round soft edged brush.
So take this brush and change some of its parameters:

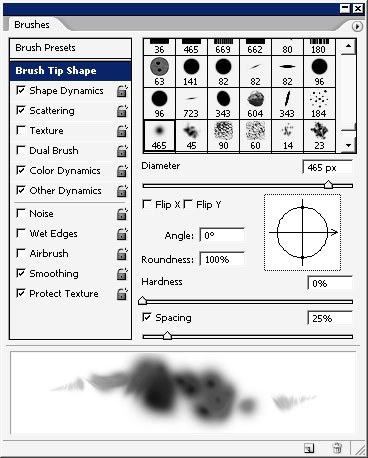
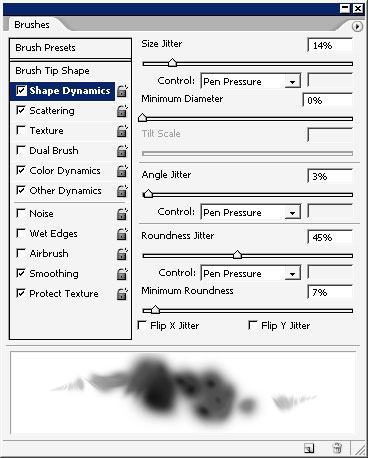
Shape:
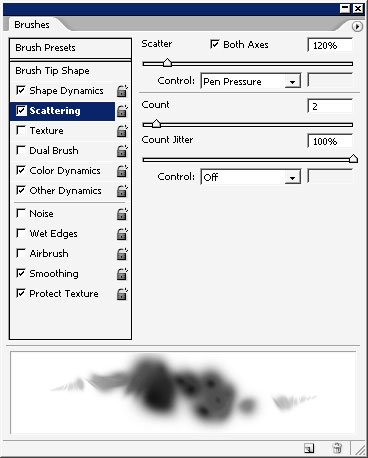
Scattering:
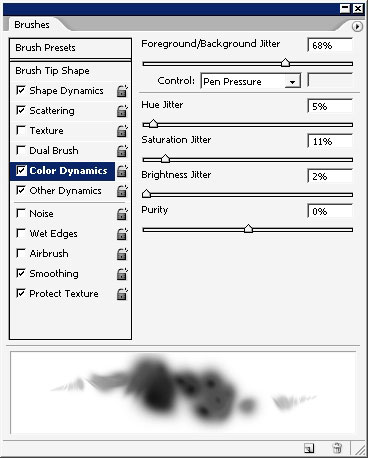
Will also use color dynamics – meaning that you should take care what Foreground and background color you have in our tool box.
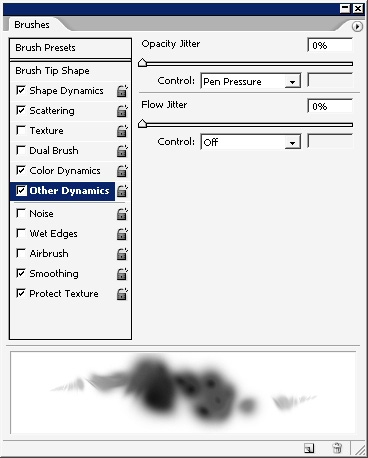
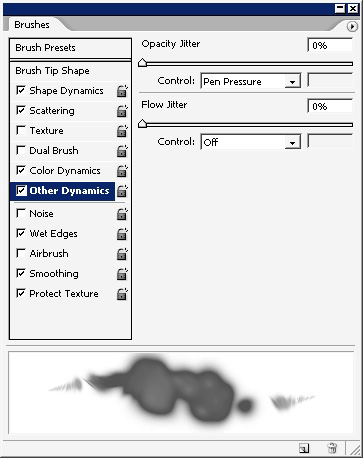
Other dynamics:
Save the brush as a new brush preset: as see it in action.
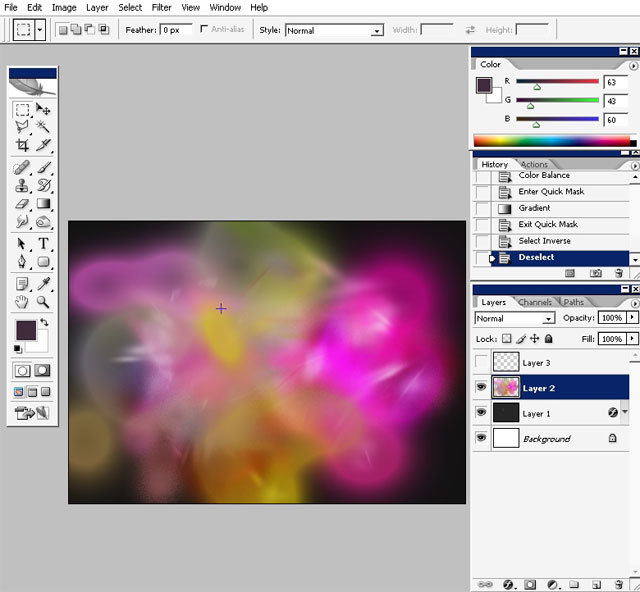
We have these colors for Color dynamics.

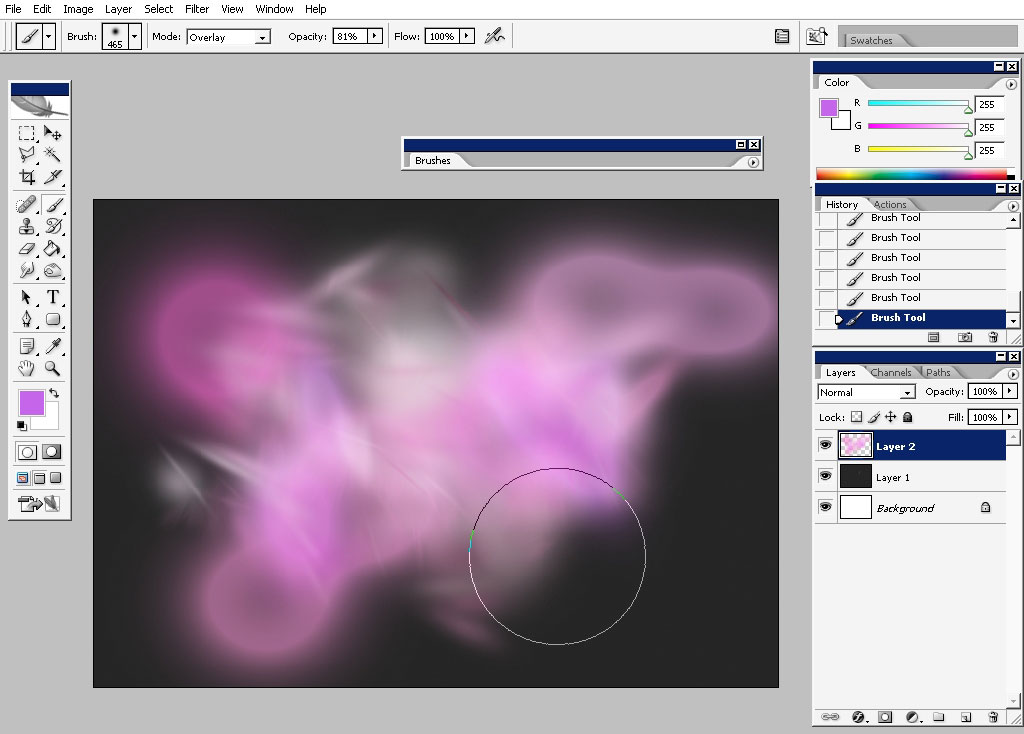
So another wonderful thing that I really like is that you can change brush color modes.
So change the mode from normal to overlay and turn wet edges ON in brush settings:

And just take a look what wet edges and different color modes can do.
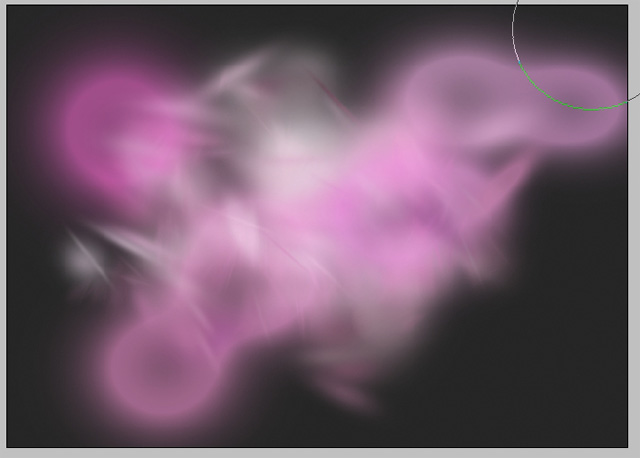
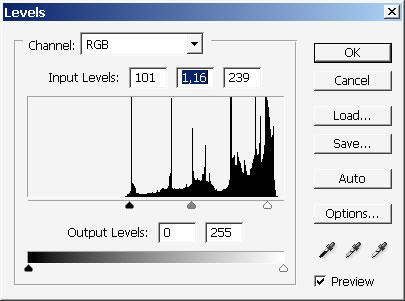
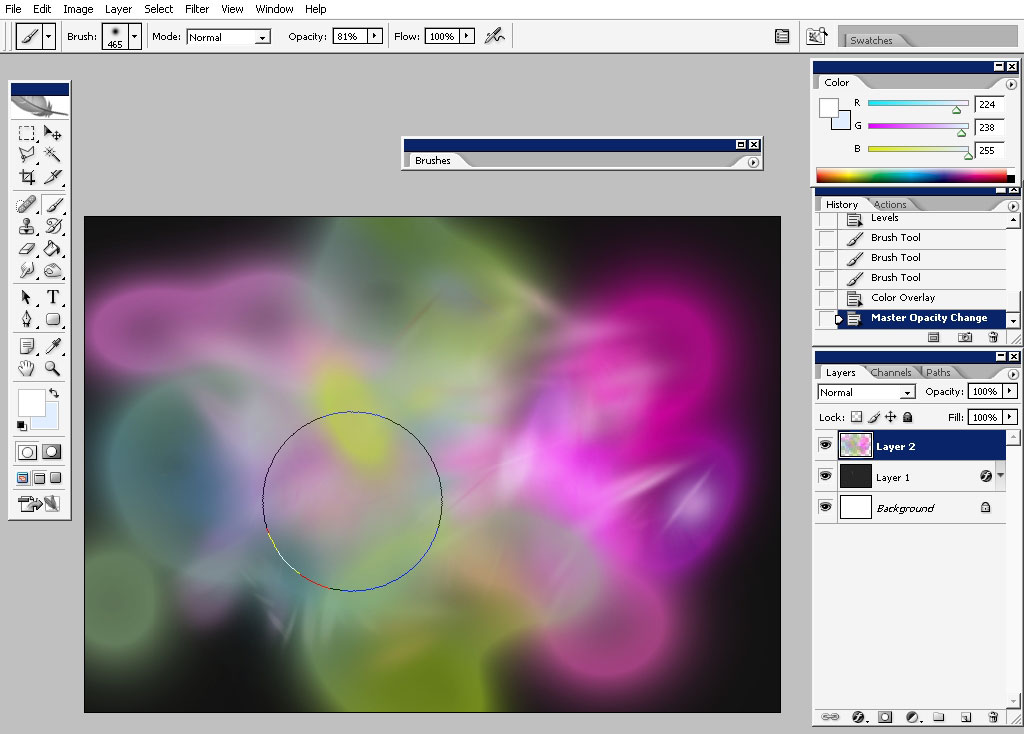
Change, but just a little bit: the level of the picture and do also change the colors (effects the color dynamics).

Isn’t it looking like bubbles?
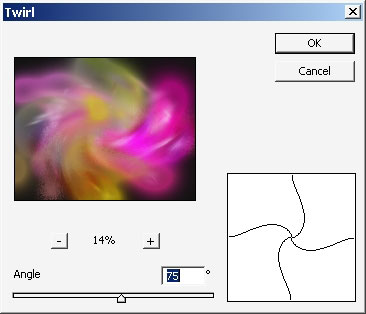
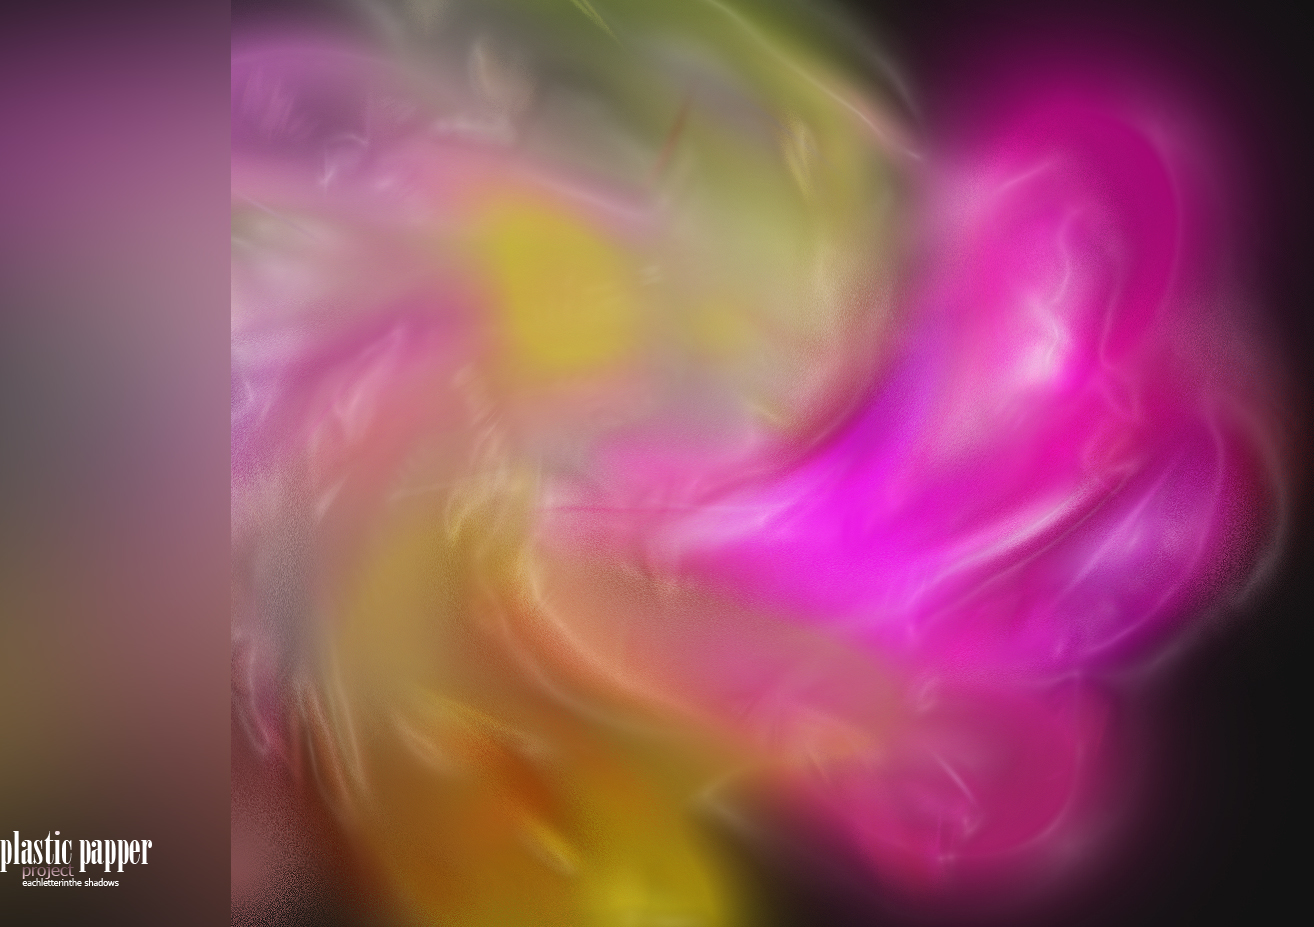
So I really want to apply a distorting filter and twirl (Filters > Distortion > Twirl) it is.
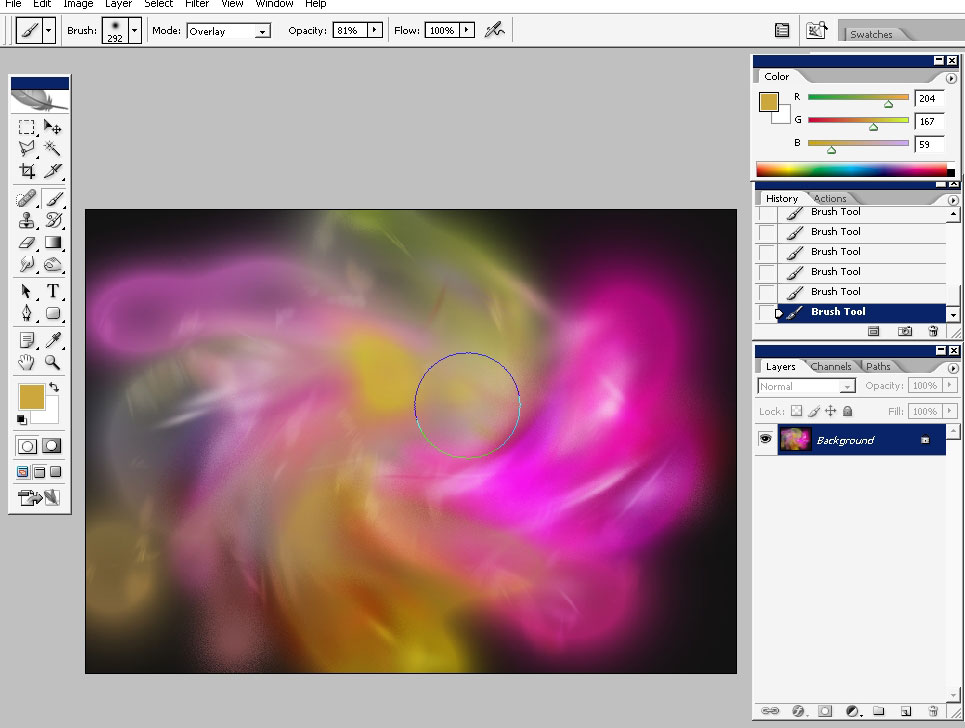
Zoom in and out – drop some highlights – just set both: foreground and background colors to white.
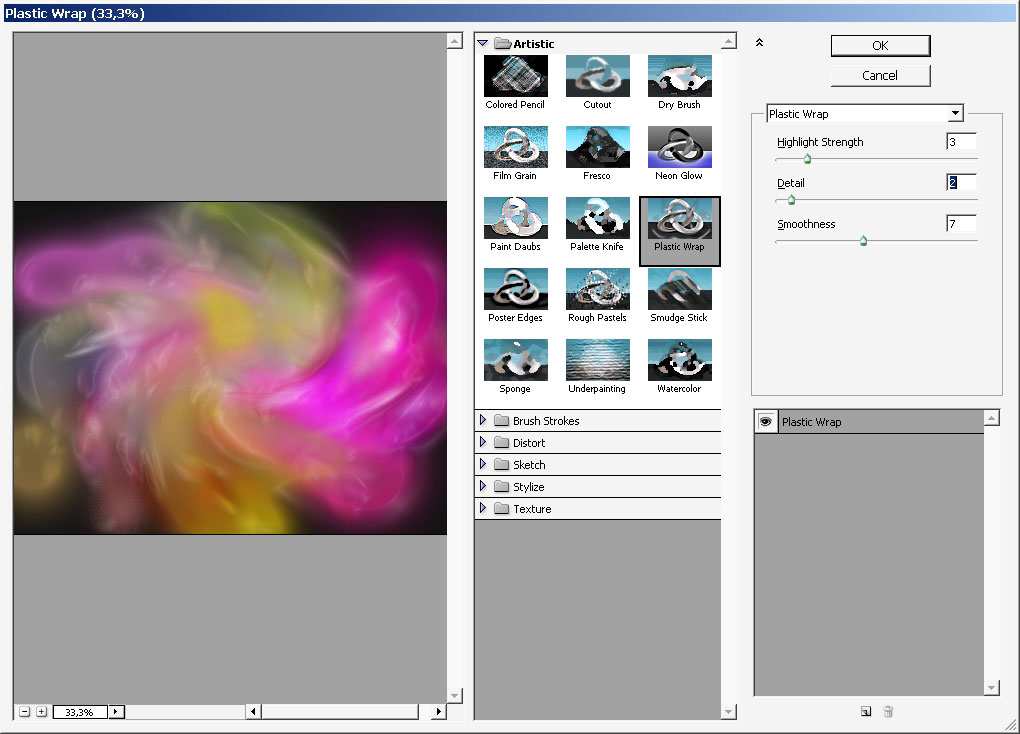
To expose plastic effect even more apply Plastic wrap filter in Filters > Artistic > Plastic wrap.
So a think this is it for the whole Graphic part.
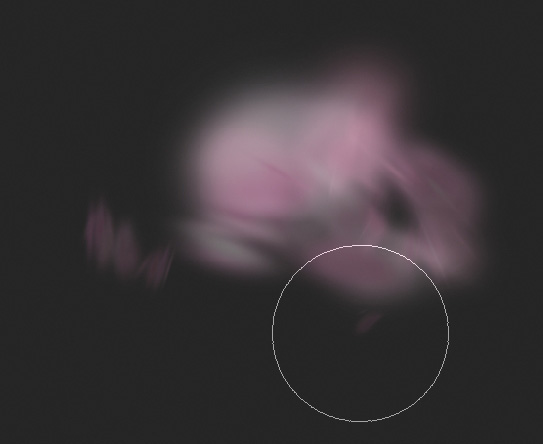
So when you feel that all the shape is correct just flatten the image: select the side area and apply brush to it.
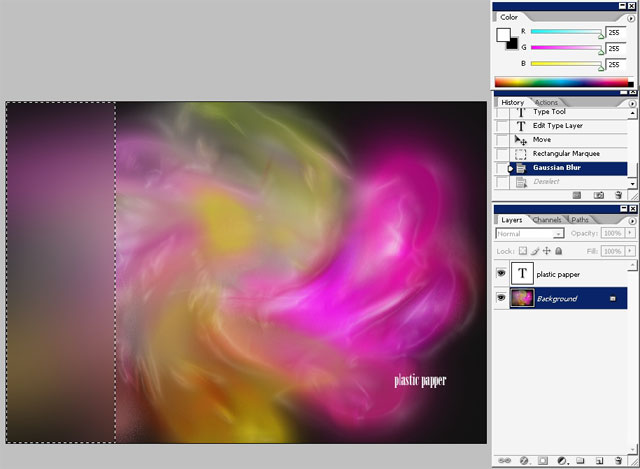
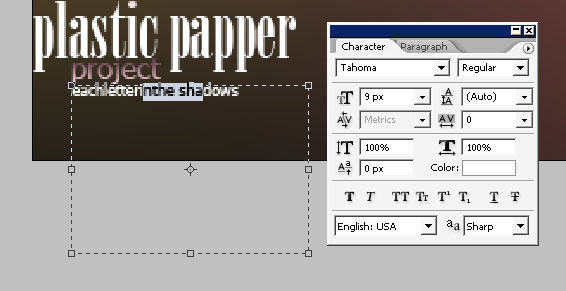
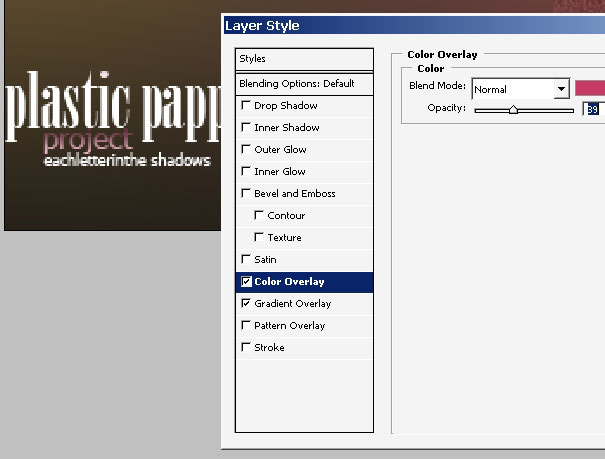
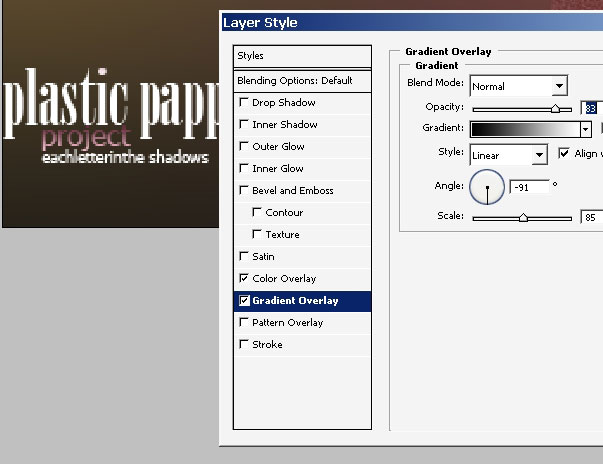
Paste some text:
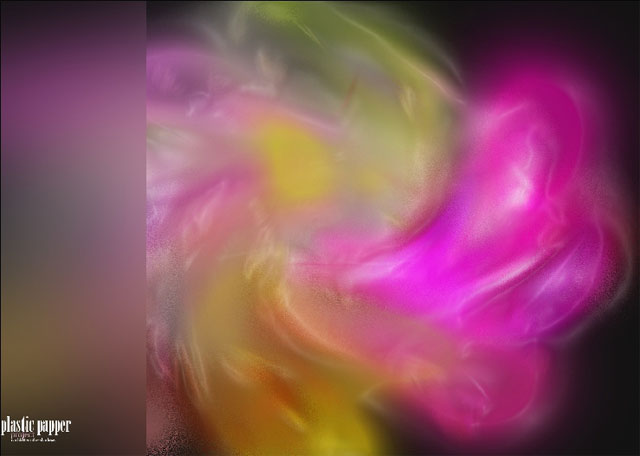

So this is for our small plastic project. Hope you like.
Comments