
Orange Effects
Hello and this time we’ll create extremely fill of glow wallpaper. Out theme for today is – oranges so this is why the base color of our illustration will be orange
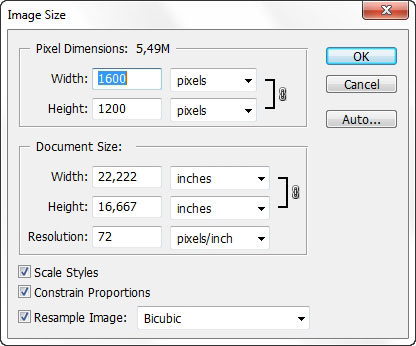
too. Let’s start by creating a document in Photoshop.
Now let’s find some orange references in the net.
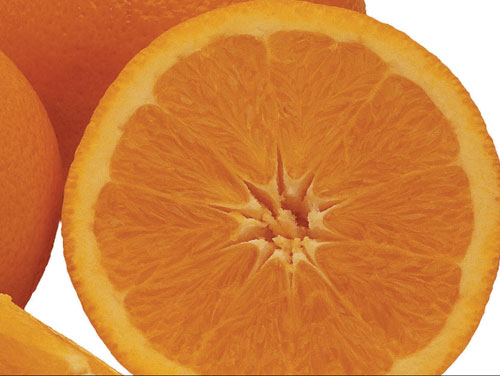
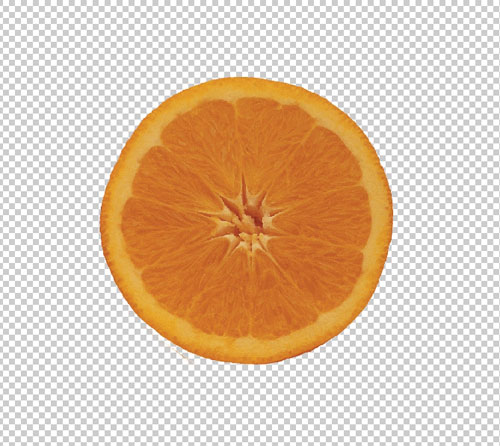
Here are some fine oranges to work with – but not that i will use other orange reference photo in the end ( it will be included in the set).

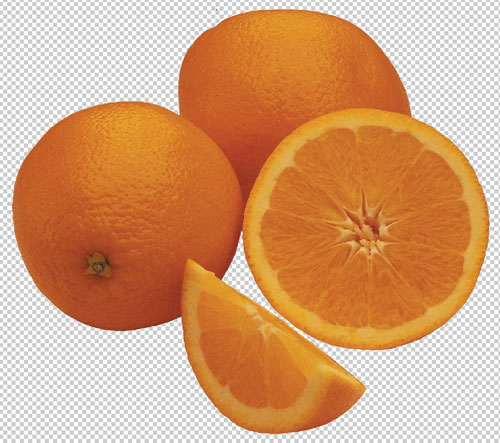
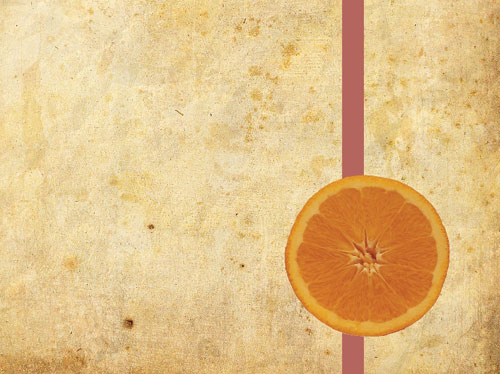
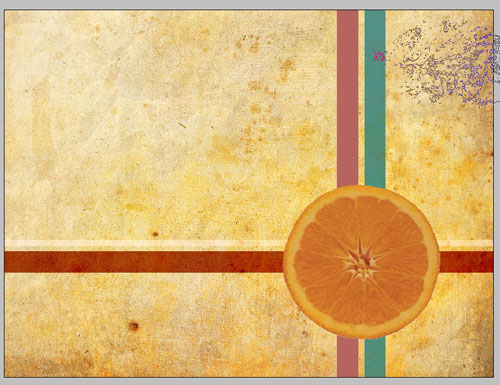
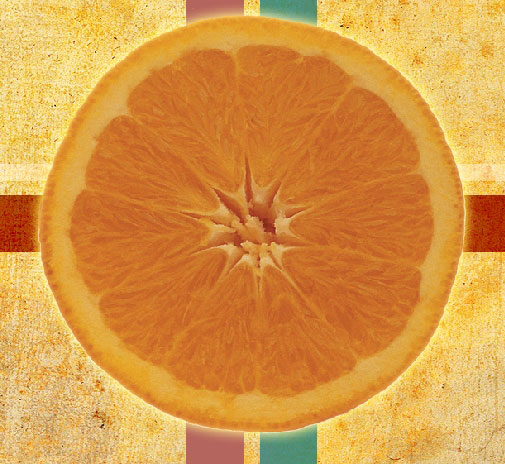
Here is the full composition.
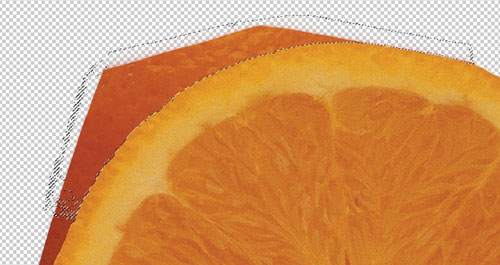
So the first thing i’m going to do is – clear all the white areas and leave the background transparent. Many tactics will do here. As we have nicely done big dimension
picture we can use : selections magic eraser tool and just an eraser: may things to choose from. I’m not using the single one – I’m combining selections with plain
eraser.
So here is our result: As you can see it is nicely clean and has a transparent background – like just we needed.
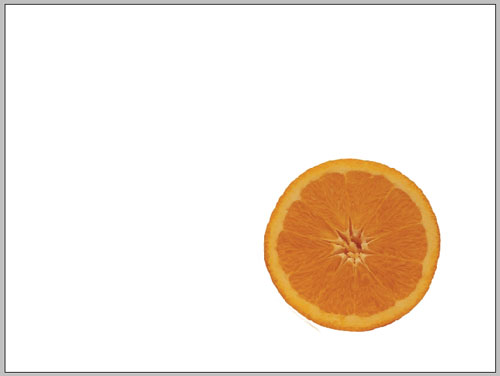
Now back to our initial document. Copy the orange there and position it like i do.
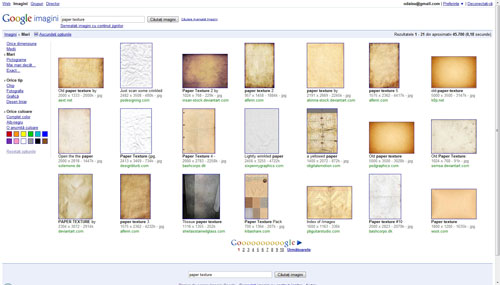
As a background i will use paper texture. It easy to find one on the net i guess.
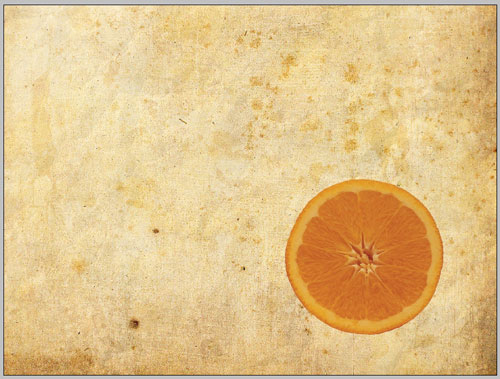
Set it underneath the orange layer – here we go.
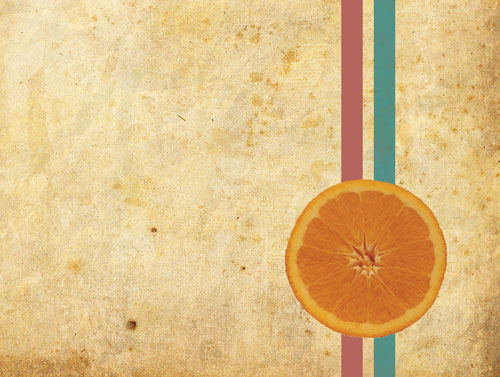
It seems to me that background need a little bit more attention. I’d like to drop some stripes to the background.
Here is vertical stripe with default color. i will use the same stripe with the same color in next steps.
Here is the same color stripe with blending mode set to Exclusion. in changed our color – it looks ok i think.
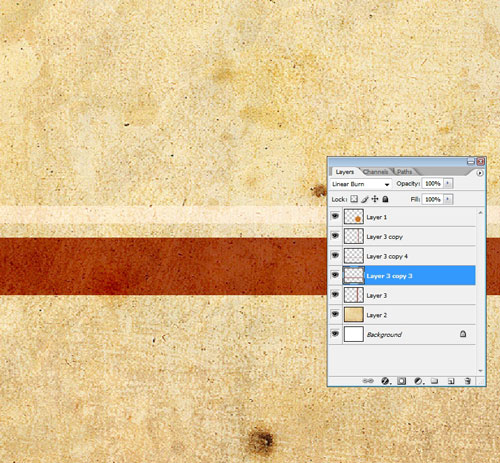
Then let’s draw some horizontal lines too: oh did i say draw ? you can just copy the ones that you have.
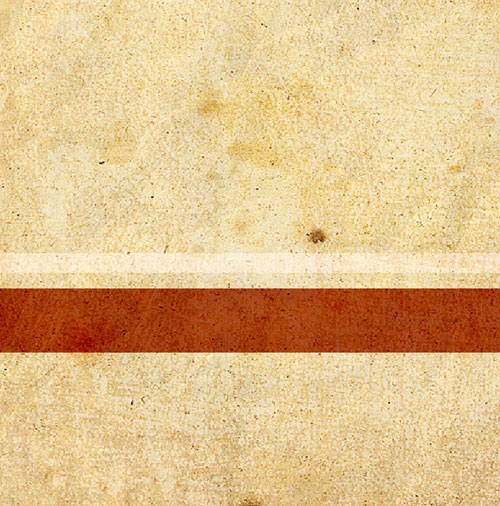
As you can see -one line is smaller than the other and the colors vary too. This is actually our very first line with different layer blending modes.
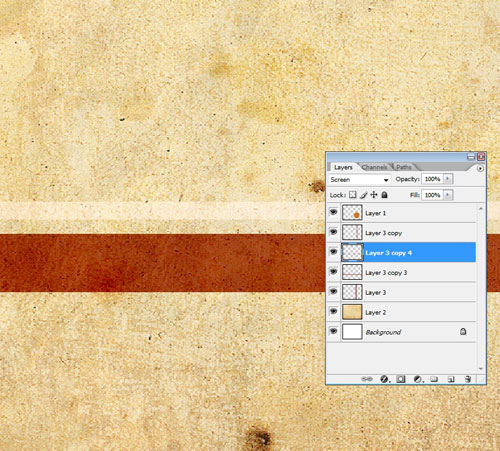
Here is the result:

SO a think we are done shaping the document. i think it is time to begin to adjust colors and add some elements to it.
First take any texture brush you have, create a layer next to paper texture layer set it to overlay.
Now let’s take care of our Orange – main object. First i would like to apply some of layer effects using layer styles.
Here are the settings.
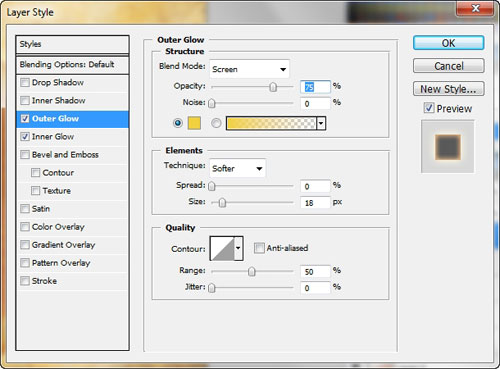

As you can see i used glow filters only.
Zoom in a little bit – there is also a good way to add local contrast to the are – you just create a layer underneath the object layer set it’s mode to overlay or soft
light and paint with White using soft edged brush – Airbrush (with opacity set to 3-9%).
Our next step will be the creation of deco elements to the object – the orange. I will pick a HR floral brush. So create a layer underneath the orange layer but upper
than all the layers with the stripes. Choose Floral brush ( download ) pick white color and do just one tap.
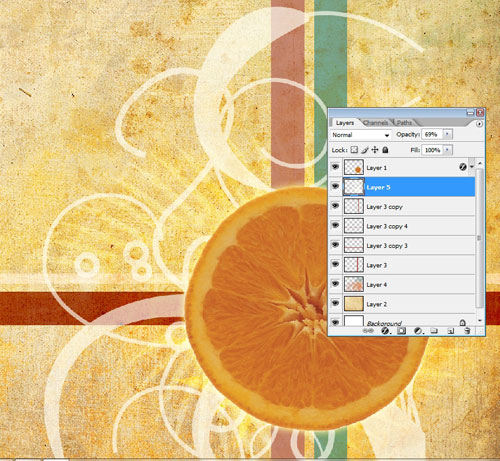
… a little bit more of those.
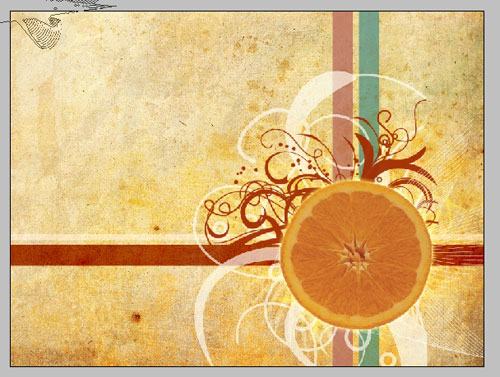

….a little bit overlay to the orange and we are done there. so here is the result – note that there is another orange ( see support files ). See you next time.
View Full Size: Orange
Download: Support files
Comments