
Chaos Tools
Hallo and today we are going to create a design wallpaper using Alchemy as our chaos shapes generator and Photoshop for adjustments and coloring.
So let’s start our tutorial from creating several chaotic shapes in Alchemy.
Step 1: Alchemy
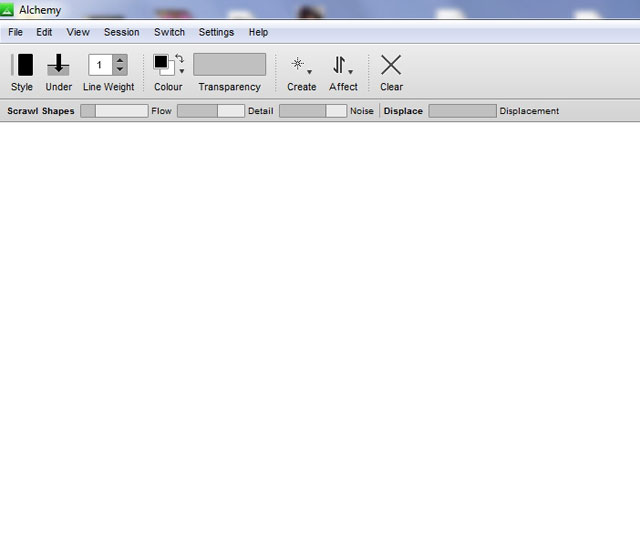
Here is Alchemy main screen with working area. This is a very fun to use application, i recommend you to try it. You can download beta 007 on http://al.chemy.org/download
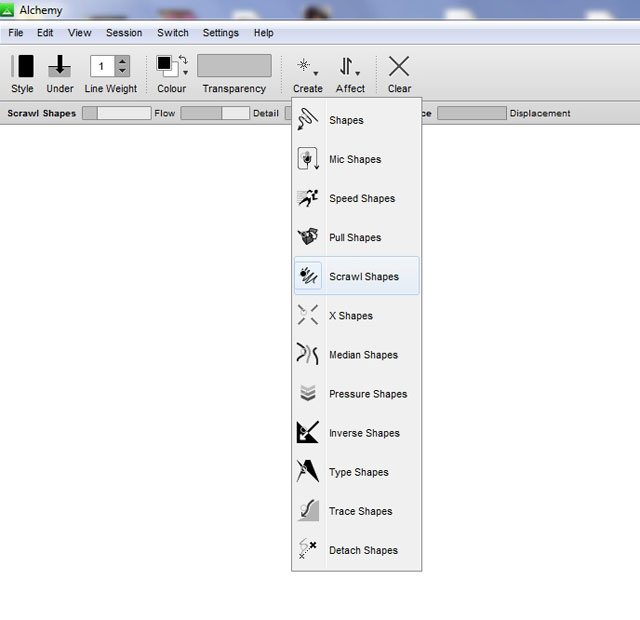
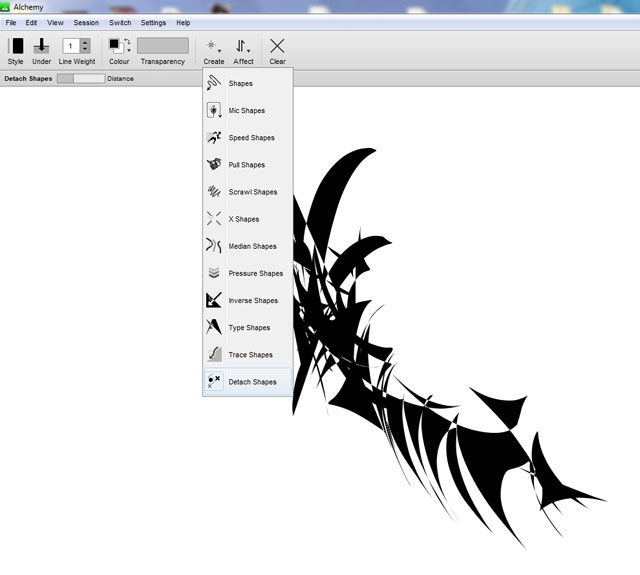
In – CREATE – you can find types of shapes you want to make. Try every shape type to feel the difference. The sub panel shows you all the settings of each shape – you can also modify each setting.

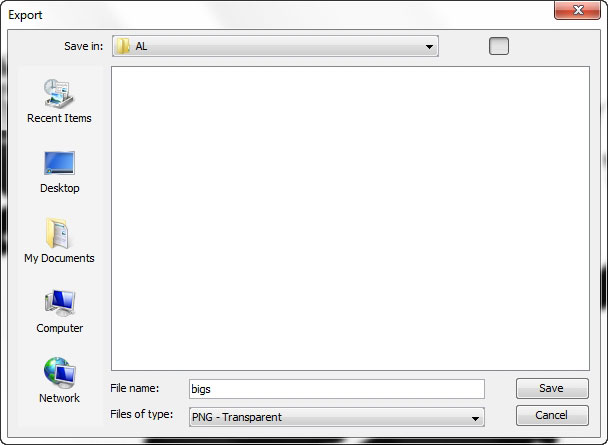
For example I did this shape using type shapes. Note that if you want to use a shape in Photoshop in the future the best choice will be to save (export) it like PNG with transparent background.
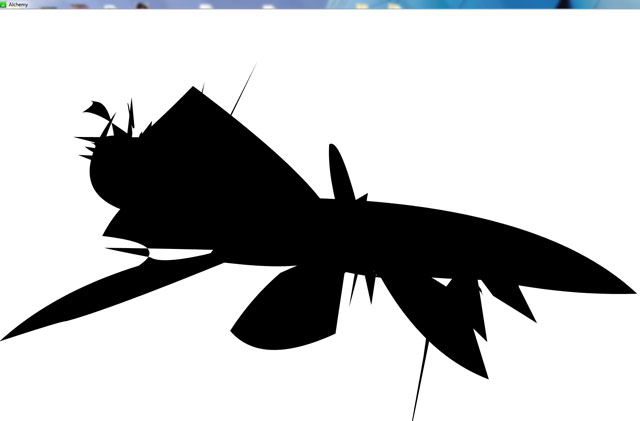
As you can see all the shapes react differently – for example this spike shape was created using Detach Shapes.
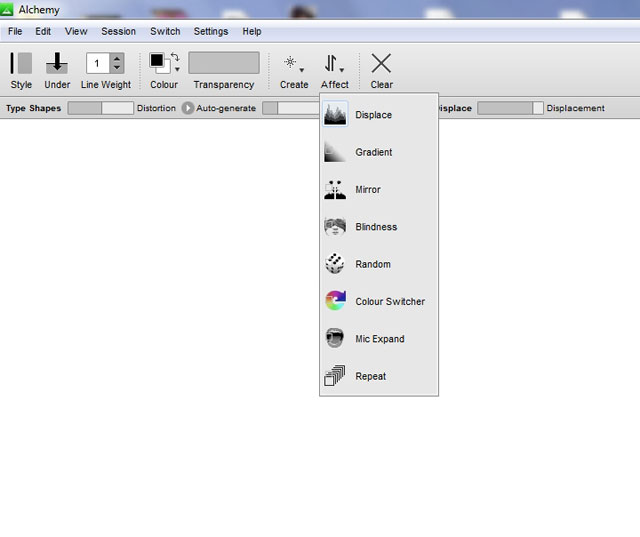
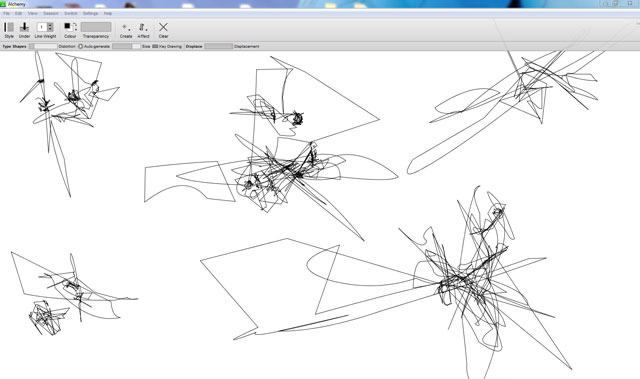
With Type shapes, line style – set to linear and Displace effect you can create quite interesting shapes.

So remember to save all the shapes as PNGs with transparent background. Note that all my created shapes along with brushes will be in support files folder for this tutorial. This is it for the part we played with Alchemy, now it is time to drop into Photoshop.
First thing you got to do is to create a document – Fill the document with this low contrast yellow color.

Begin to drop down the shapes: each to a separate layer.
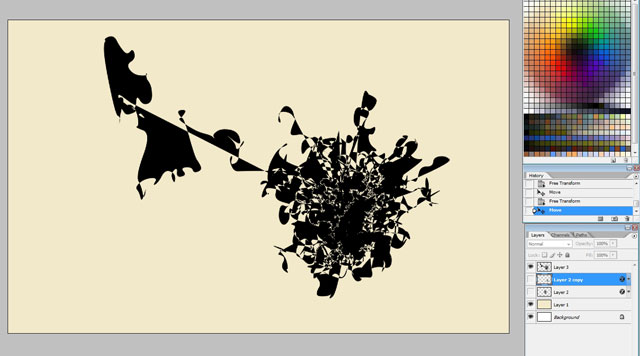
Shape 2 is dropped to a layer that is underneath the shape 1 layer.
Shape 3 has different color too and is dropped underneath all the shapes. this is the shape that is on image 05.
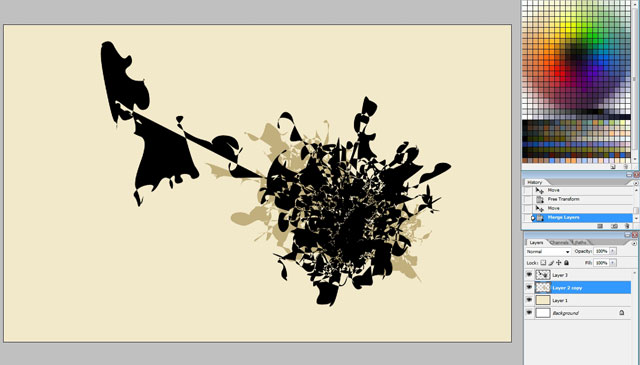
Line shapes can be dropped to any layer you want – because the lines don’t doo much mess.
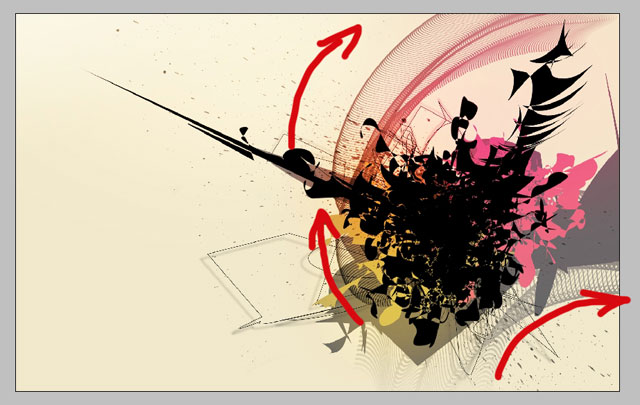
Flip to check the composition and drop the next shape we are going to use here – the shape created by Detach Shapes.
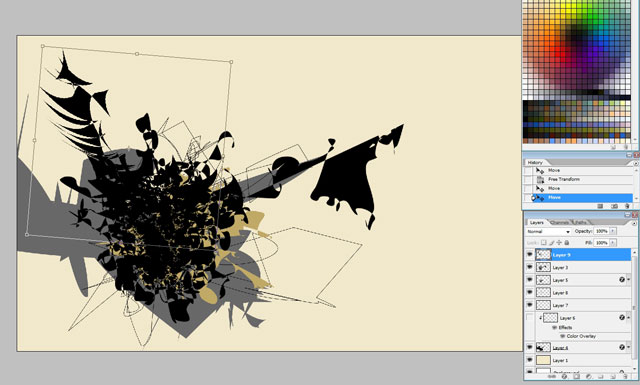

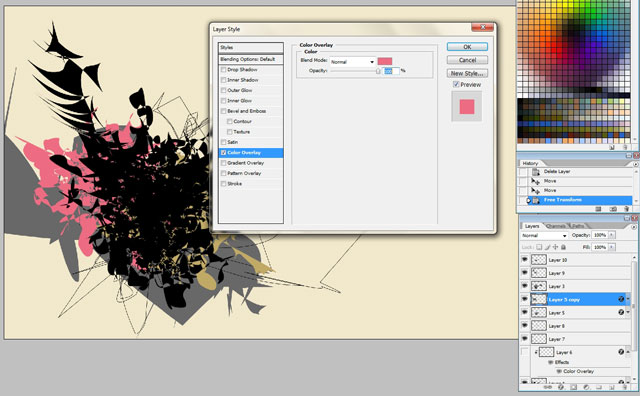
Then drop another shape – this is actually shape2 ( the brown one ) with different color. I changed the color using Layer styles.
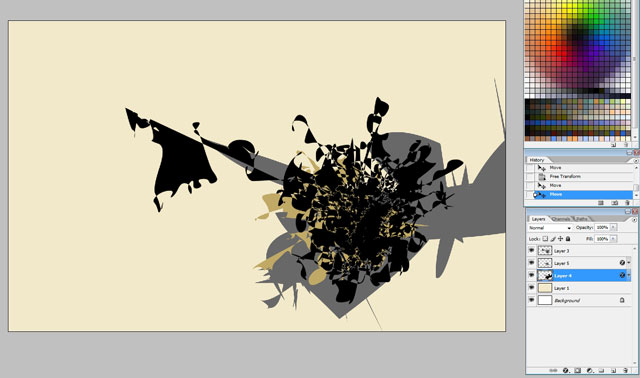
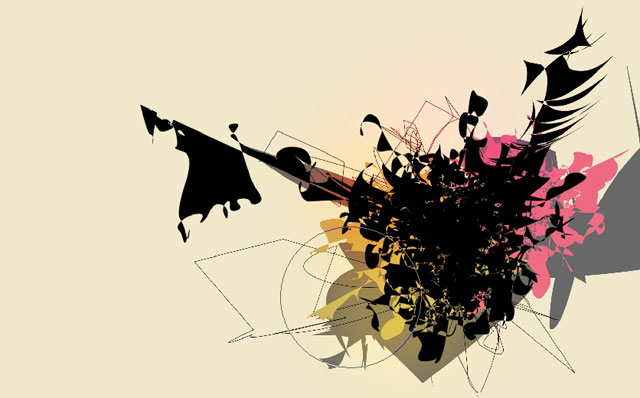
Create a new layer somewhere in the middle of the entire layer stack. Set the layer Blending mode to Overlay.

Select soft edged standard Photoshop brush. Set the flow jitter to about 3-7%. Pick the color you want to expose – meaning if you want to bring more contrast to yellow pick up yellow. Stick to orange yellow gamma.
Expose the colors:
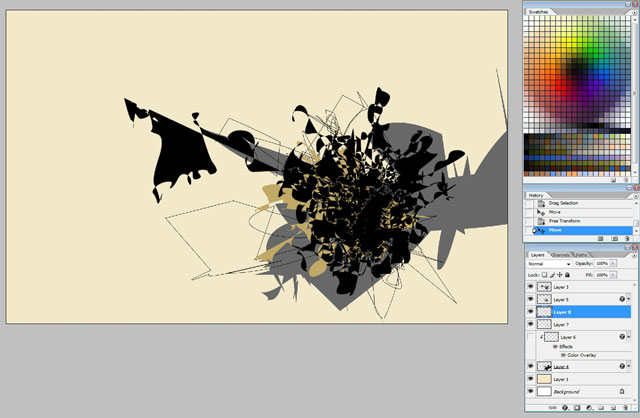
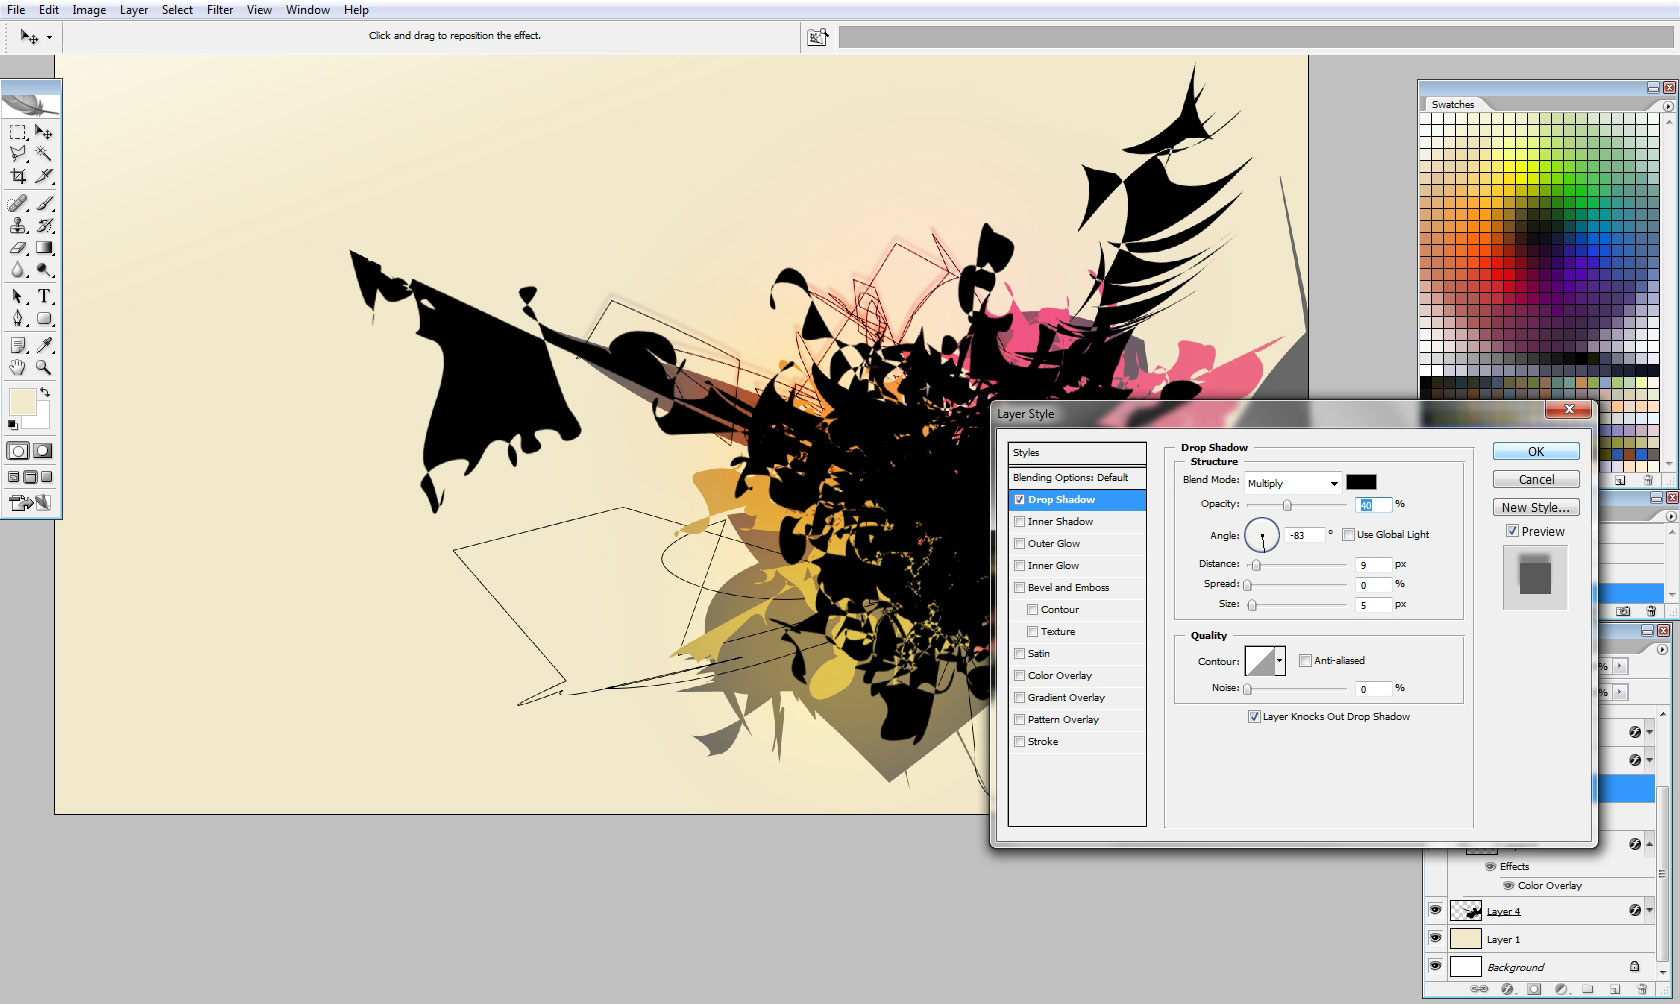
See those Line shape layers – double click on the layer to enter layer styles. Use drop shadow.
I also have this brush – that is like blood spot brush – let’s call it Spot brush. Create a layer underneath the overlay layer (the layer with color) and use Spot brush just once or 2. As the Overlay layer stays upper to the layer. We will use the color effect that will affect all the layers underneath.

The next brush I’m going to use is the Whirl brush. Here are the settings – some settings. You will have the brush as support file and test is for yourself.
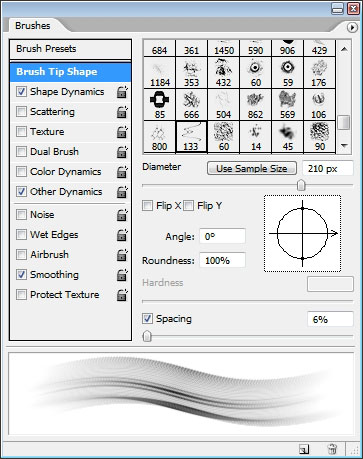
Here is the brush action. I also done and overlay with color attached to soft brush.

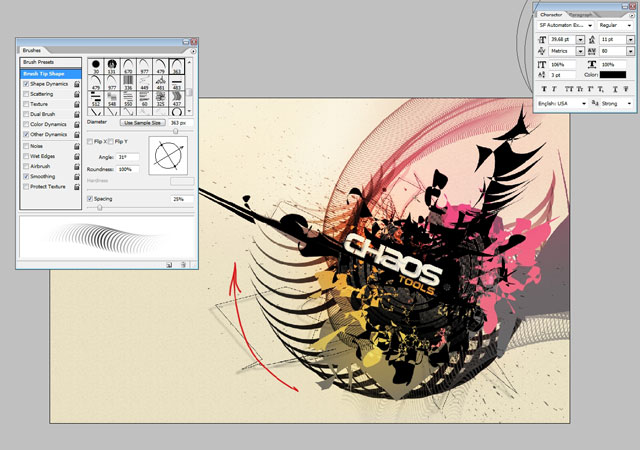
See the brush direction right here.
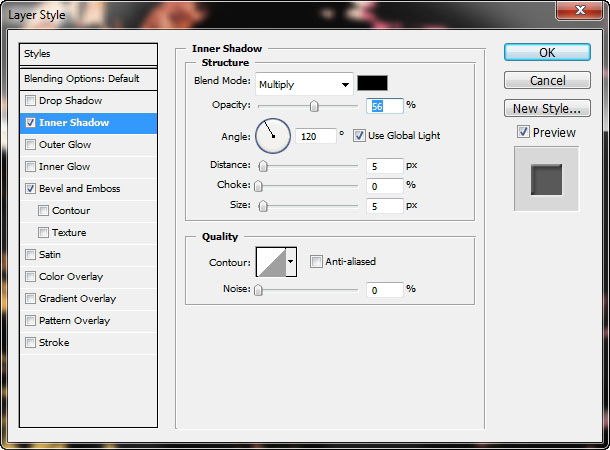
Ok, the next thing to do is to put some text there. Here is the text – is says CHAOS TOOL. The one that is CHAOS has some effects on it; I’ve done those using layer styles.
The bevel and emboss:

The inner shadow.
The lower TOOL line from the next – is colored orange.
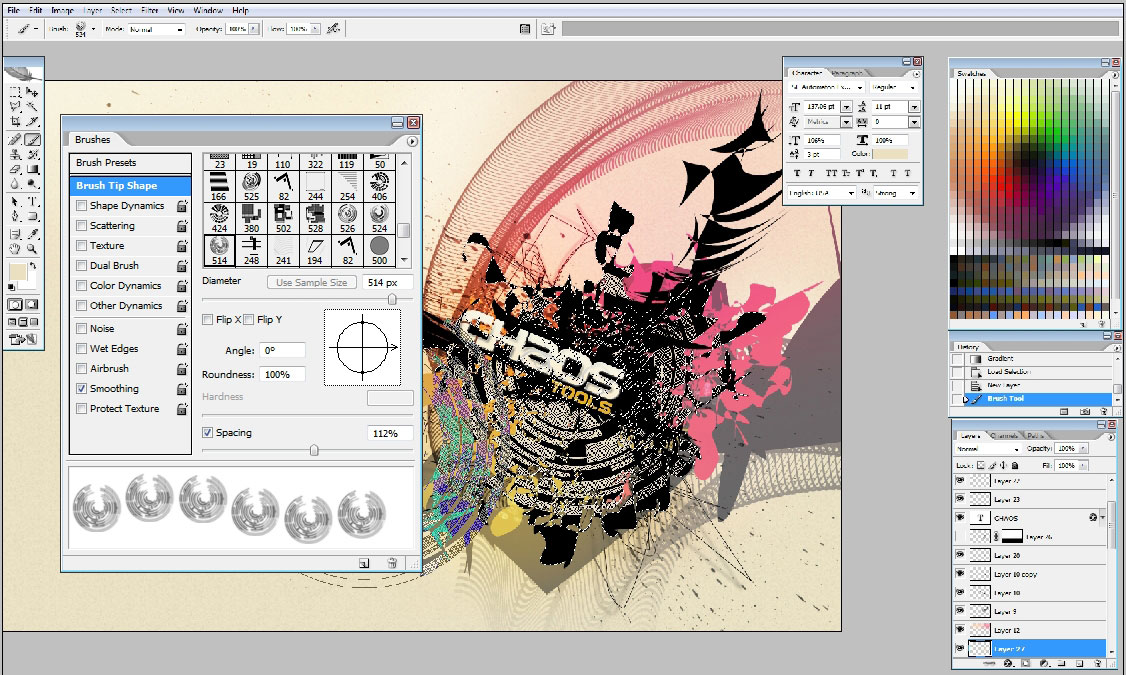
Select all the shape 2 – the one that was brown in the very beginning. Create a new layer on the top, but lower than the texts. Use Techno round brush within the selection.
The final step is to use this very brush in this direction. Create a layer underneath all. As it stays underneath the color overlay layer the effect of the color affects it too.
…And this concludes our tutorial on design wallpaper. Hope you found something new for you.

View Full Size: Alchemy – Chaos Tools
Download: Support files
Comments