
Practice texturing objects using Photoshop CS
Hello. Today we are going to practice texturing objects using Photoshop CS. You know a lot is done by texture in digital world. Mastering the texture will save you a lot of time painting bumps and cracks.
So let’s get started.
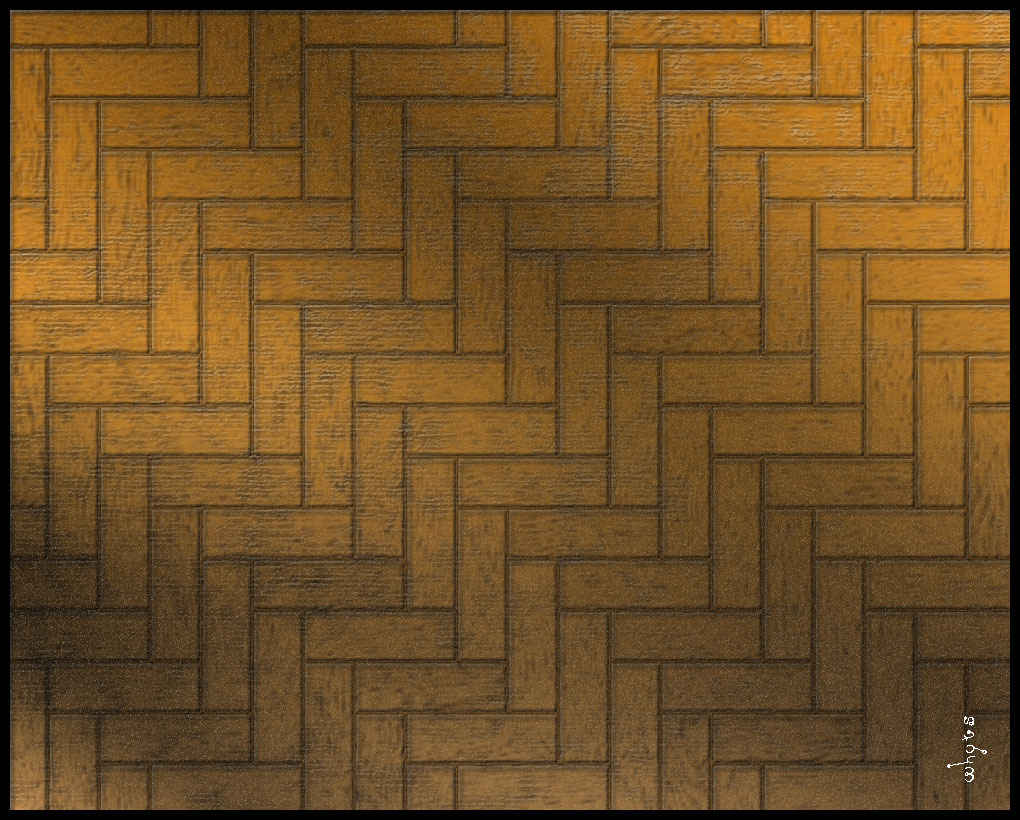
Here is the final image that I’ve made.
It can be used in a texture of some environment or whatever.
Now let’s begin!
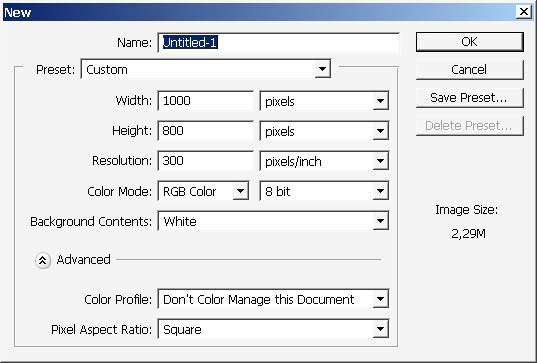
Create anew document with these dimensions.

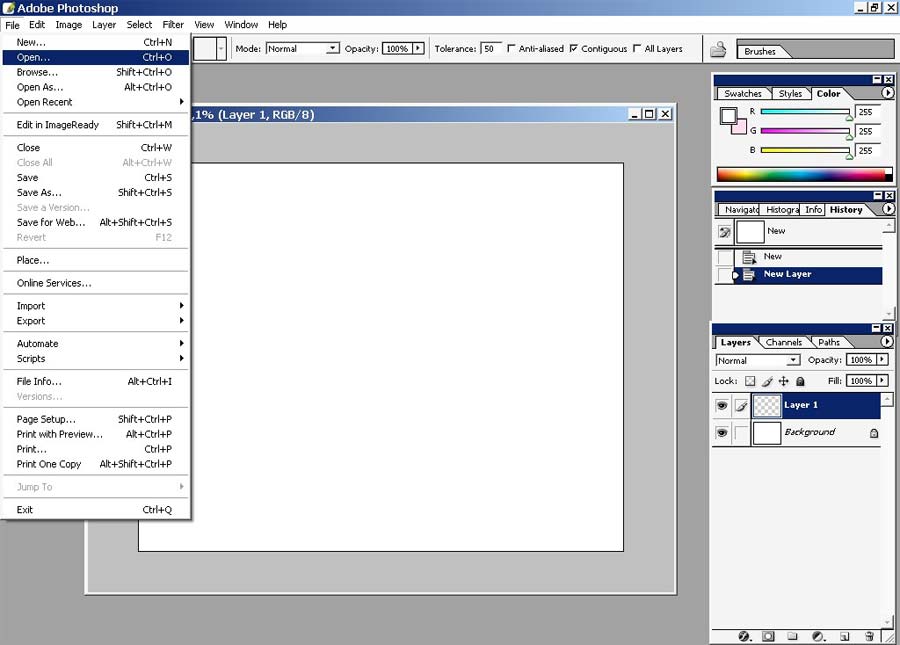
I will now paste a pattern that I have just downloaded.
Here is my collection of textures from Ambient Light Studio, helps me a lot.
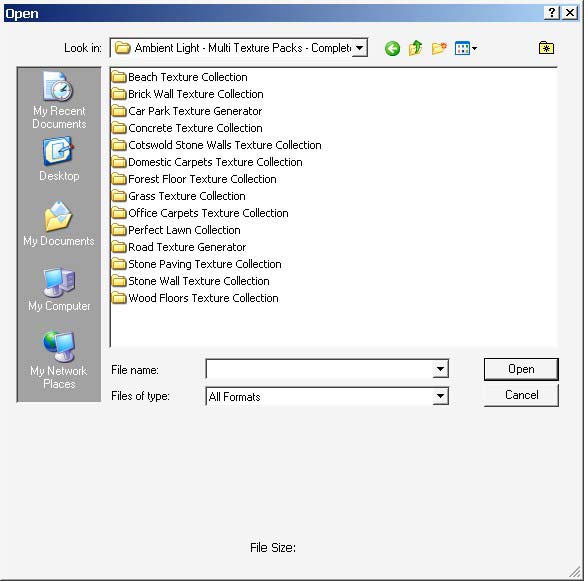
I will use this one.
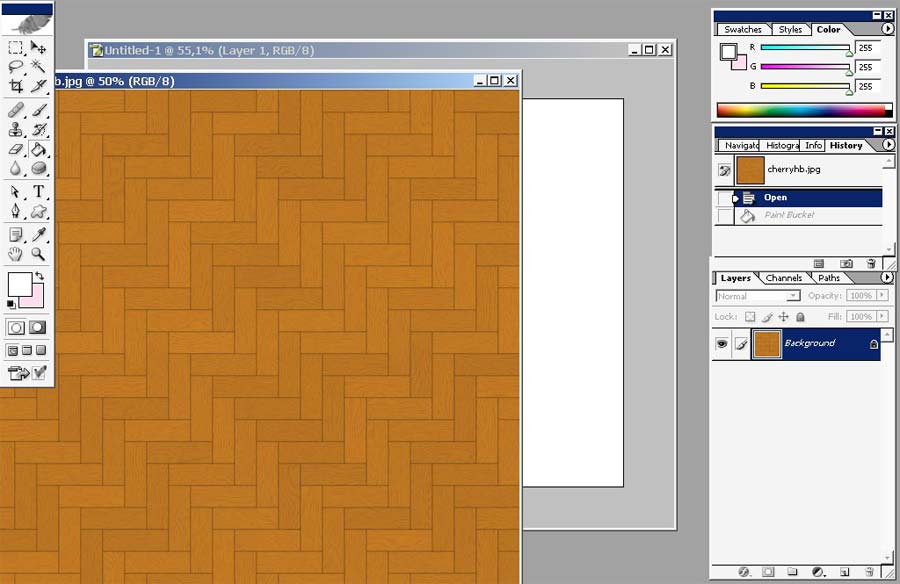
I’ve got the pattern no my initial document.
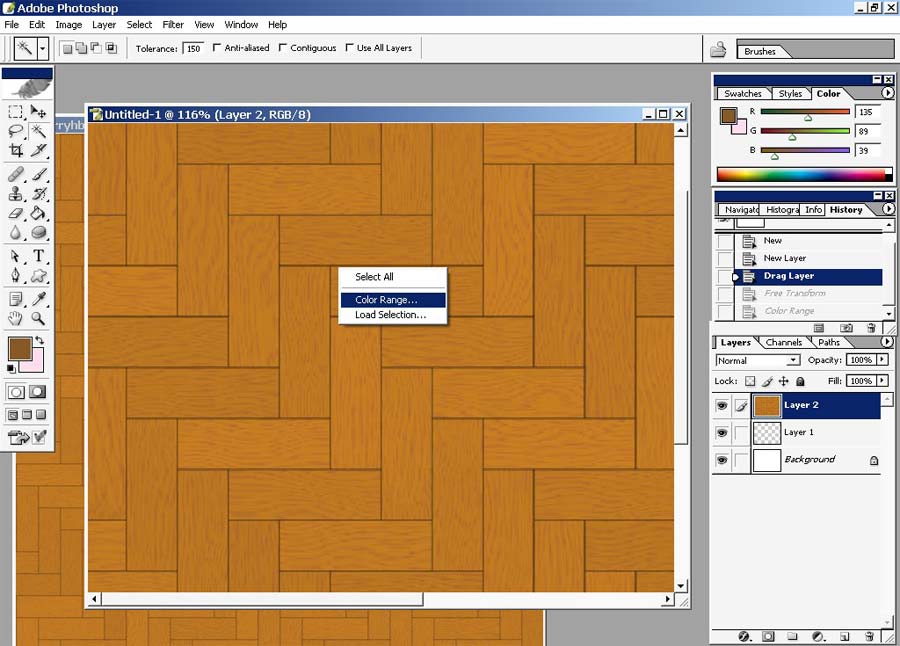
I will now use color range tool to select all the darks.
Follow me.
All that is white will be selected.
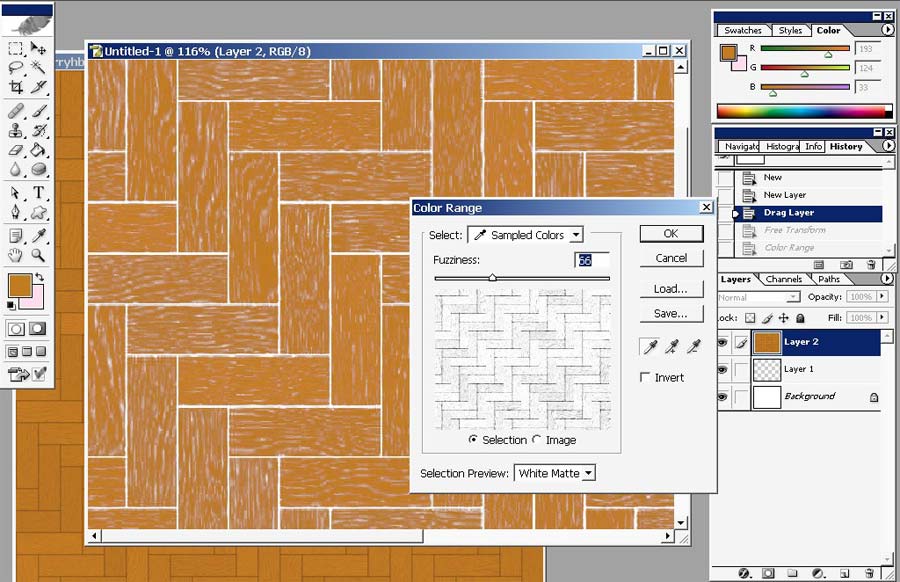
Here we go.
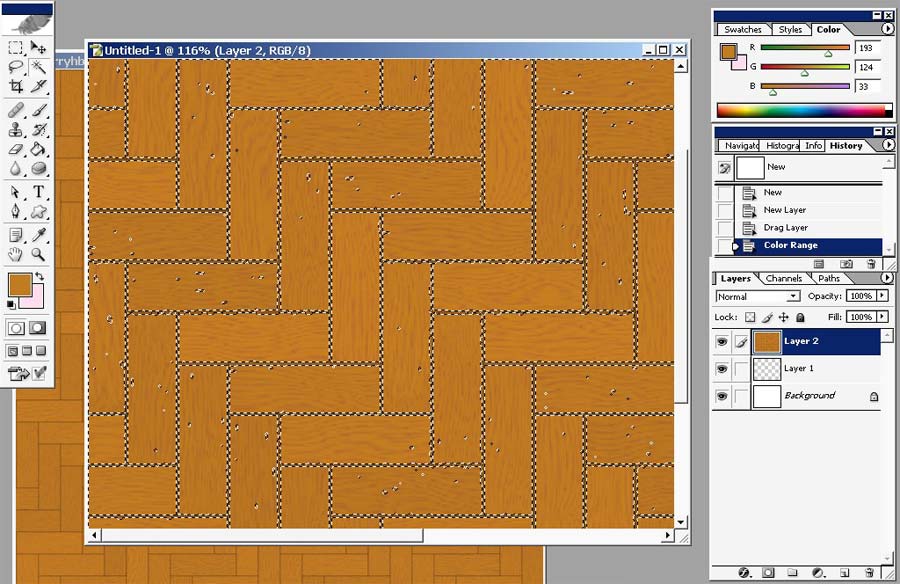
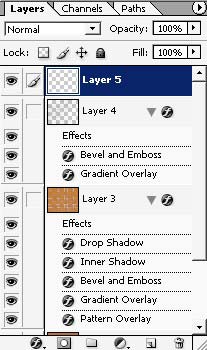
Copy this to a separate layer.
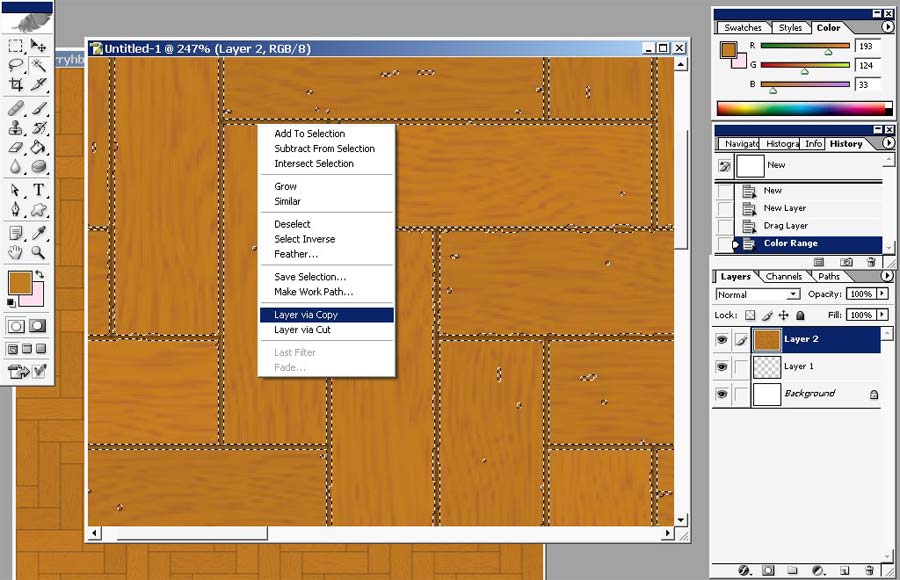
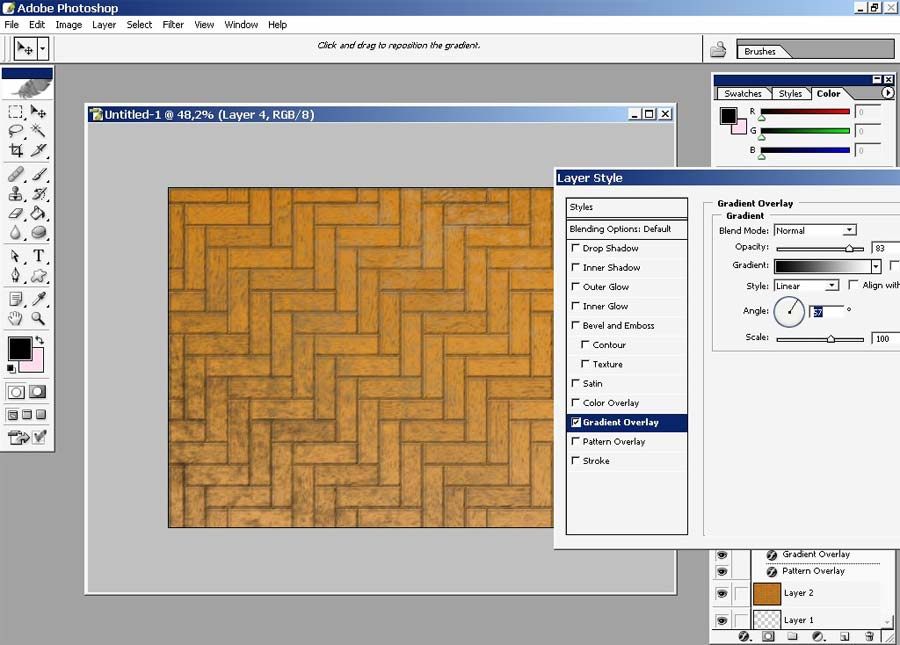
And apply some layer styles.
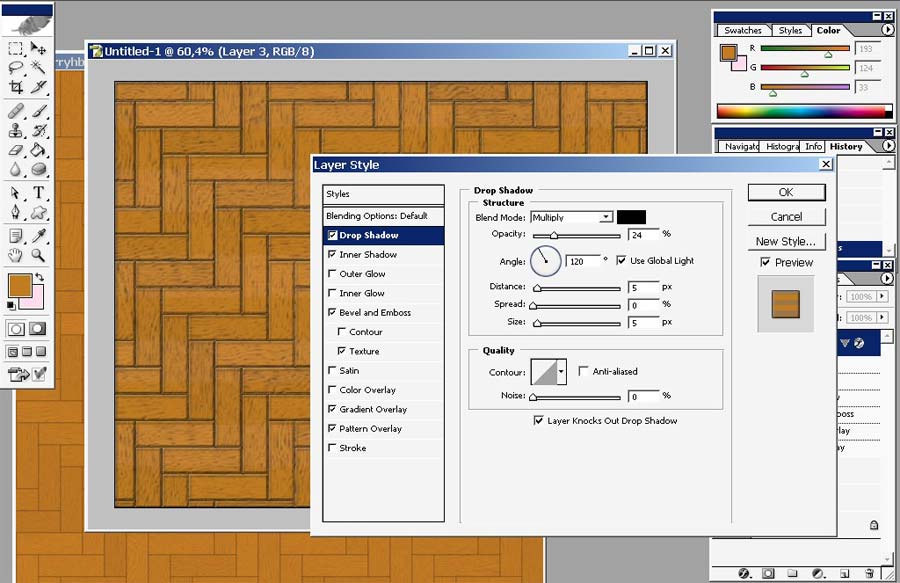
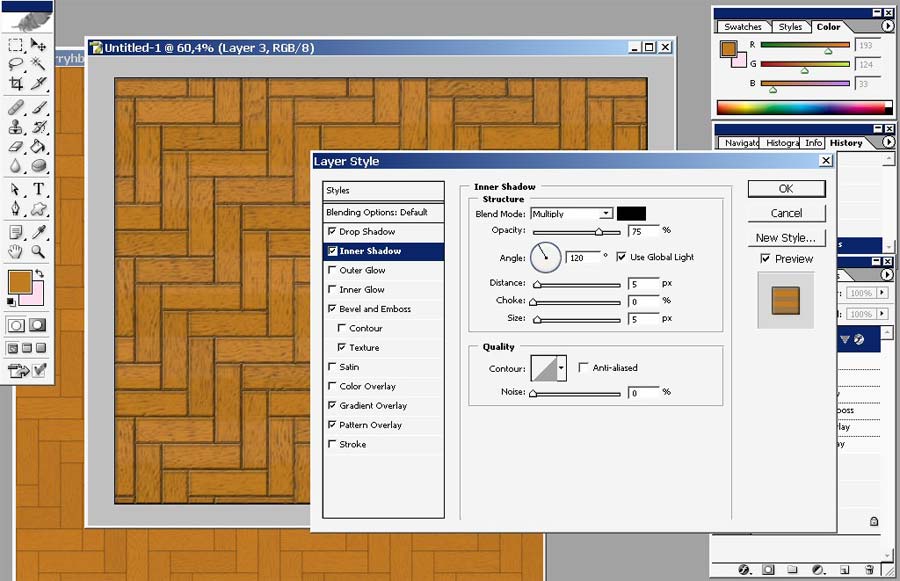
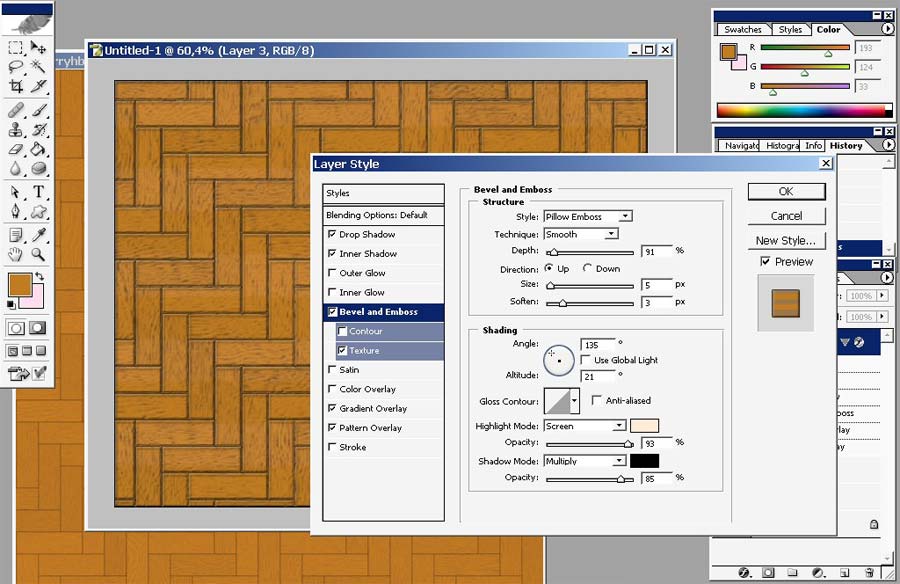
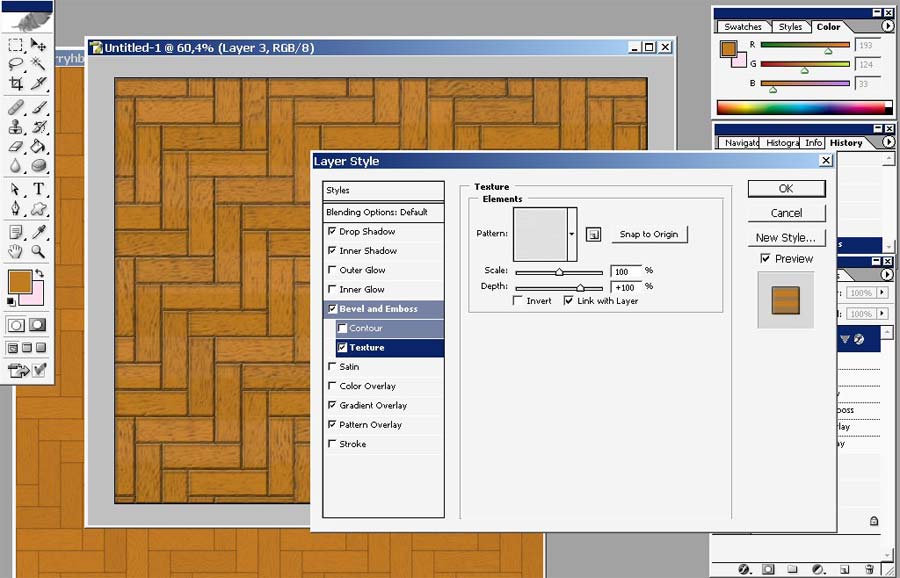
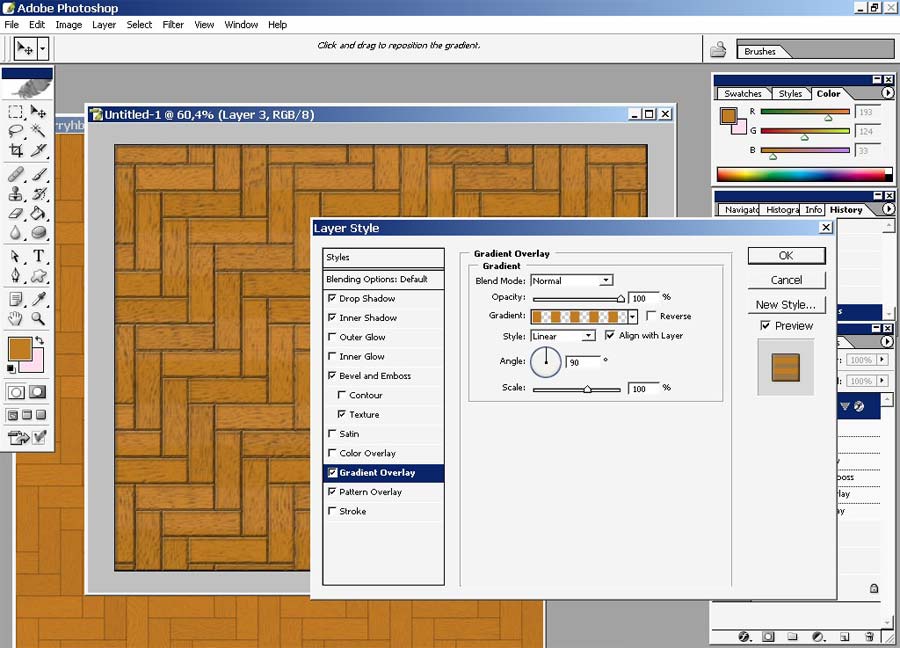
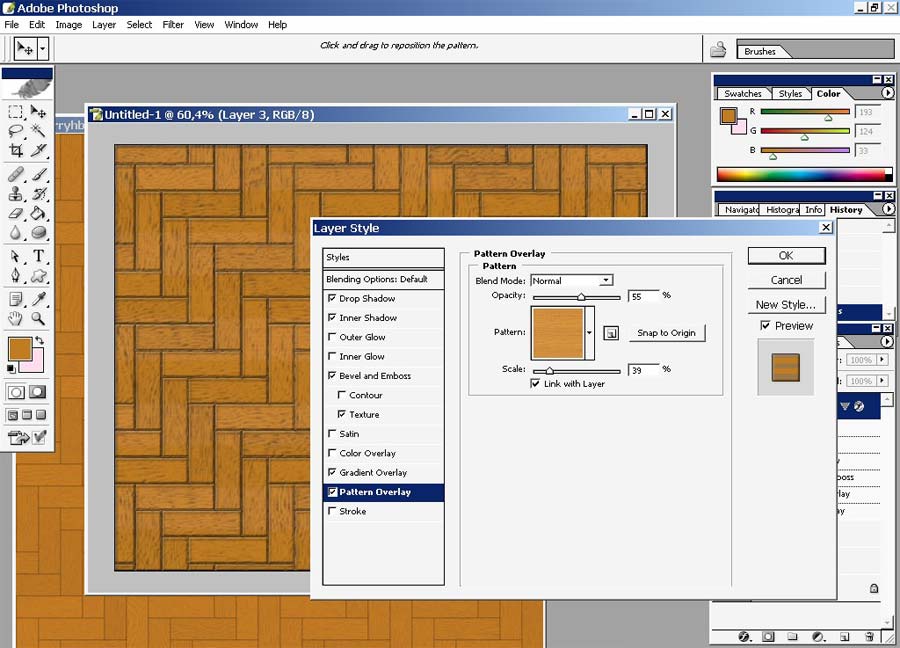
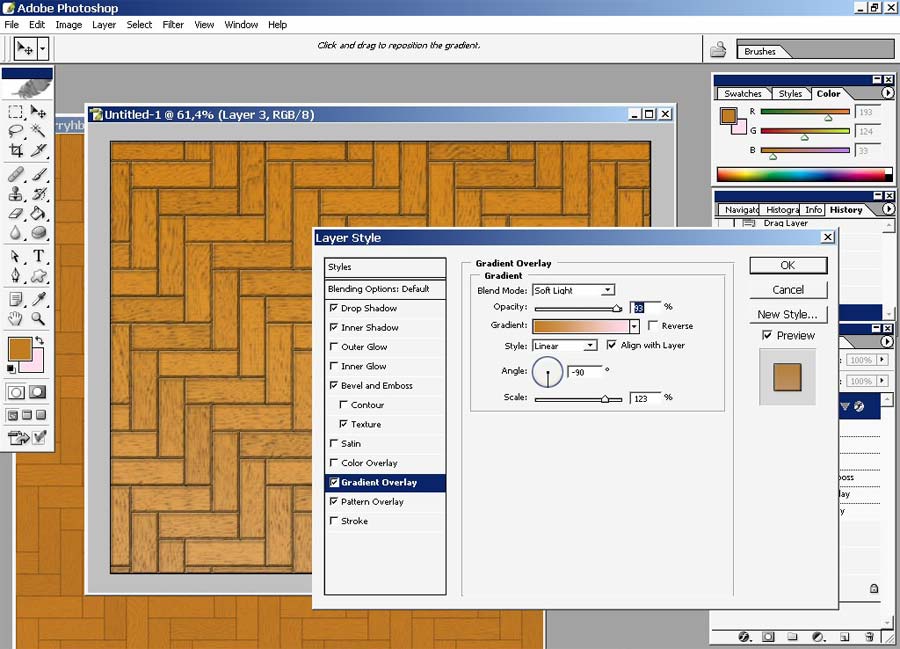
There we go. The look is changing instantly.
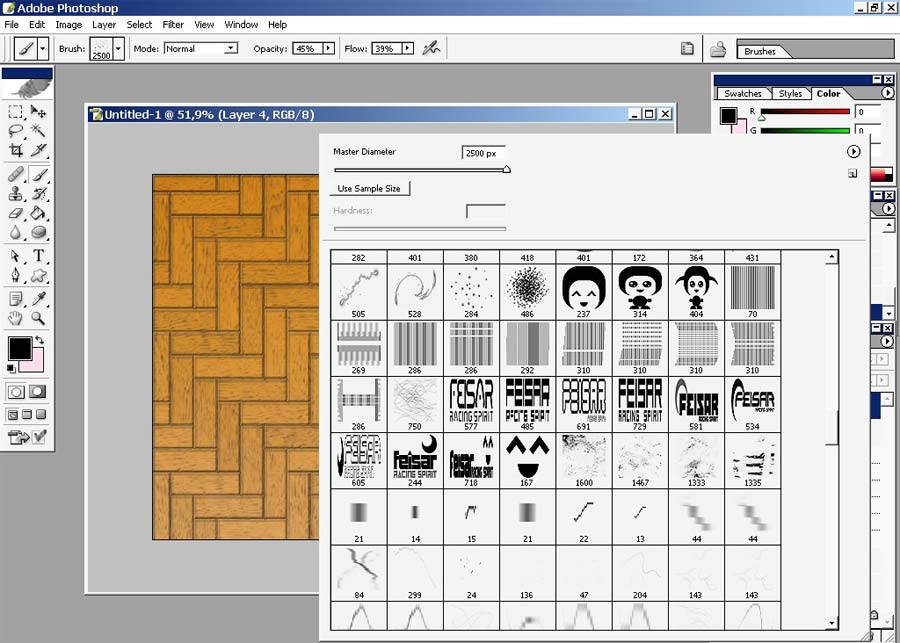
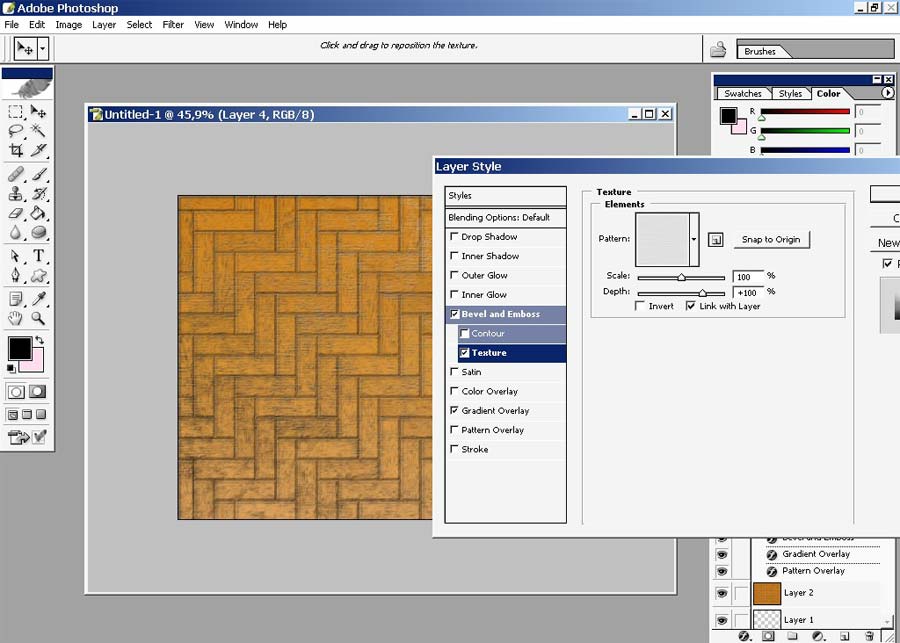
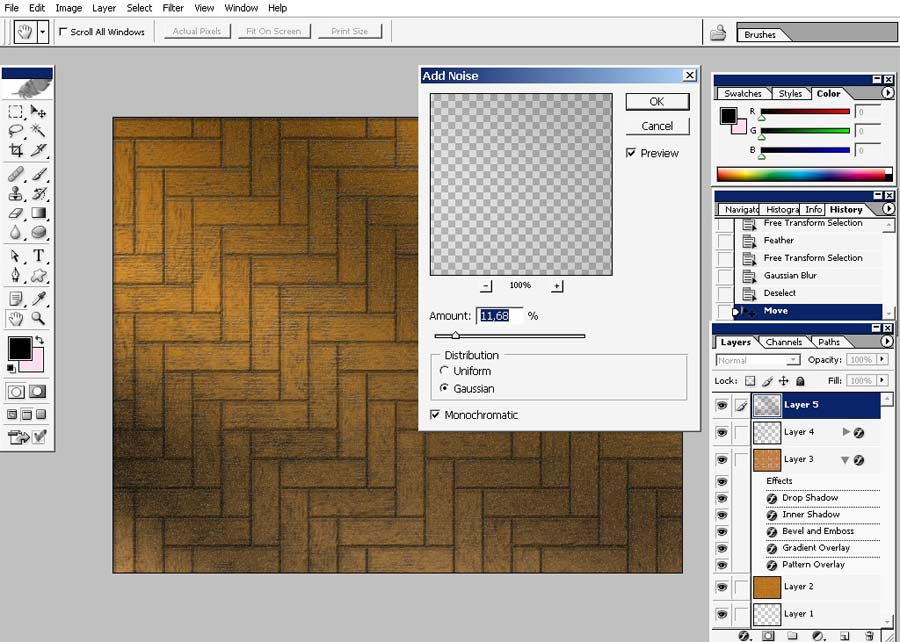
I will now continue with texturization.
I’ will create a new layer and use any rusty big diameter brush.
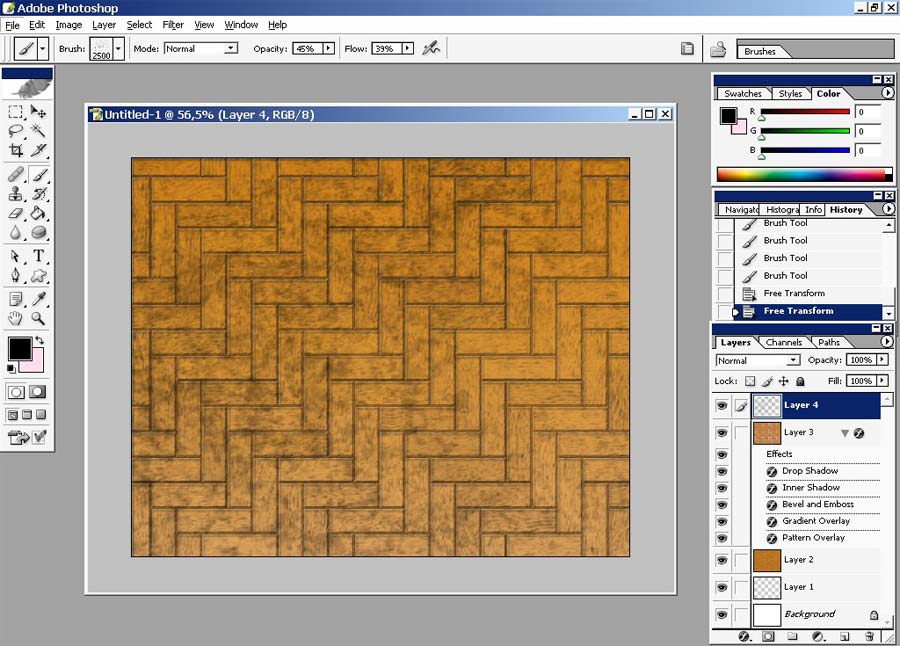
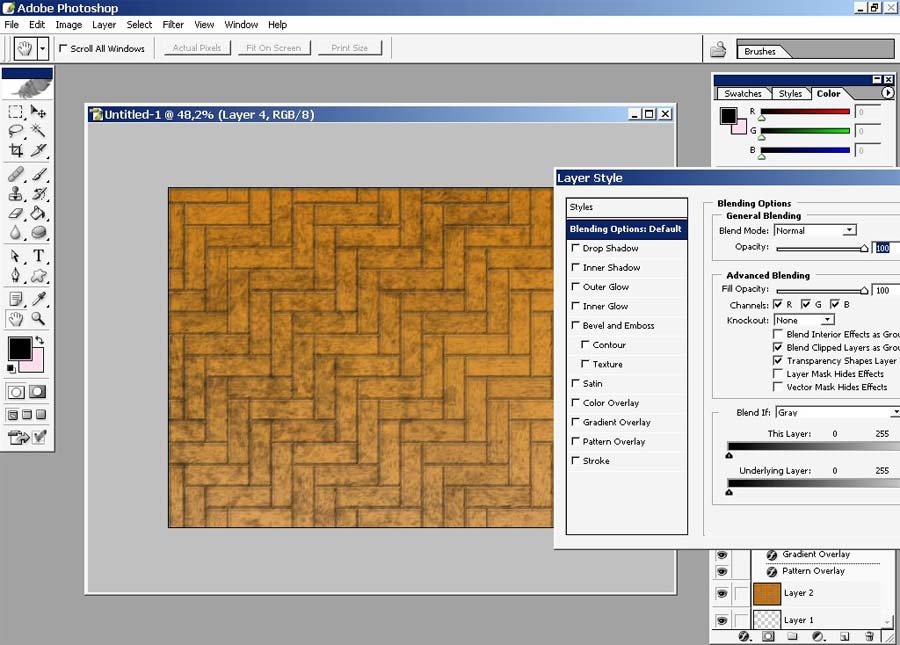
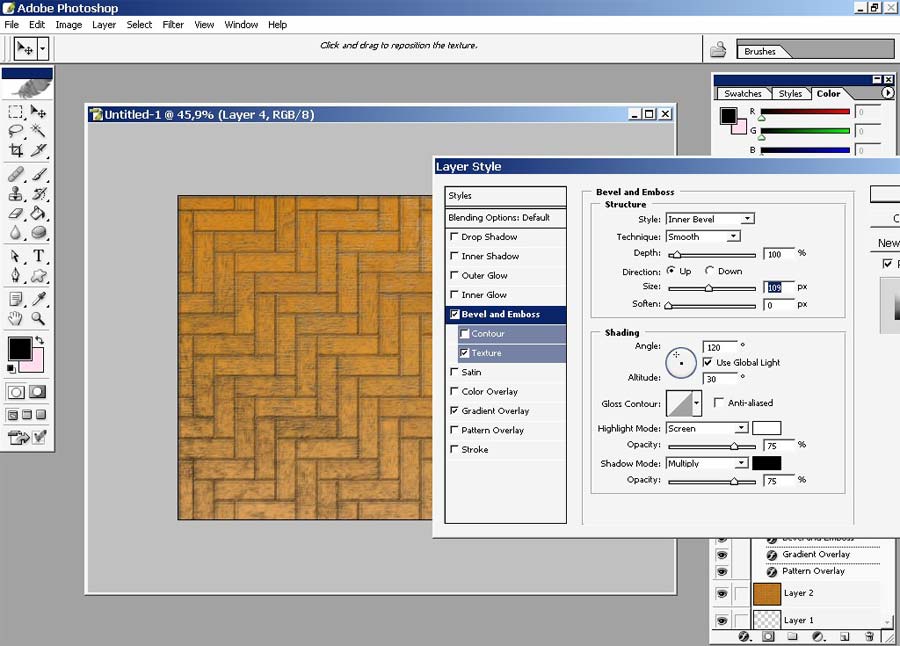
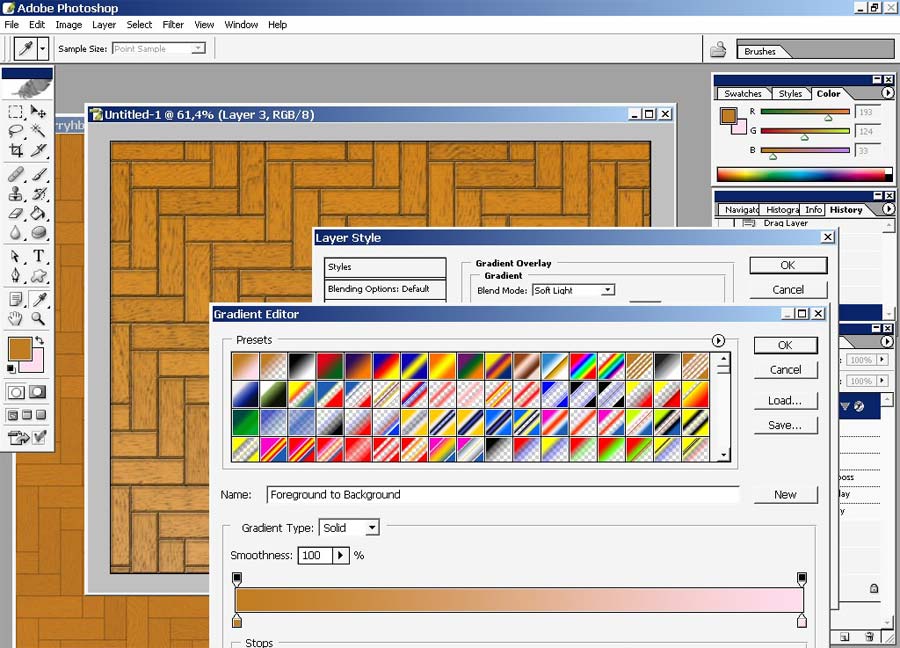
And of course I’ve used some layer styles to change the look of the rust. I want to make it less solid.
Note that the opacity and fill are at 100%. We are gaining the effect of less solidness through gradients and another texture in bevel and emboss section.
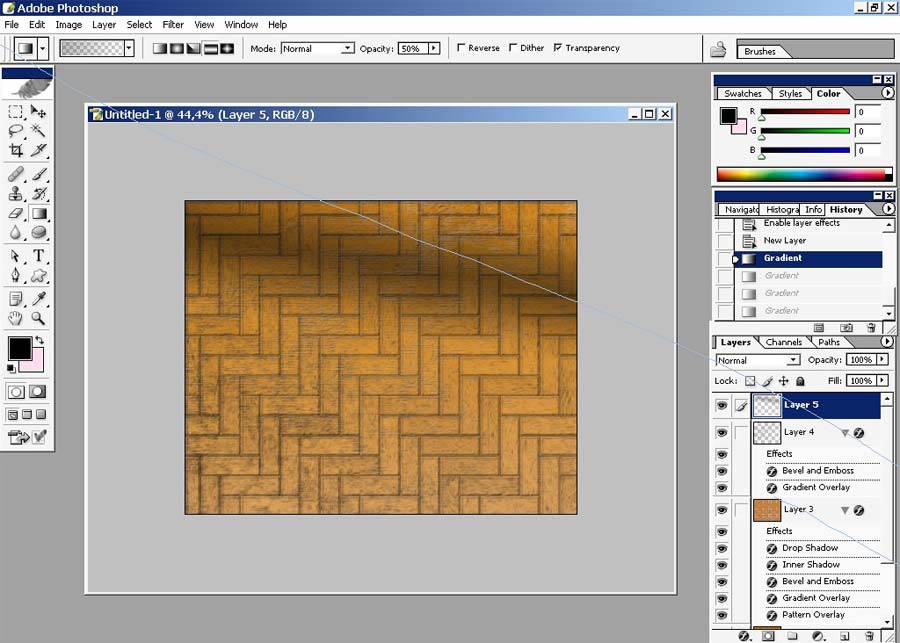
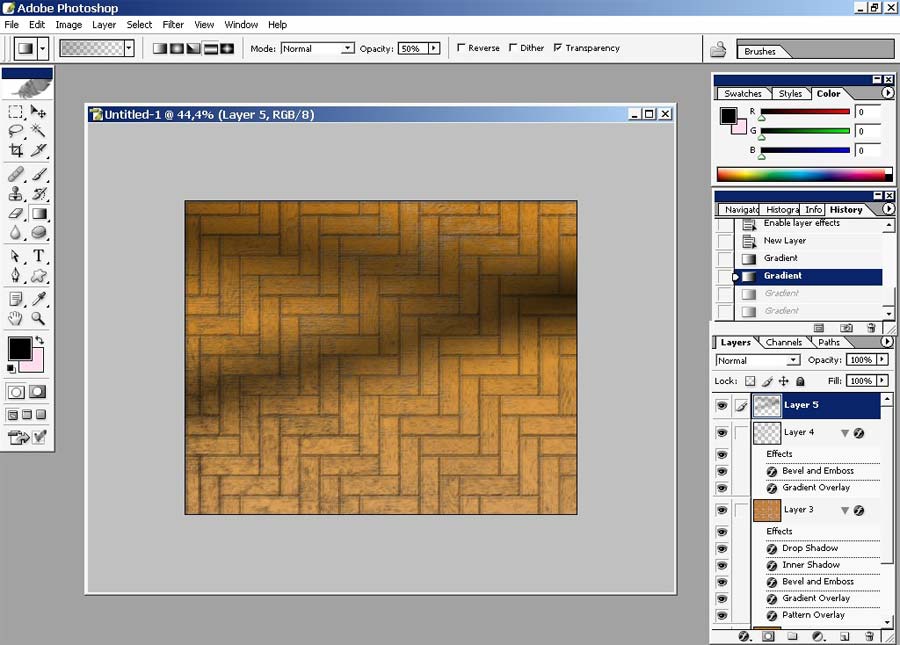
So now goes another layer. I will create a shadow from something that stays somewhere there and not in the picture.
I will use gradients to create a picture. See the settings carefully. The Transparency is on.
And the gradient style is – reflected.
Opacity: 50%.

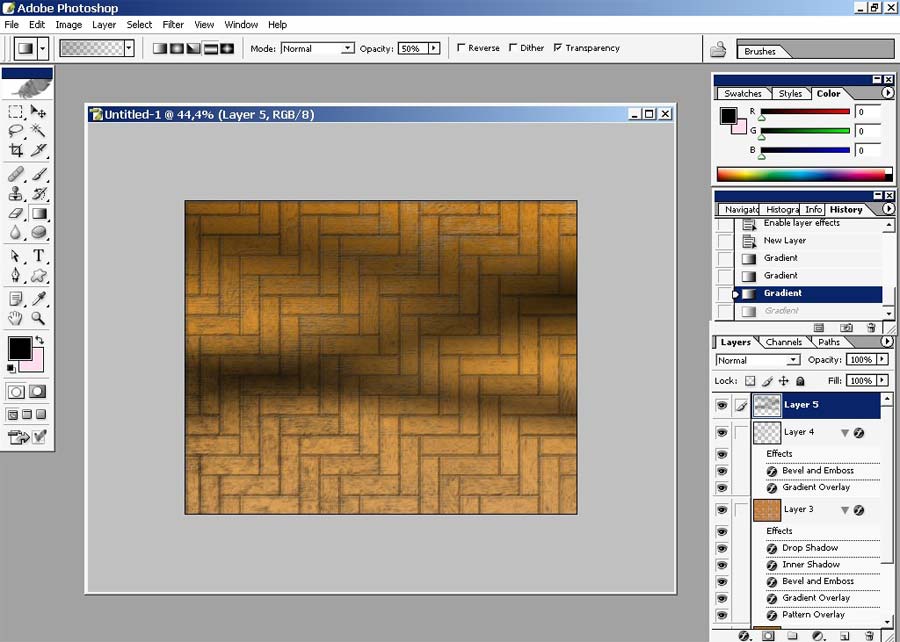
Now
every artist or even every person knows that the further the shadow
goes from the object the more contrast and solidness it loses.
That is why we will make this selection and apply Gaussian blur.

And our final result.
Comments