
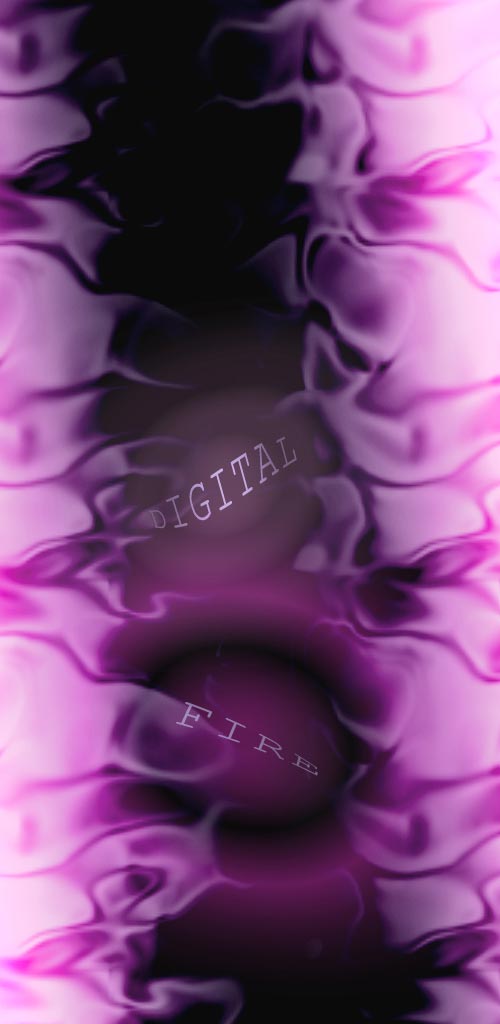
Digital Fire Illustration
In this tutorial we are going to create Digital fire illustration. I will use only Adobe Photoshop for this one.
So follow me on this one.
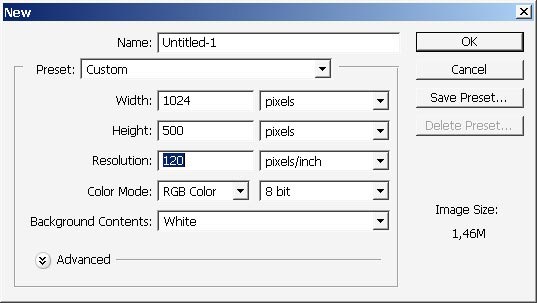
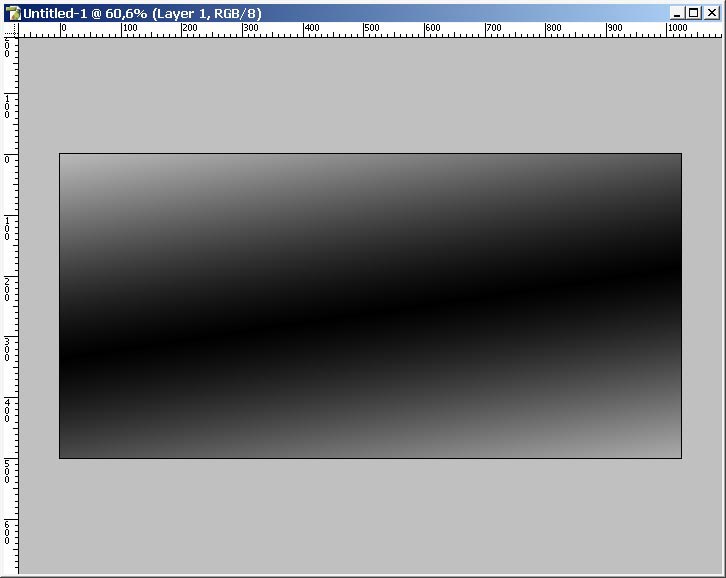
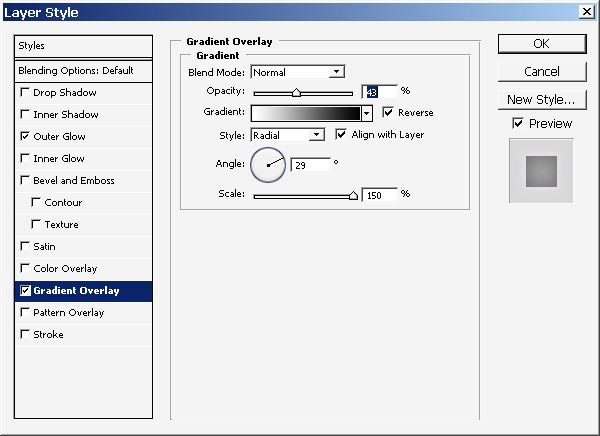
First we will create a new document and overlay it with reflected black to white gradient.
Of course our gradient will be on a separate layer.
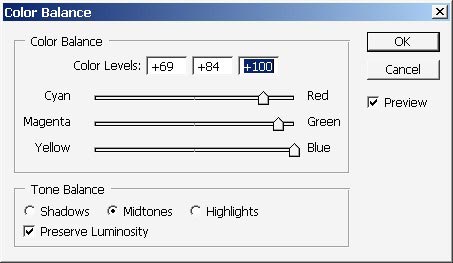
Chose Image > Adjustments > Color balance to balance the color only on this layer and now on the whole document.
Mid tones:

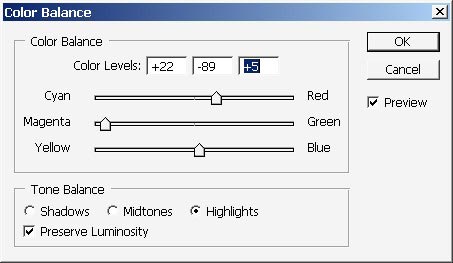
High lights.
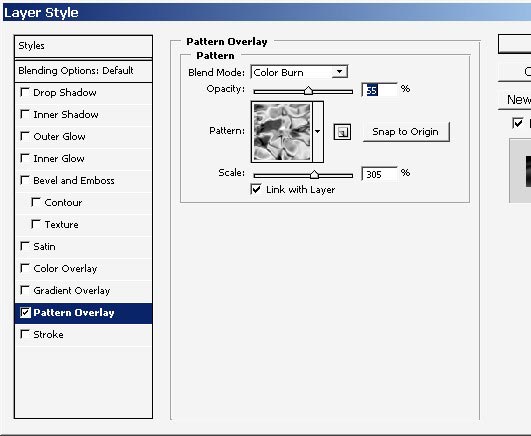
Moreover I will add texture I my layer styles.
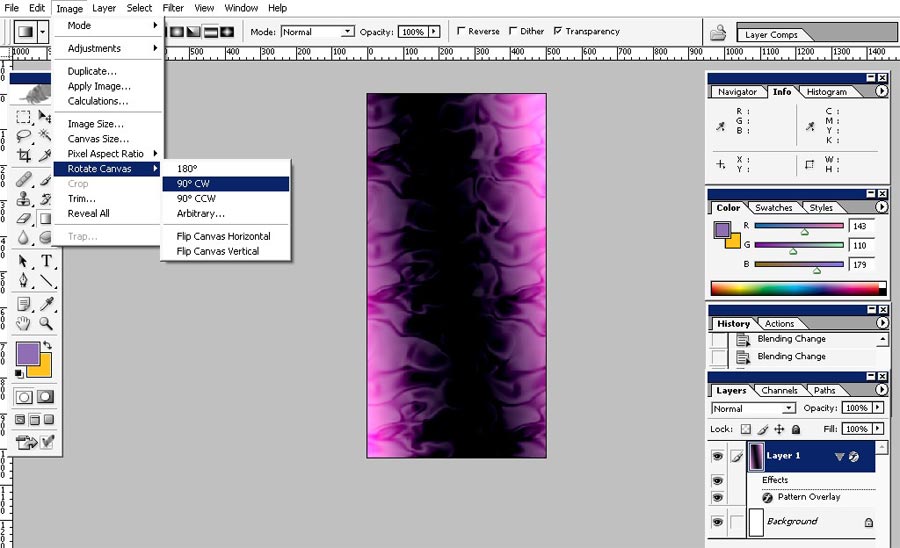
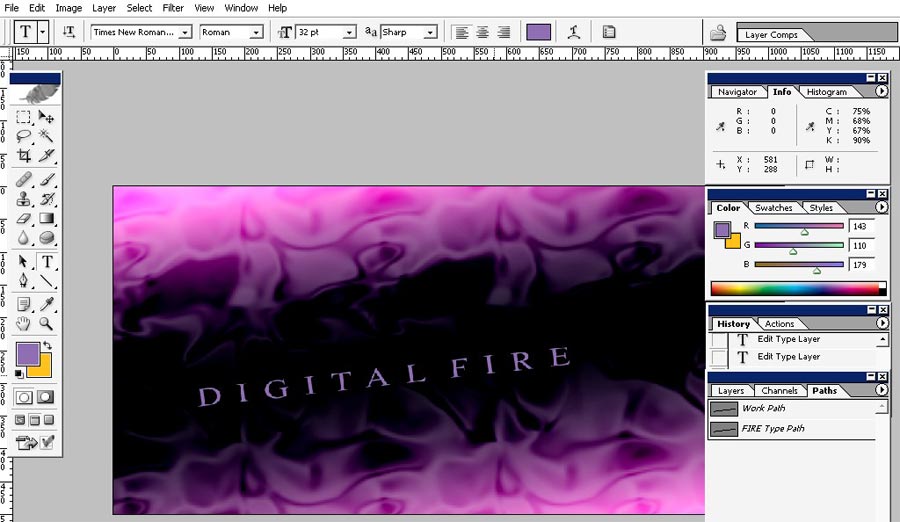
And here is the result. Now rotate the whole canvas to write some text.

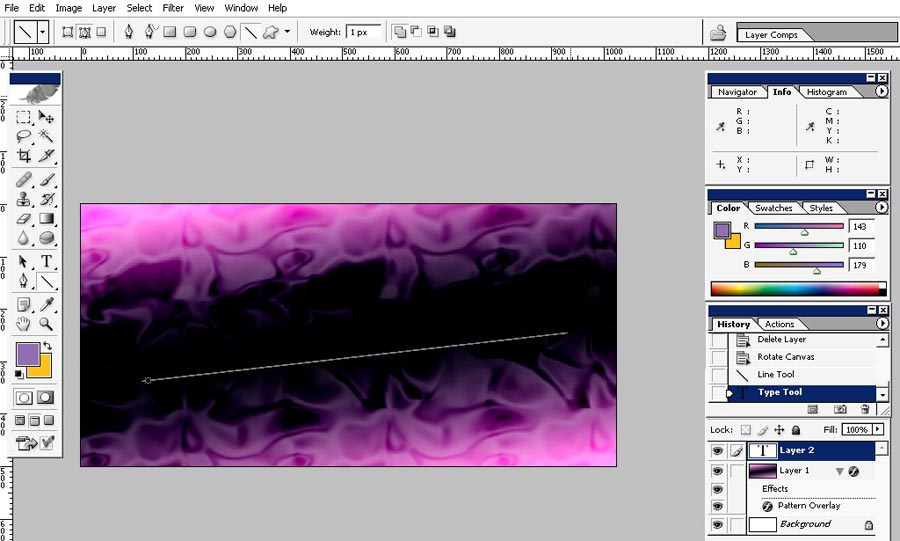
Choose Line Tool in Shapes Box.

Make a line, then switch to type tool and type some text near your
patch. You will see that the Type Tool icon will change near the path.
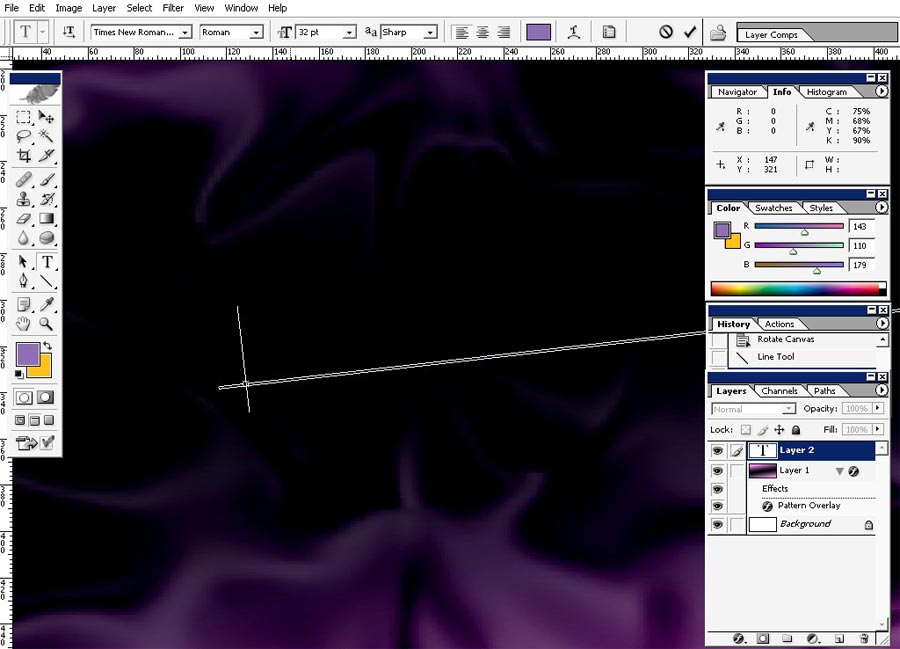
I will write Digital
Fire. Try to have DIGITAL and FIRE on 2 different layers.
Wrap the text.
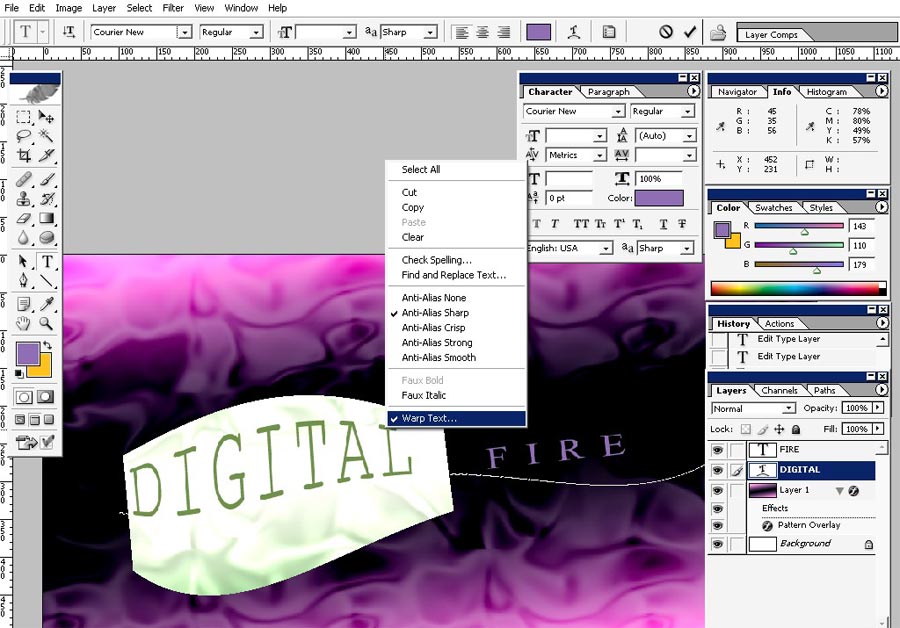
Wrapping settings:
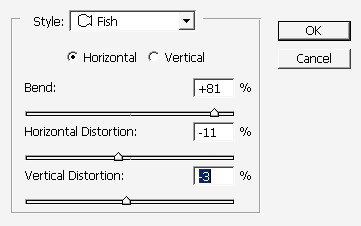
Wrap the fire as well.
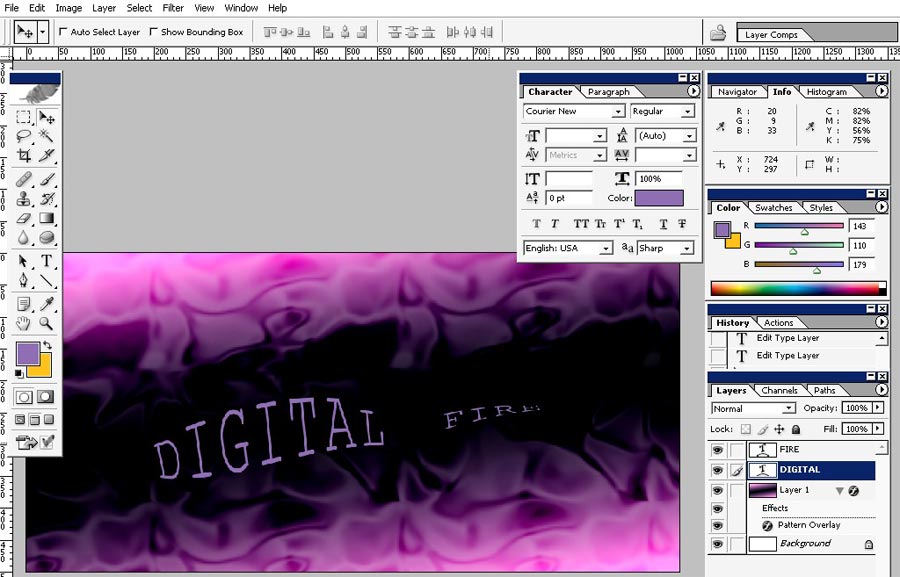
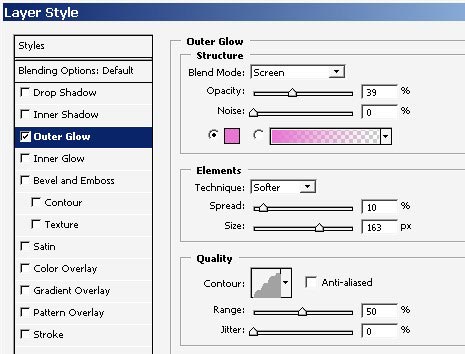
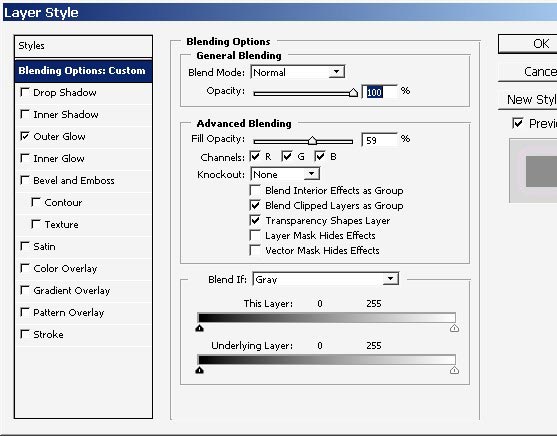
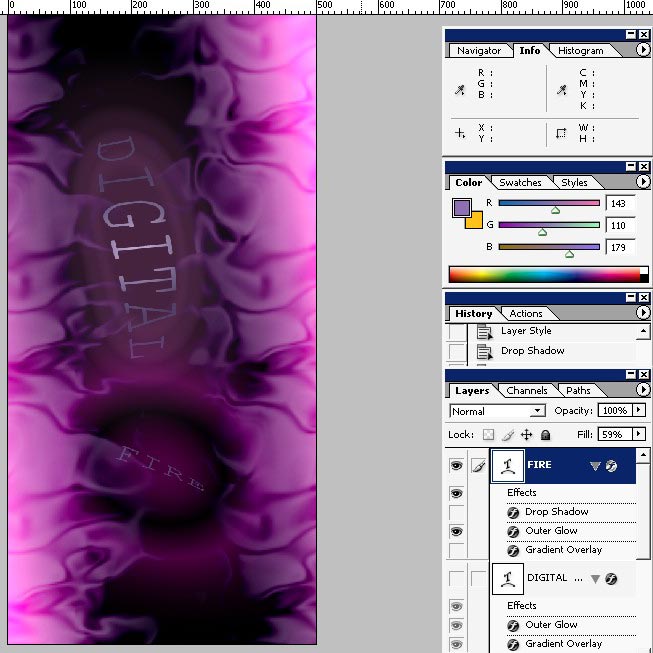
Here are my layer styles to DIGITAL.
The outer glow contour is different here.

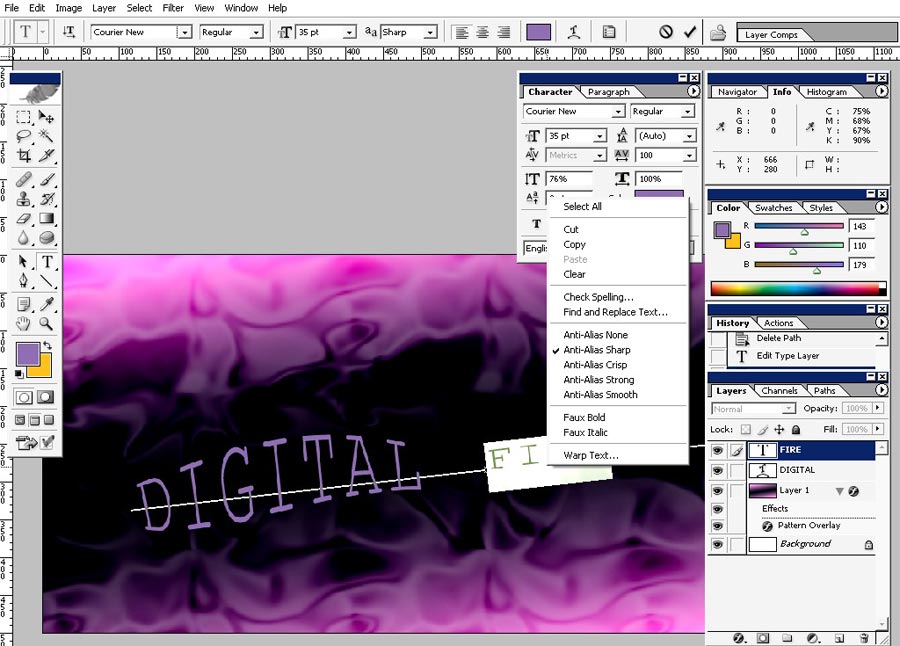
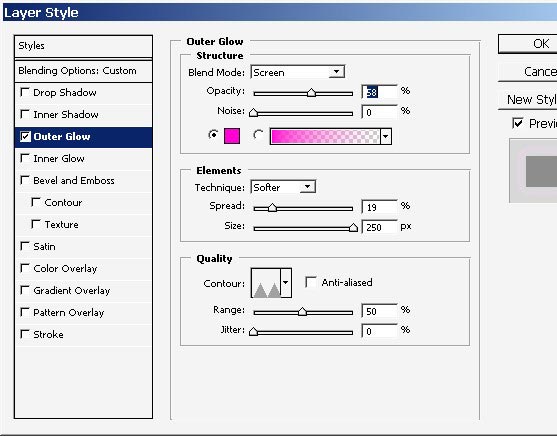
And fire. The Outer
Glow contour is different here too. Moreover the fill is
set to about 50%.
I’ve flipped the image and the text too.
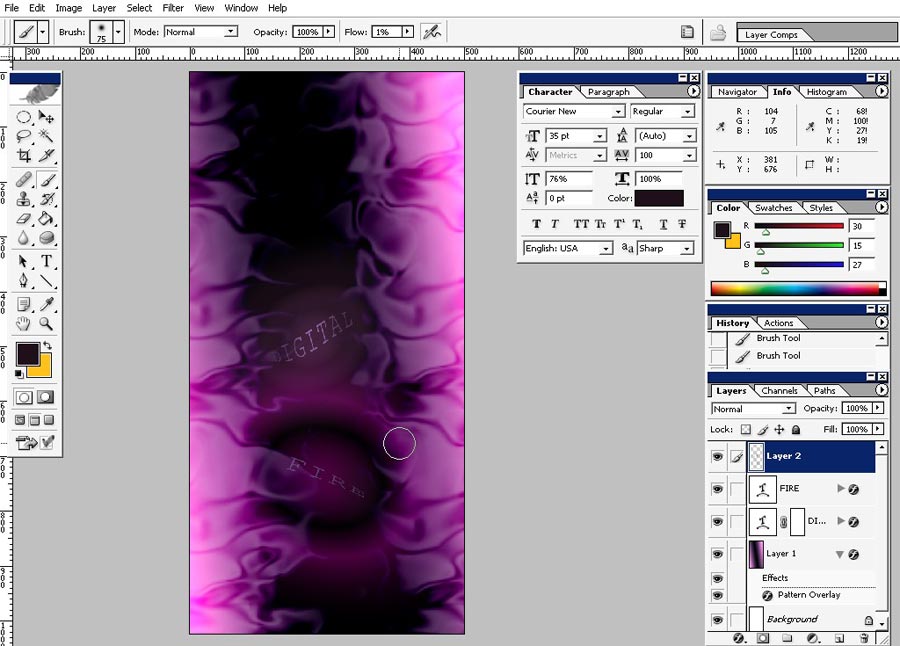
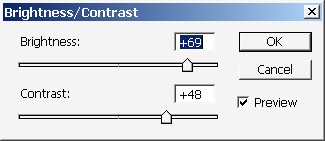
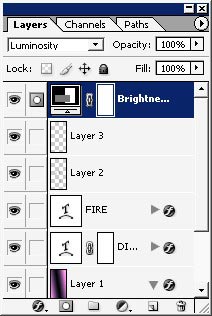
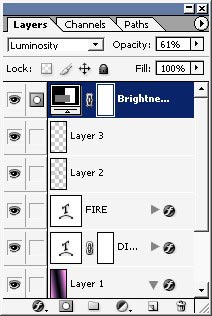
A little bit Brightness/Contrast changes here.
The layers mode is set to Luminosity and overall opacity is set to 60%.
We are done. The only thing is bad here is the Font. I didn’t uploaded custom fonts In my PS yet.
Comments