
Making a corporative style – Corporate brochure style
Hallo, today we are going to practice in making a corporative style for some kind of imaginary company. I will be using Photoshop CS for this one.
So let’s go.
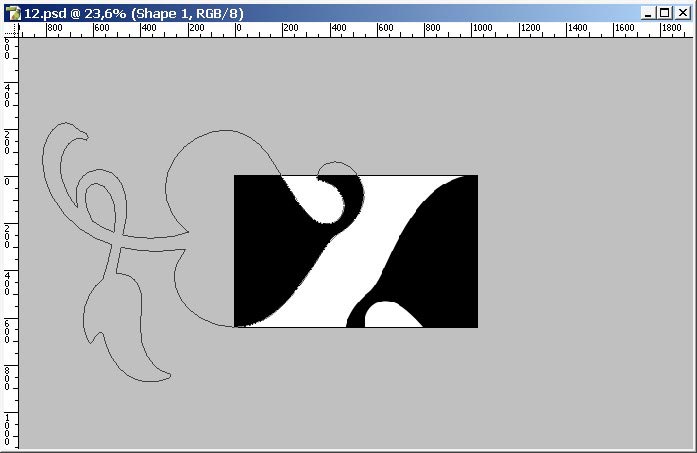
Now select Custom Shape Tool and begin putting those shapes on the working area.
I really don’t have my downloaded custom shapes in PS right now so we will just do this with basic custom shapes.
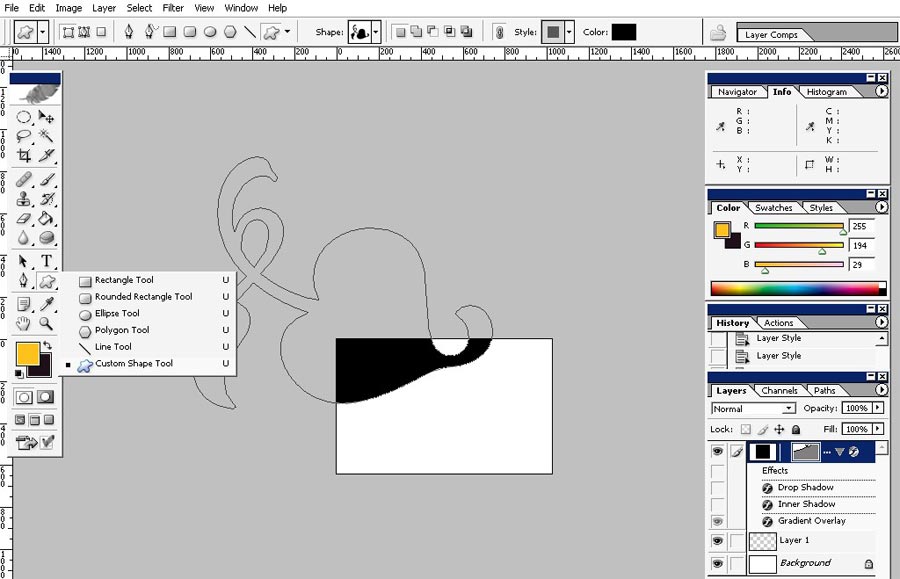

… and another one.
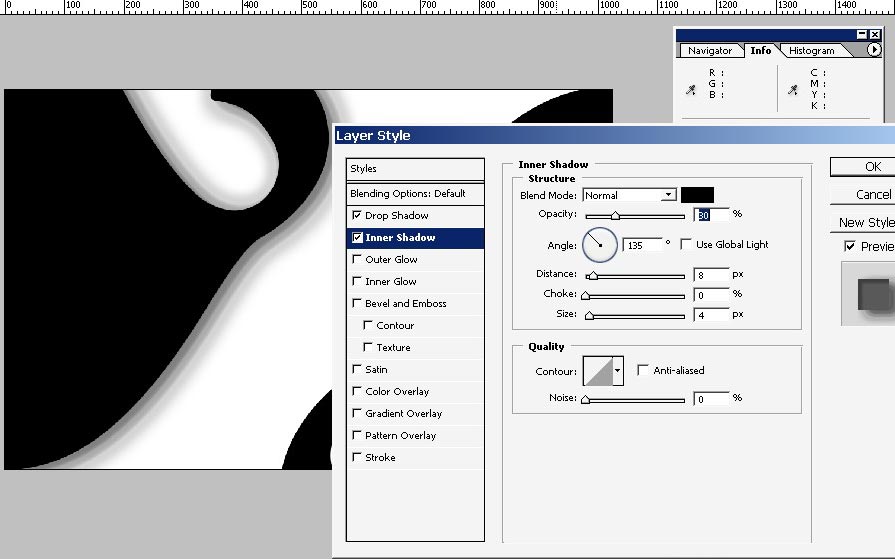
I will use layer styling on the left one.
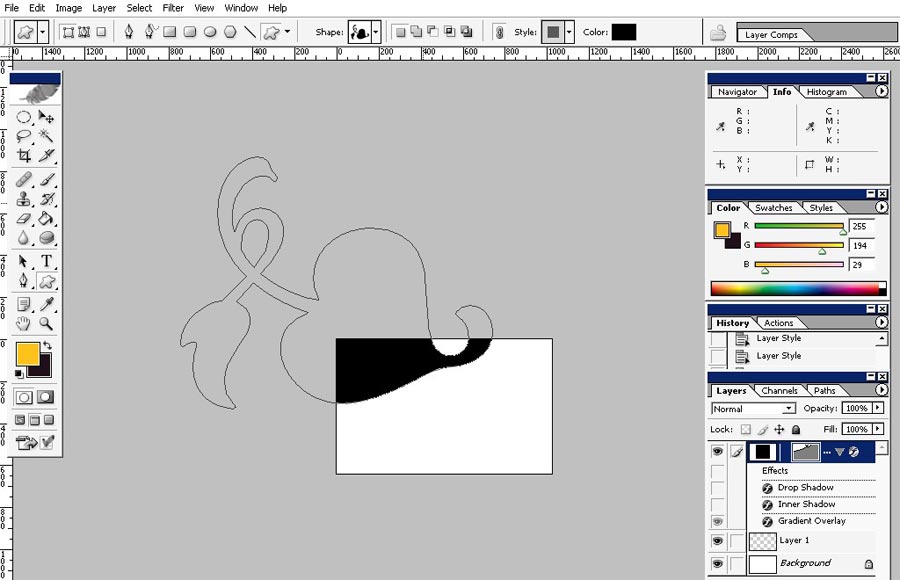
Here is quite standard drop shadow with particular contour.
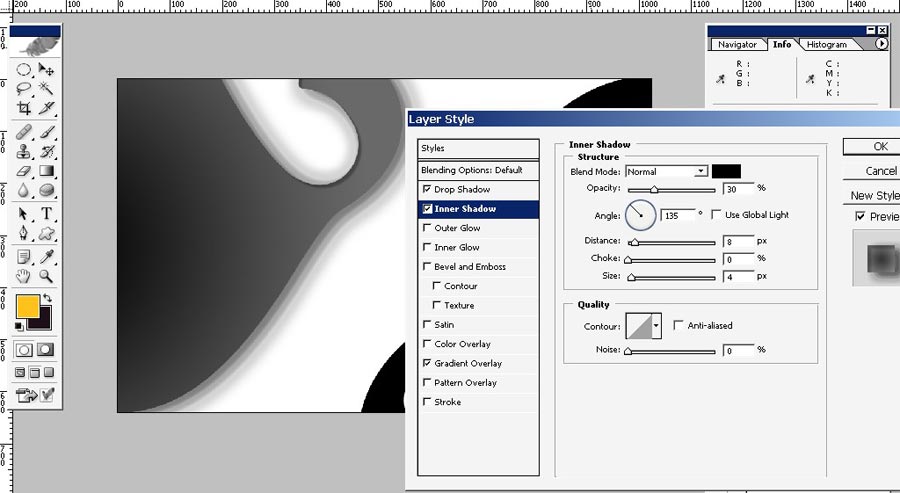
Inner shadow is quite standard; black and can have normal blending mode.

… and with basic rounded gradient overlay.
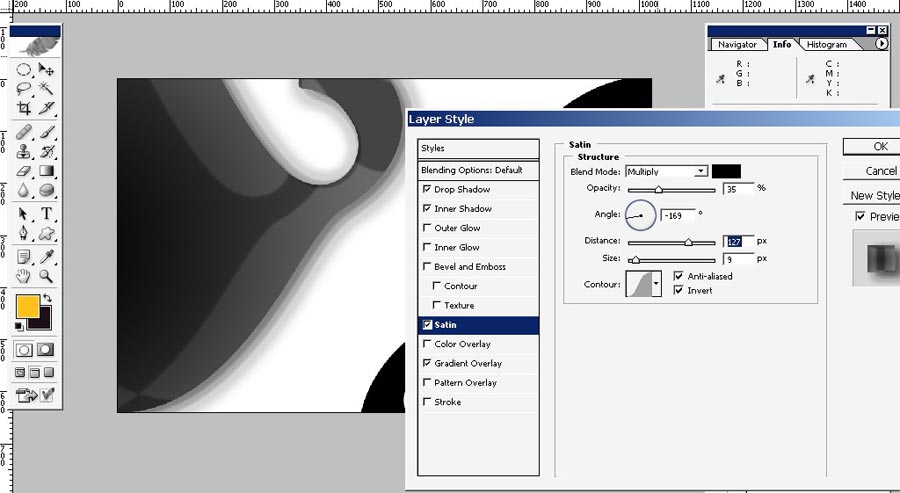
Satin is black too. As you’ve noticed I’ve playing only with black and white.
And stroke with grey contour.
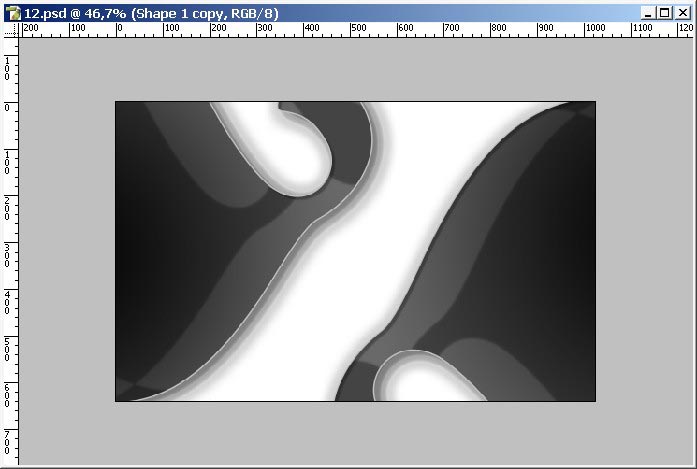
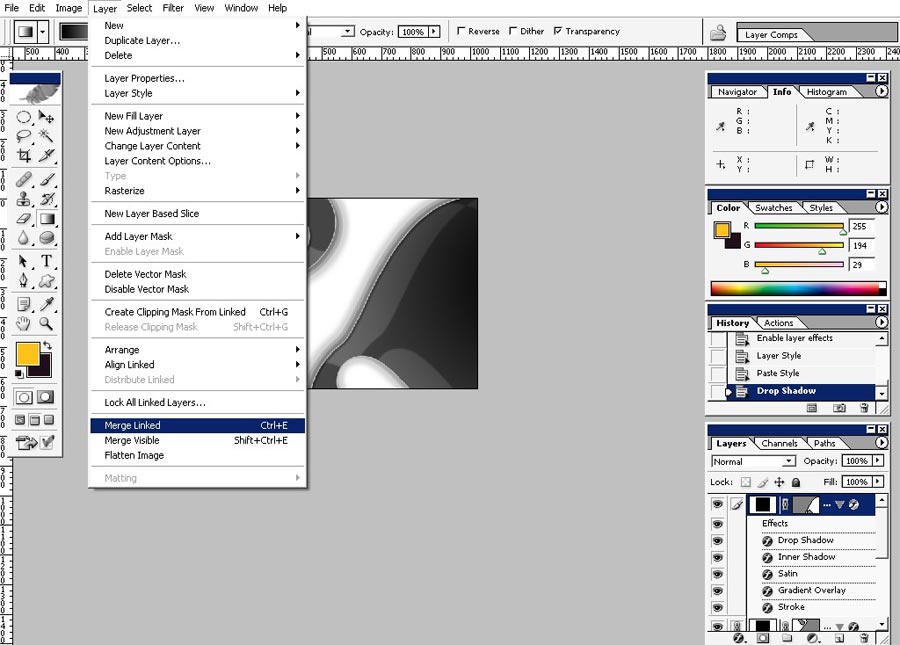
Now just copy the layer style and paste It to our right one.
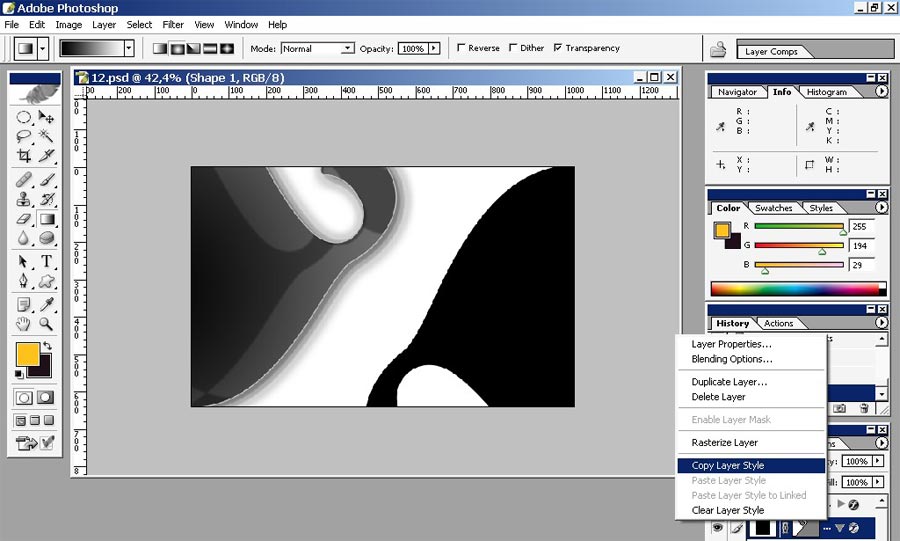
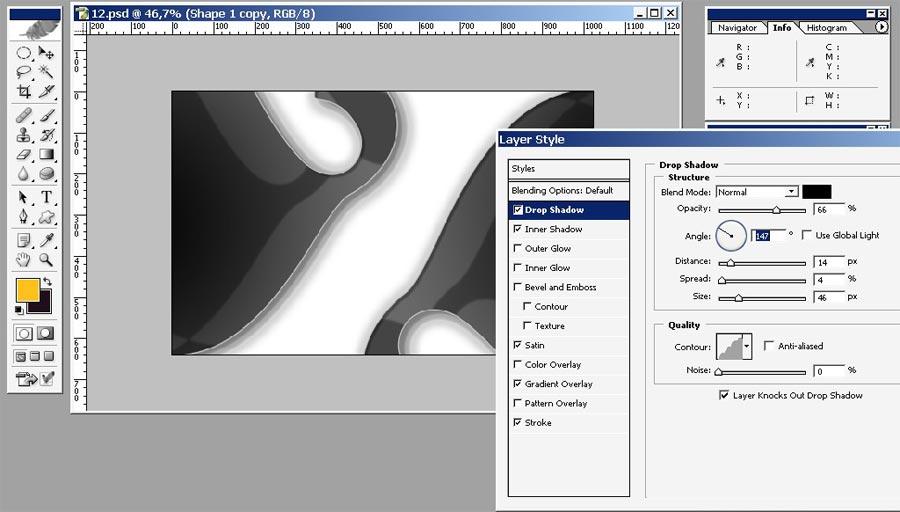
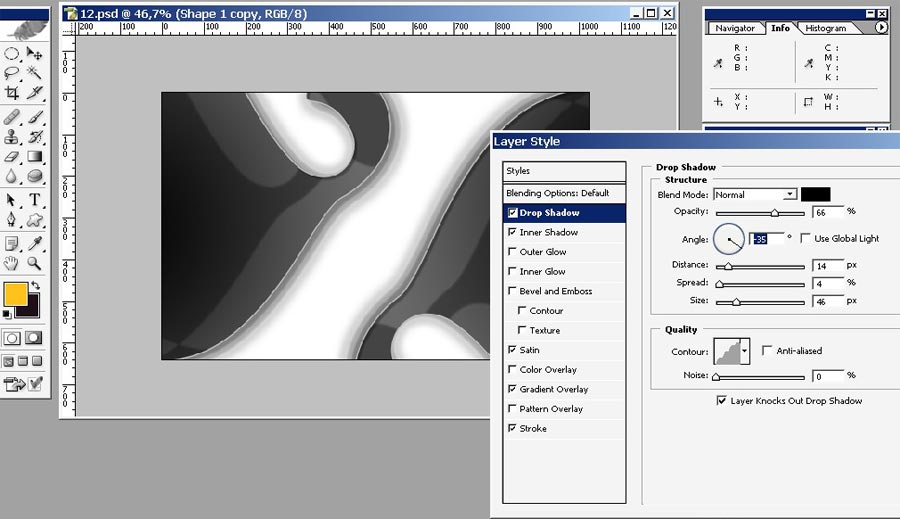
But we need a little correction because Photoshop arranges effects and effect setting not really the way we need.
I will change the shadow direction to opposite.
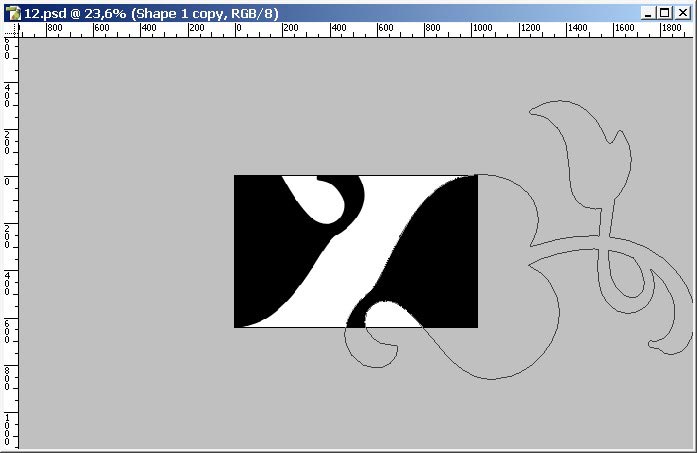
Now merge these two layers together.

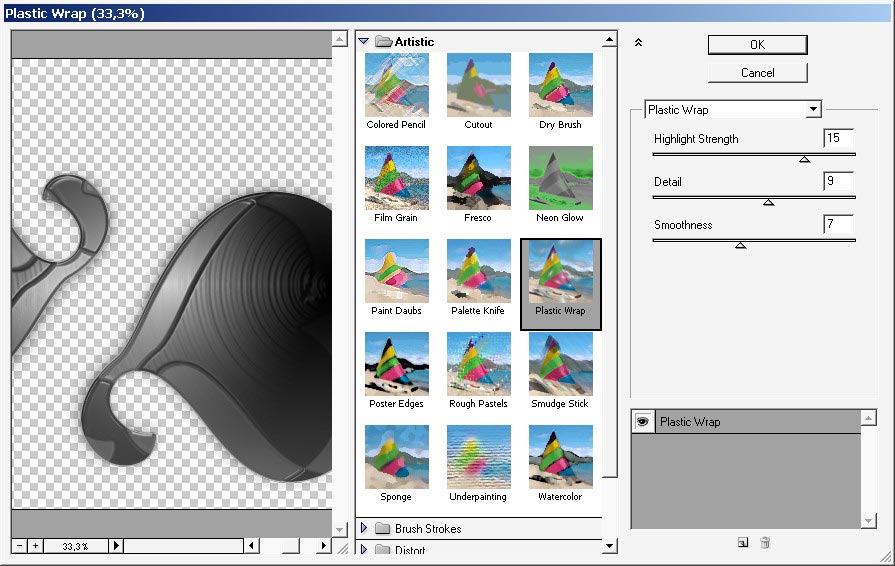
I will now experiment with my filters a little bit. Don’t really use them a lot.
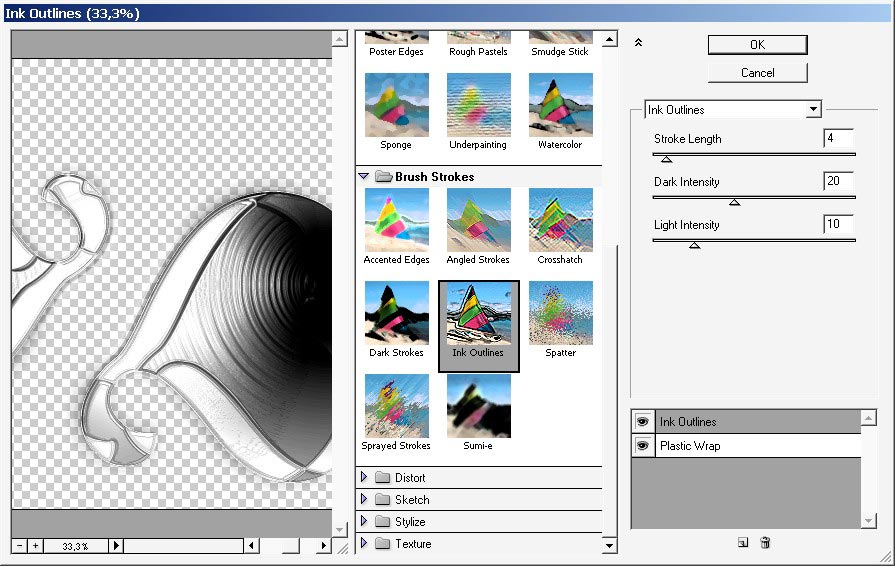
Plastic wrap looks good and it also looks good in combination with Ink Outlines filter.
You can combine effects in Filter gallery. More over the effects play as layers and you can change their order.
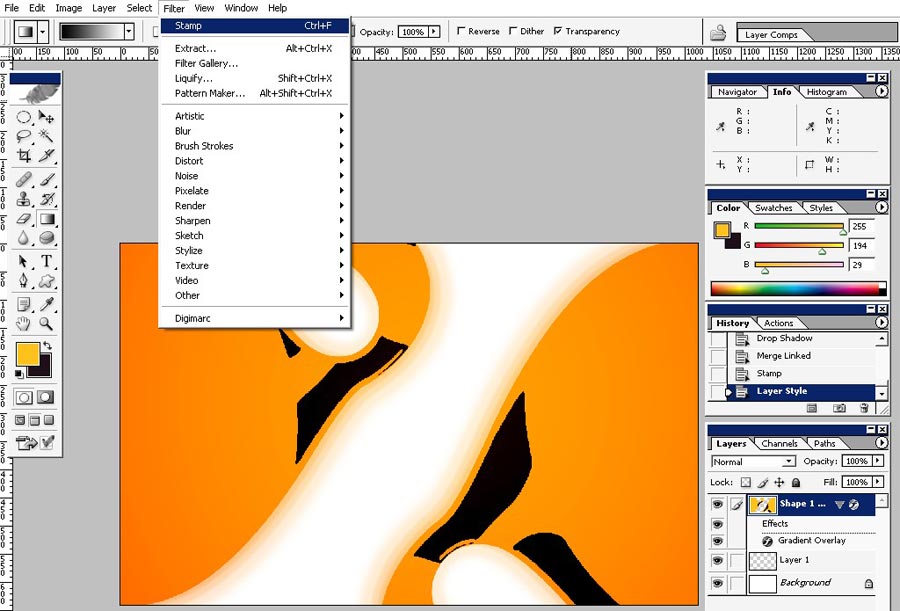
But ! I will just use Stamp Filter and leave these filters for other day.
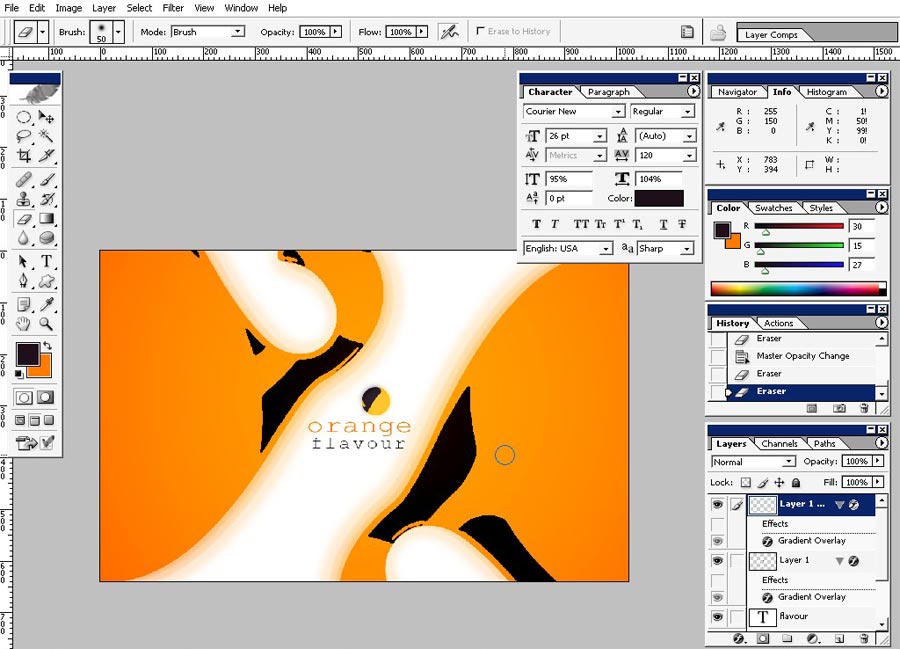
I like this vector like look and the color. I got it all orange because of my Background/Foreground colors are something like orange and black.
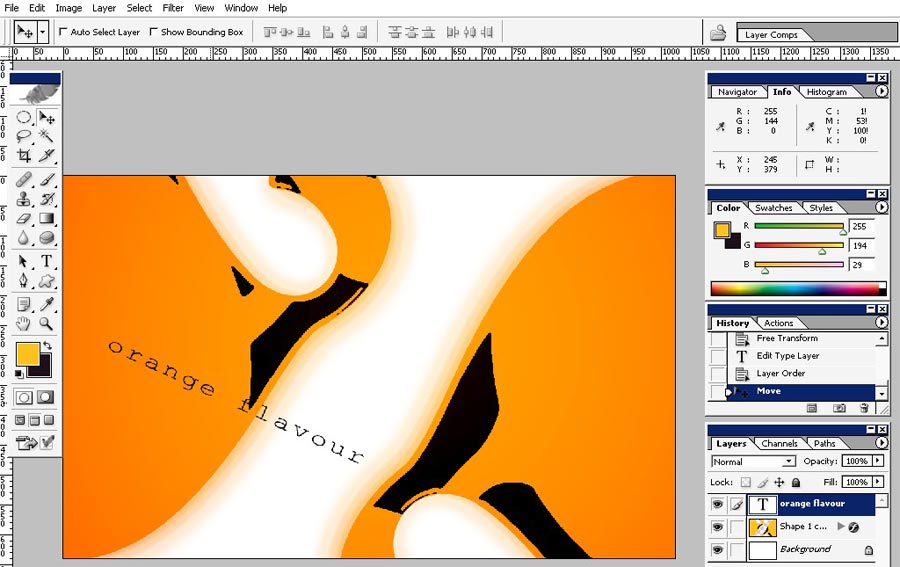
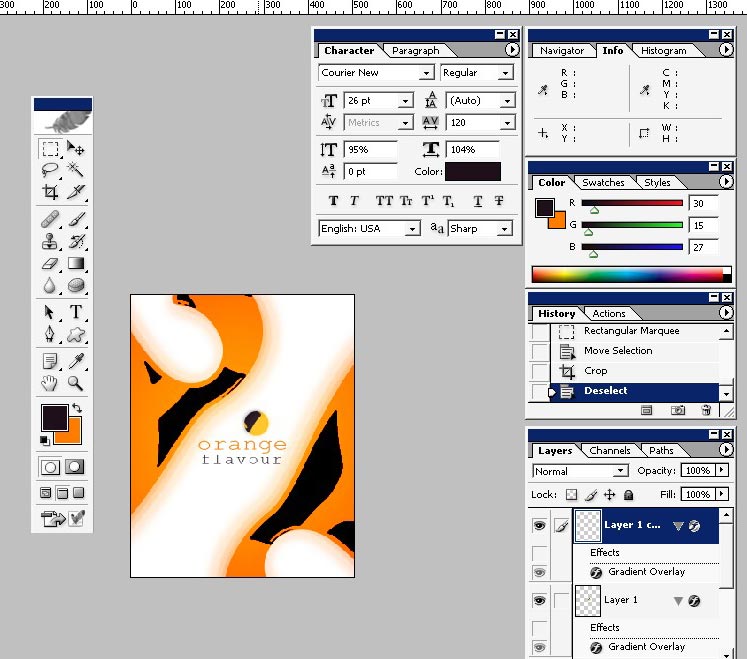
OF course we will do a company name and fast logo.
Playing with contrast.
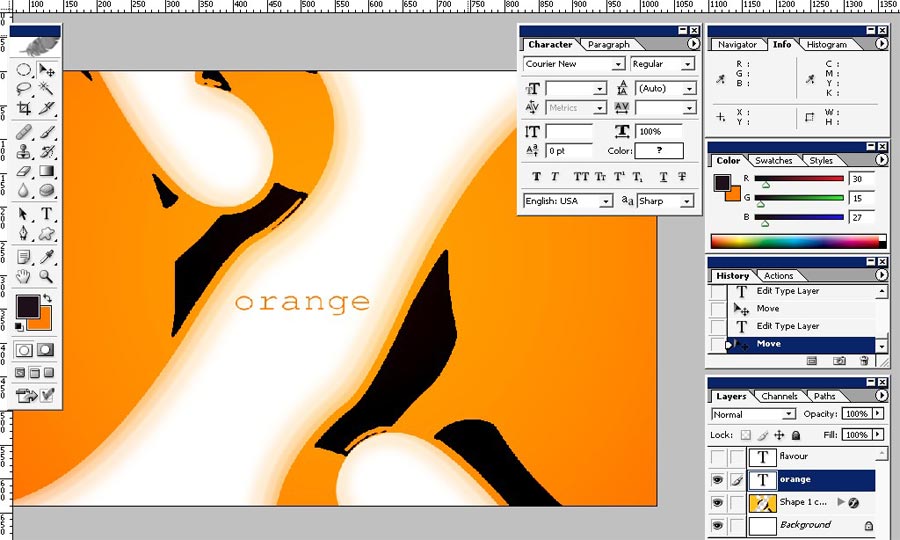
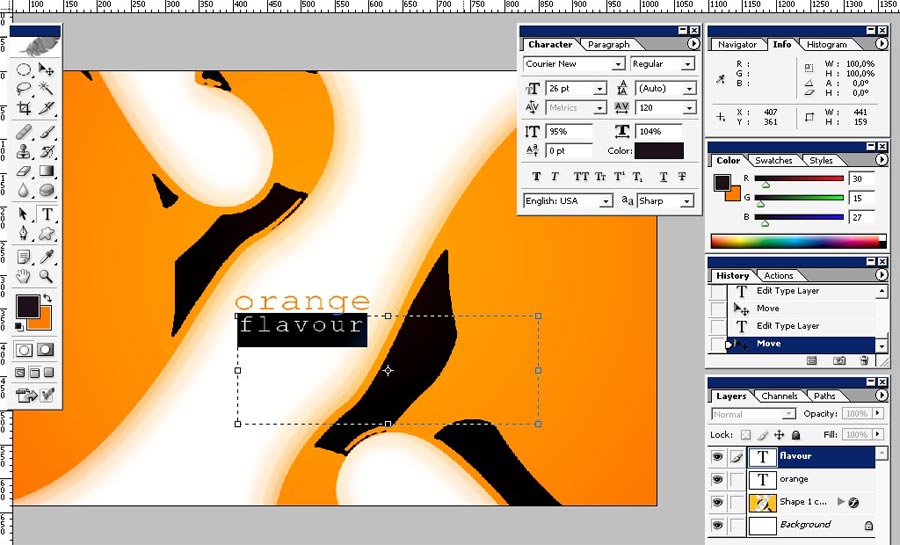
This is for the text.
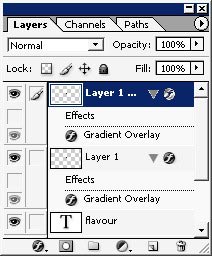
I just use my image and Round marquee tool to do a logo, fast one.
Select, copy to separate layer, arrange and done.

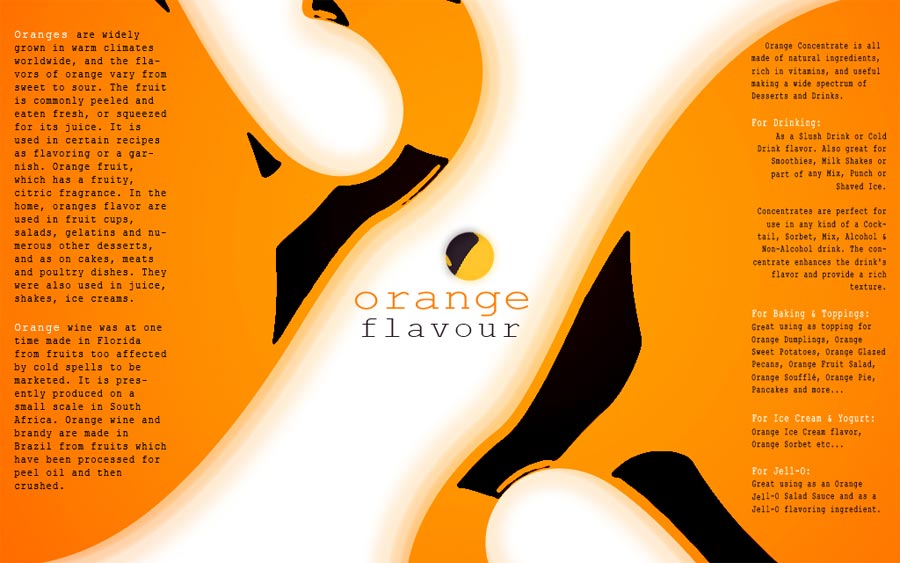
Our Corporate brochure style is ready.
Comments