
3D shapes
In this tutoriaal we will learn how to create 3D shapes using Adobe Illustrator and Adobe Photoshop software. The main idea of this tutorial is to explore the Adobe Illustrator’s 3d feature and making a design using adjustments in Photoshop.
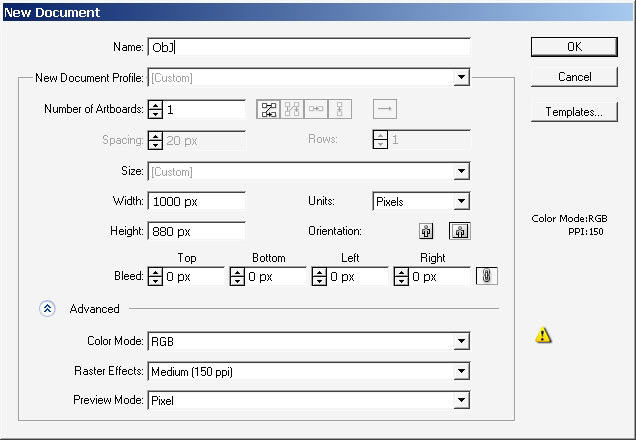
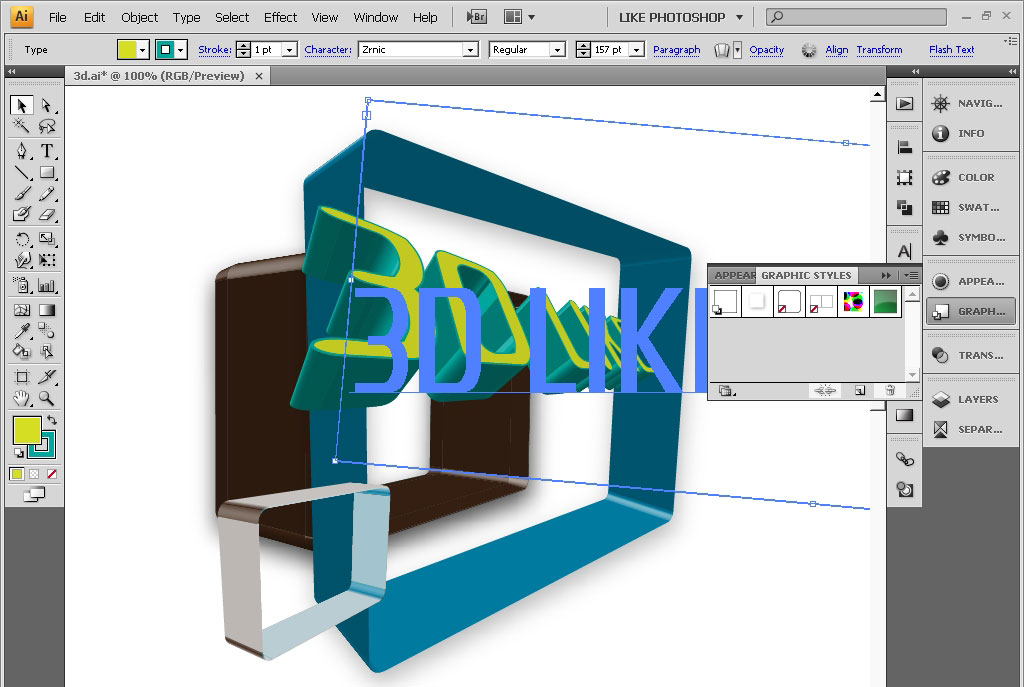
So here we are in Adobe illustrator CS4. Create a document.
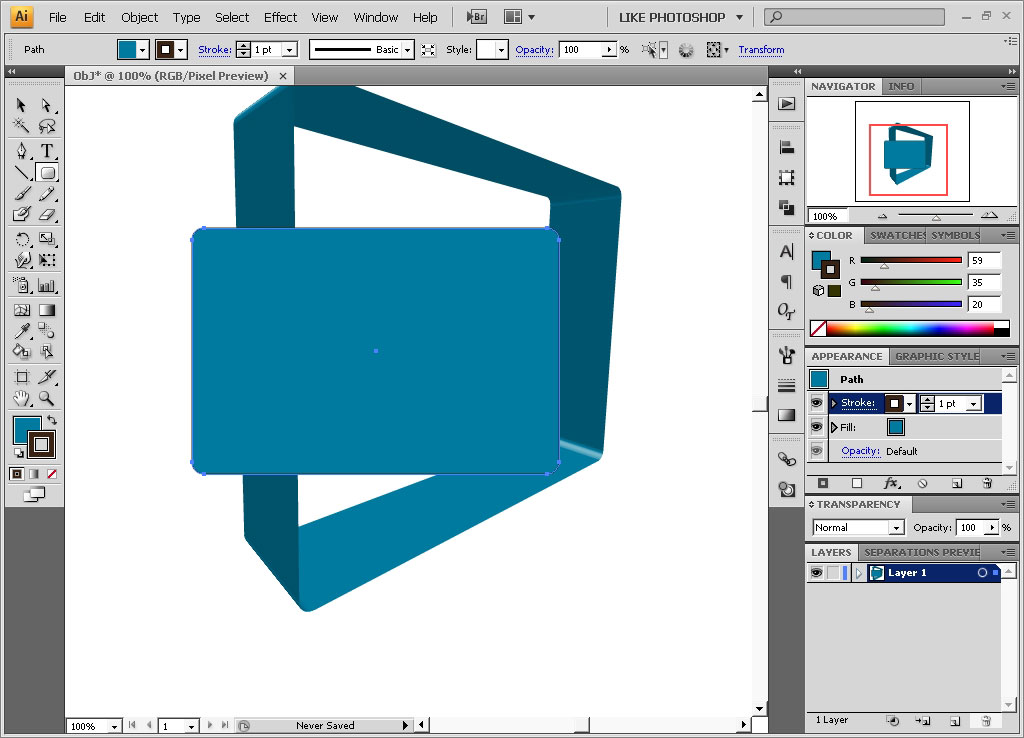
Create a round angled rectangular shape using shape tools. The shape will be filled with blue color.
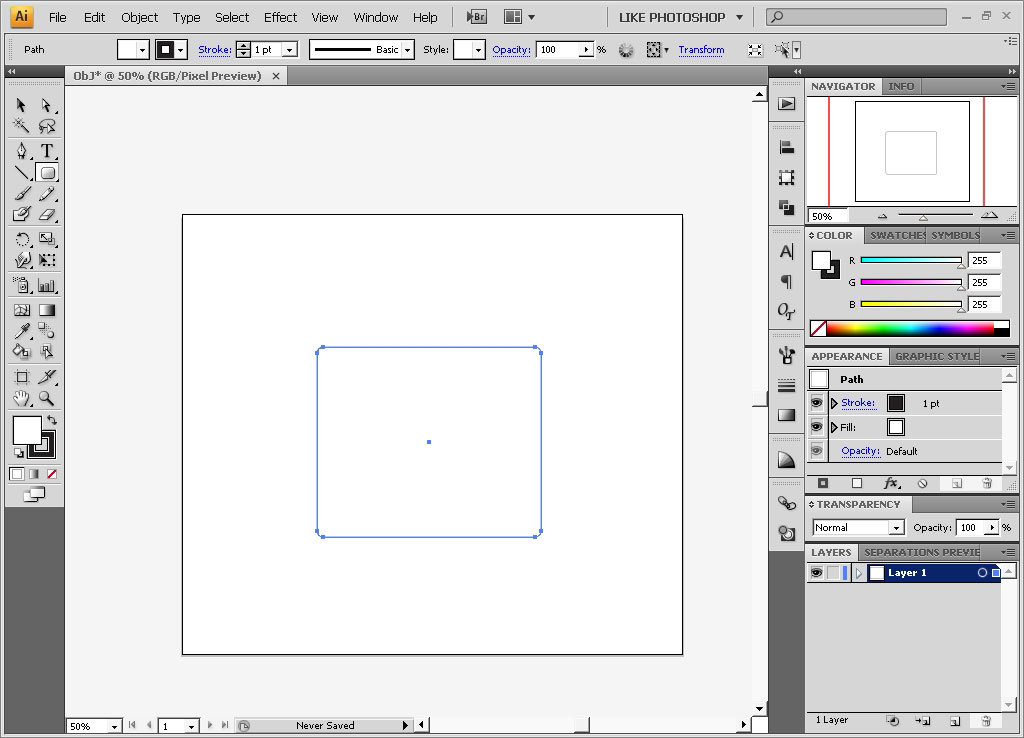

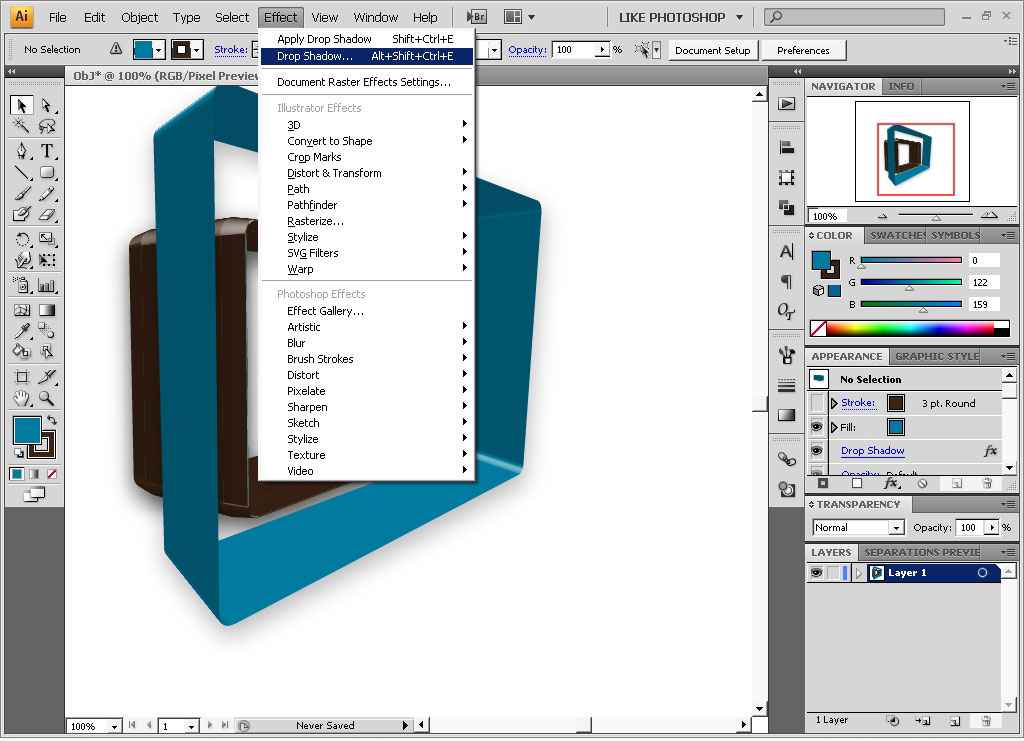
Go to the Effects>Illustrator effects>3D>Extrude and Bevel.
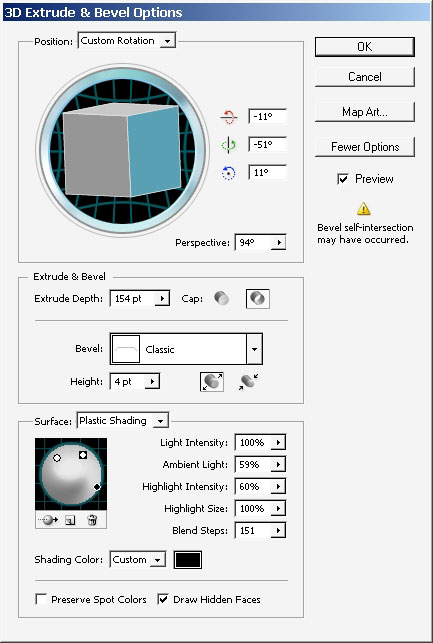
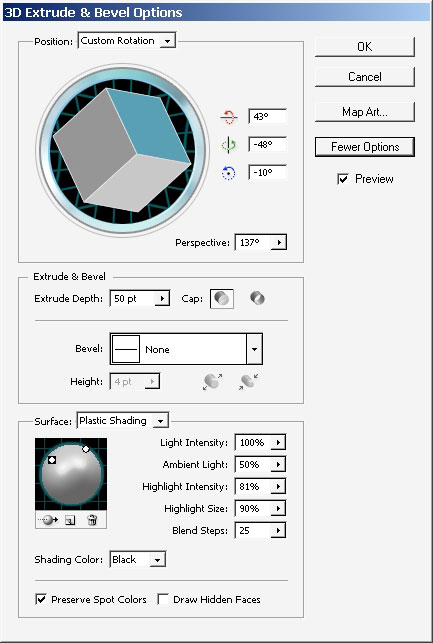
Watch my settings. In this mini window you can transform illustrator shapes and make them 3D. The good or (for somebody) bad thing is that you will set the Perspective Distortion angle manually all the time. You can also control the light intensity and place lights as well.
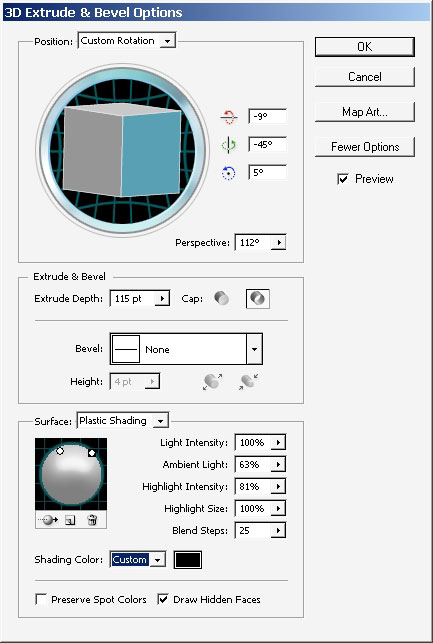
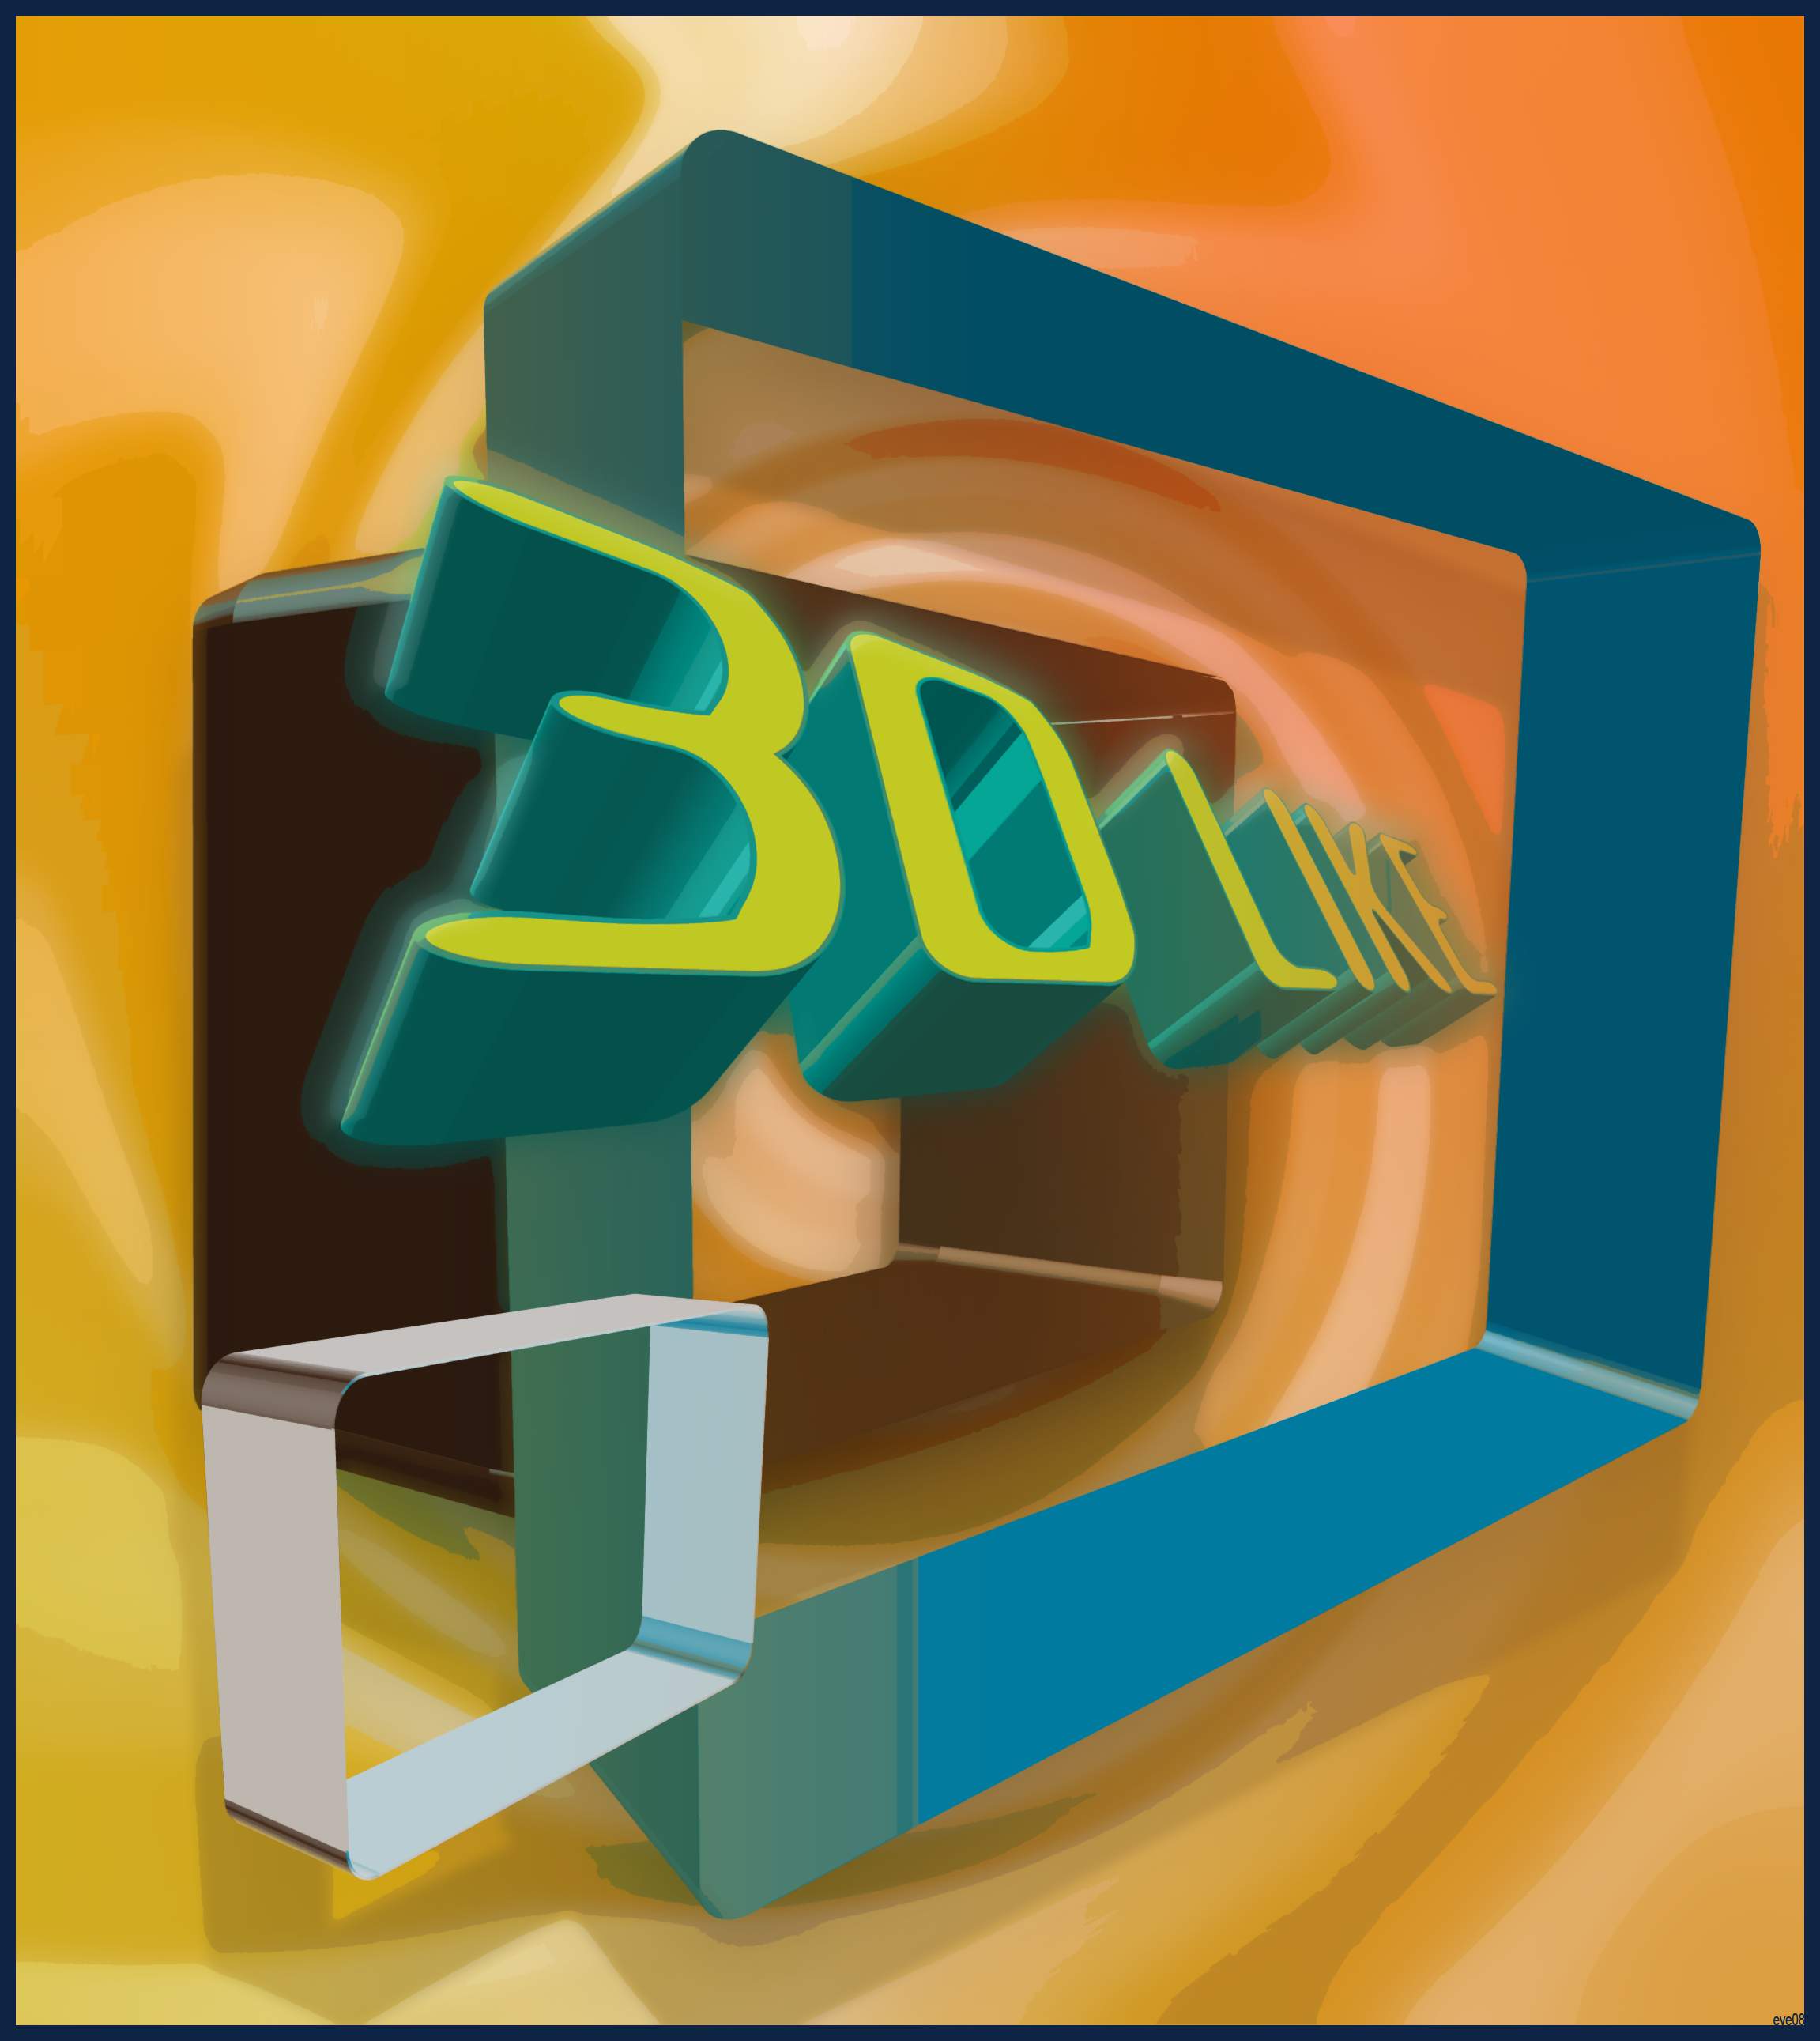
So with my settings applied I got this result (the shape on the background).
Of course this is not V.ray render quality for 3d, but still it is a good way if you want to use 3D in your 2D based image.
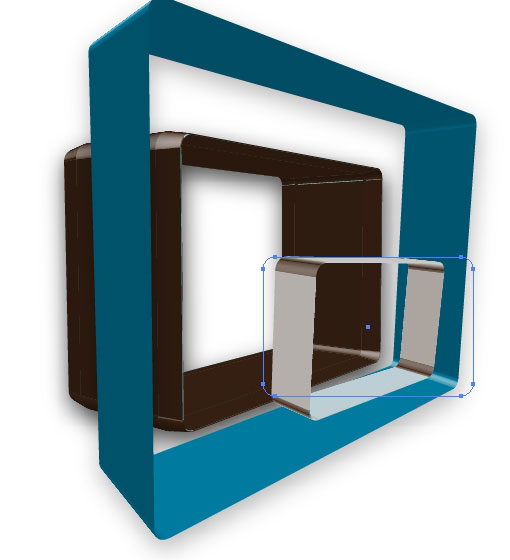
As you can see I got the other shape waiting to be transformed and 3D distorter in perspective.
And here are my settings on the other shape.
You have maybe noticed that some of the settings are different: for example I’ve added bevel border and set the lights different. Moreover the light intensity is changed too.
And here we have 2 equal shapes with different 3D perspective distortion, lighting and shared color (the initial color is Blue).
To go a little bit further I suggest you to drop low intense shadow.
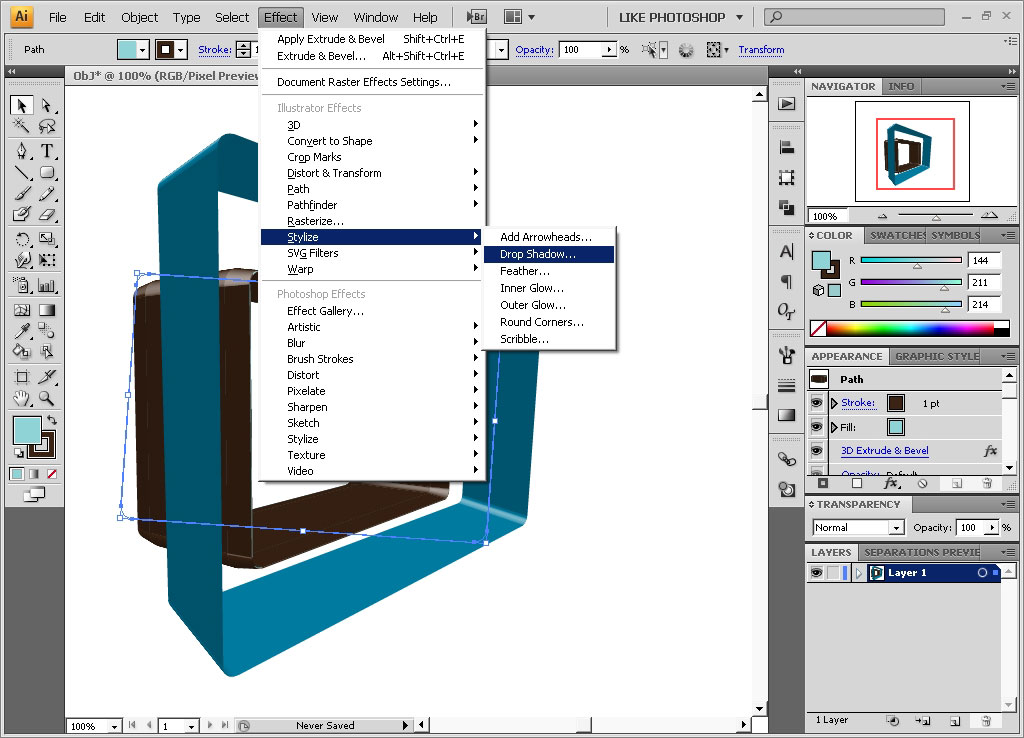
To the botch of the objects:

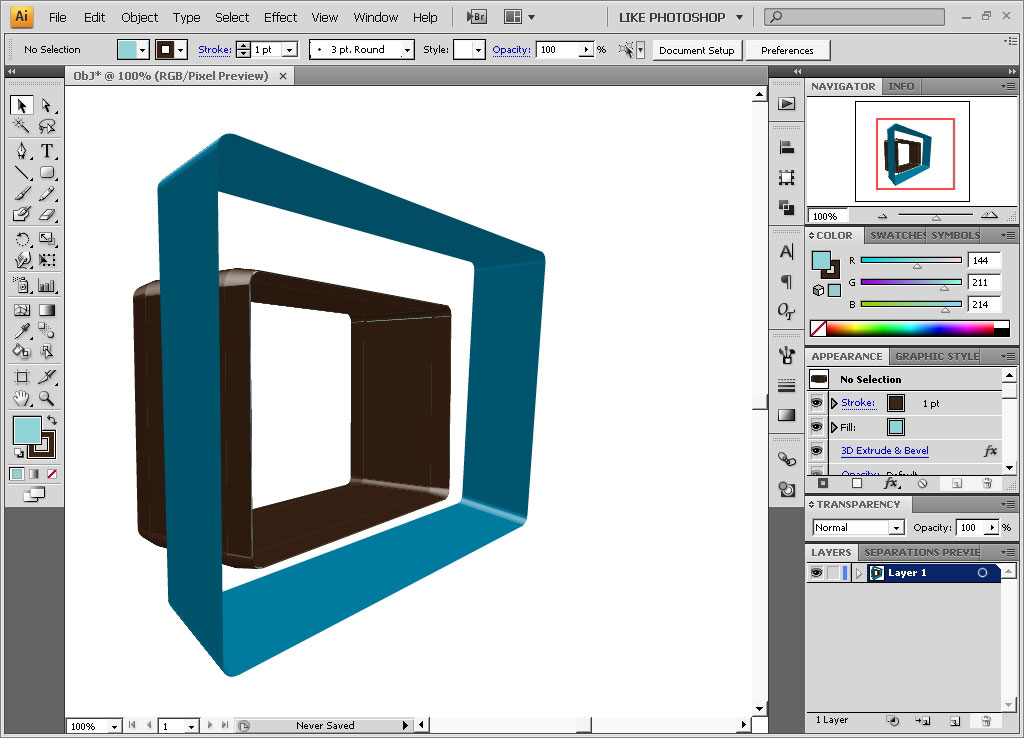
Now I still want to create that 3rd object and to distort is different from these 2.
Here are the settings first:

First thing that is changed here is: is the shading color. Note: how the lights are situated, their intensity.
As a result we get metal (nearly chrome) finished object.
Probably the best thing about this entire 3D thing is that you can make 3D text too. Of course if you have skills in 3d Apps. This is probably too easy for you, but if you are more 2D this is the thing to know.
So let’s practice this technique of the text.
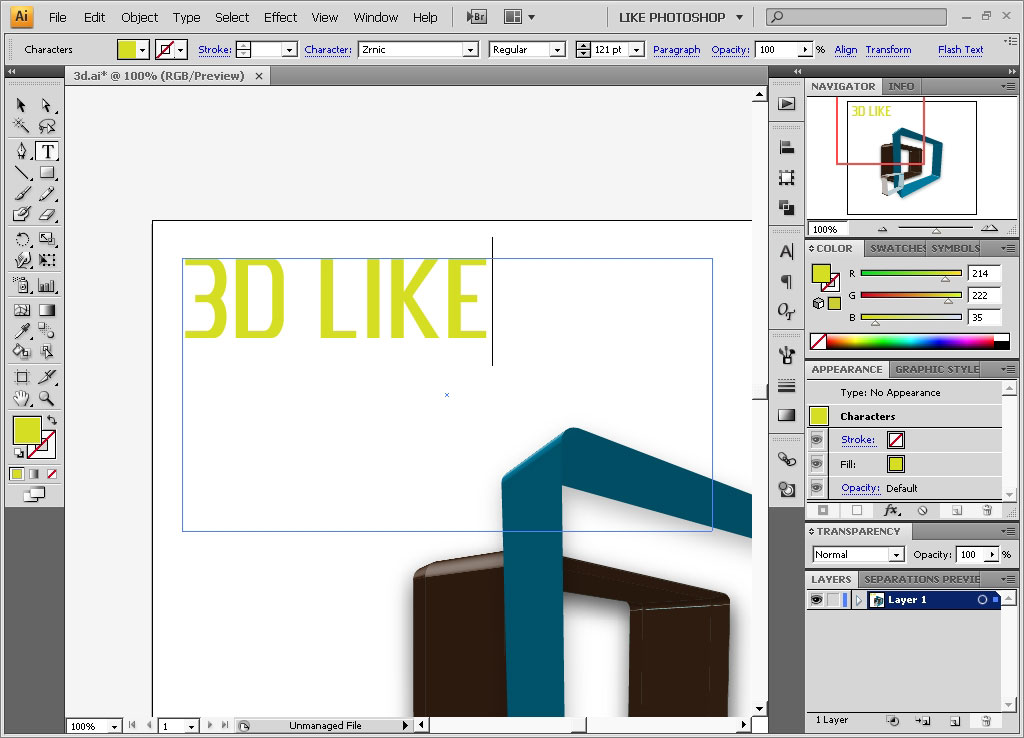
Settings:
Result: add a graphic stile – smoother edges.
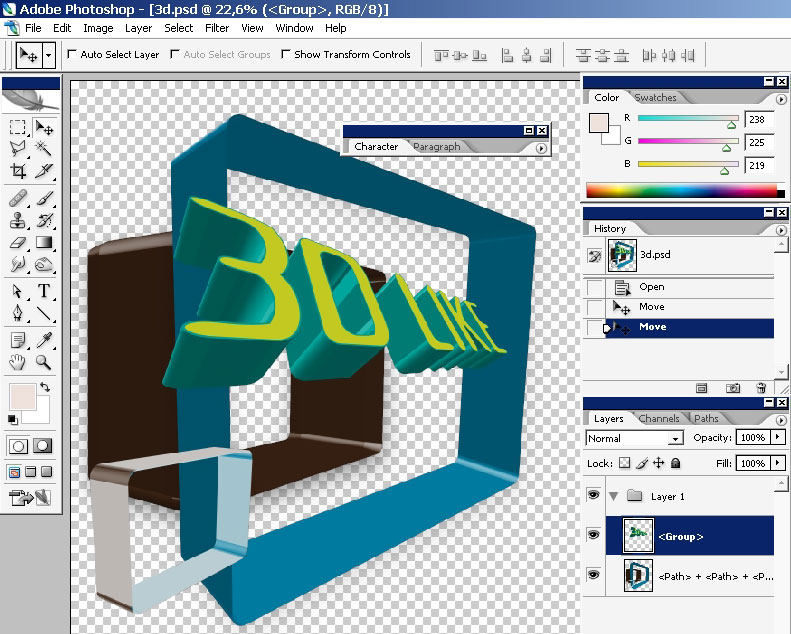
Now it’s time to take this in Photoshop for coloring and adjustments.
Export the file like PSD. The bigger DPI ratio the slower will Photoshop will react to what you are doing.

Photoshop:
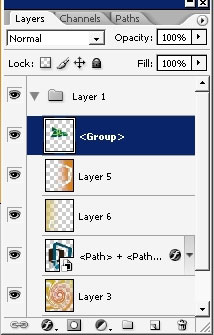
Here we are in Photoshop. We have our document with transparent background- very good. This means that we can create a layer below all the layers and deal with background without any problems.
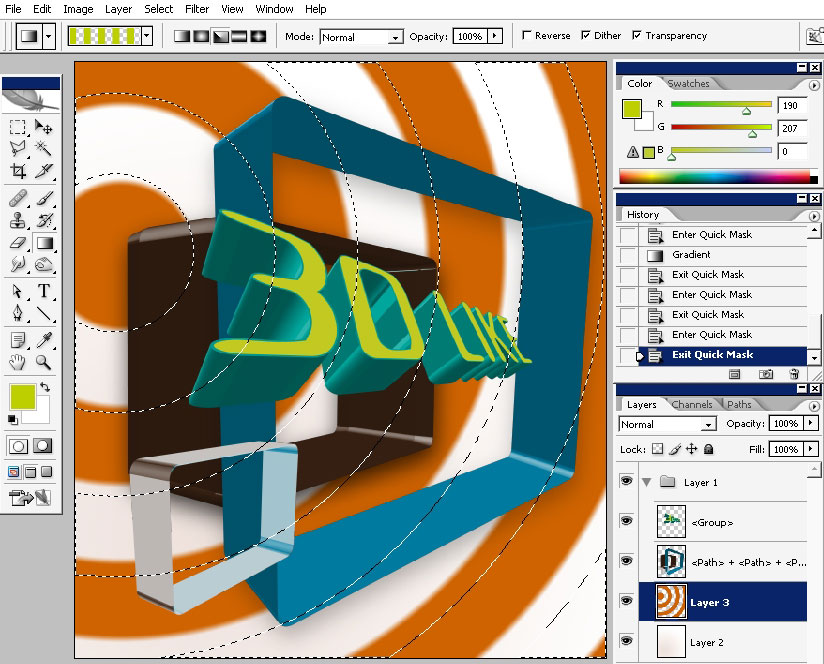
I’ve created a new layer and overlayed it with orange, rounded shape, line gradient (PS standard).
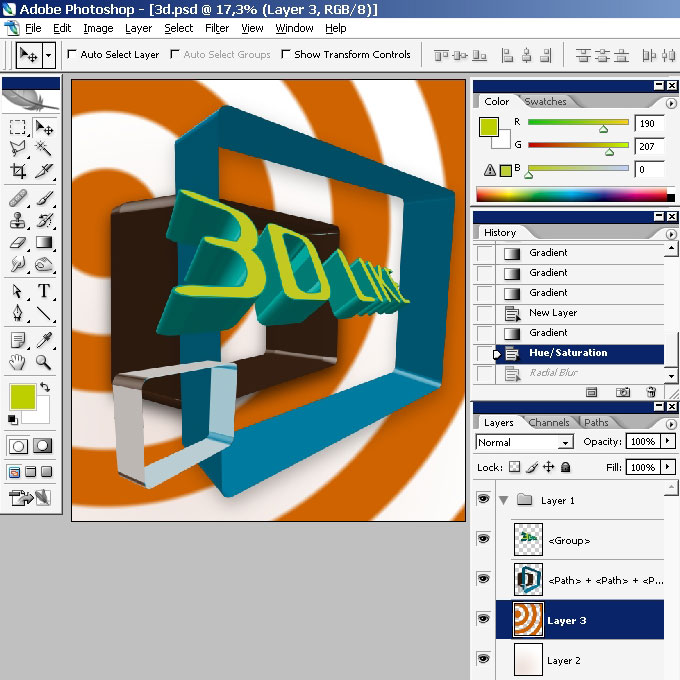
Next step: switch to quick mask mode (Q). Use the same gradient (black) to define the areas to which the further effect will be applied.
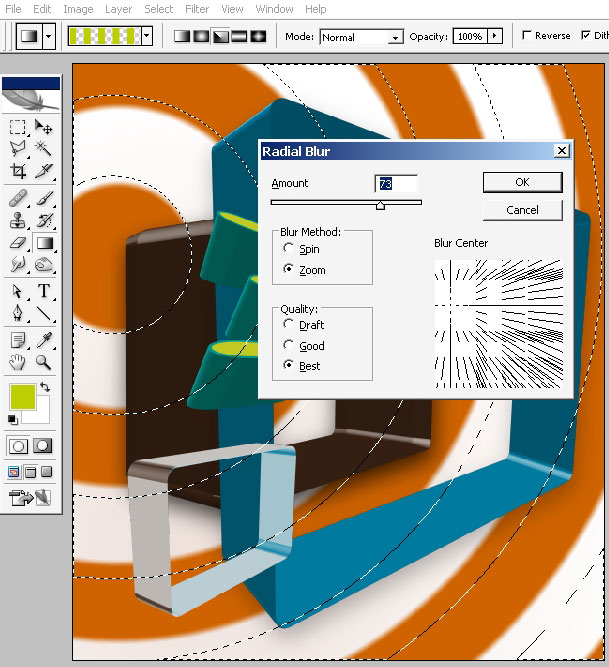
Apply radial (zoom) blur.
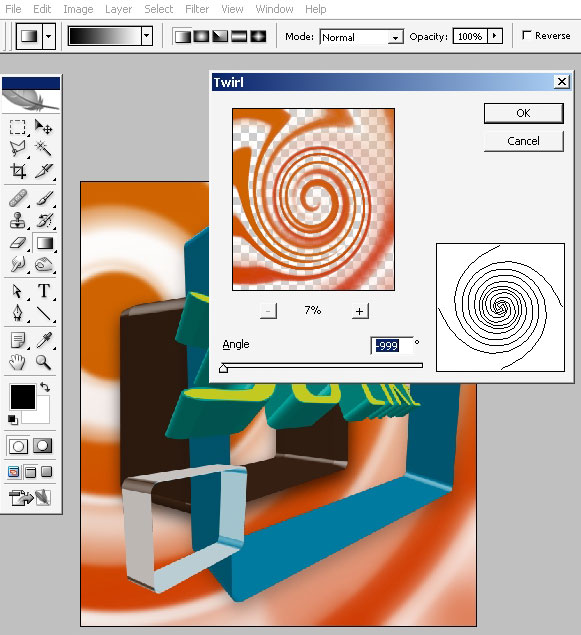
Apply twirl. I really like to create an abstract background here.
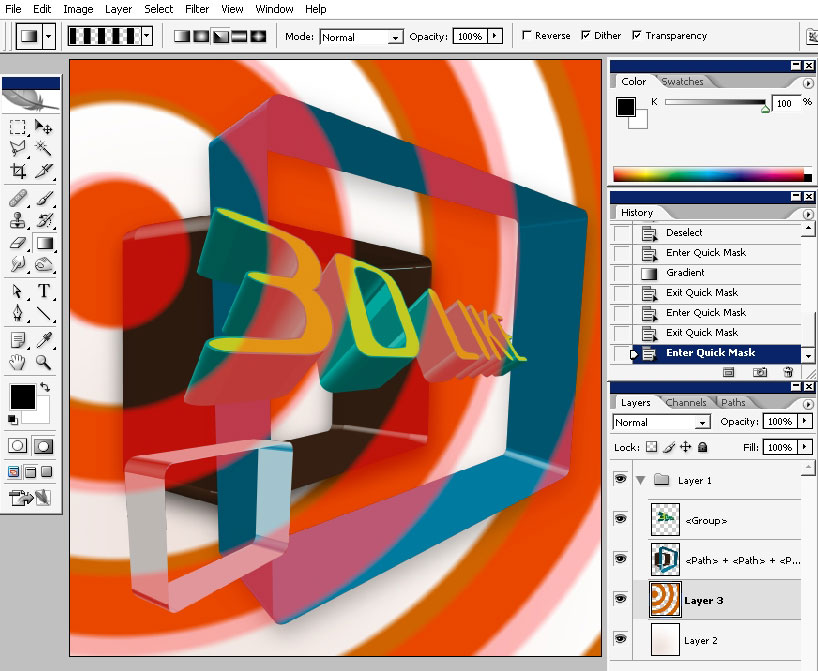
Next step: select the 2 foreground elements – the Metallic one and the blue one. Save the selection.
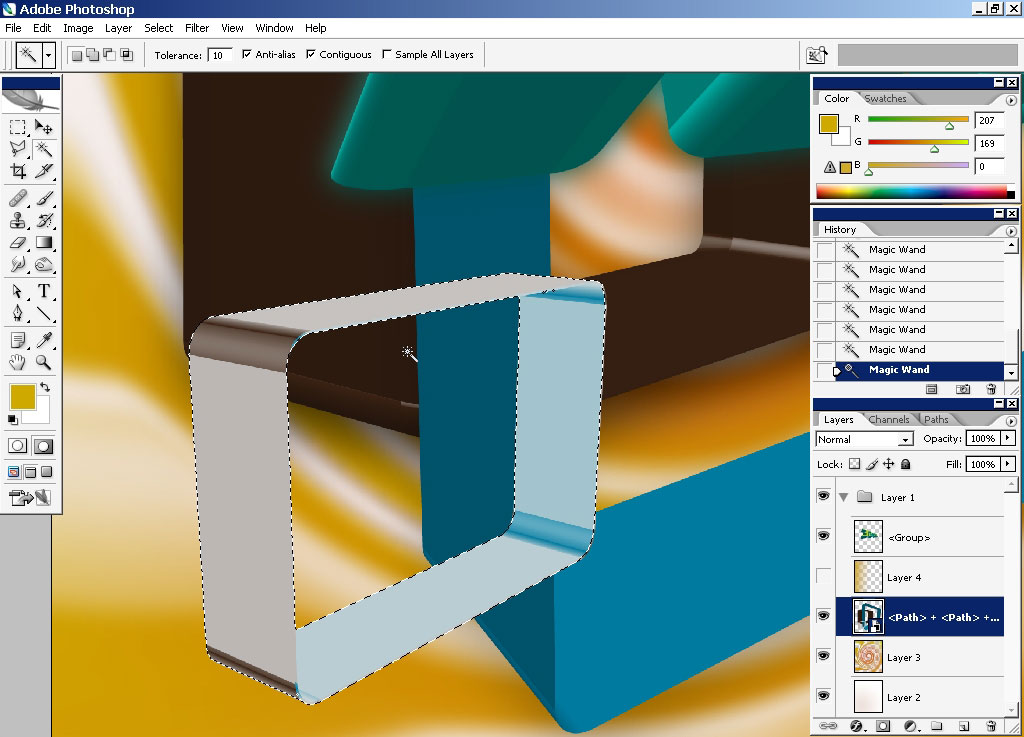
Create 2 layers and overlay them with orange and ‘Asian’ orange color from the sides.
These layer stay above the objects layer and that is why we need the selection on the foreground elements, we’ve made a couple of steps earlier.
Load the selection, switch to the gradient layers and just tap delete. And this is it: we’ve created some atmosphere that gave us a little of 3D feeling on 2D image.
As a final adjustment I’ve applied a cutout filter to my merged copy of the finished image and set the top copy to something like 40% opacity so the filter could be seen harder.
Comments