
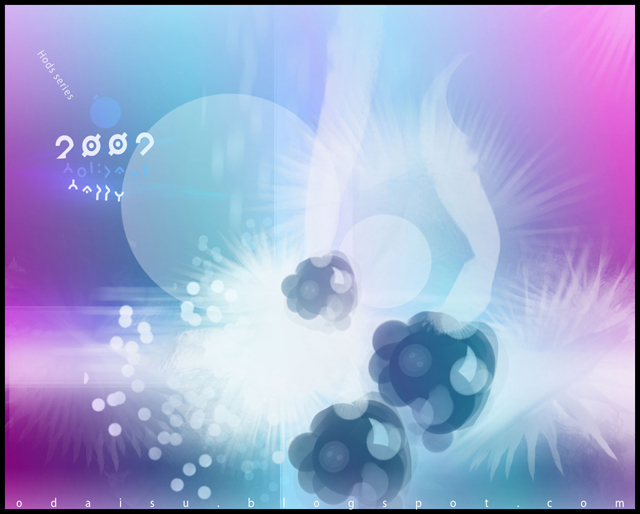
Winter holidays wallpaper
In this tutorial we will make winter holidays wallpaper. I will use mostly Photoshop for this one. I will start from creating
some custom brushes and use them to create wallpaper.
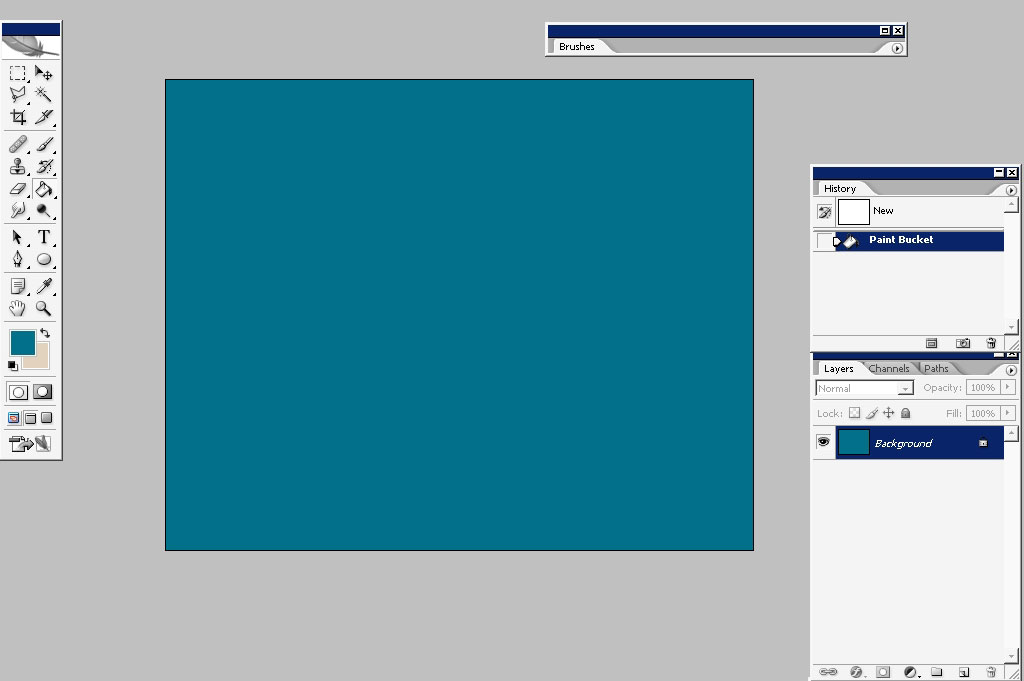
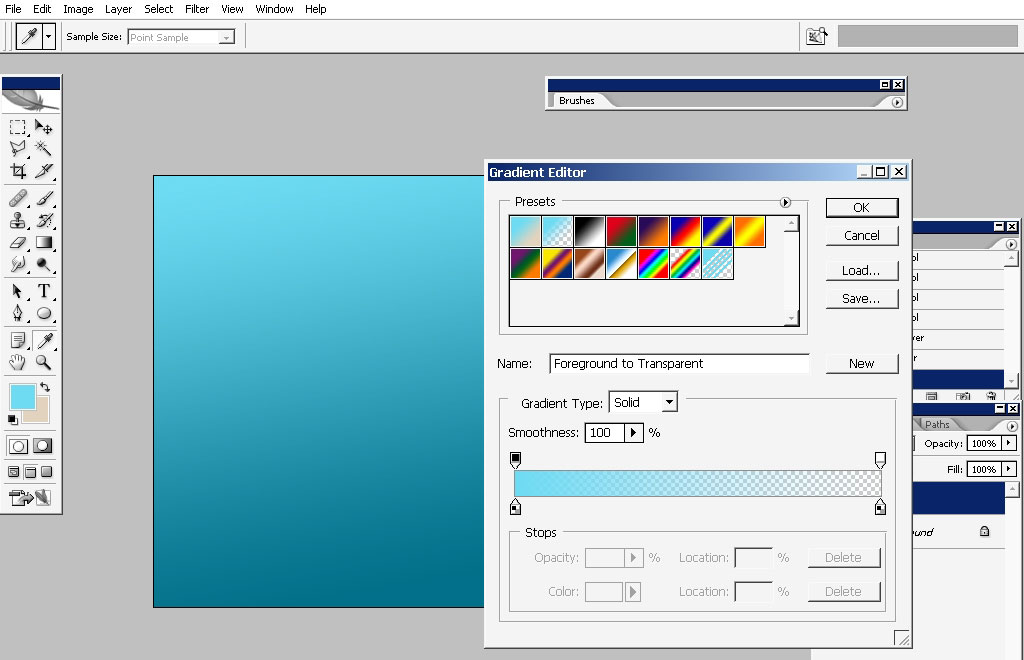
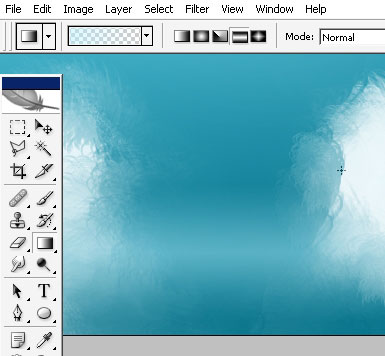
I will choose darker blue as my background color.
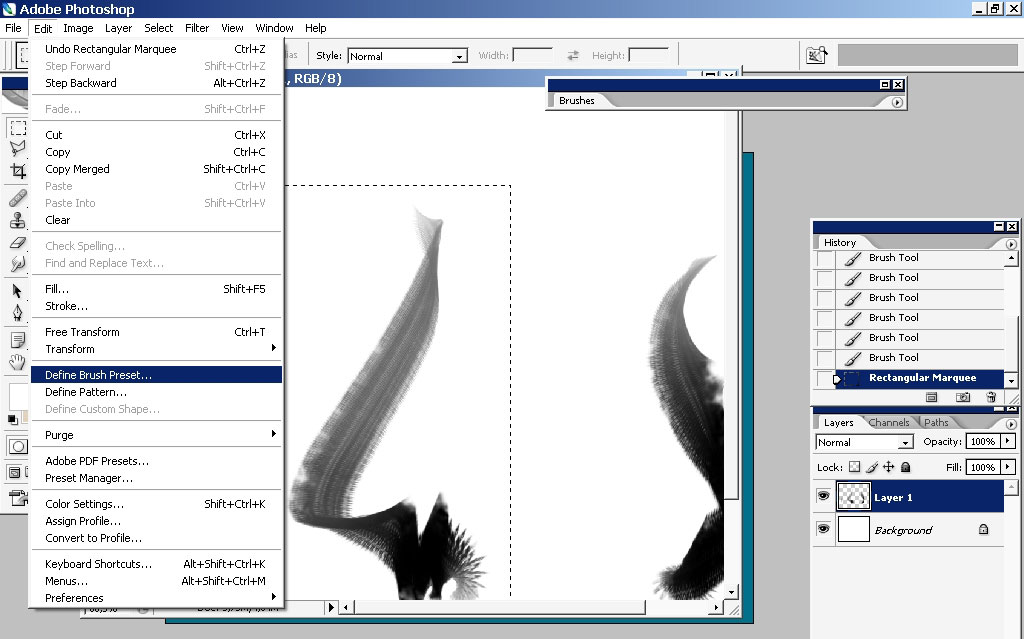
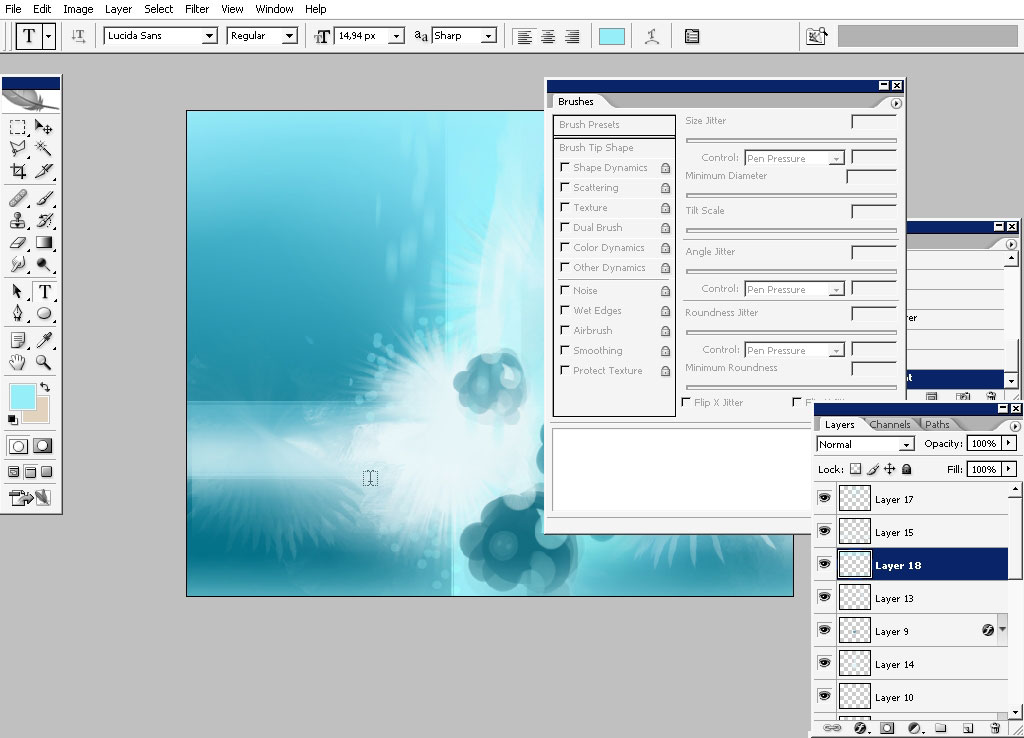
It is Time to create some custom brushes. I will create them using some basic round brushes as well as flat ones. You will

have hem for download (download onetwo.abr).
Back to our background: to create more vivid look applies a top down gradient.
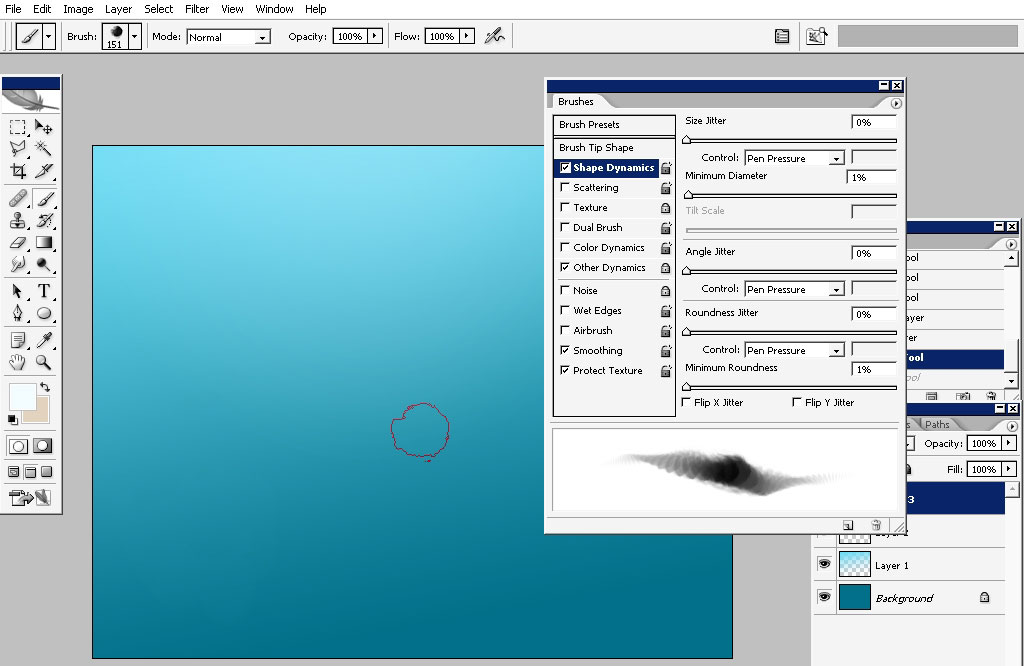
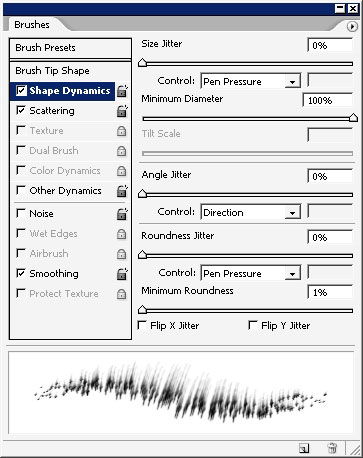
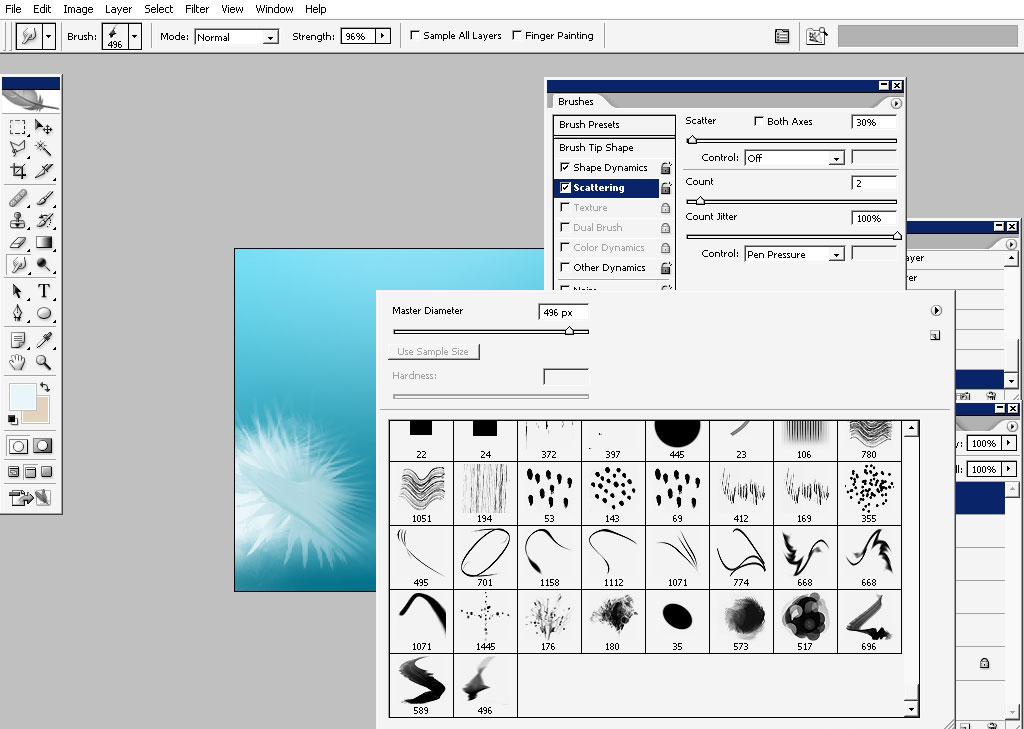
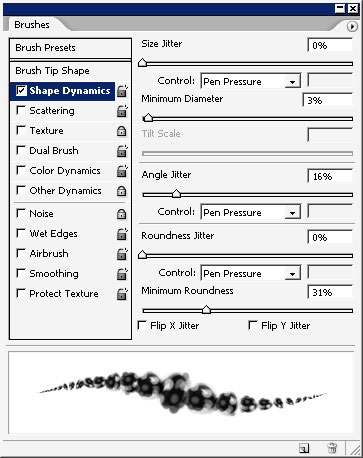
Now it is very important to set the parameters to you brush. I usually set angle and roundness jitter to pen pressure to my
brushes.
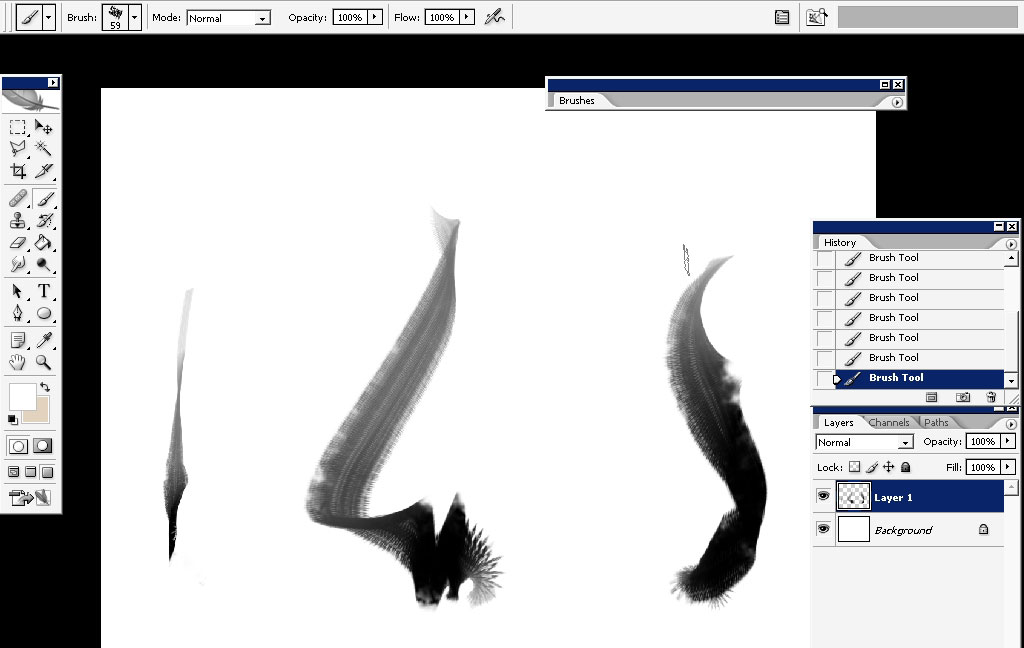
Let’s just text them brush and maybe develop something more than mere brush strokes.
Apply a gradient underneath the strokes. Gradient type – reflective:
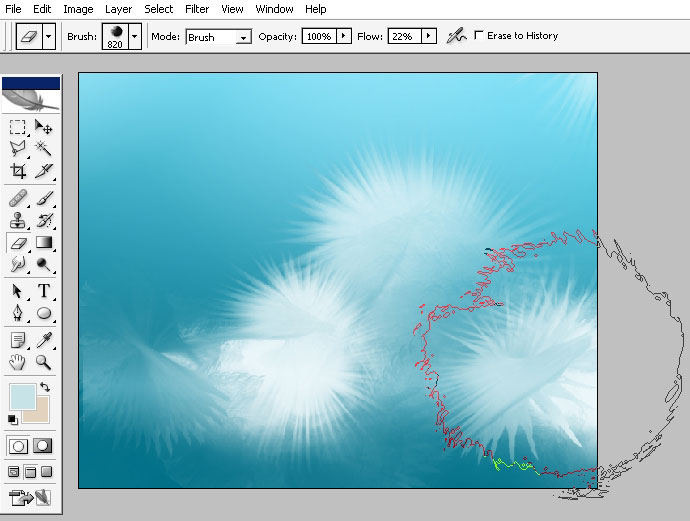
Choose smudge tool and one of our custom brushes – the last one (most flat).
Brush settings:
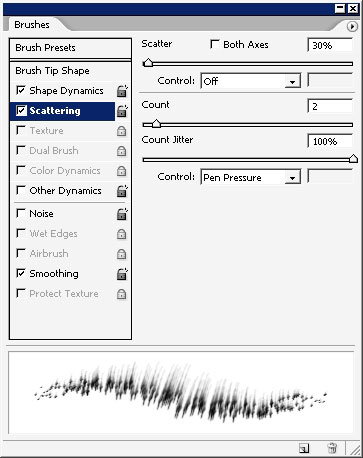
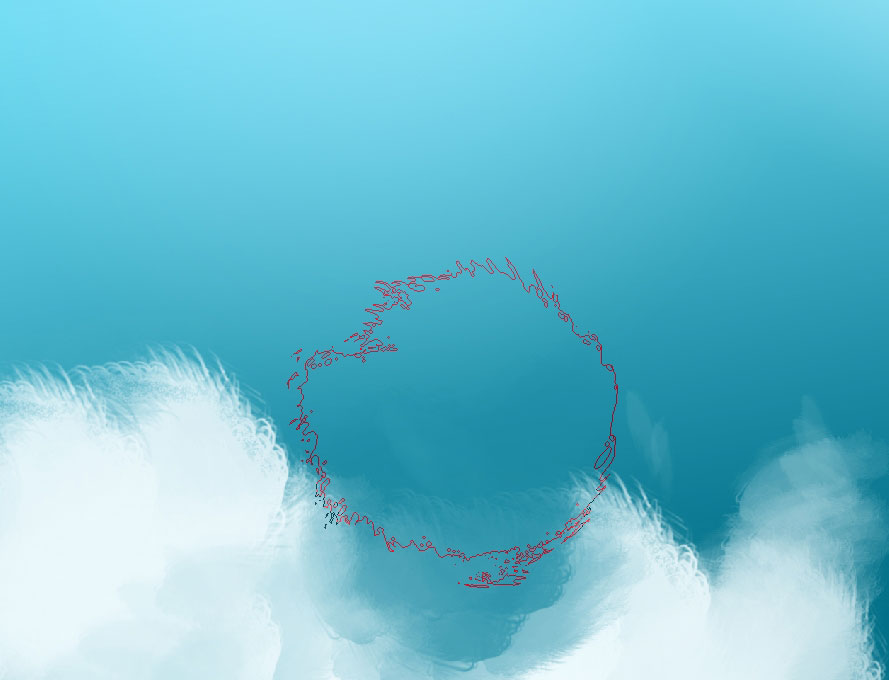
Smudge the brush strokes we’ve created.
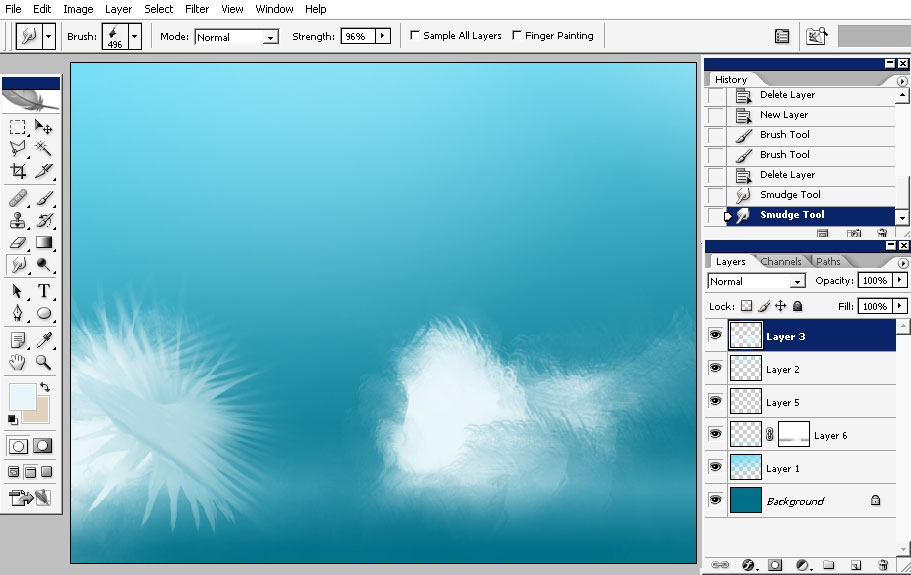
Now it looks much better – something like snowflakes.
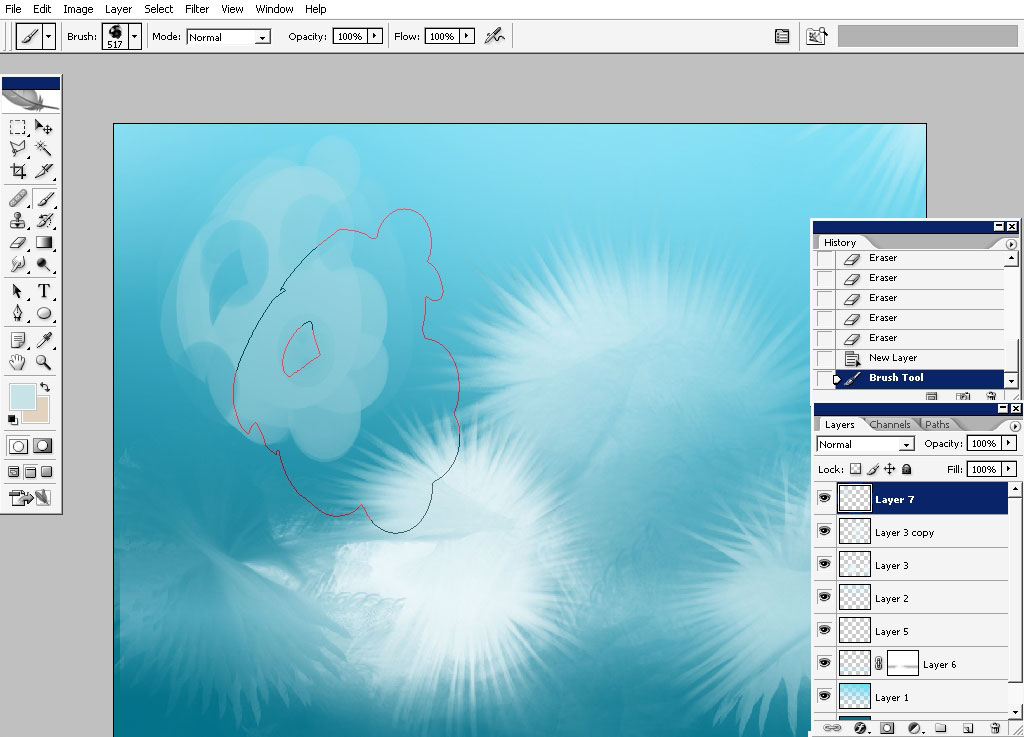
Create a copy of this layer.
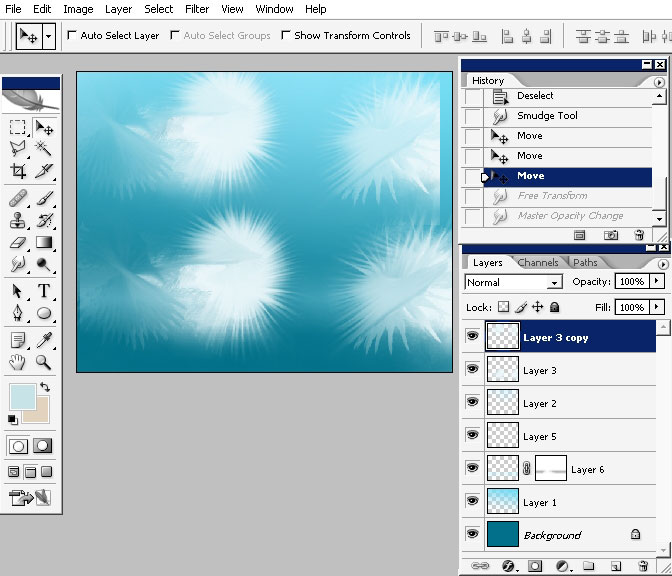
Transform it a little bit.
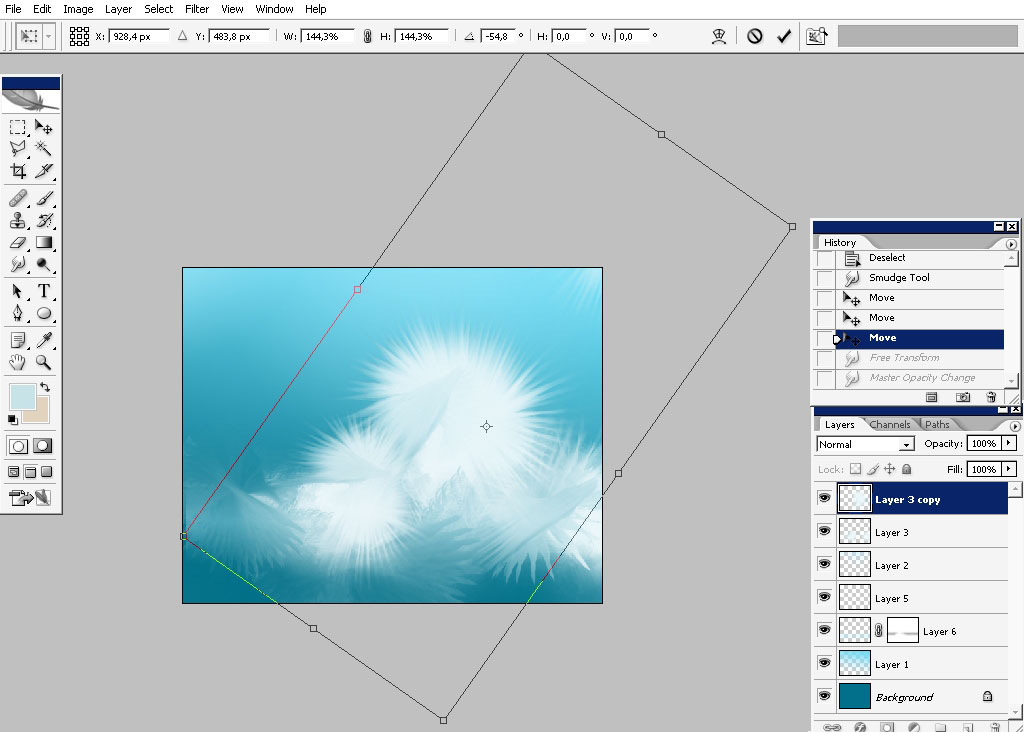
Erase it a little bit to push the object to background.
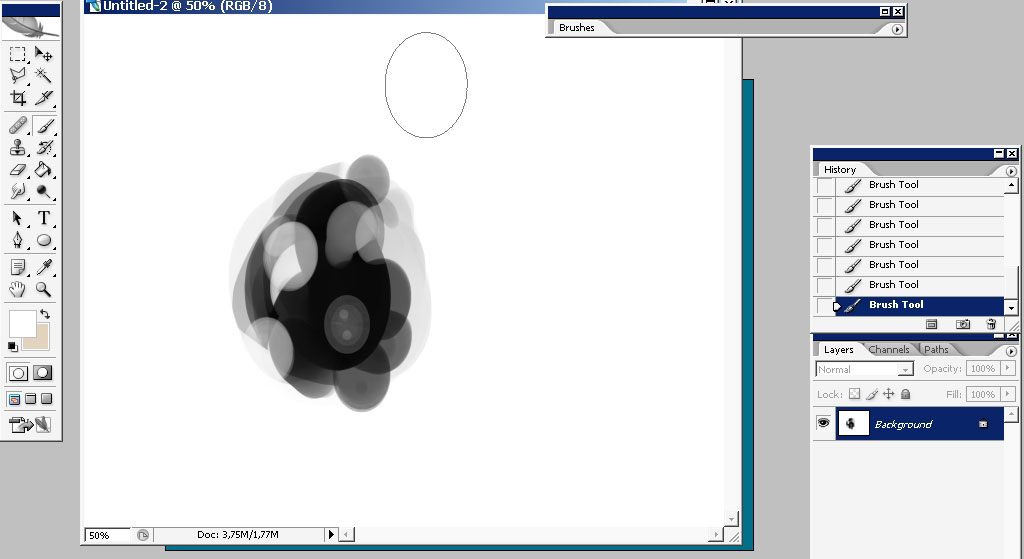
Now comes the next brush that we’ve created. We will use it to create foreground objects like some kind of Christmas balls.
As you can see the color is way much darker than you expected maybe).

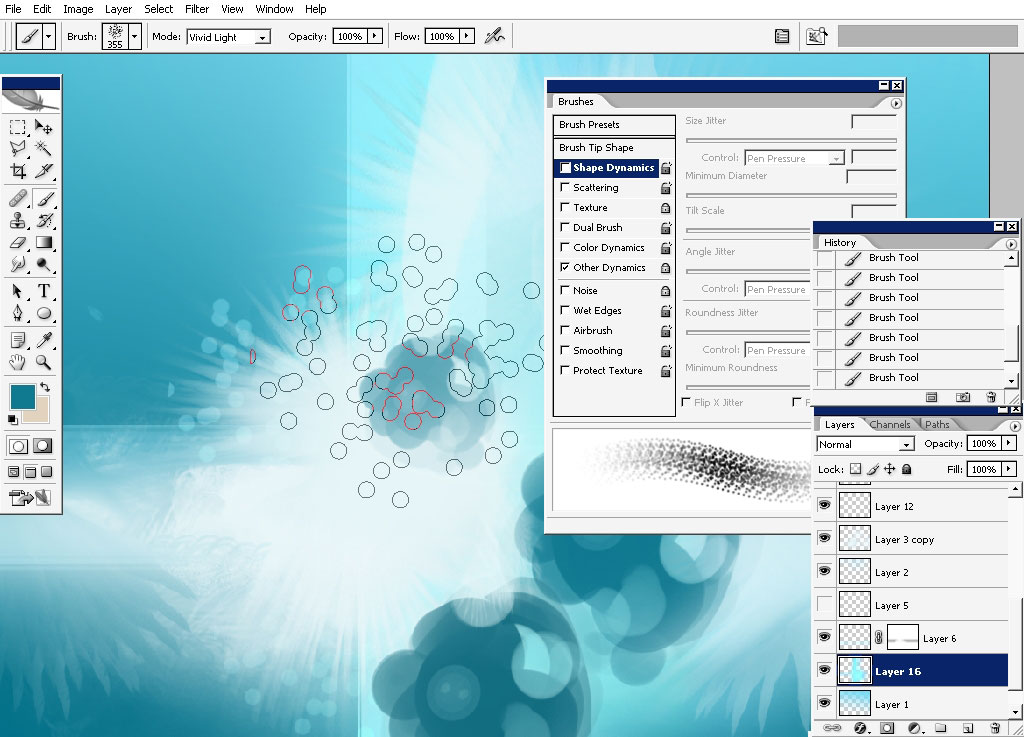
3rd brush:

Dot brush in action – I’m using vivid light as my major blending mode.
The cross appeared on the background – the same blending mode.
Now let’s male some text work:
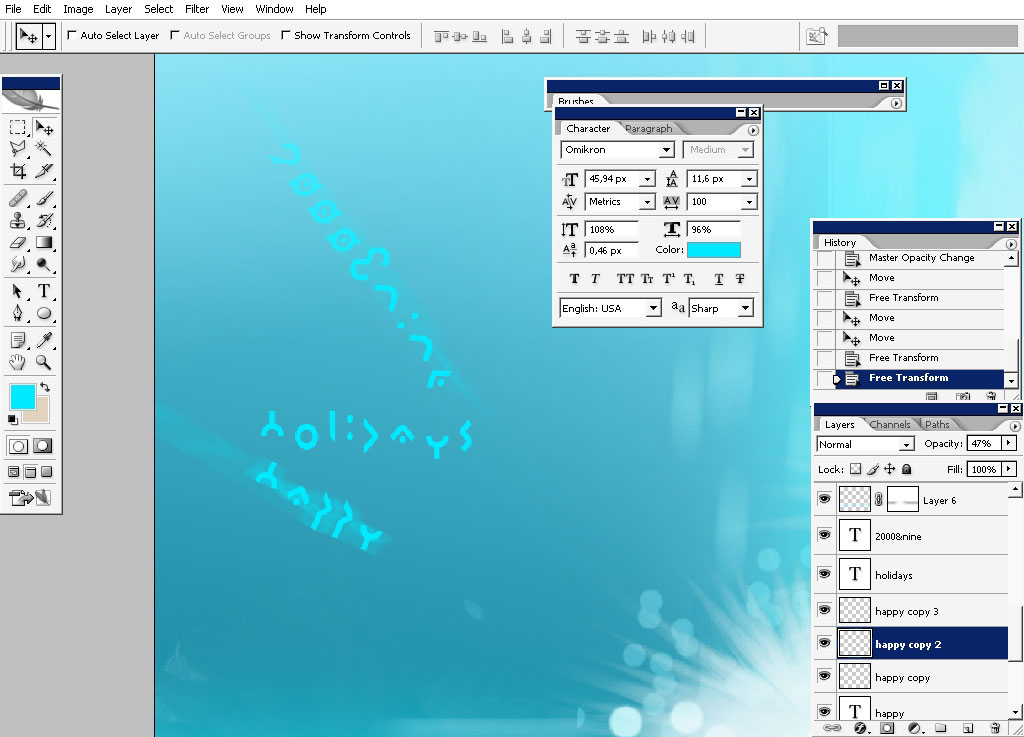
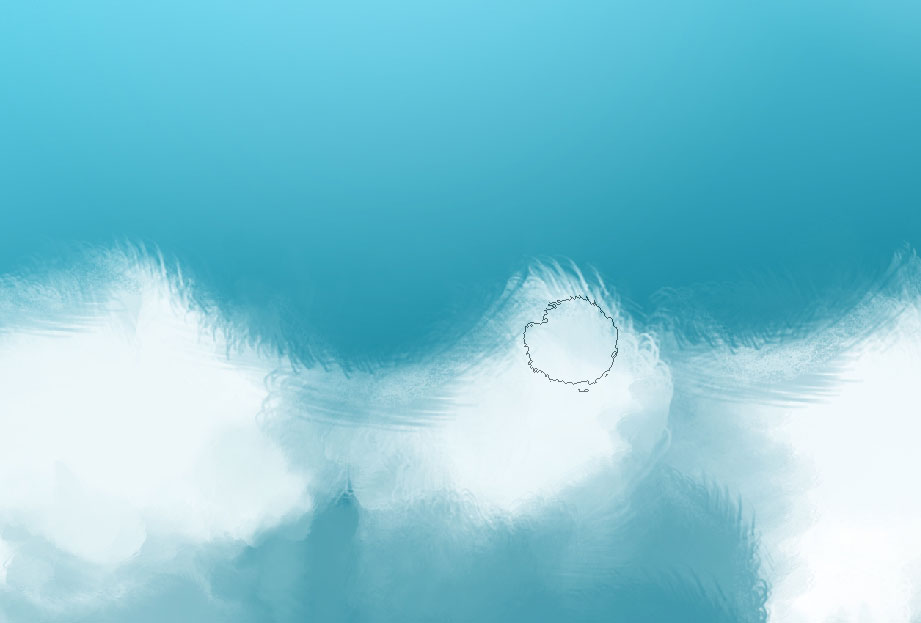
And we’ve got a post card of some kind. Actually a can use this for various purposes. I think it has something like Japanese
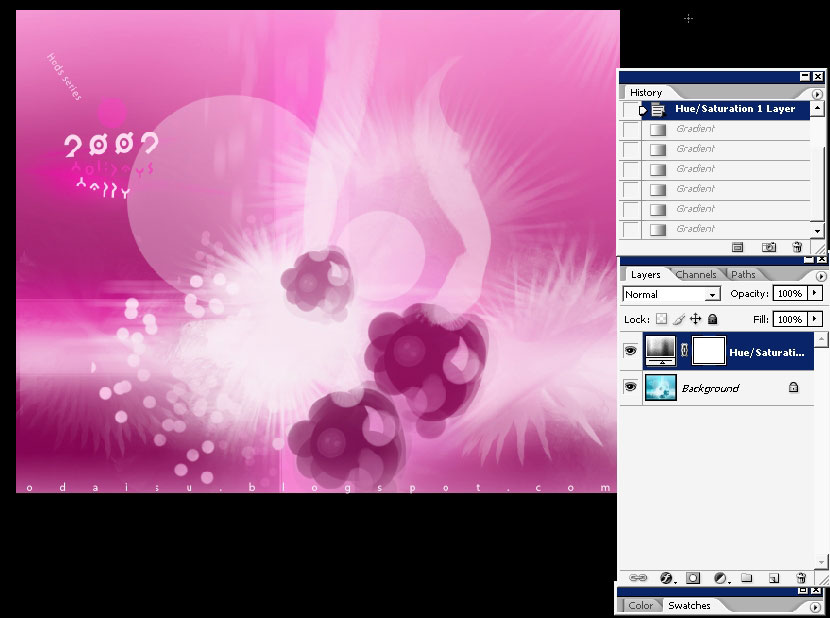
stylistic. Oh ea – I really like to adjust this one in the end.
Use mask to define the effect visible areas.

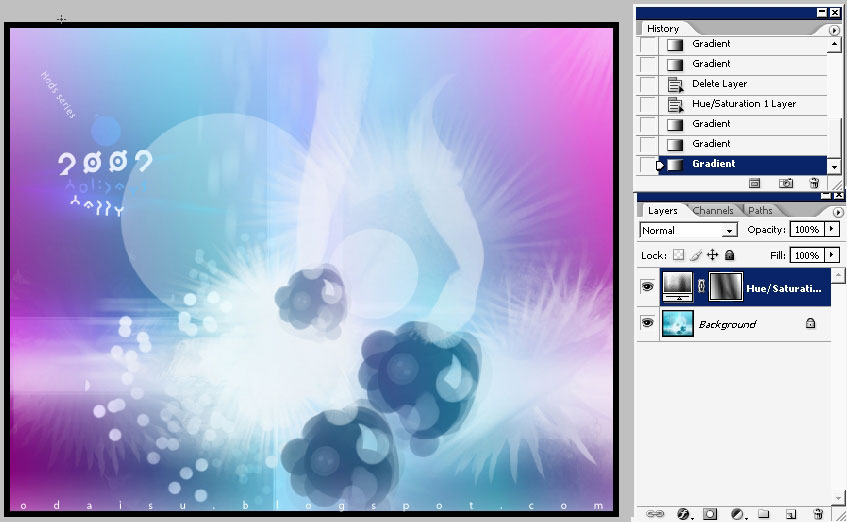
Well I hope you enjoyed making “Japanese” holidays wallpaper with me. See you next time on eyesontutorials.com.
View full size: Japanese-style winter holidays wallpaper
Comments