
Design a colorful Northern Lights landscape
June 3, 2009 | 0 comments
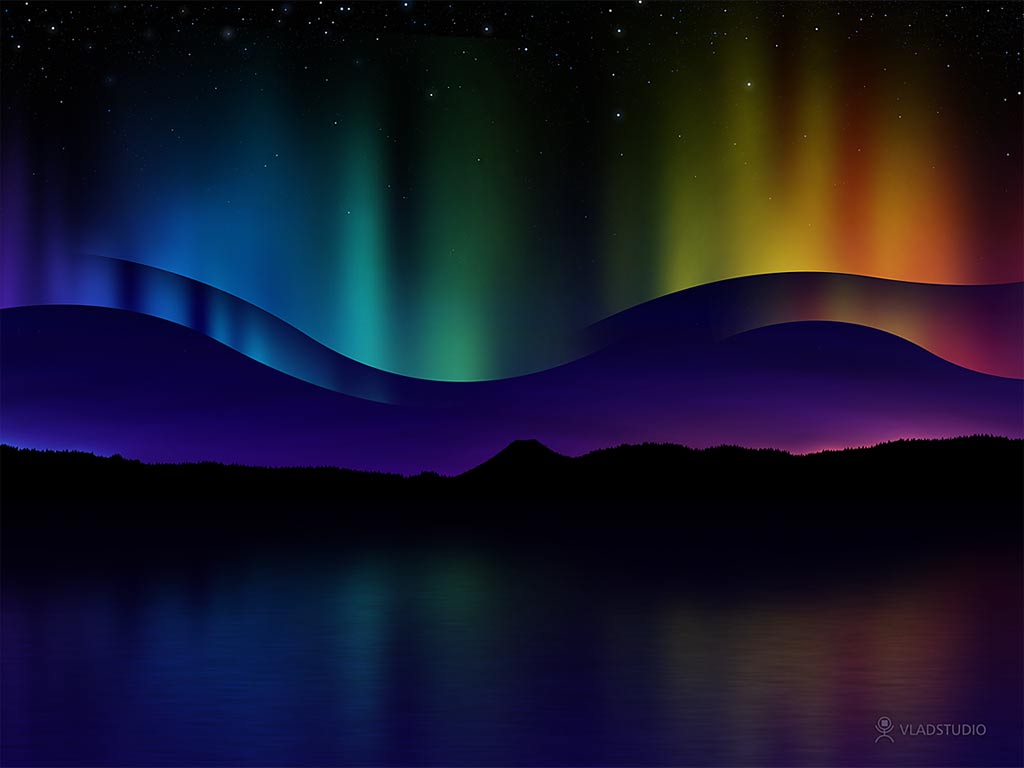
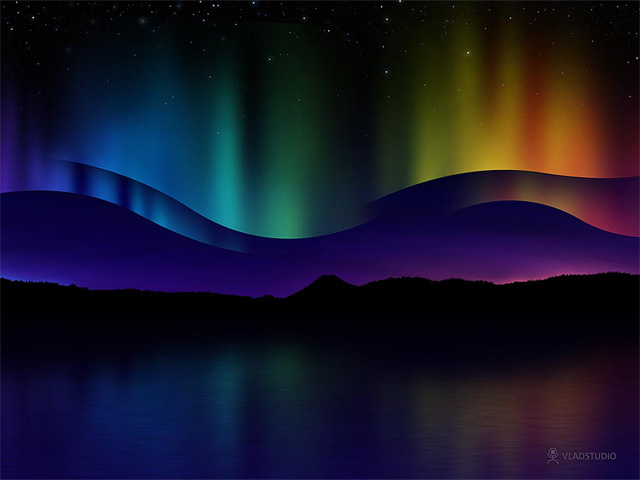
Tips about how I made the Northern Lights wallpaper ( see wallpaper).
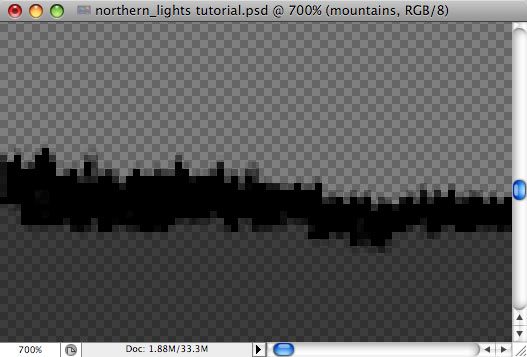
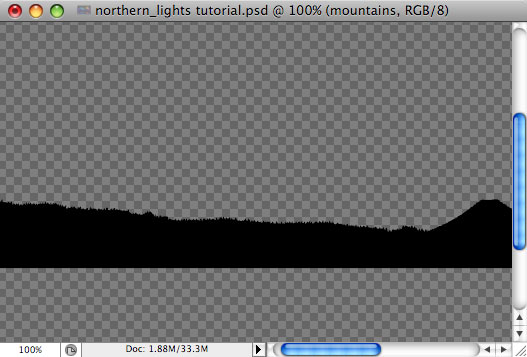
Let’s start with mountains
(though the particular order of steps is not important now). Switch to
Pen tool (P), set foreground color to black, and start drawing
mountains with short “strokes” or pen (click – drag a little –
release).
(though the particular order of steps is not important now). Switch to
Pen tool (P), set foreground color to black, and start drawing
mountains with short “strokes” or pen (click – drag a little –
release).
Continue until the mountains shape is ready.

If
you want mountains to look more natural, you can add trees to top of
it. Create new layer, switch to Brush tool (B), select very small
(2-3px) hard brush, and draw trees carefully with short vertical
strokes. I recommend you zoom in while drawing.
you want mountains to look more natural, you can add trees to top of
it. Create new layer, switch to Brush tool (B), select very small
(2-3px) hard brush, and draw trees carefully with short vertical
strokes. I recommend you zoom in while drawing.
This is how mountains look with trees added.

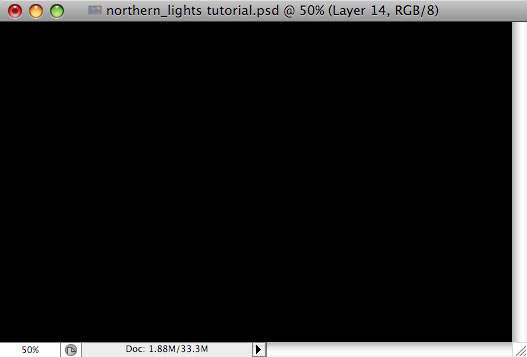
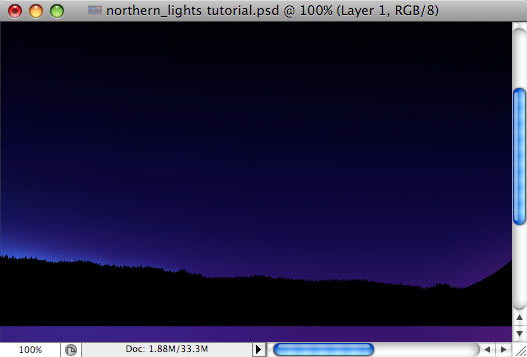
Now let’s design the sky in the background. Create new ‘sky’ layer behind
the layer with mountains (it should be on bottom of list of layers).
Fill it with black. Because mountains are also black, they will
disappear, just like shown on this preview 🙂
the layer with mountains (it should be on bottom of list of layers).
Fill it with black. Because mountains are also black, they will
disappear, just like shown on this preview 🙂
Set
foreground color to dark blueish-purple, select very large soft brush
(B), set brush opacity to 10%. Draw some lights behind mountains.
foreground color to dark blueish-purple, select very large soft brush
(B), set brush opacity to 10%. Draw some lights behind mountains.
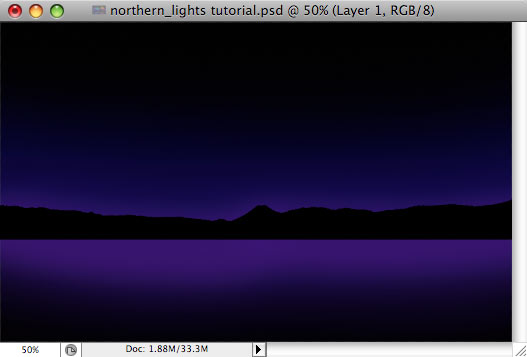
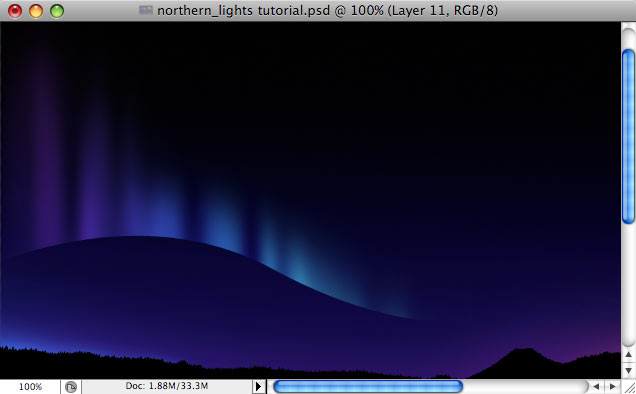
Change color to lighter gold, make brush size smaller, and add smaller lights just near the right edge of mountains.
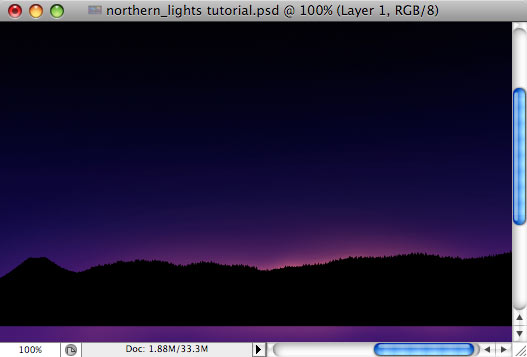
Change color to lighter blue, and repeat the same on the left edge of mountains.
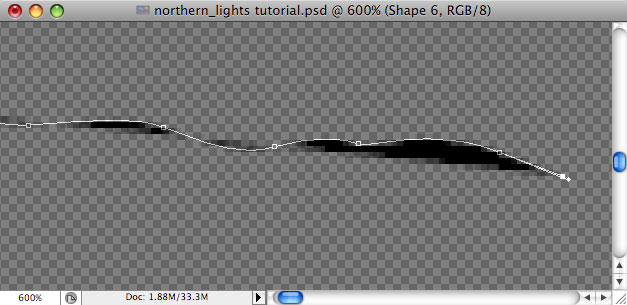
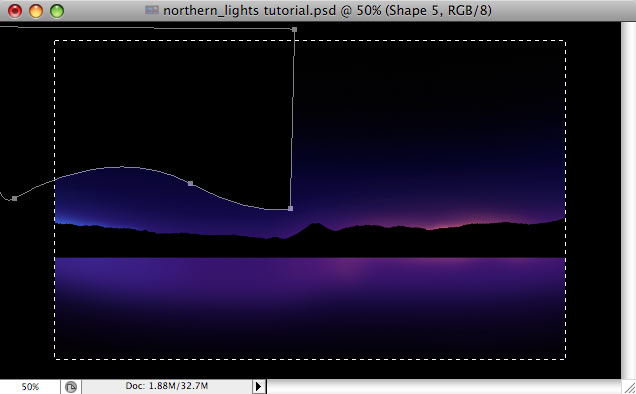
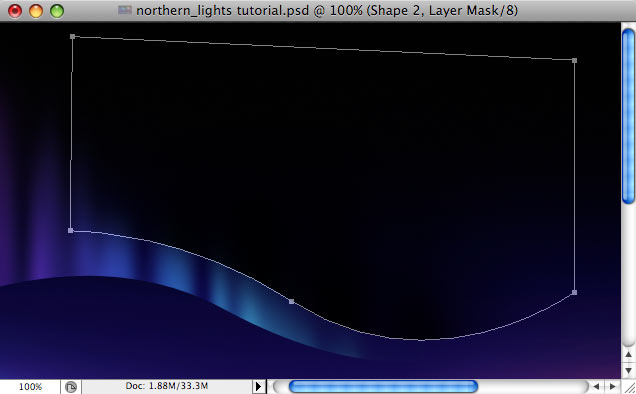
Now
it is time for the most exciting part – the Nothern Light! I recommend
that you create new layer set for each Light. Switch to Pen tool, set
color to black, and make the shape similar to shown here – bottom curve
is important, all else will become invisible. It might go outside file
boundaries, if you’d like. Let’s call this layer “Northern Light black
shape layer”.
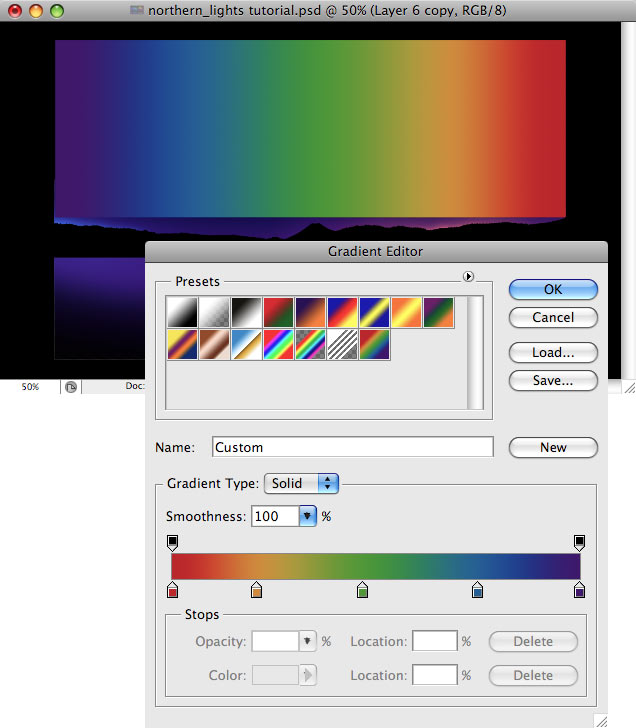
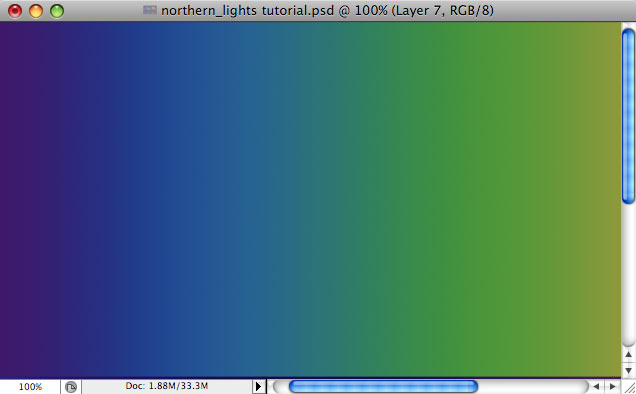
Create
new layer, switch to gradient tool (G), open Gradient Editor (to do so,
click the gradient preview on top toolbar). Create gradient with colors
you’d like. Then, fill the layer with gradient from left edge of image
to right.
new layer, switch to gradient tool (G), open Gradient Editor (to do so,
click the gradient preview on top toolbar). Create gradient with colors
you’d like. Then, fill the layer with gradient from left edge of image
to right.
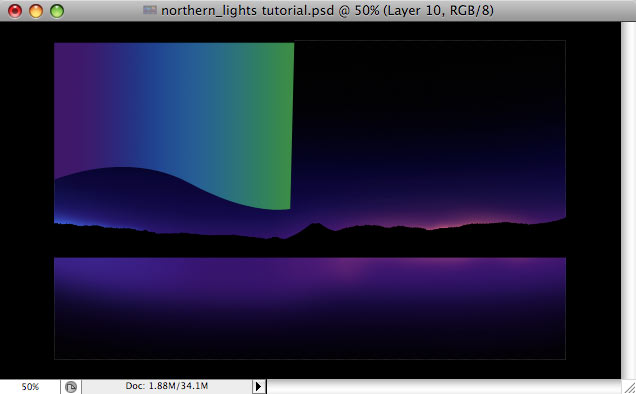
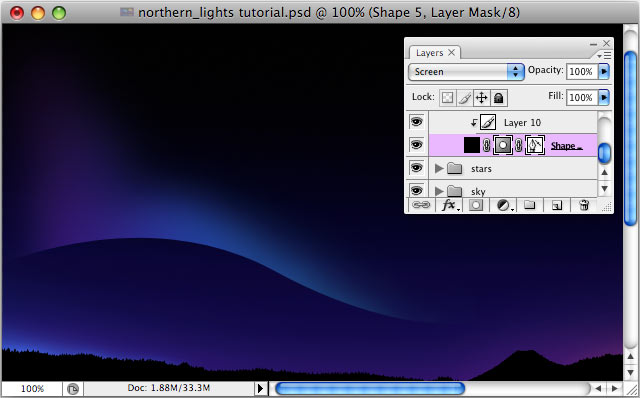
Go
to Layer menu – “Create Clipping Mask” (Ctrl-Alt-G), so that the
gradient layer is only visible within Northern Light black shape layer.
to Layer menu – “Create Clipping Mask” (Ctrl-Alt-G), so that the
gradient layer is only visible within Northern Light black shape layer.
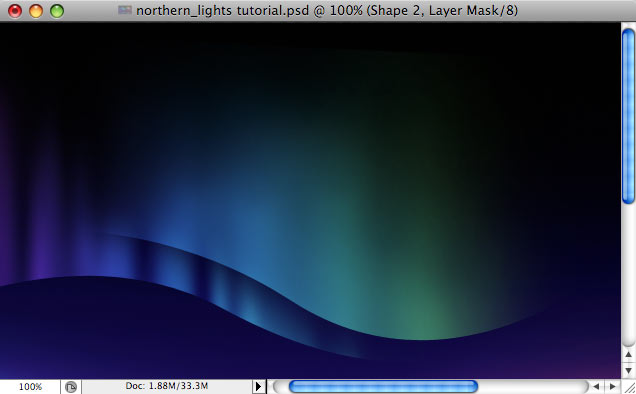
Select
the Northern Light black shape layer. Create a mask: Layer menu – Layer
Mask – Reveal all. Make sure layer mask is selected (not layer itself).
Switch to Brush tool (B), set color to black, select very large soft
brush. Draw on mask with black brush – the layer becomes invisible as
you draw, similar to Eraser tool. You should “erase” almost everything,
keeping the area near bottom curve. Continue until the shape starts to
look like northern light.
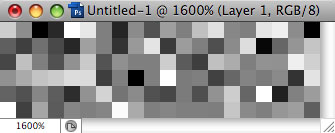
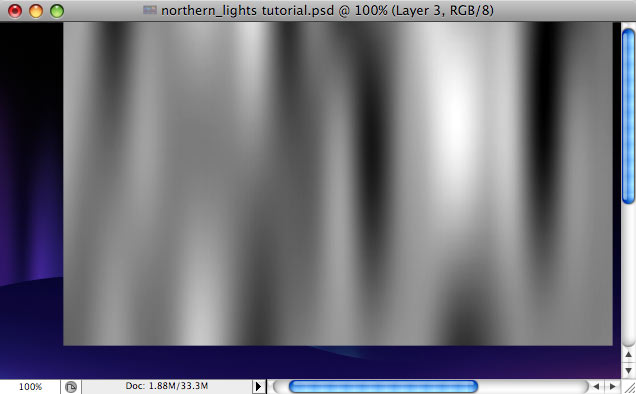
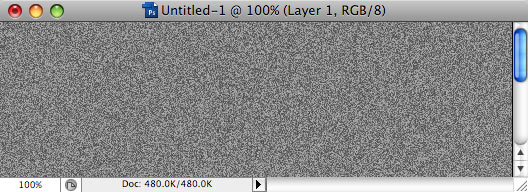
To
make our lights more realistic, we need to add some vertical shades.
The best way to achieve it is to use Noise effect. Create new
(temporary) document, about 20 x 8 pixels. Fill it with grey color,
then apply Noise (Filters menu – Noise – Add Noise, amount = 20-30).
You should get something similar to shown here (zoomed in).
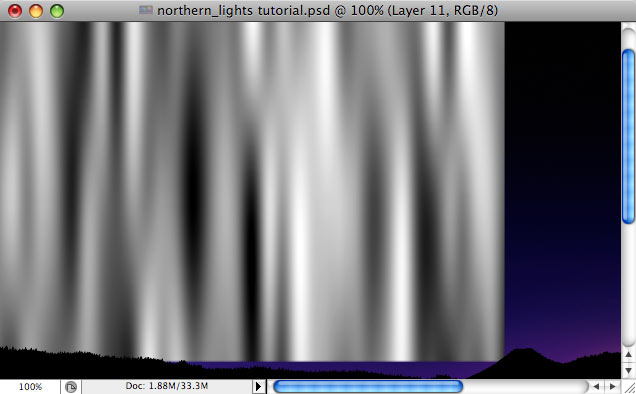
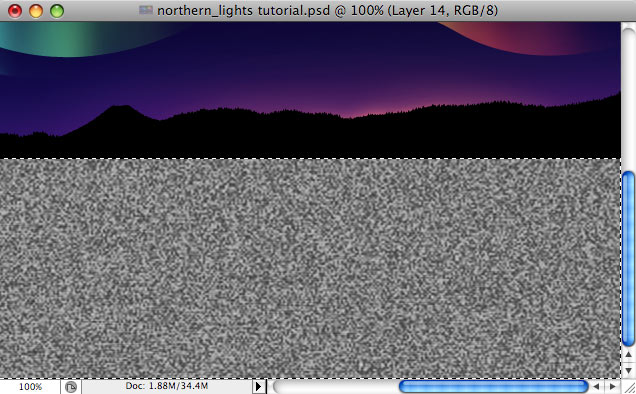
Select
all (Ctrl-A), copy (Ctrl-C), close temporary file, paste into our
original file (Ctrl-V), then transform (Ctrl-T) and scale up so that it
covers Northern Light black shape layer entirely and even bigger. Apply
some Blur (Filters menu – Blur – Gaussian blur, radius = 10-20px).
all (Ctrl-A), copy (Ctrl-C), close temporary file, paste into our
original file (Ctrl-V), then transform (Ctrl-T) and scale up so that it
covers Northern Light black shape layer entirely and even bigger. Apply
some Blur (Filters menu – Blur – Gaussian blur, radius = 10-20px).
Go
to Layer menu – “Create Clipping Mask” (Ctrl-Alt-G) so that the “noise”
layer is only visible within Northern Light black shape layer.
to Layer menu – “Create Clipping Mask” (Ctrl-Alt-G) so that the “noise”
layer is only visible within Northern Light black shape layer.
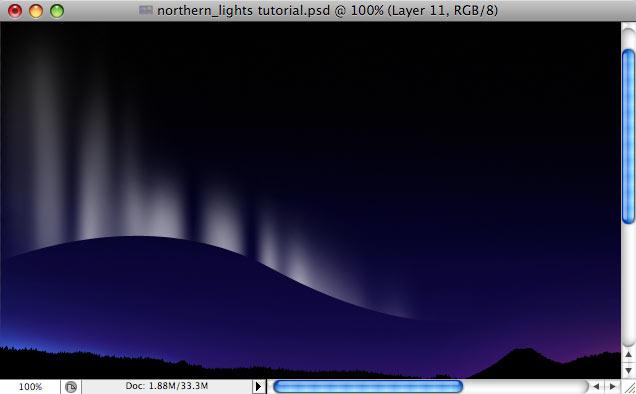
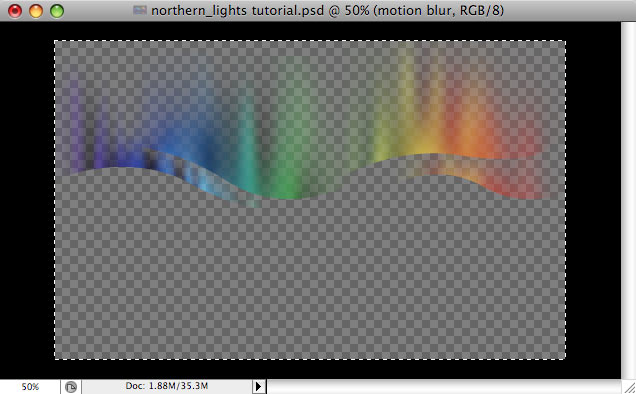
Finally, change layer Blend Mode to “overlay”. Ta-da! The first Light is ready!
Repeat these steps for each Light that you want to add. Let me show you quick previews without much comments:

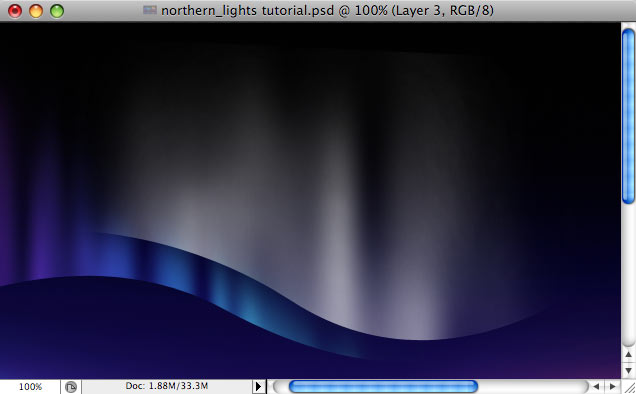
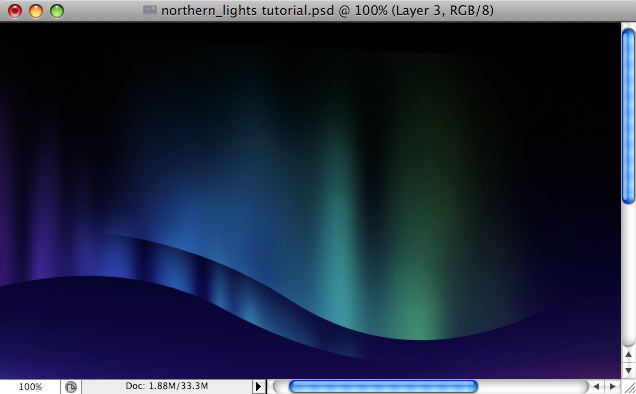
To add more lights, simply repeat the steps above.
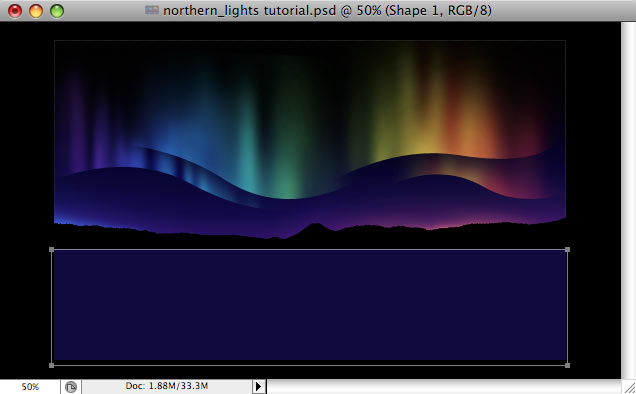
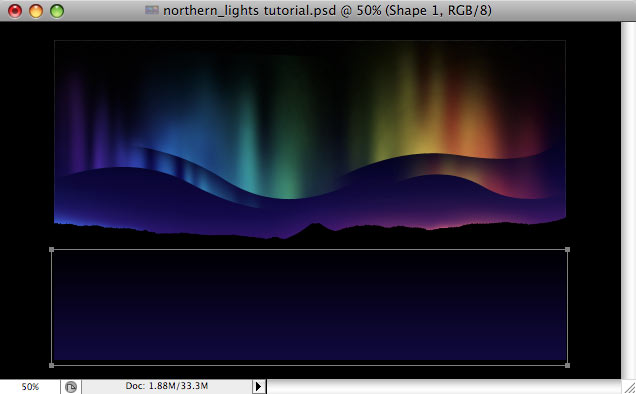
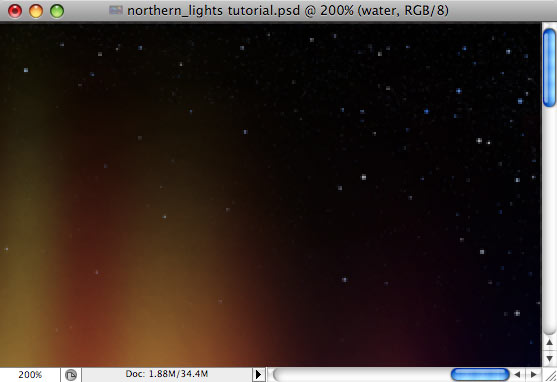
Next
step is: water and reflections. Create new layer, set foreground color
to dark blue, switch to Shape tool (U), select Rectangle tool and draw
rectangle where water is supposed to be.
step is: water and reflections. Create new layer, set foreground color
to dark blue, switch to Shape tool (U), select Rectangle tool and draw
rectangle where water is supposed to be.
Open
Layer Blending Options (Layer menu – Layer style – Blending Options).
Add Gradient Overlay (black-to-white), check Reverse (so that black is
on top), set gradient Blend mode to Multiply.
Layer Blending Options (Layer menu – Layer style – Blending Options).
Add Gradient Overlay (black-to-white), check Reverse (so that black is
on top), set gradient Blend mode to Multiply.
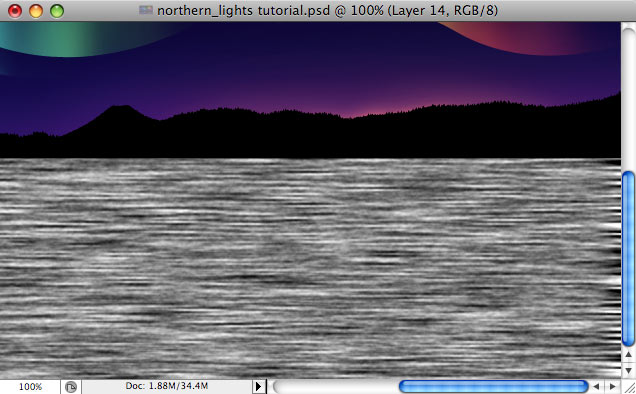
Create
new (temporary) document, with width and height 50% of our water
rectangle. Fill with grey color, then apply some noise (Filters menu –
Noise – Add Noise, amount = 20-30). Then change Image Size (Image menu
– Image size) to 200%.
new (temporary) document, with width and height 50% of our water
rectangle. Fill with grey color, then apply some noise (Filters menu –
Noise – Add Noise, amount = 20-30). Then change Image Size (Image menu
– Image size) to 200%.
Select
all (Ctrl-A), copy (Ctrl-C), close temporary file, paste into our
original file (Ctrl-V) so that it covers the water rectangle.
all (Ctrl-A), copy (Ctrl-C), close temporary file, paste into our
original file (Ctrl-V) so that it covers the water rectangle.
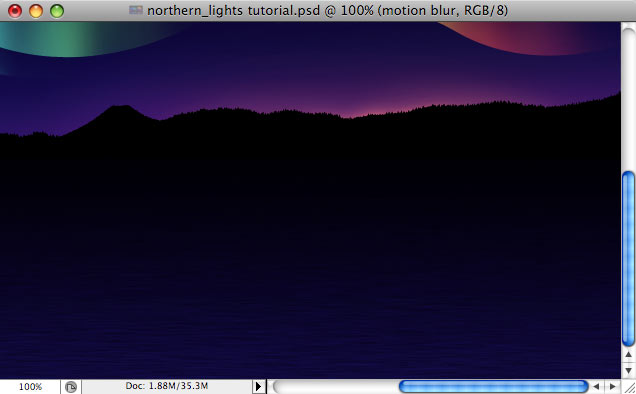
Go to Filters menu – Blur – Motion blur. Set Angle to 0, Distance to 30-50 pixels (please experiment).
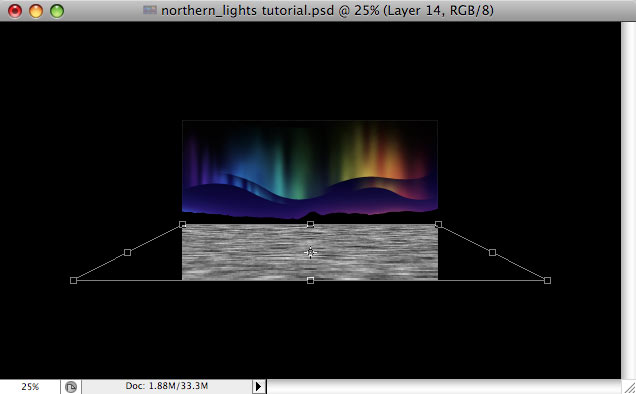
Go to Edit menu – Transform – Perspective, drag lower edge as shown here.
Set
layer Blend mode to Overlay, and opacity to 15-20%. Now the water is
almost invisible, but do not worry! We’ll add reflections and it will
look better.
layer Blend mode to Overlay, and opacity to 15-20%. Now the water is
almost invisible, but do not worry! We’ll add reflections and it will
look better.
Hide all layers except Lights. Select all (Ctrl-A) and copy merged (Ctrl-Shift-C).
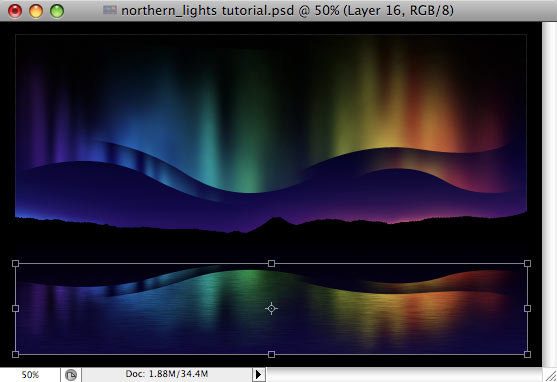
Show
all layers again. Select the layer with water, paste lights (Ctrl-V)
and flip vertical (Edit menu – Transform – Flip vertical). Move lights
down inside the water.
all layers again. Select the layer with water, paste lights (Ctrl-V)
and flip vertical (Edit menu – Transform – Flip vertical). Move lights
down inside the water.
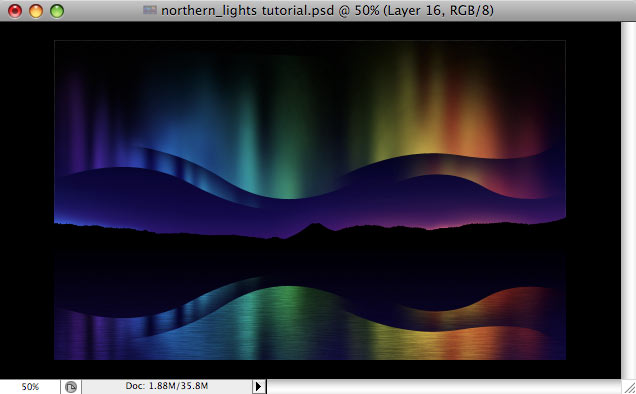
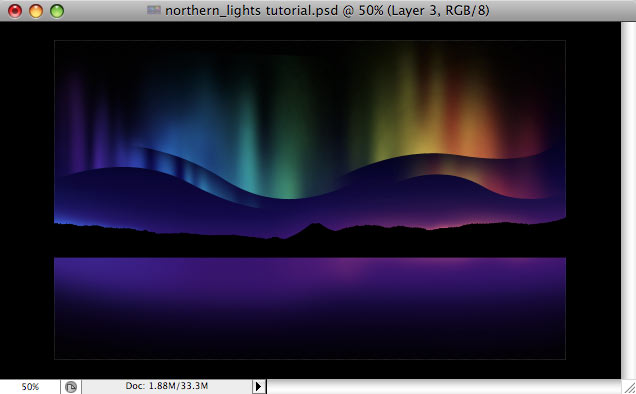
Transform (Ctrl-T) and squeeze the layer vertically.
Apply Blur (Filters menu – Blur – Gaussian Blur), radius = 20-30px.
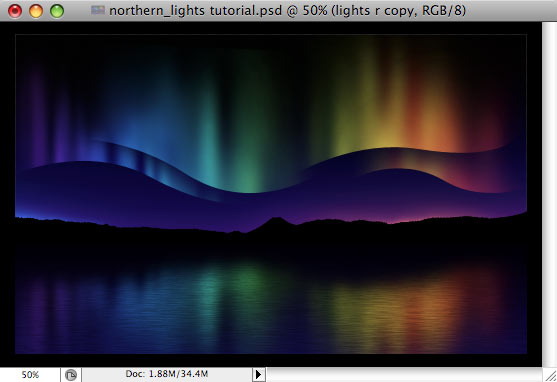
And finally, change layer Blend mode to Linear Dodge and Opacity to 40-50%. Done!
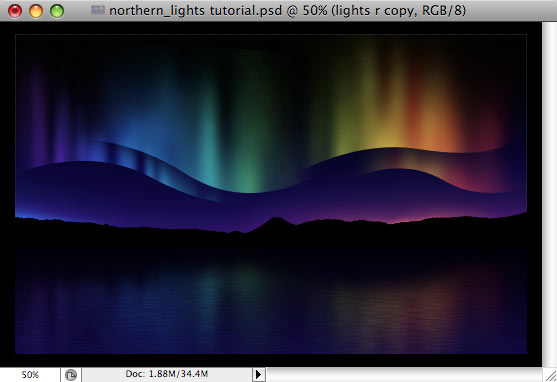
The last step is to add some stars to top of dark sky. You can read about drawing stars in my previous tutorials, Making of Rainbow or Making of Christmas Night . Thanks for reading!
Author: Vlad Gerasimov
URL: http://www.vladstudio.com
Comments