
Graphic design
This is a tutorial that will cover some of the techniques I use to create a design for further use in purposes like – web
design – graphic design or prop design.
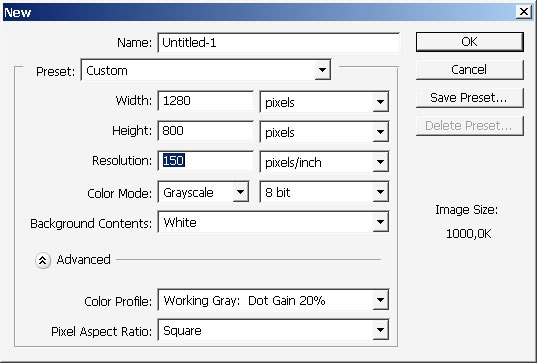
So let’s create a document first.
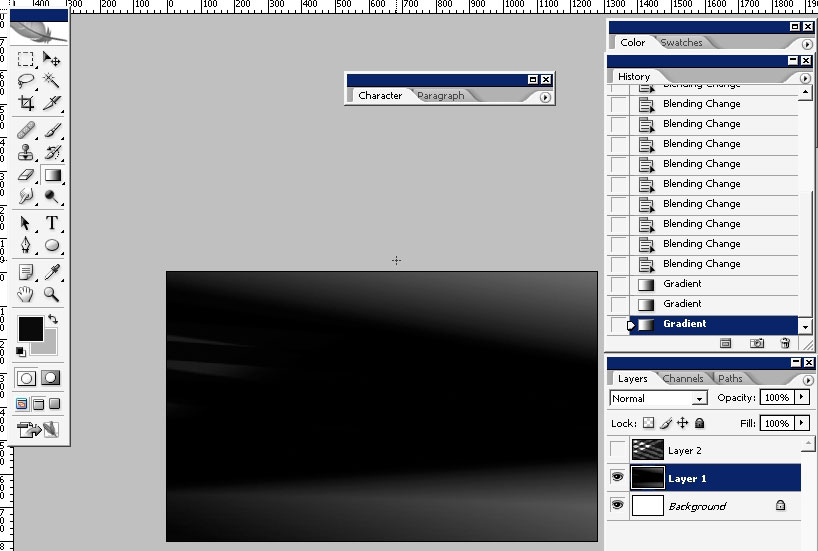
Cover the image with black with maybe a little gradation.

I’d like to use a photo of some texture in this one so I will find one in the internet:

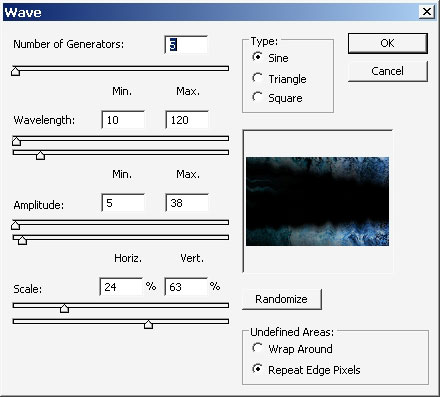
Apply the texture and do use wave filter to change the planar profile of this picture.
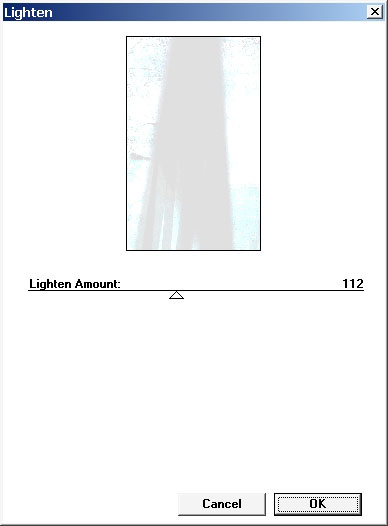
With also lighten amount:
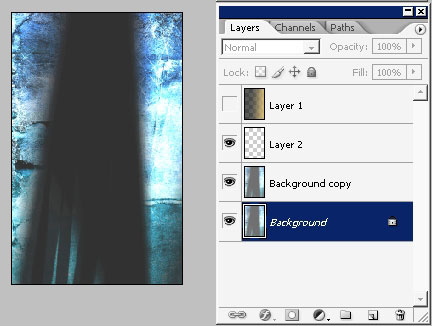
Flip the image and here is the current result:
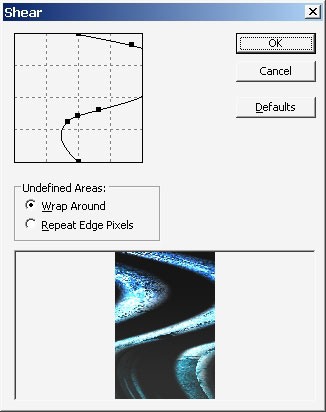
Follow along with shear filter:
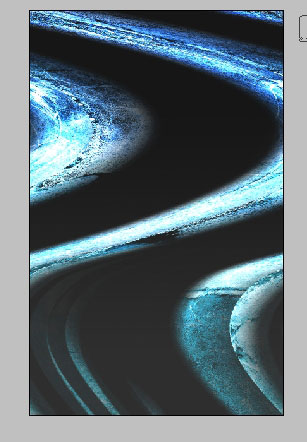
Result:
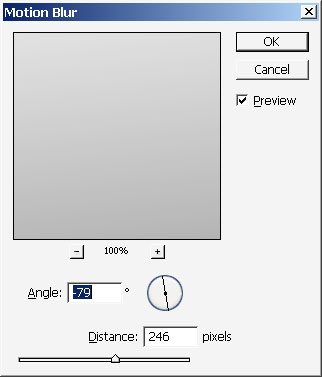
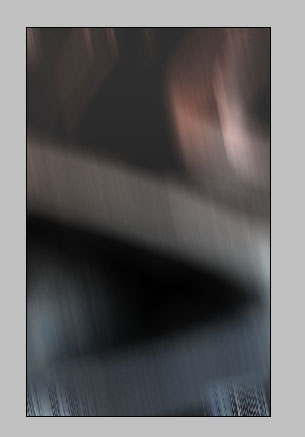
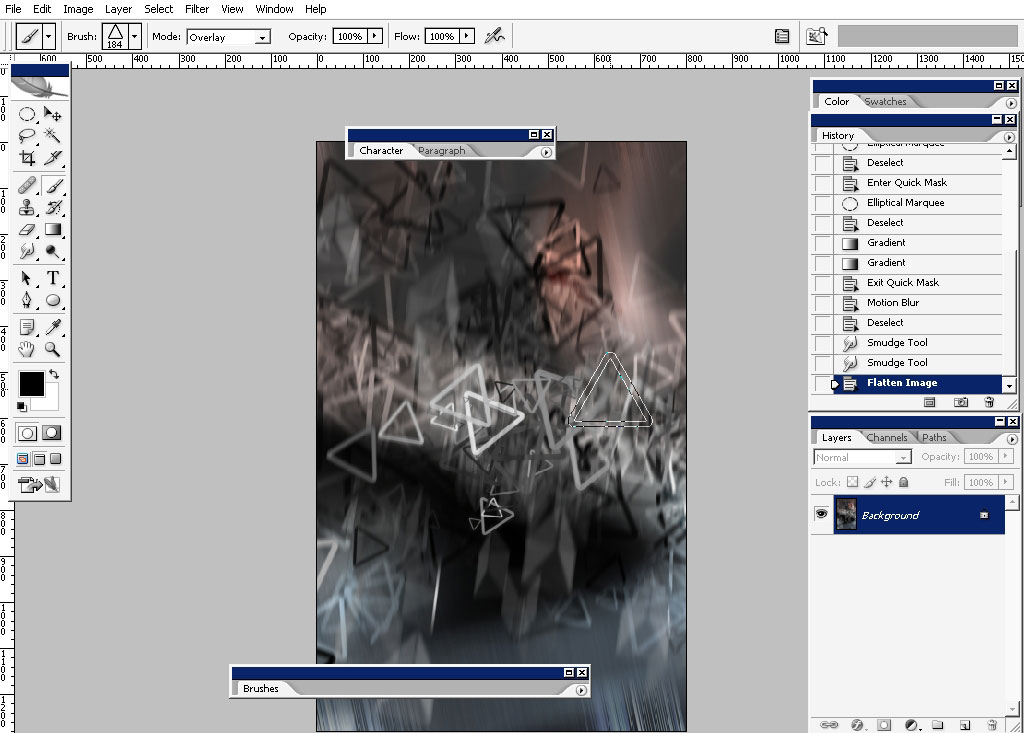
Continue with the effects and apply motion blur filter.
Now use this square brush to do some of this.
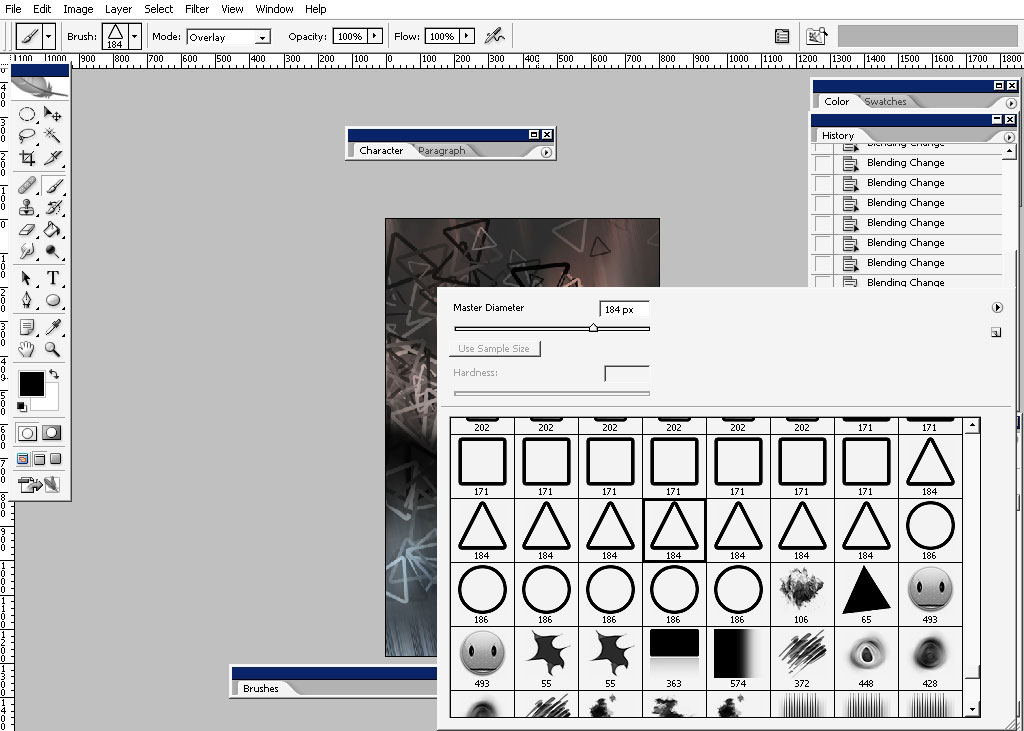
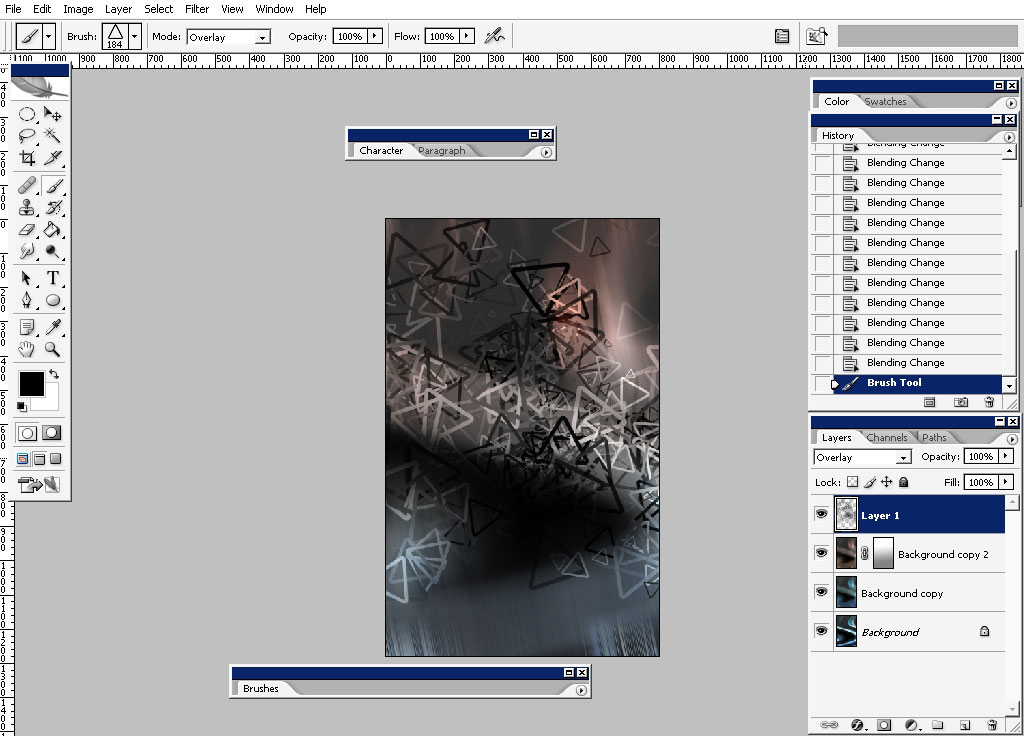
Create a new layer – set it to overlay and use some of this brush too.
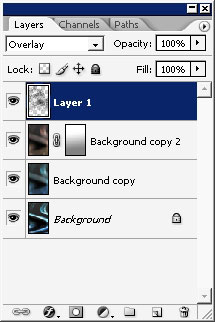
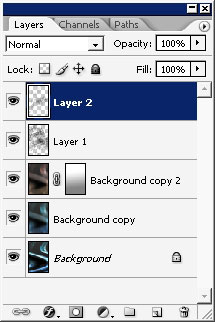
Now another layer: this will help us to reach the feel of depth in the picture.
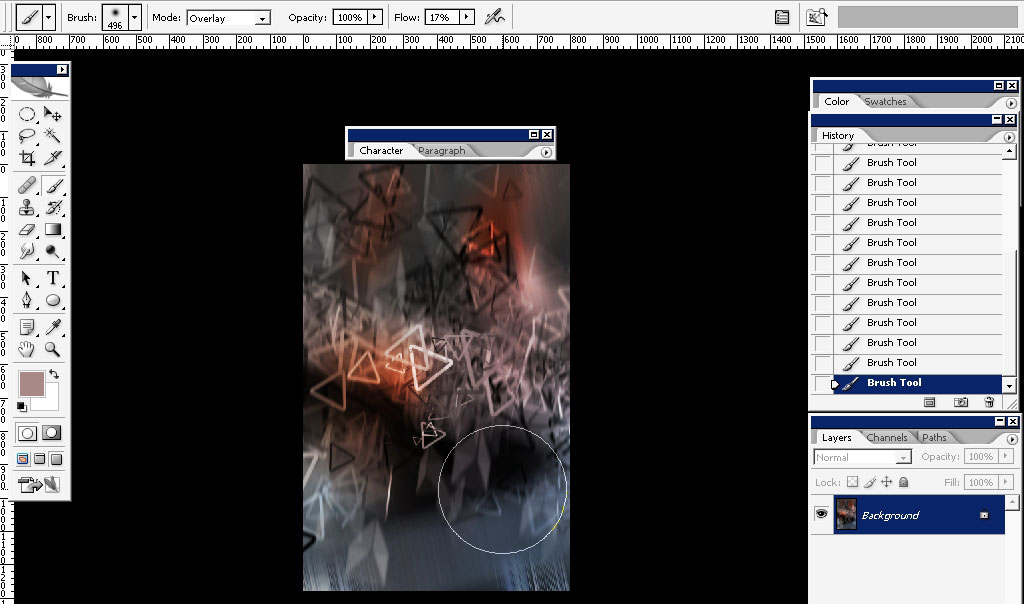
Experiment with opacity and flow jitters too.

Use soft brush and the same overlay brush mode to expose the colors.
Merge all the layers together and blur the background with blur tool or using masking technique.
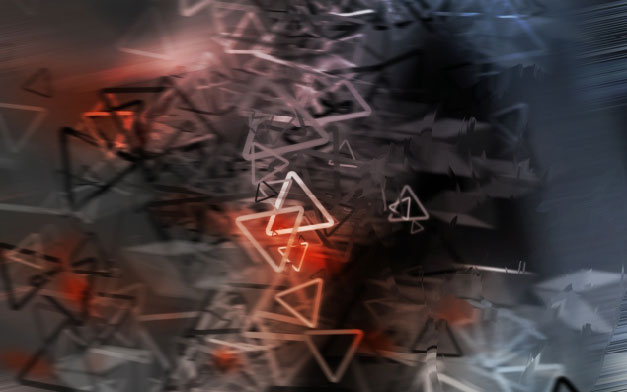
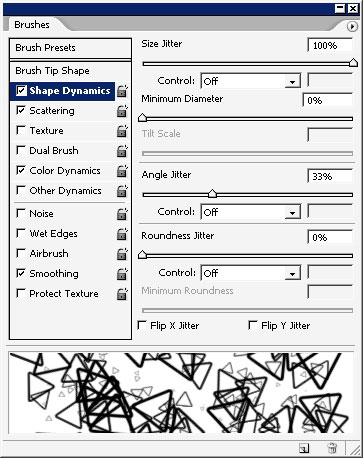
Use these brush settings.
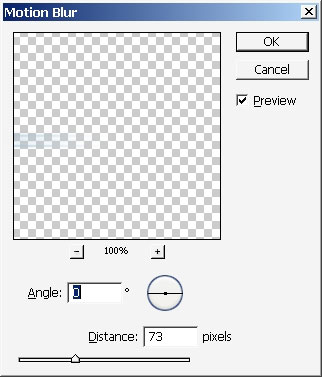
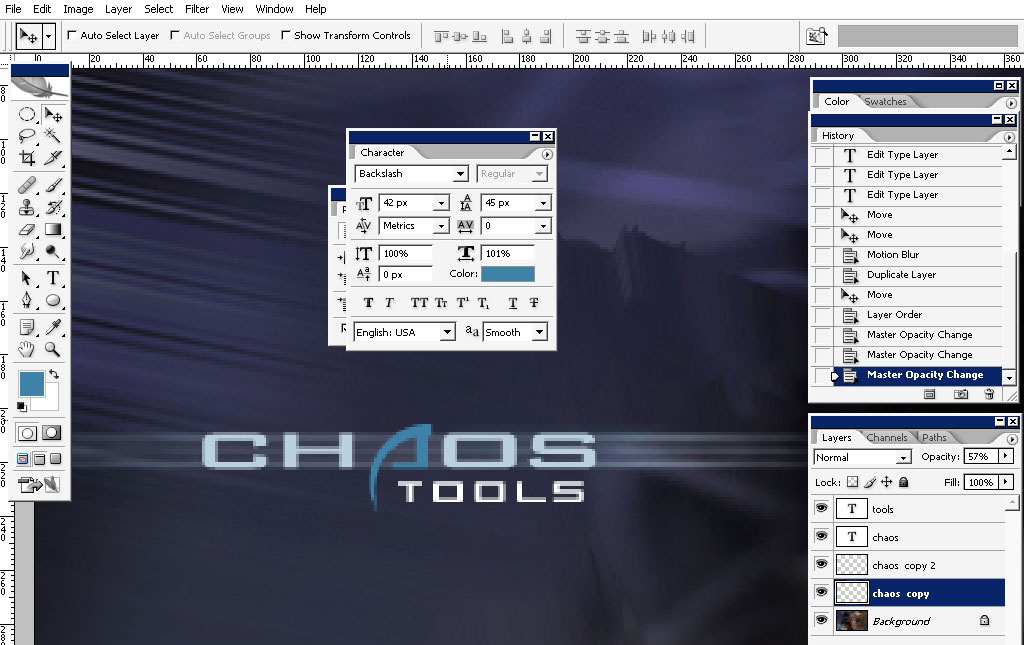
Now some text – just plain effect with I letter covered with blue.
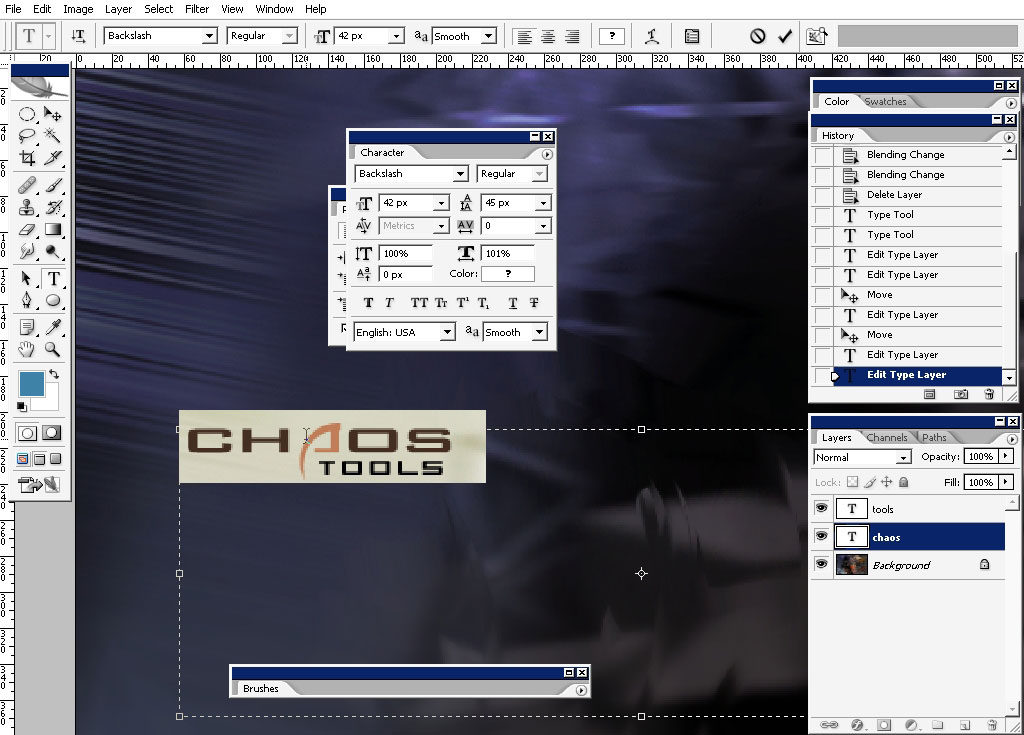
Create a copy and motion blur it:
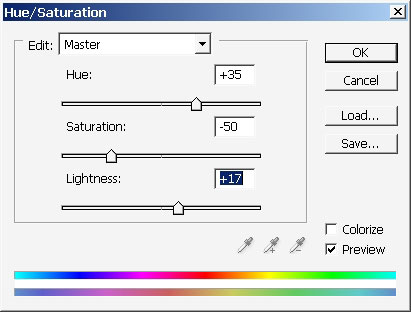
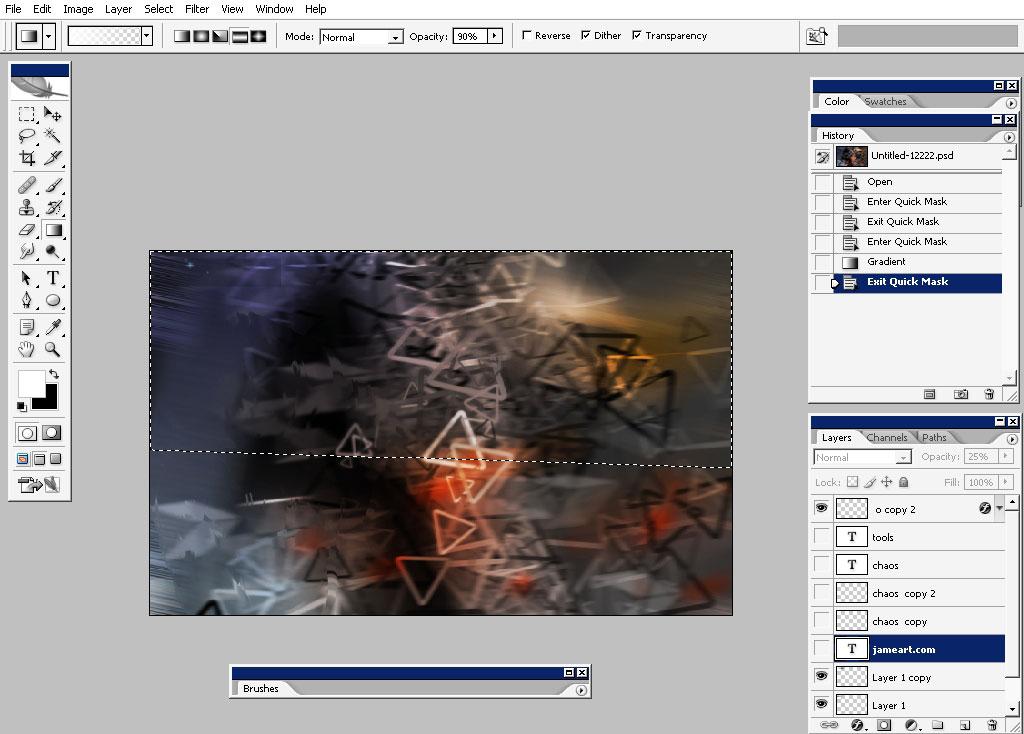
Add saturation to the upper part of the image.
And this is it : happy design making and see you next time.
Download brush: Wreck.abr
Comments