
Master the brush in Photoshop
Today we are going to practice the ways you can master the brush in Photoshop. Moreover we will try to set a proper color to the image and see how the color gamma is important.
So let’s begin building our illustration.
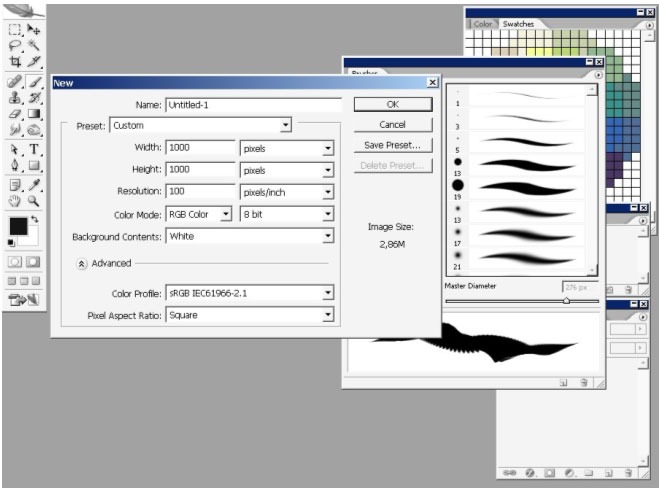
I will create a square document.
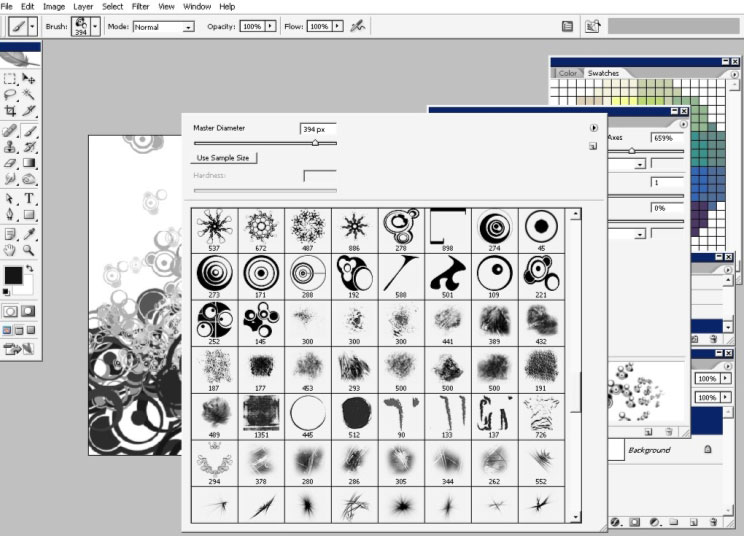
Now it is time to choose a brush. I choose – 221 – you will also have it for download.

Now let’s set the way our brush will react to pen pressure or pen tilt. I just love Digital media for such opportunities. That with only one brush you can create lot of different effects.
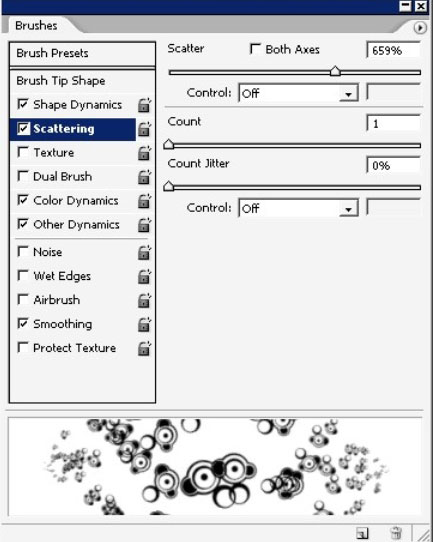
Here are my brush settings:
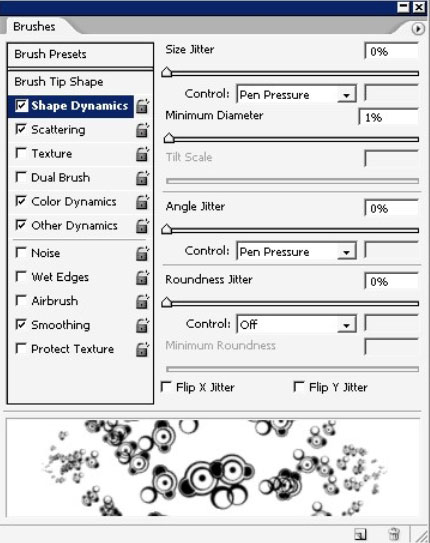
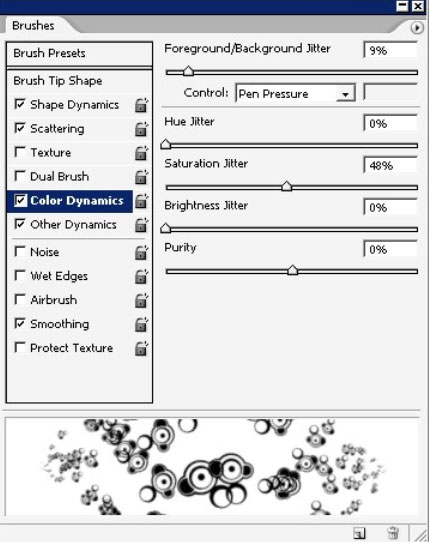
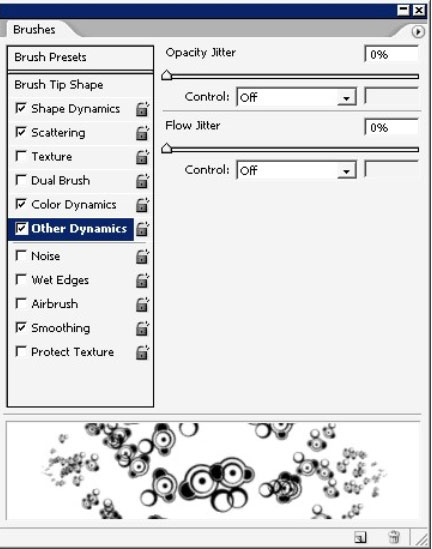
Remember that every new brush option will “eat” your Ram.
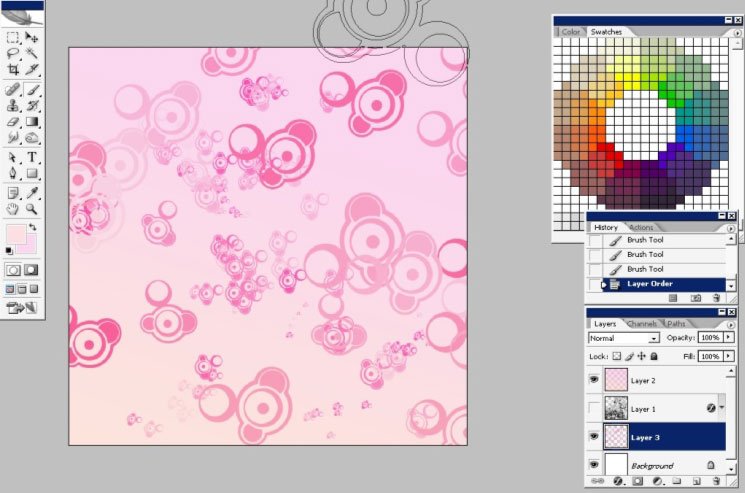
Now let’s see how we can use our brush. I’ve just made several strokes with different pressure and tilt.

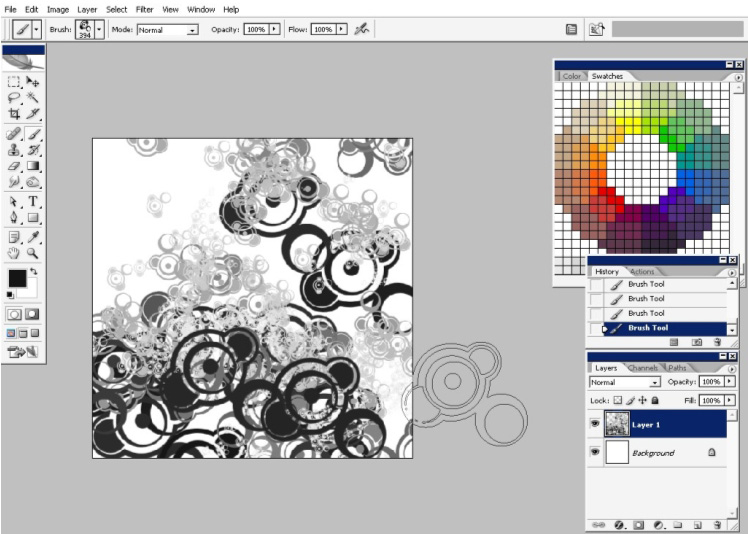
I will try to do something with what I got right here.
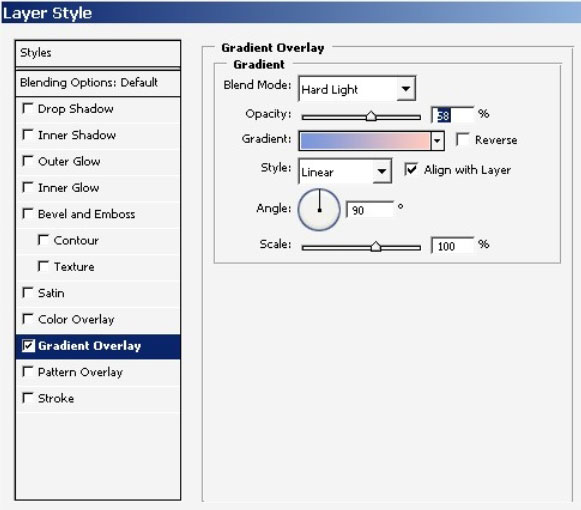
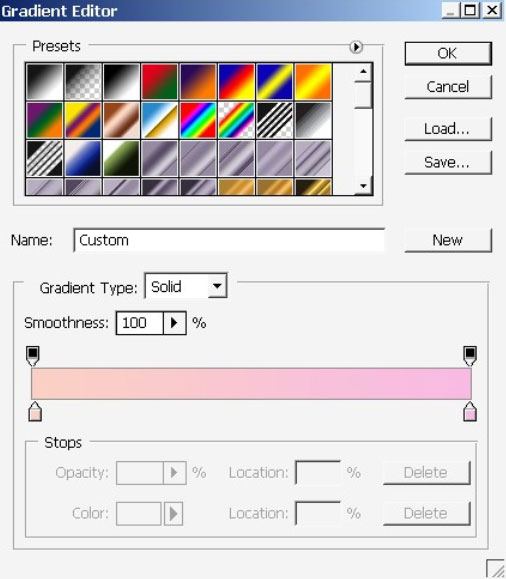
First I will overlay it with a gradient in layer style box (just click x2 times on the layer itself).
The layer mode here is Hard Light.
Then watch the Screenshots carefully.
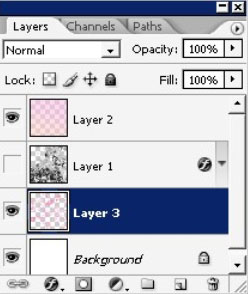
I will create a new (top) layer and overlay it with gradient.
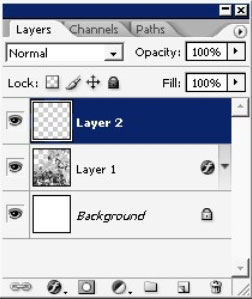

The Blending mode here – Multiply.
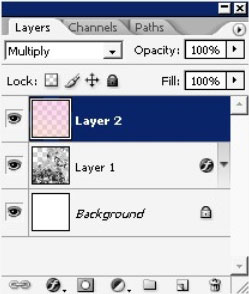
Here is our current result.
Now
I’m still thinking that my picture here is a little bit Planar and 2d.
Let’s make a new layer between the 1st we’ve created and background.
Paint with the same brush, change only the background and foreground
colors.

I’ve also created a layer mask to my background layer and have hidden upper parts of the effect.
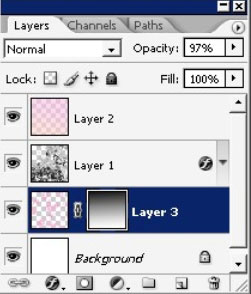
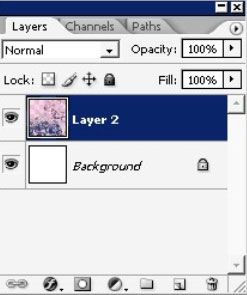
When you are done with that you cam just merge the layer down, leaving only with 2 layers.
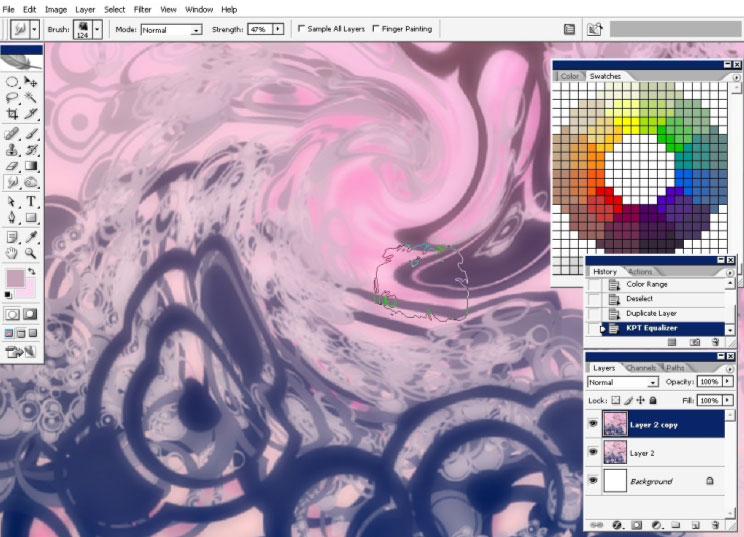
Let’s distort the image a little bit. For this i will make a selection.
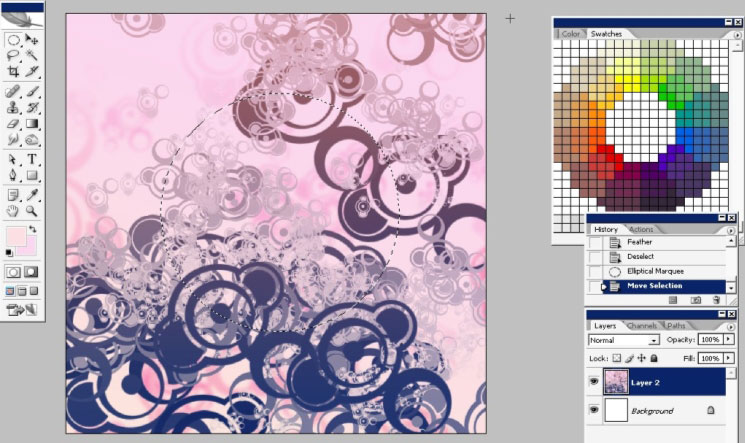
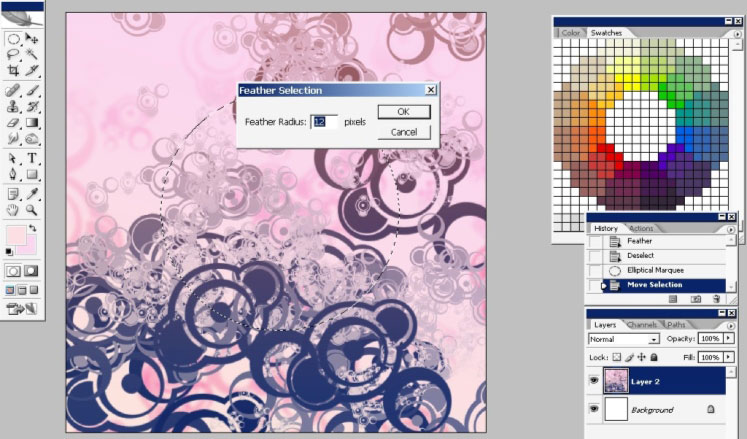
Further it a little bit and use a twirl filter. I’m having an area selected so the filter will effect only the selected are.
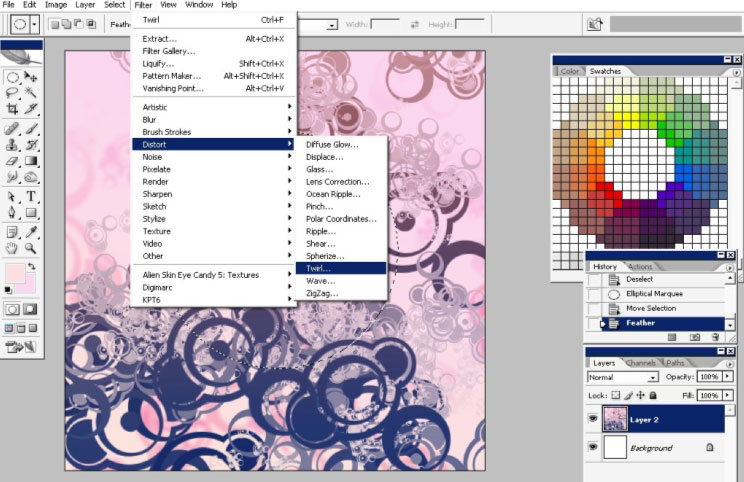
Filters>Distort>Twirl.
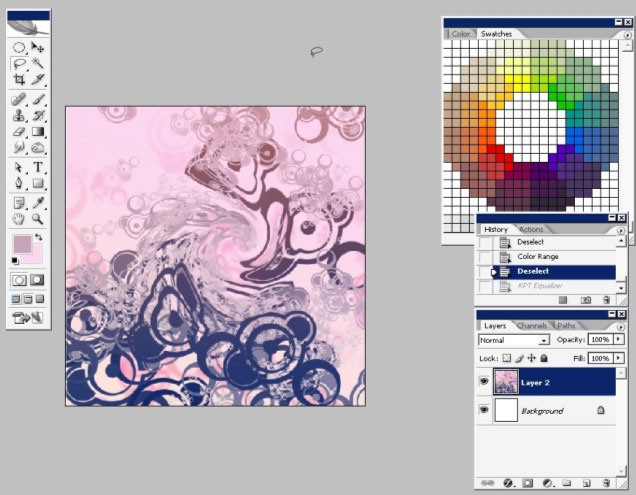
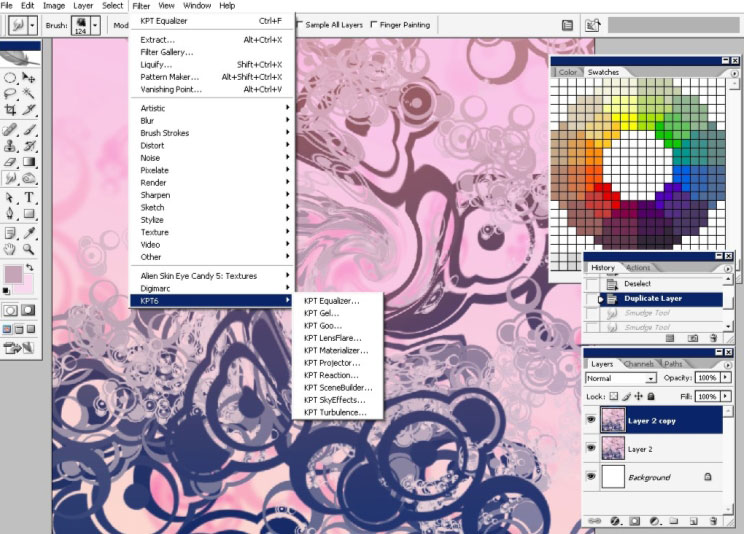
I will use one of my favorite Plug-ins for Photoshop. Kay’s power tools: see even the name sounds cool; recommend.
I will use Equalizer.
We now have a little bit of blur effect.
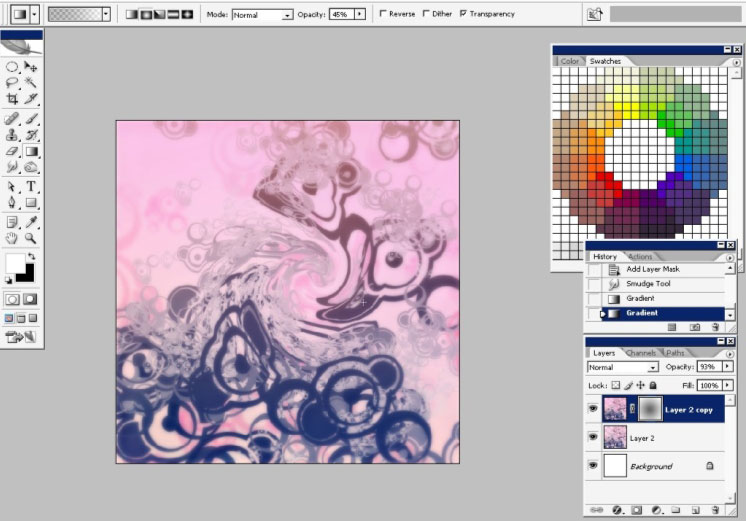
It’s not so important but I’ve created a mask and exposed the effects only in center of my image.
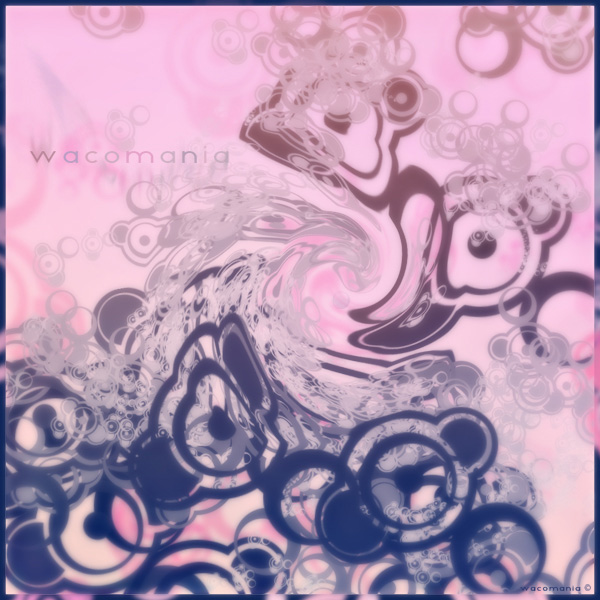
And we are basically done here with Wacomania illustration. Enjoy, practice your colors and shape feeling.
Comments