
Spearfish – Photoshop painting and shape techniques
Hello. Today we are going to perform a very funny illustration. We will walk through some painting and shape techniques. This illustration can be dome with a mere mouth but I will use my Wacom table for this.
So let’s go. Create a new layer and a document.

Create a shape using shape tool.
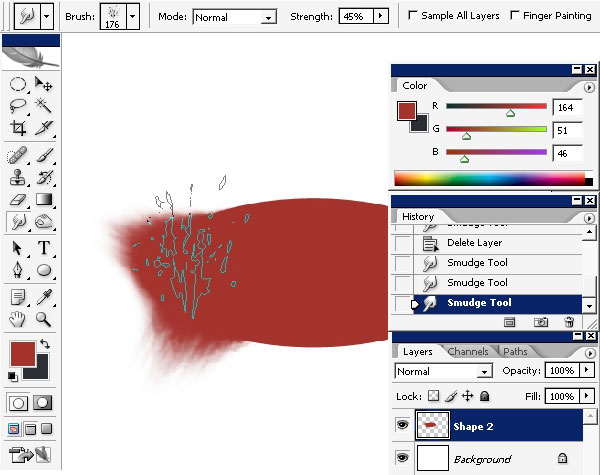
I will make waves of some kind. This will help me to transform my shape. This is more like 2d sculpting, but you could always use brush to create this.


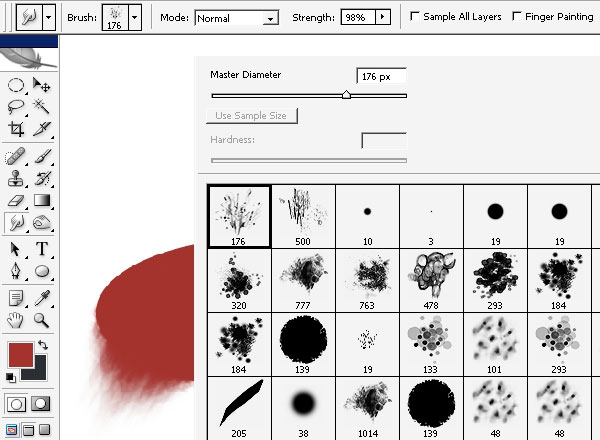
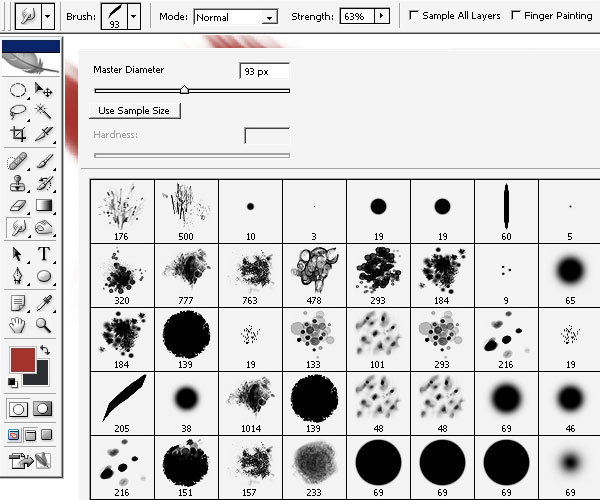
I will choose a non standard brush. it is more like a sponge.
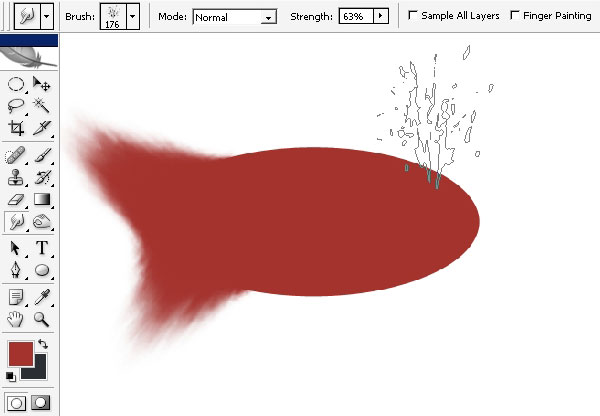
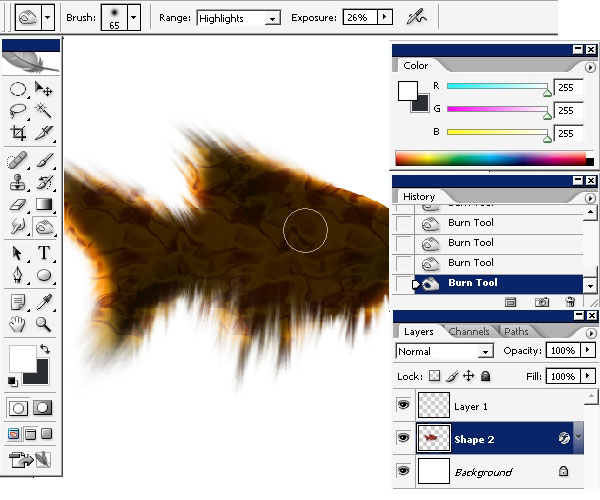
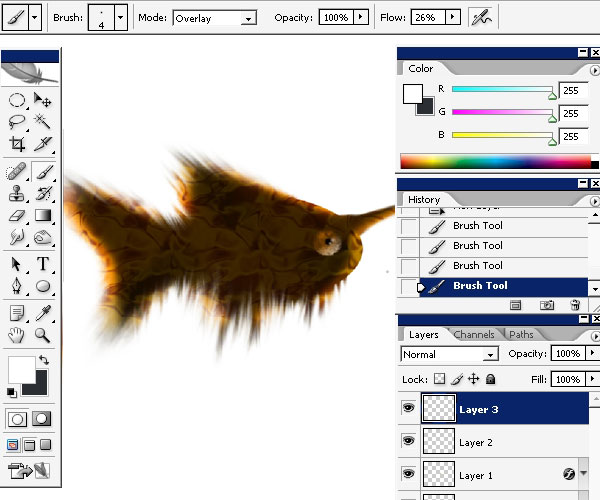
…Creating a tale. Now I now what It is going to be: a fish)

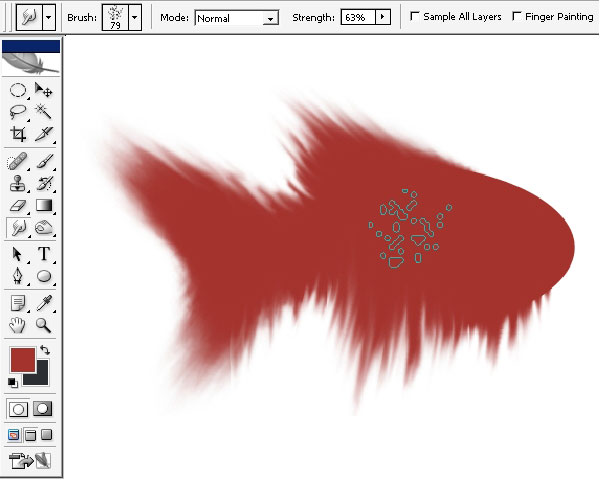
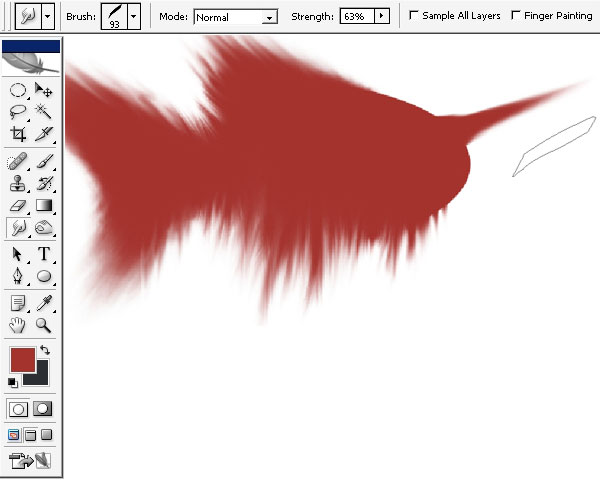
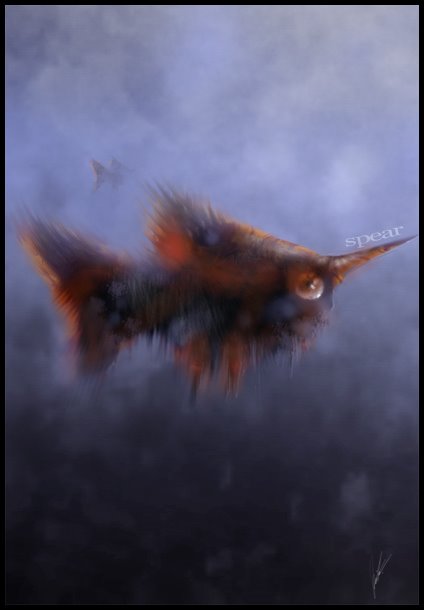
Here we have a silhouette of a fish. It will be something like a fish with the hair) – a funny idea. One of the ways to create a futuristic creature is to combine different animals. A good combination will be the key to a successive design. Many designers do that.
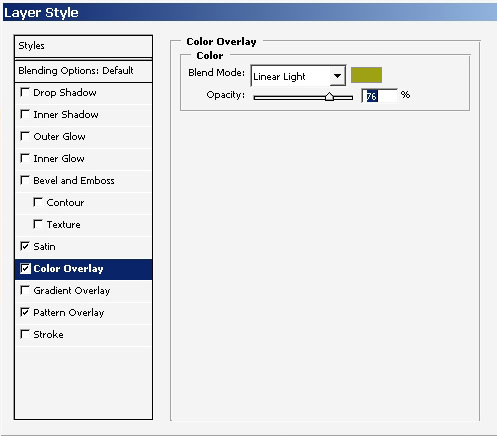
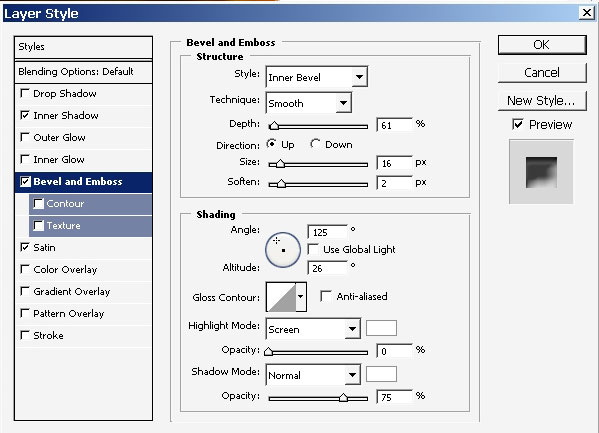
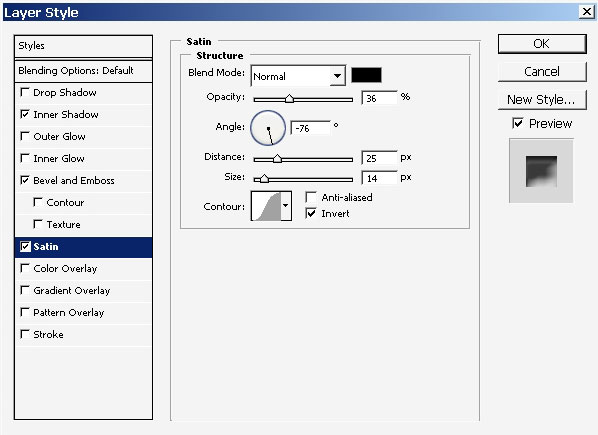
A will now use layer styles and not paint to create texture and shape.
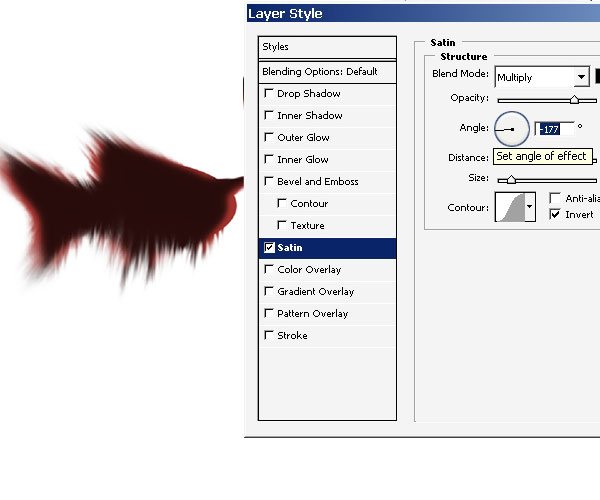
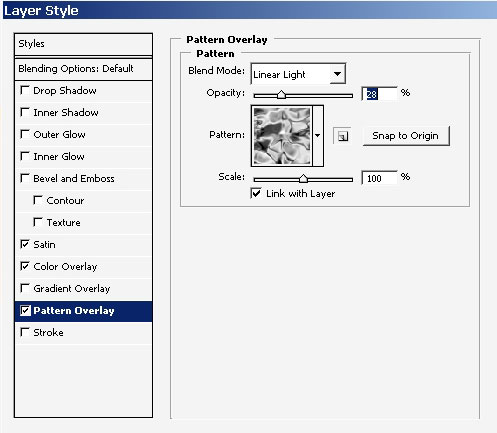
Here we have it. I‘ve used little texture and beautiful – burned yellow color.
Create a new layer.

…and just paint an eye; just 2 strokes.
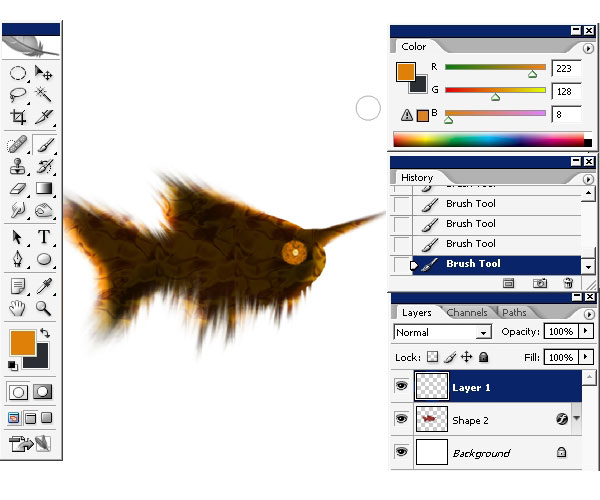
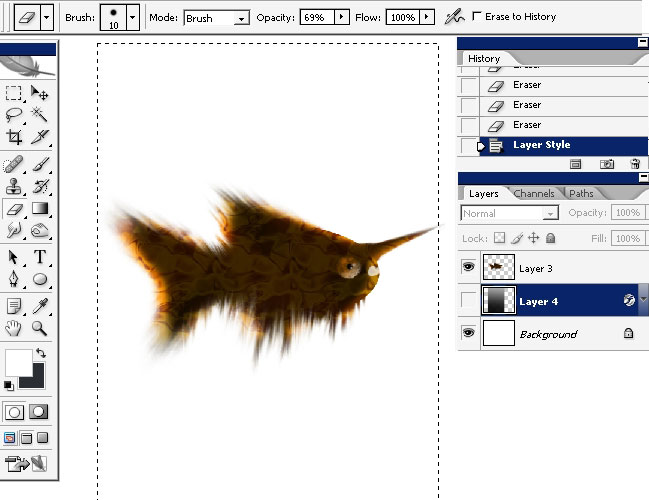
The eyes will be styled too.
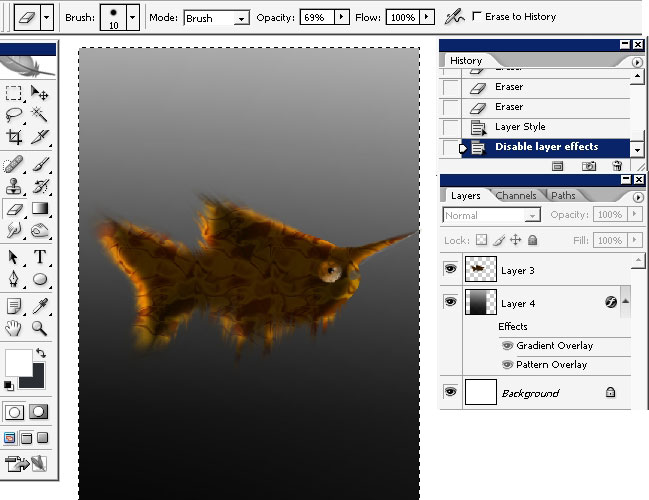
Here we have it. You can crop the file now. Remember that in this case it is better for the object to stay right in the center.
As
we have our fish on the separate layer we can create a layer underneath
the object. So I will create one and overlay it with a simple black to
white gradient.
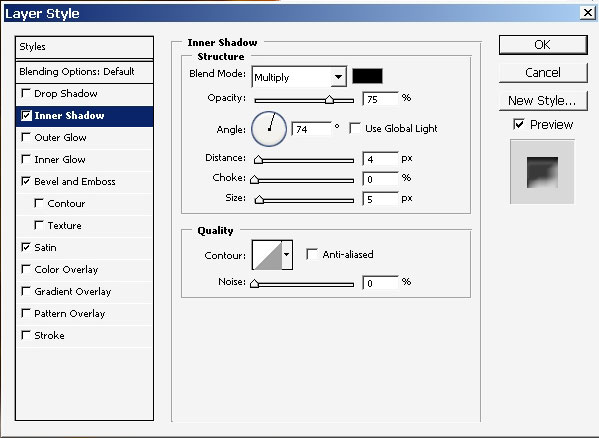
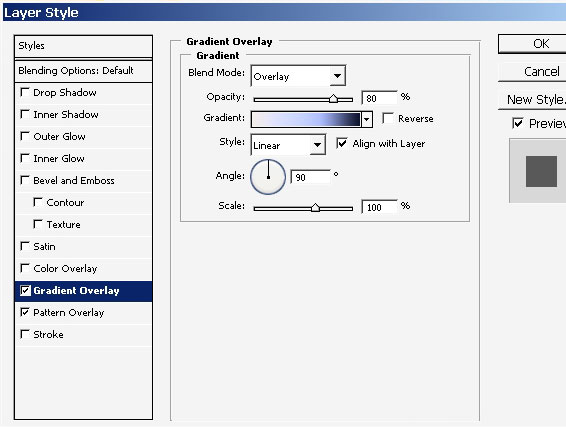
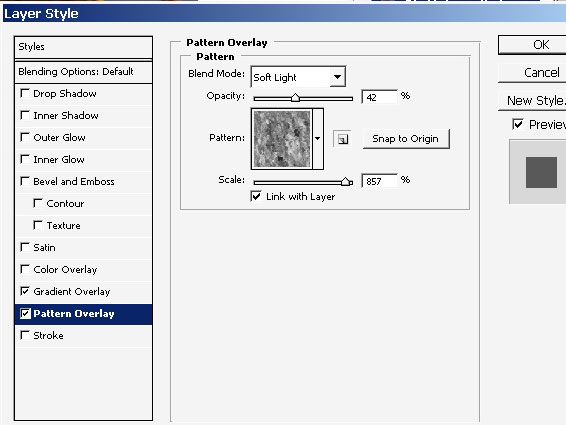
Apply some layer styles to our gradient: texture and Gradient overlay set to OVERLAY( see the pictures)
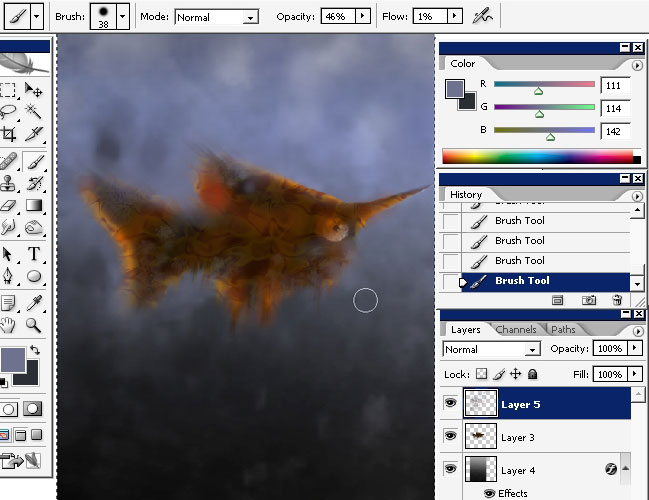
And there we have it.
A few more final touches like some white on the top of the object.
And we are done with this one. Our hairy fish is ready.
Now you can easily create funny animal illustrations even without a tablet.
We have finished!
Comments