
Adobe photoshop illustration
Today we are going to perform an illustration that will teach you some of environment and structure building techniques.
This illustration can be done with a mere mouse, so let’s get started.
We’ve created a new document and a layer.
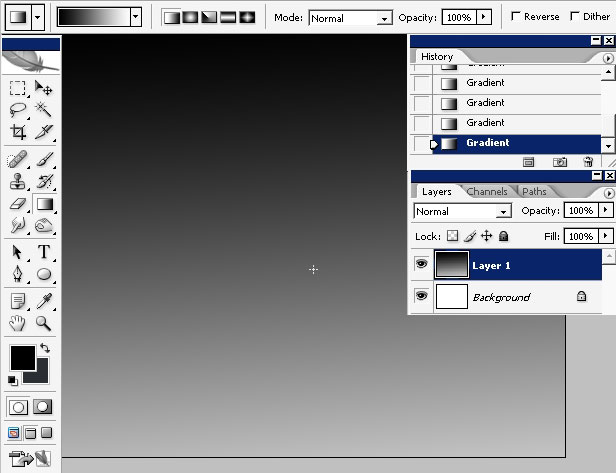
Now, overlay the layer with basic black to white gradient. As you’ve notice I like to this. It gives me basic light direction and highlightshadow balance.
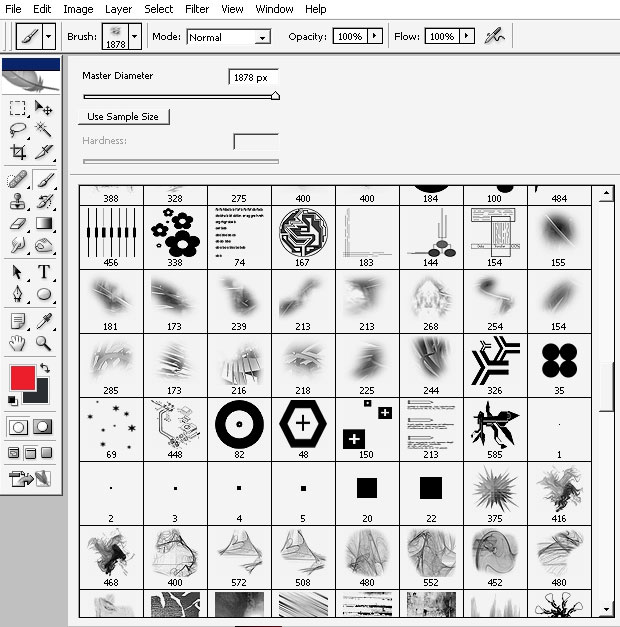
Choose a brush to paint with.

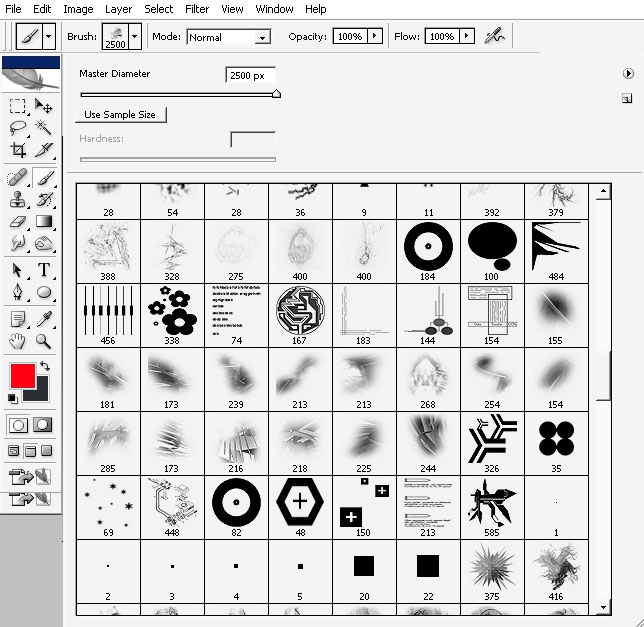
I will pick a large diameter # 216 or 218.
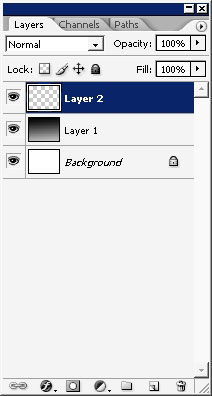
Don’t. forget to create a layer before painting something.
As my brush has some king o form and even little texture I’ll ust make several strokes.

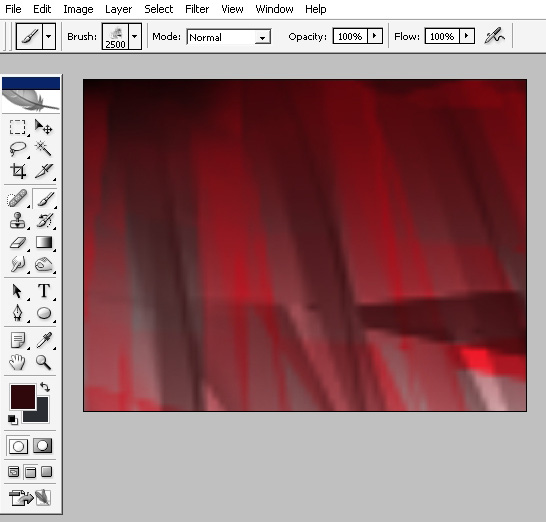
Here we have it. As you can see it already has some highlighted and shadow areas.
I will flip my image and do some more painting.
I‘ve basically made no changes comparing to previous stage.
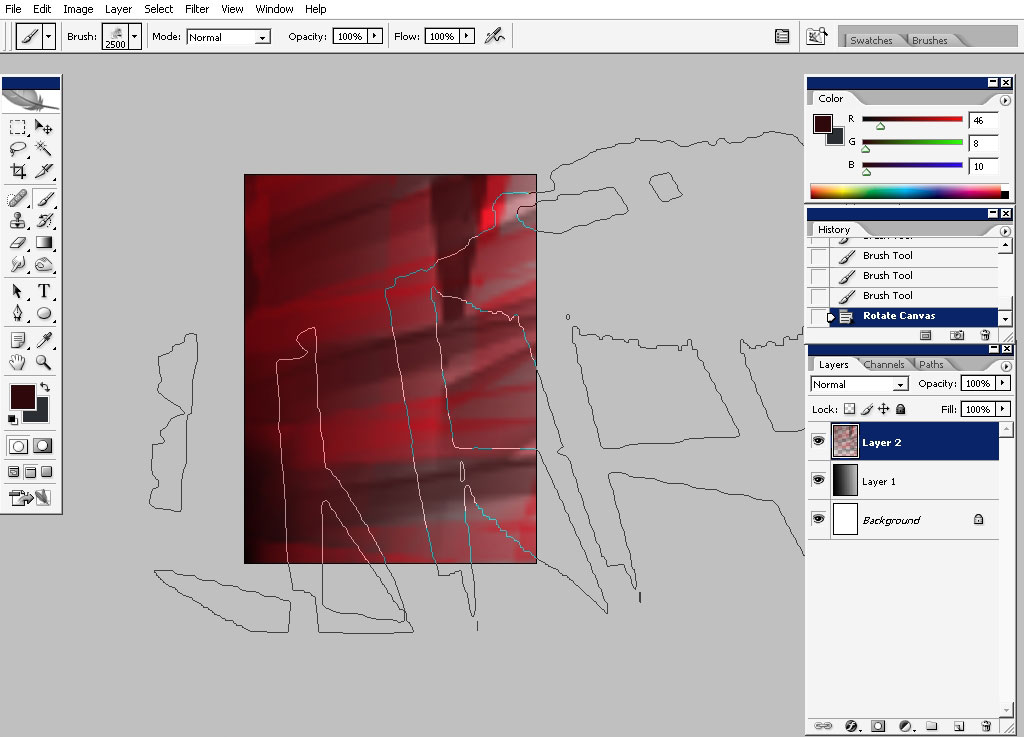
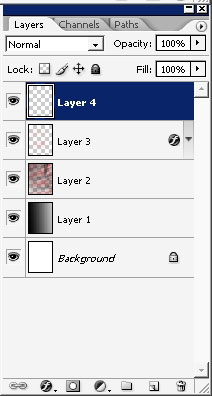
Now I want you to create a new layer.
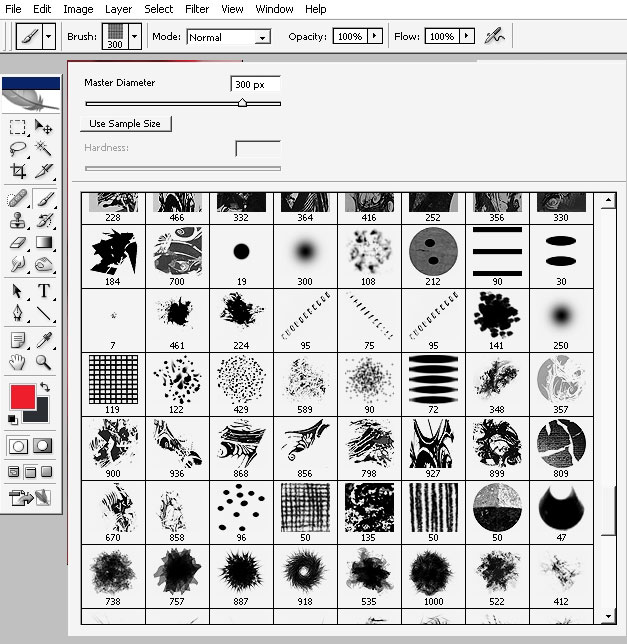
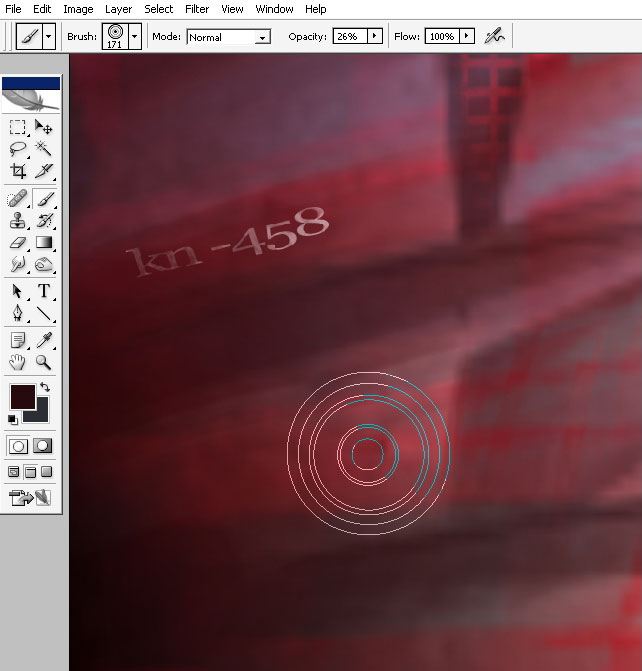
Select another brush. I will use any flat brush. I will rotate this brush a lot to match the edges of my image.

I’m using low opacity settings so the effect could be hardly seen.
Create another layer.
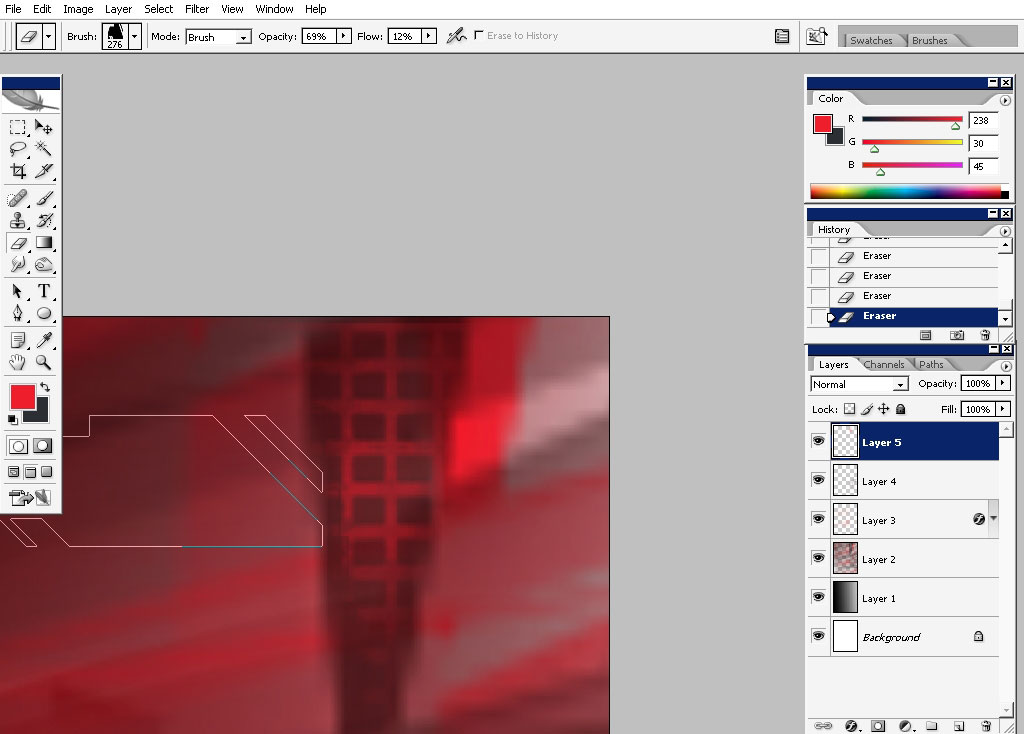
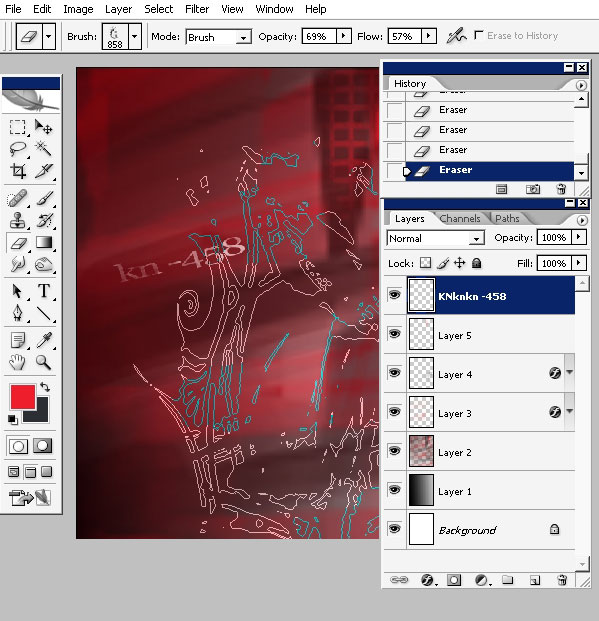
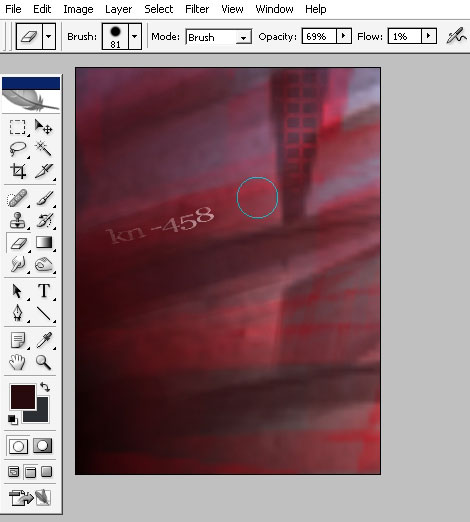
Tap just ones with the brush N 119 and erase back (consider that shadows too.)
Now this illustration definitely needs some text, so choose line tool and create a line.
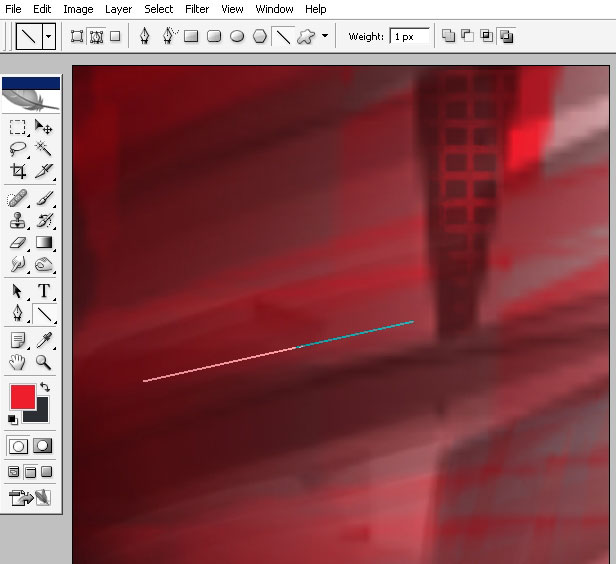
Note the path settings near the content menu.
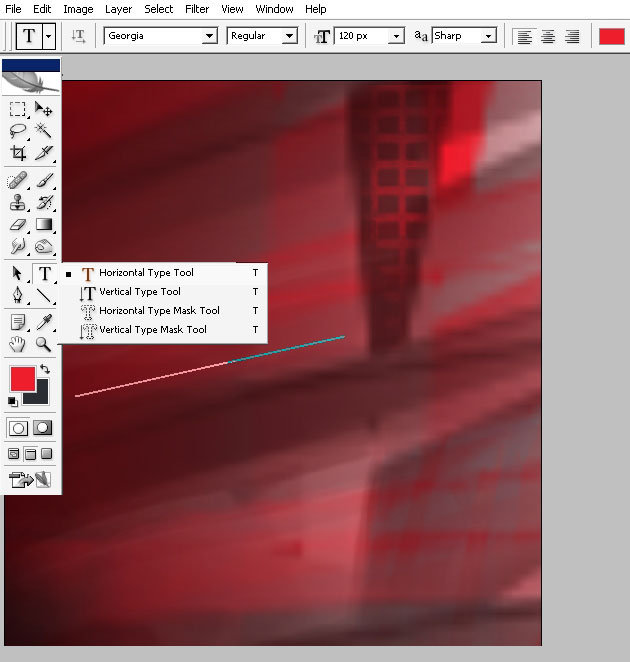
And just use type tool. Note to drag the type tool near to the path. This way the text will go in the direction of the path.
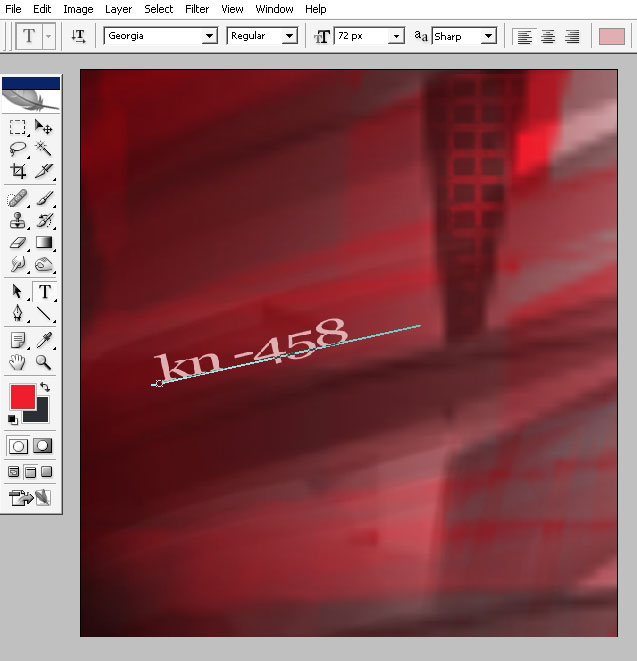
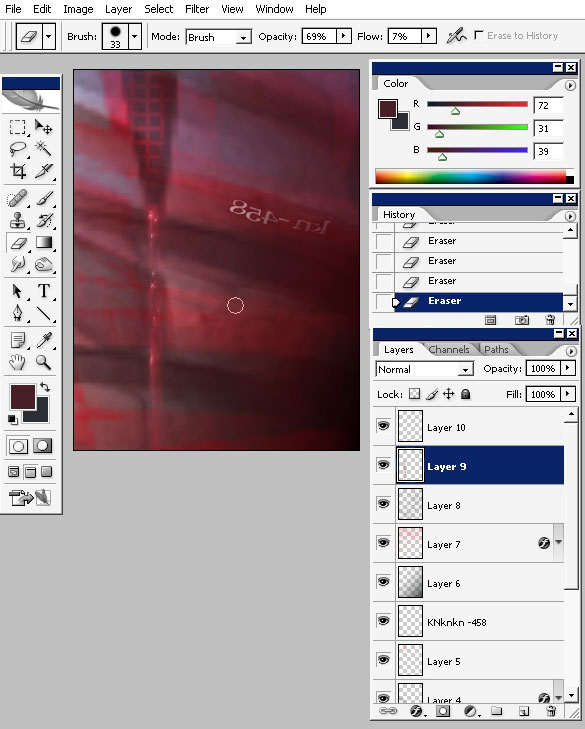
Now rasterize the text and erase it a little bit to fit the whole picture.
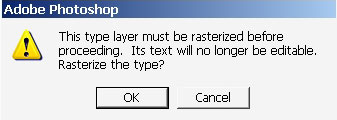
Use any king of pattern eraser.
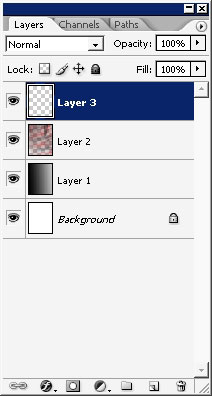
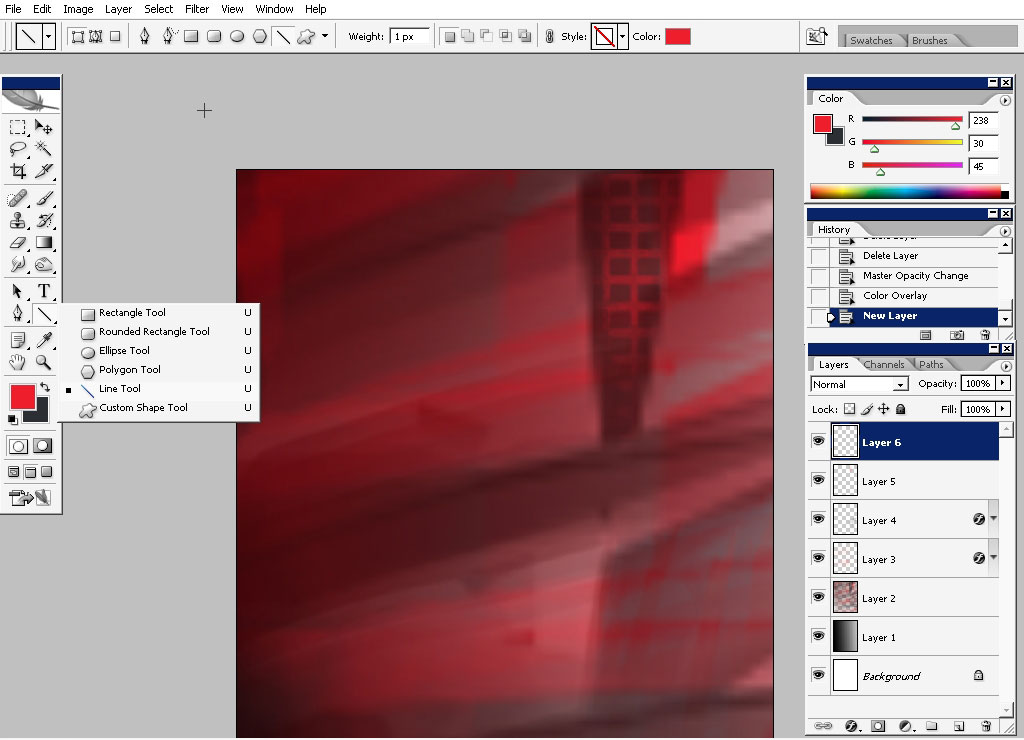
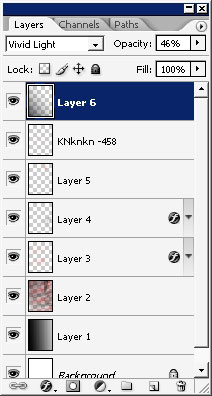
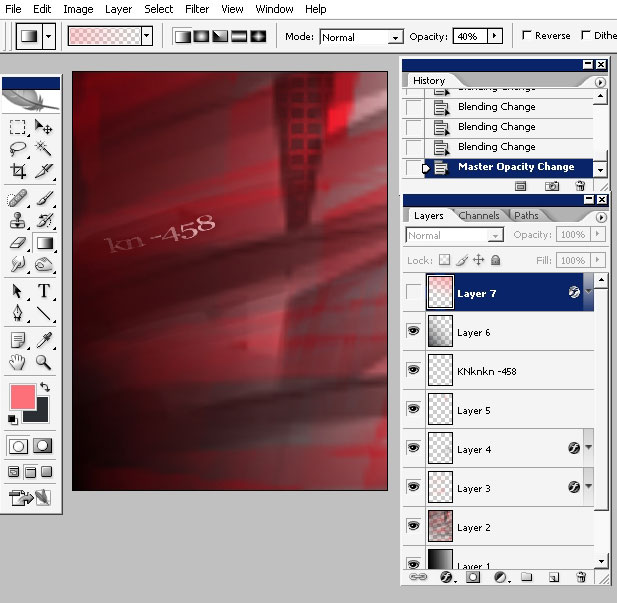
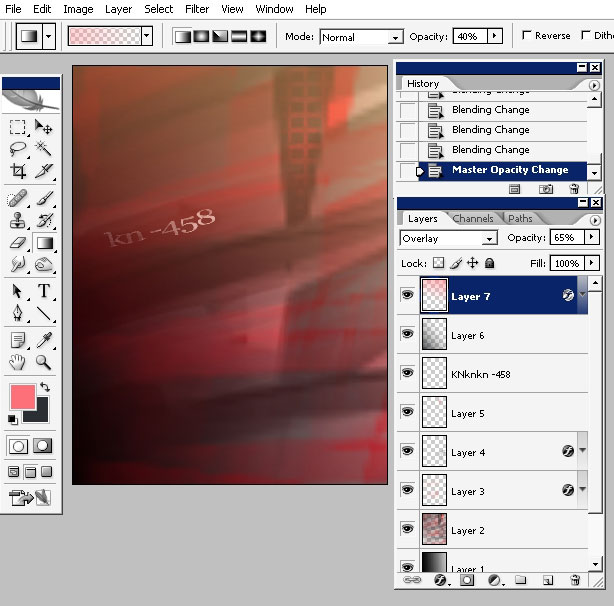
There we go. Now create a new layer, set its layer mode to vivid light and 46 % opacity.
Overlay this very layer with a gradient and apply some layer styles.
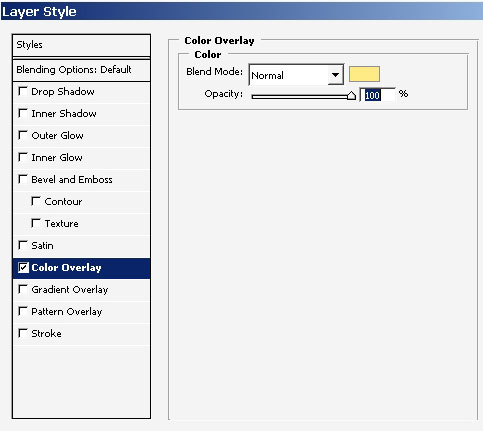
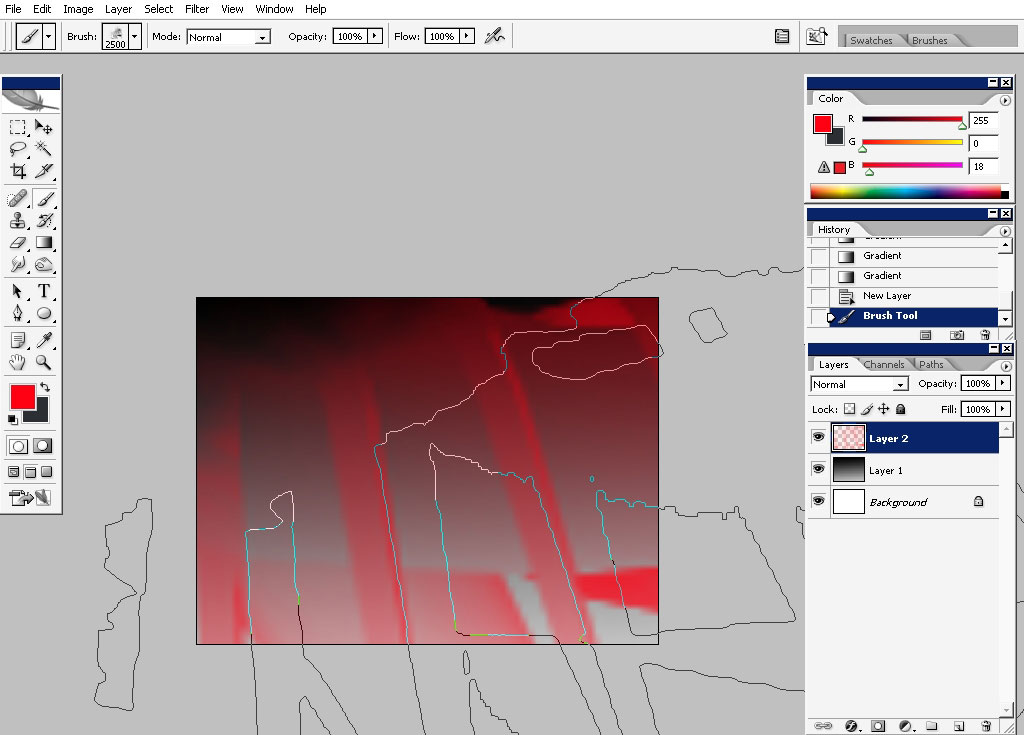
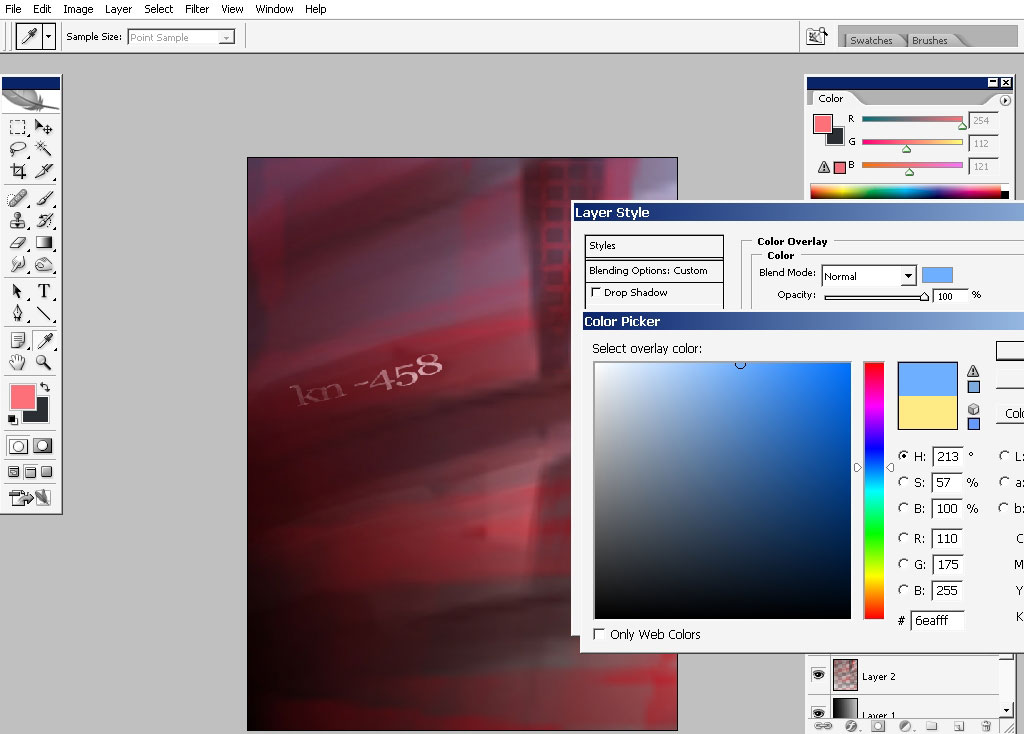
Crete another layer and fill it with gradient to: the gradient will be Red to transparency.
Use layer styles to Our Red to transparency layer. I’ll just overlay it with blue color. .
Create
another layer))) – this time it will play a role of
texturing. On this very layer just tap once with any brush that looks
like a it can play a role of a texture to you.
Use large diameter.
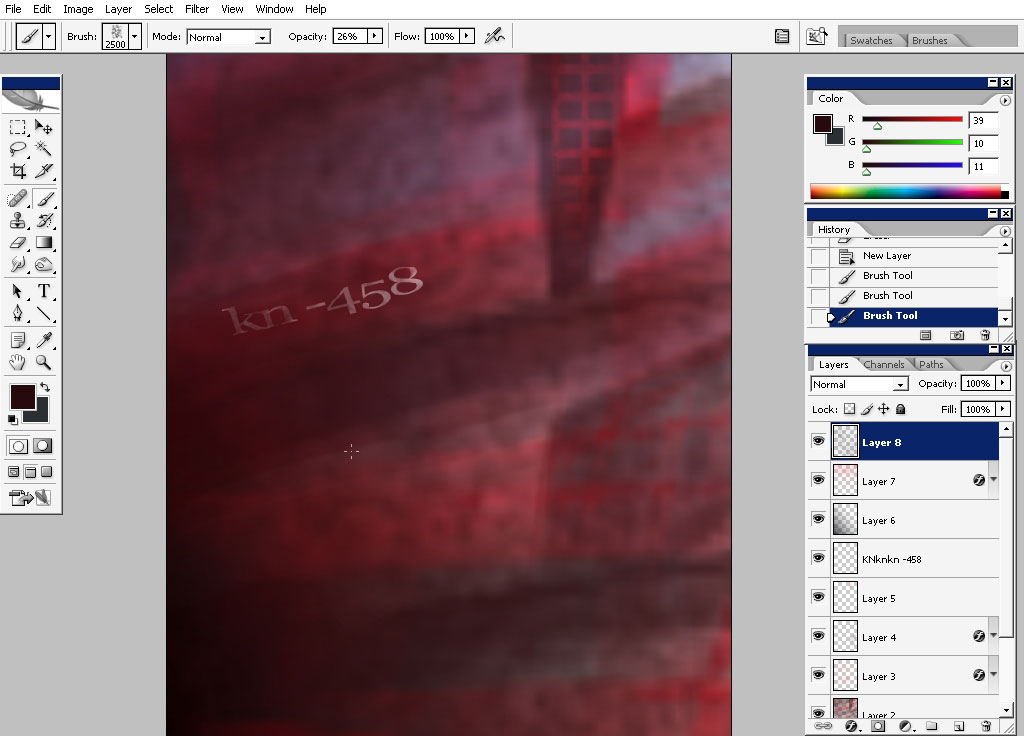
There we have it. But this texture looks very planar to me, so I will just erase back some areas.
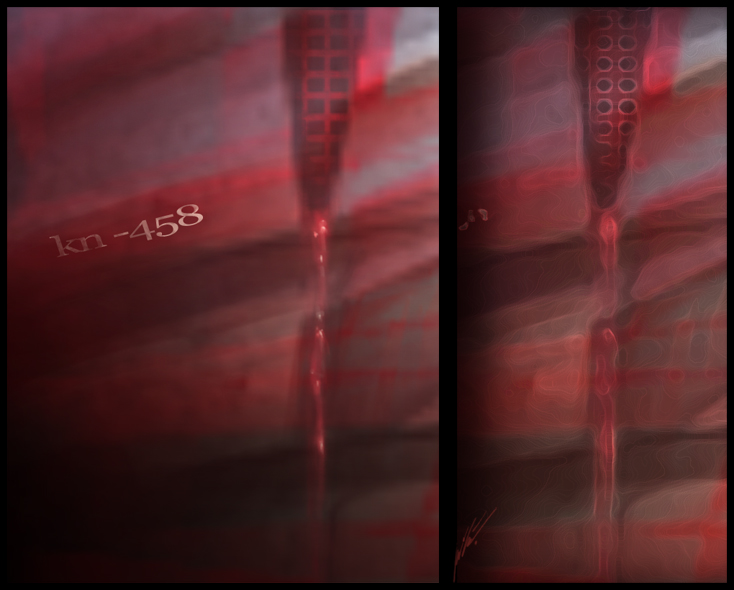
And
we are done here. The close up shot of some king of a ship or sci-fi
structure. You can add some details using my final image. To create a
part of the interior or exterior, like you want.
I’ve done this.
Comments