
Painting an illustration – Oblique
Hallo. We have a very cool illustration to do today. I’ feel that I’m experiencing the loss of color.
Every person, an artist has so called favorite colors. I live burned yellow and orange, but if you are an artist that is very bad. You should know ho to handle with all the colors. It is very important. The key is freedom. You should know how to create whatever you want or desire, but this is a matter of time I think.
So for this tutorial I will basically use my PS 2 with little Wacom support……and let’s get going.
There will be also a lot of experimentations today too.
I’ve first created a widescreen proportions document. This is already the second step. I’m using this very gradient on a new layer.
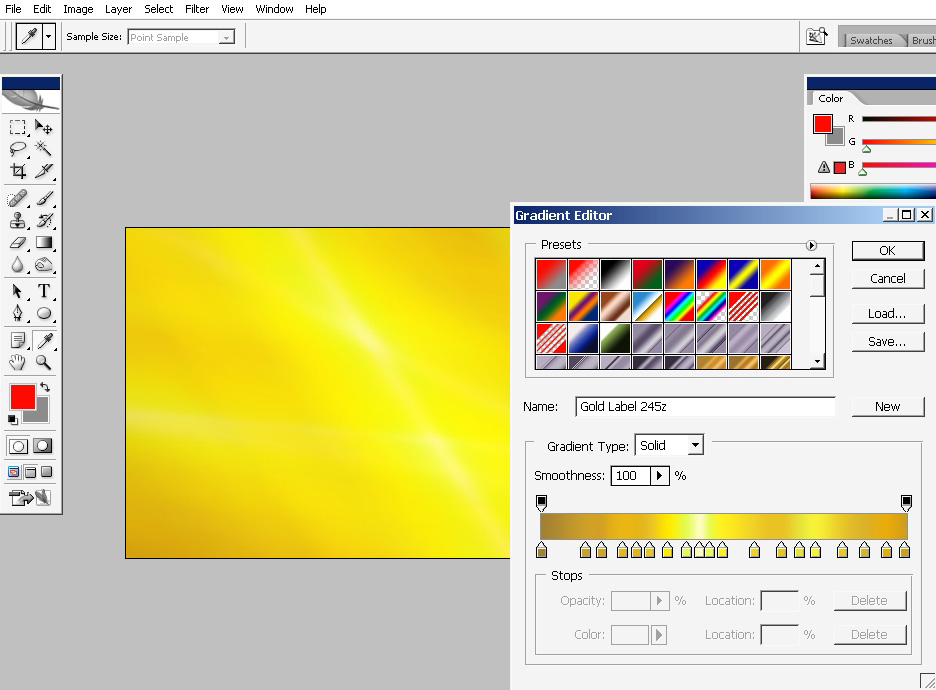

As my settings are – Mode: Soft Lights and Opacity is set to 65% I will overlay my area in different directions several times, let’s say about 4 or 5 times.

Here you can see the result. Now I would like to color balance it a little bit.
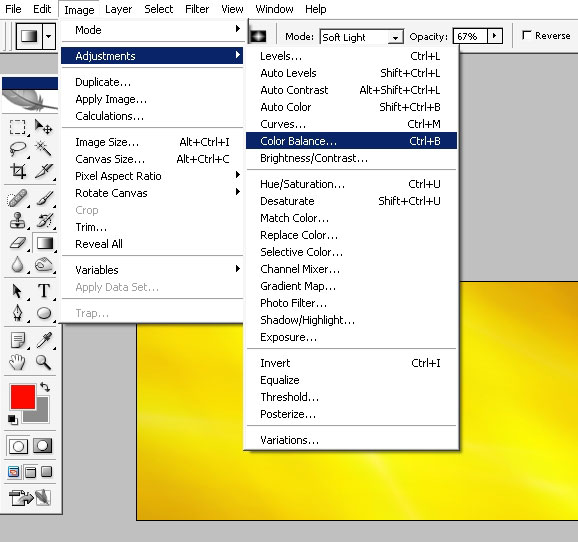
Shadows:
This Brought up the contrast of the image, but we still have the same colors.
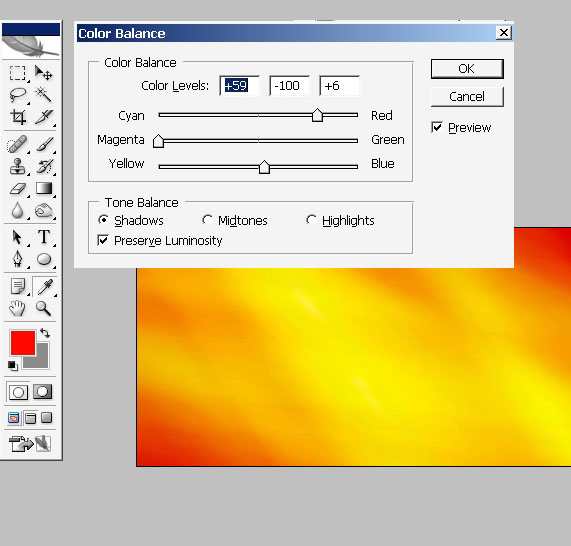
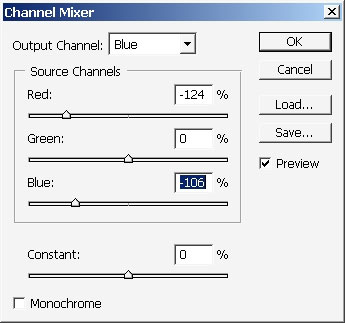
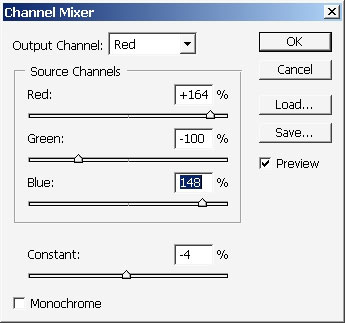
Go to channel mixer.
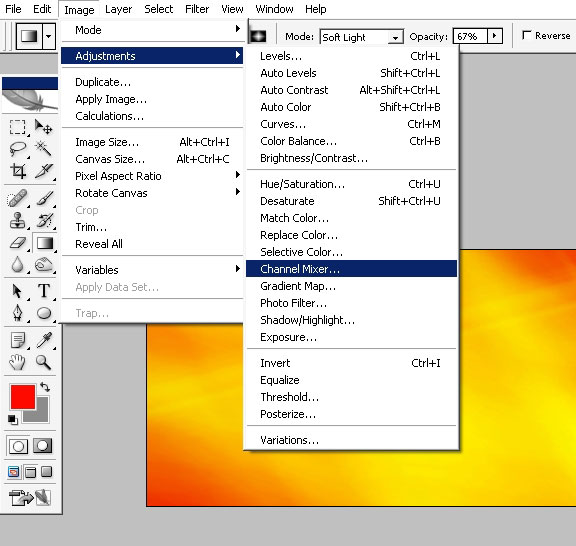
Here are my channel mixer settings (RGB).

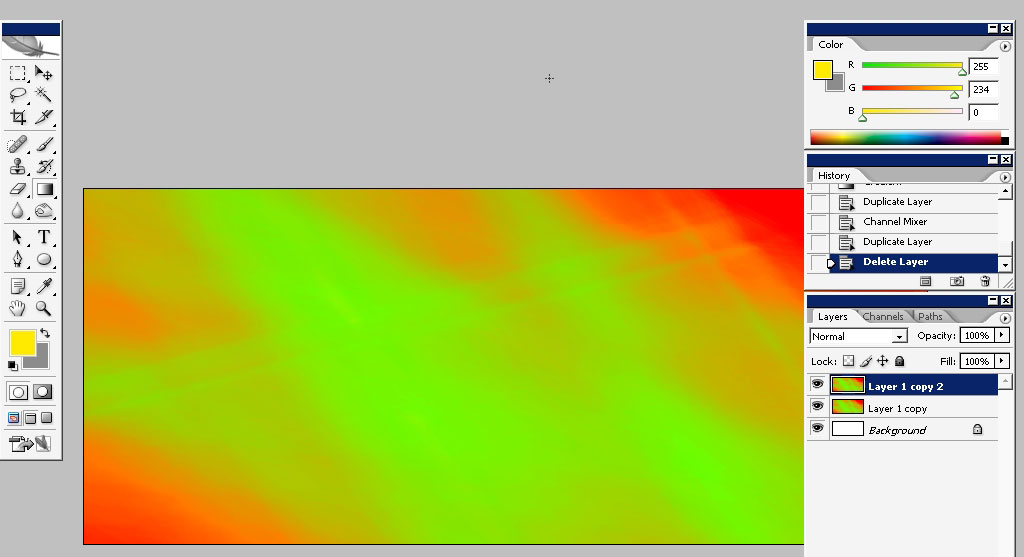
… And I’ve made a copy of my layer; Oh ea – here is the result.
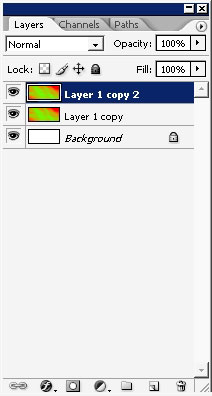
Acid like))
I will do some filter manipulations now.
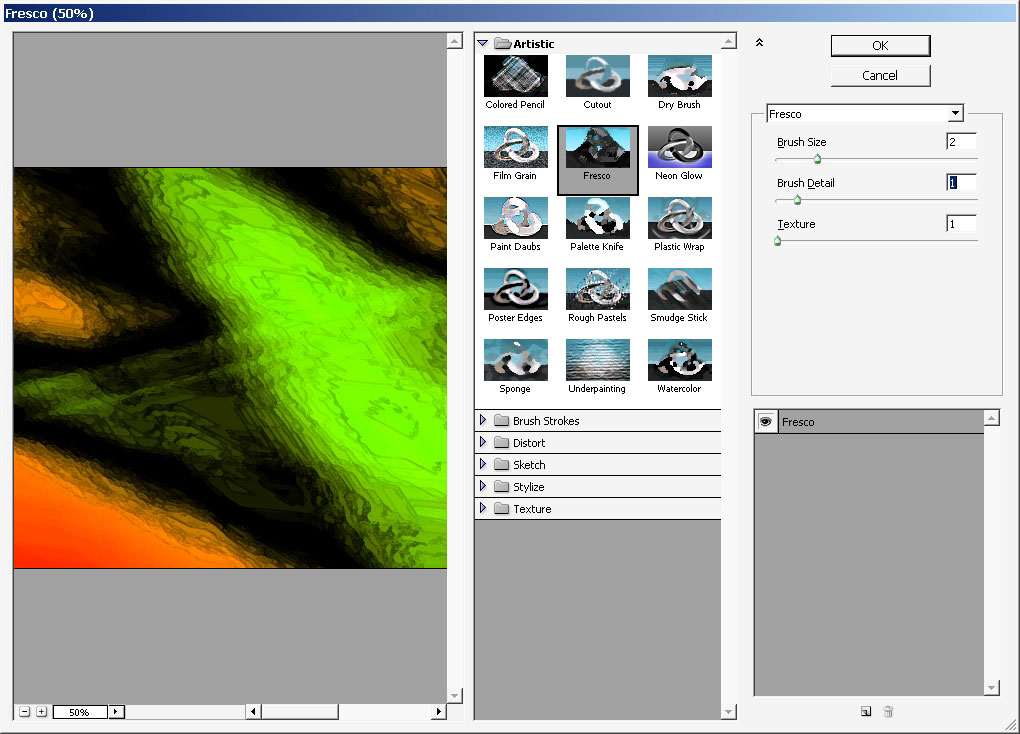
I will try to use this filter first. It is my favorite one. Got to let go this too! As an artist, especially when you are starting out, you don’t have to have any high preferences, because you will stick to them all the time and there will be now something new.
The Fresco Filter looks quite well but we’ll change that.
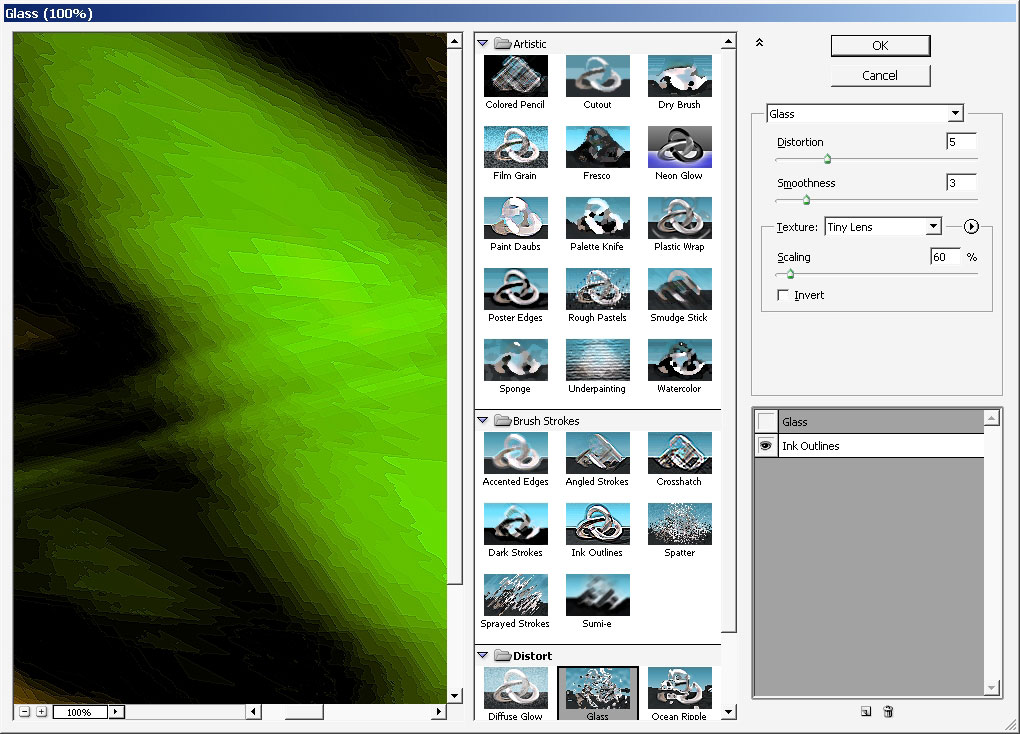
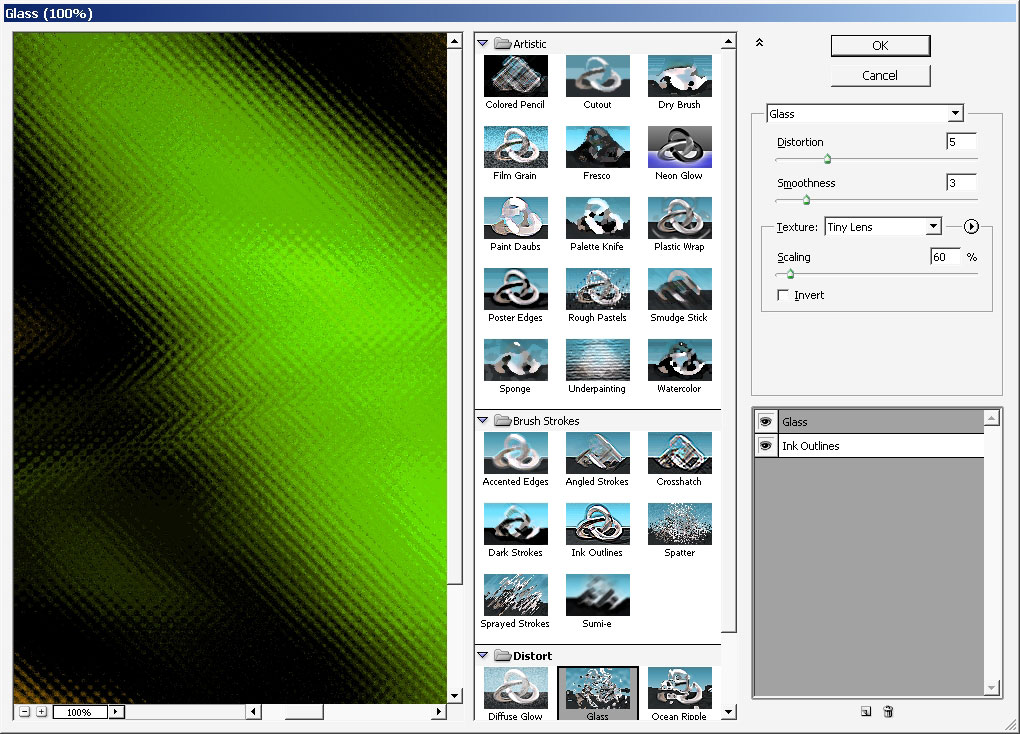
I will choose Ink outlines filter in combination with Glass (Tiny Lens).
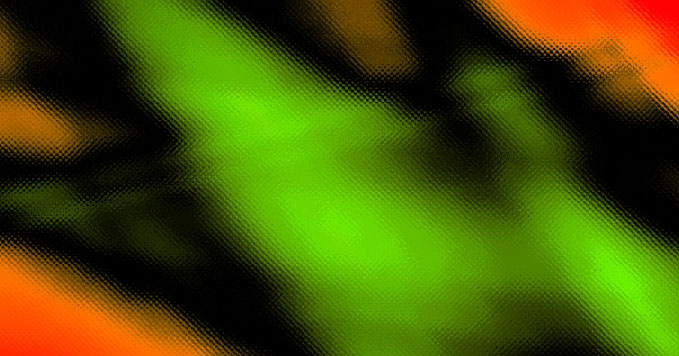
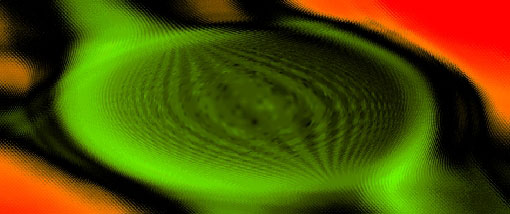
And here is the result of all this. Well looks quite acid like 3 hours
later). When I did it on this stage I looked at it about 5 minutes,
trying to do something.
….And
I’ve decided to apply Pinch filter to it. On screen shot you can see
it. BUT ! – this is the Pinch filter applied 2nd time ( for
this tutor) but originally it is not so popped up.
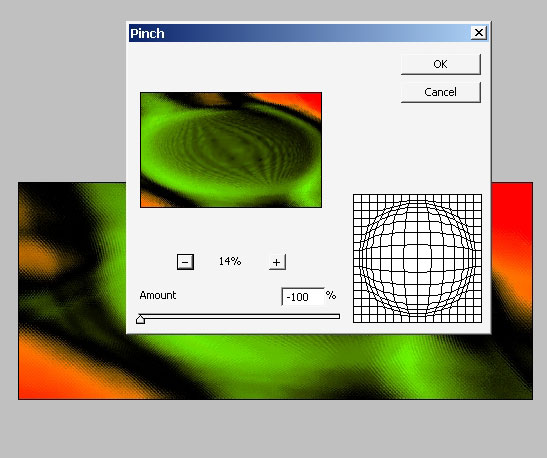
Here is the original filter reaction (only 1 time).
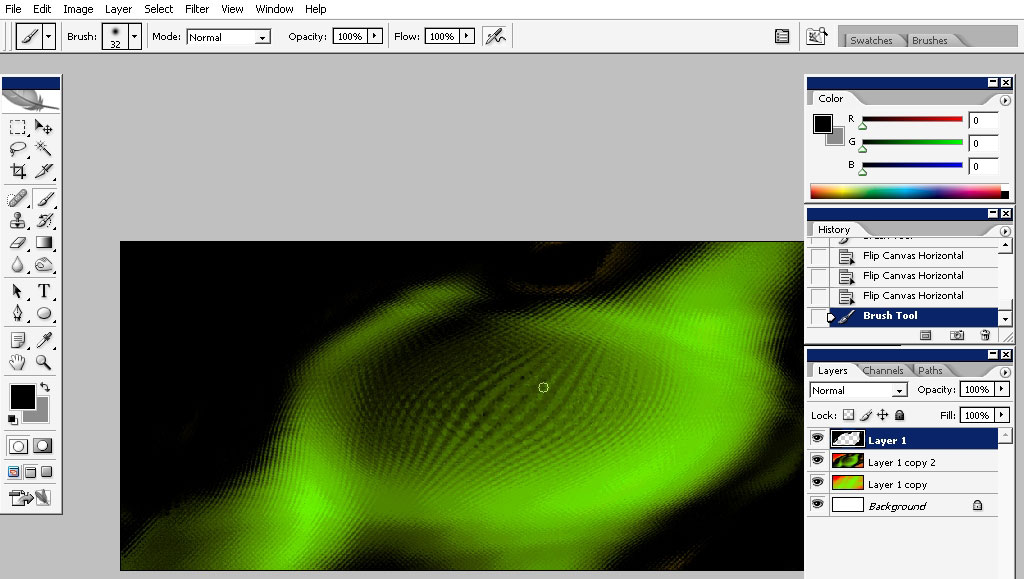
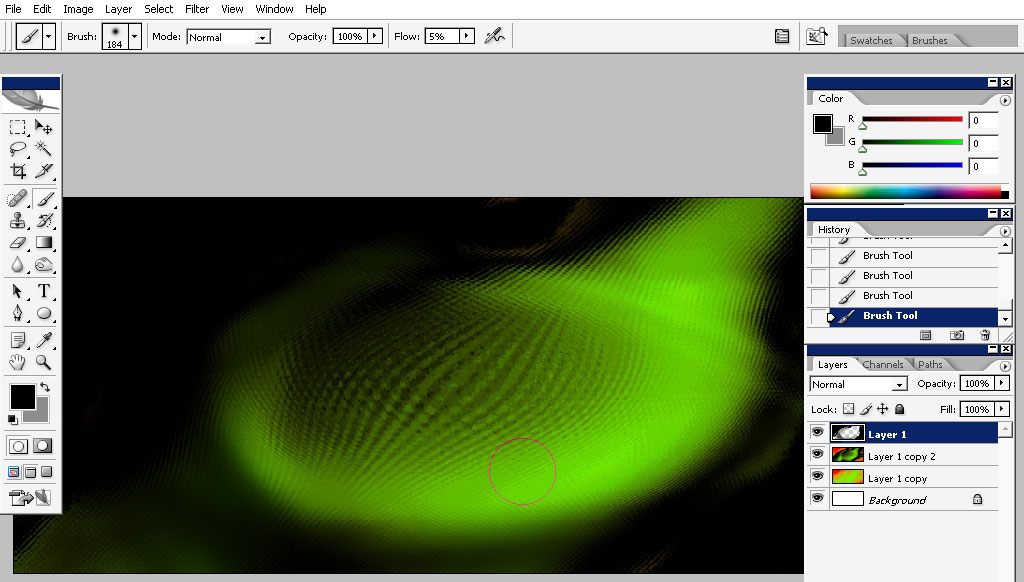
I’ve also created a new layer and just used a brush to hide all the orange color leaving only green.
Here
is the whole image balance. – I use this technique now. The
balance should be around 50 to 50 black & white for this image.
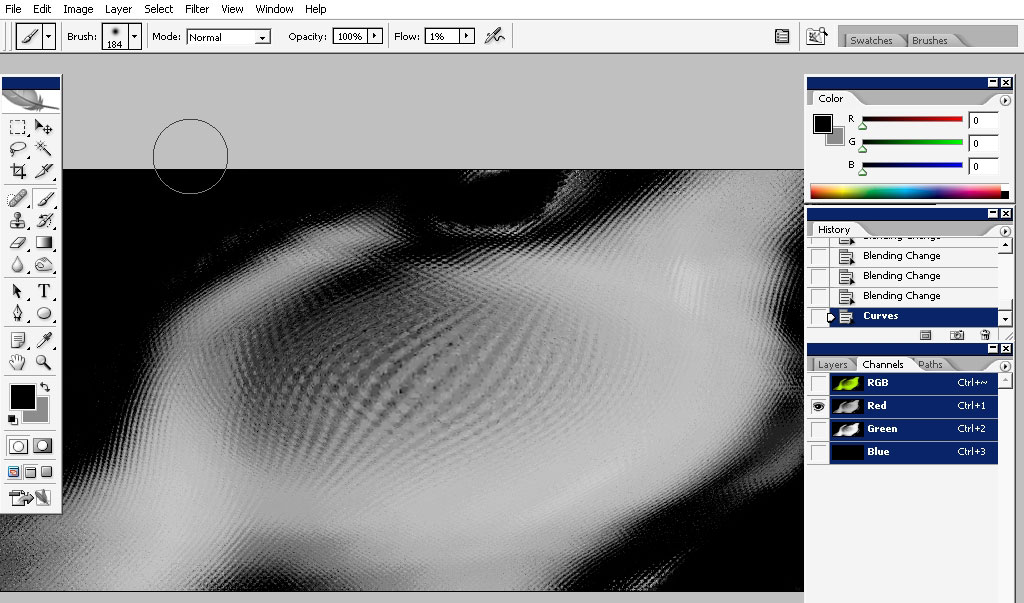
I’m just covering the object with black a little.
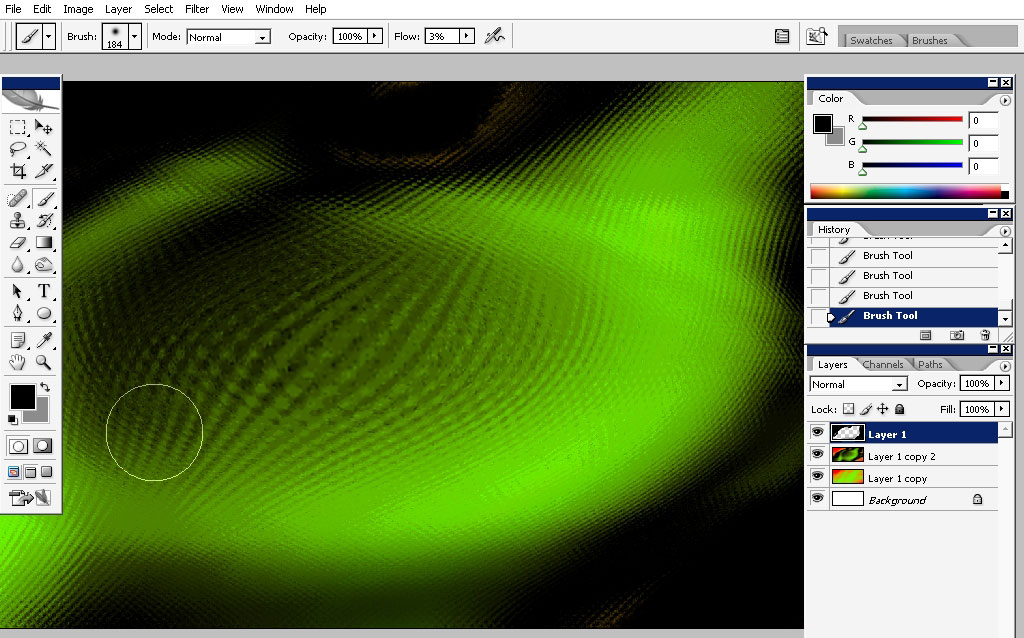
…leaving only this part of the object.
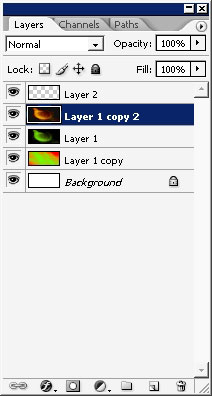
I’ve also created a new copy of my layer and I’ve changed its color to this.
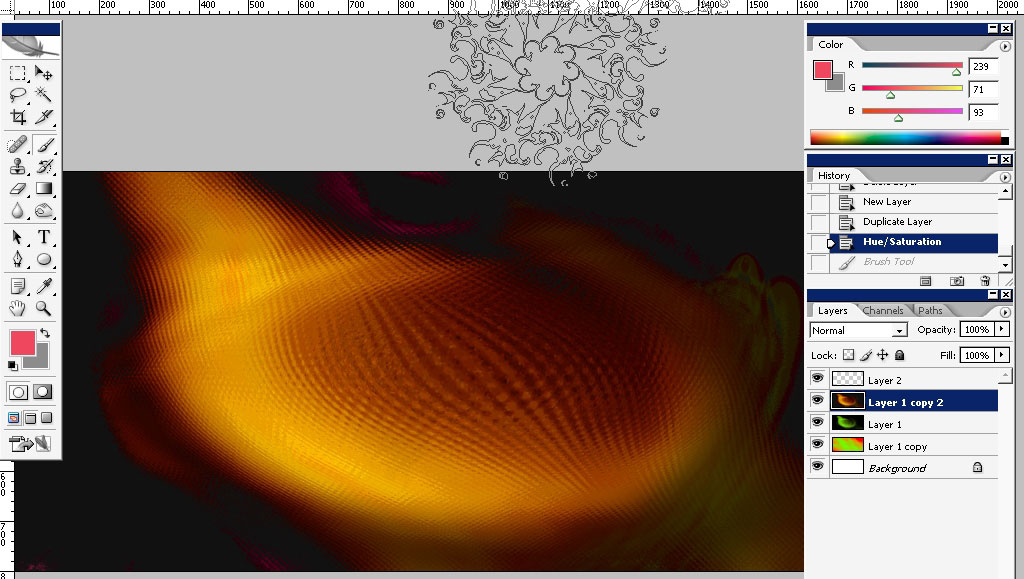
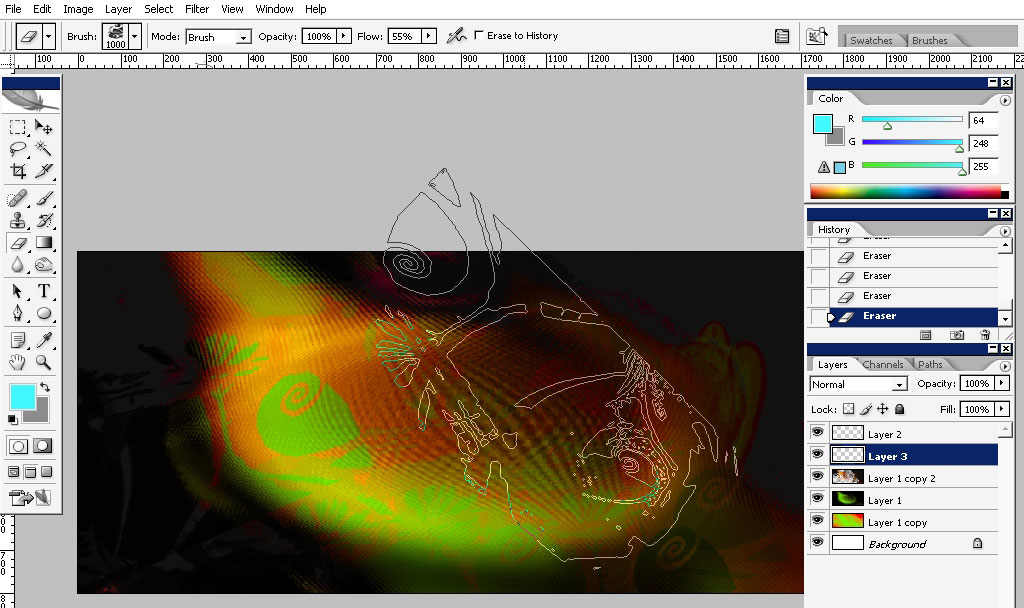
Now
I will erase back from this top layer. The other thing about digital
painting is that you can always erase back without leaving trails or
mess. But some say you shouldn’t do that, because you can come up to
something with the parts you just like to erase; training your design
sense.
Well I thing it depends on the situation. You can use eraser in many ways.
Here are my settings to eraser. The Flow is about 50%.

And begin.
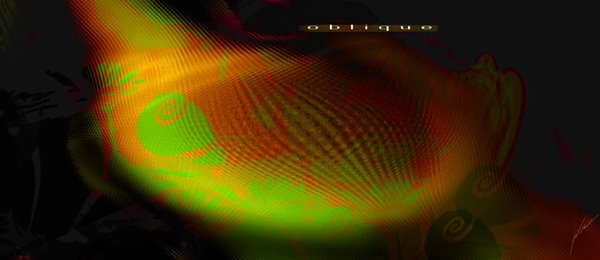
And we are at the finish now.
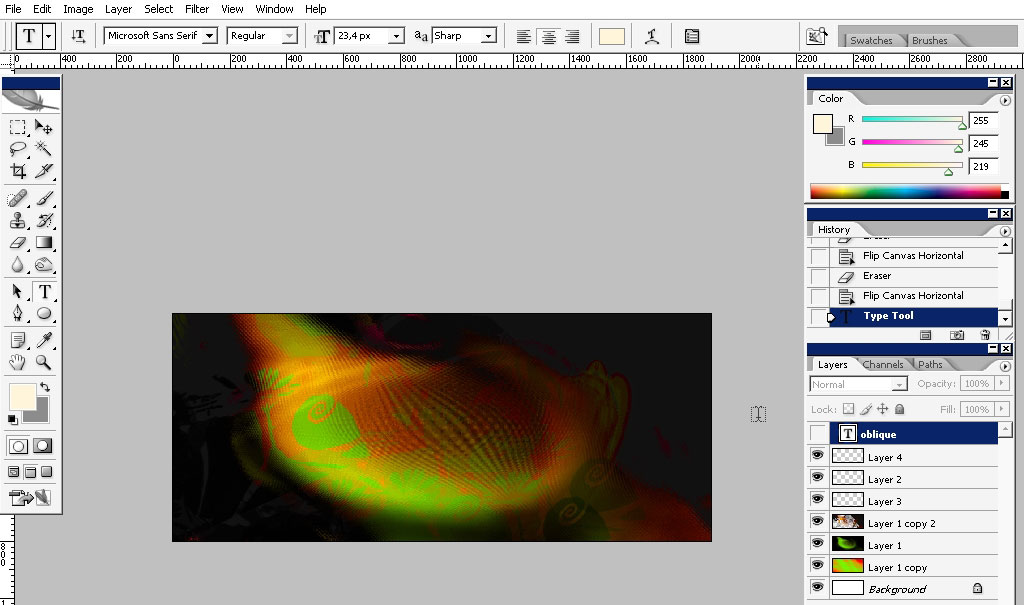
I know that this one just needs some text. So hare is my text.
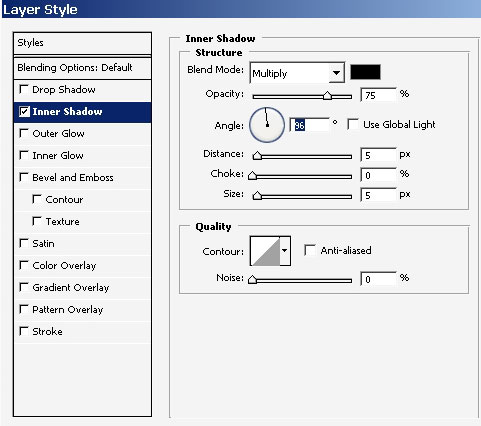
With
just inner shadow turned on. Well’ I hope you enjoyed this tutorial and
remember: practice makes perfect, whatever it will be.
Download Brushes:
http://designstacks.net/Jeka/MyAntiscaleBrushSet.abr
Comments