
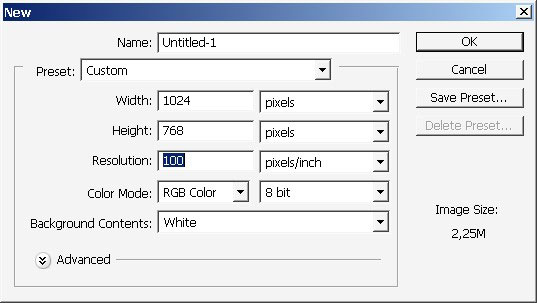
Human creative painting
So today in our tutorial will be practicing some painting. And in general – the idea can be realized in very small period of time.
So I’ll doing a head of some human, but it isn’t really a human, you’ll see.
So let’s get started with this one.
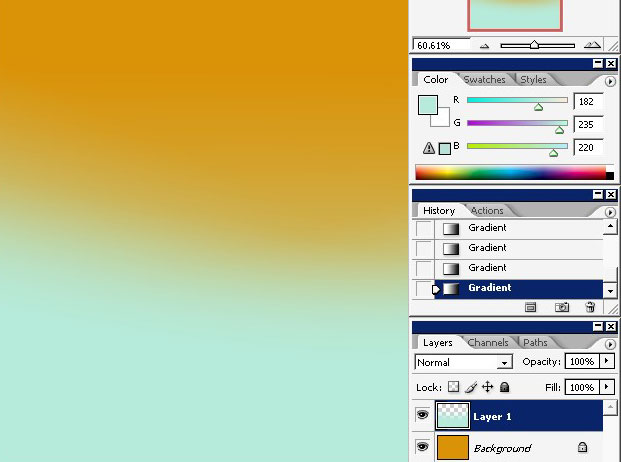
I’ll fill my background with this orange color and create a new layer after that. I’m going to fill my layer with Cyan to transparency gradient.
And here is the result of all this.

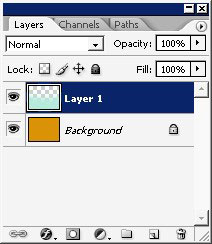
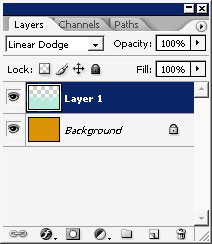
Now I will change layer mode for my gradient layer; from normal to linear light.
I’ve also overlaid my whole picture with black to transparency gradient with opacity set to ~ 40%.
So now I’m going to grad a smudge tool.

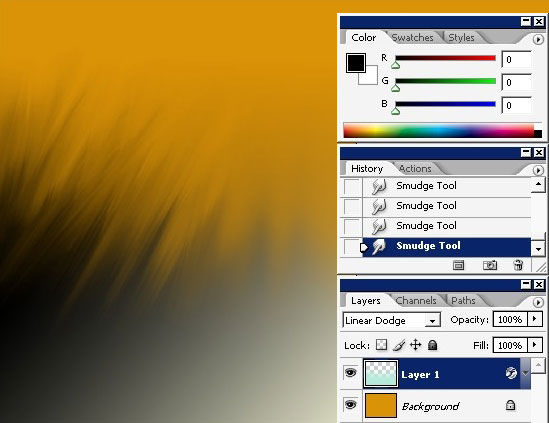
And do what the smudge tool magically des. You just smudge the pixels.
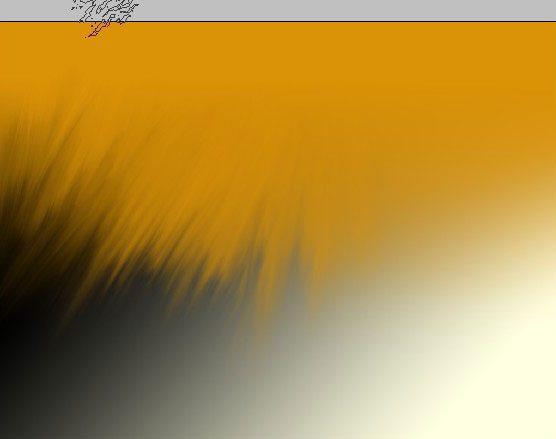
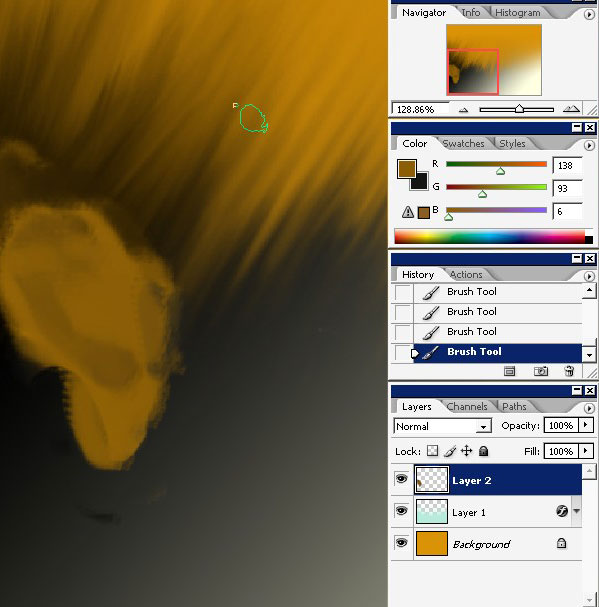
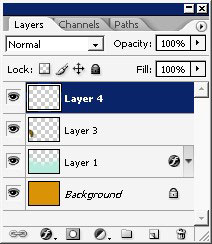
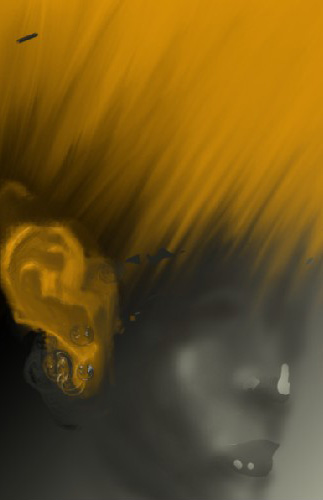
It really reminds me of a hair of some kind Well, if that hair let’s paint a face. Create a new layer, grab a round basic brush and begin painting g the pars of the face.

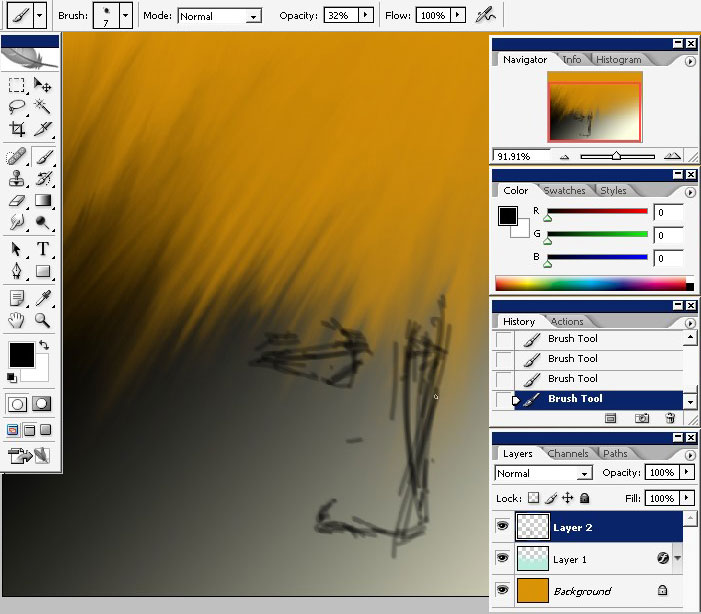
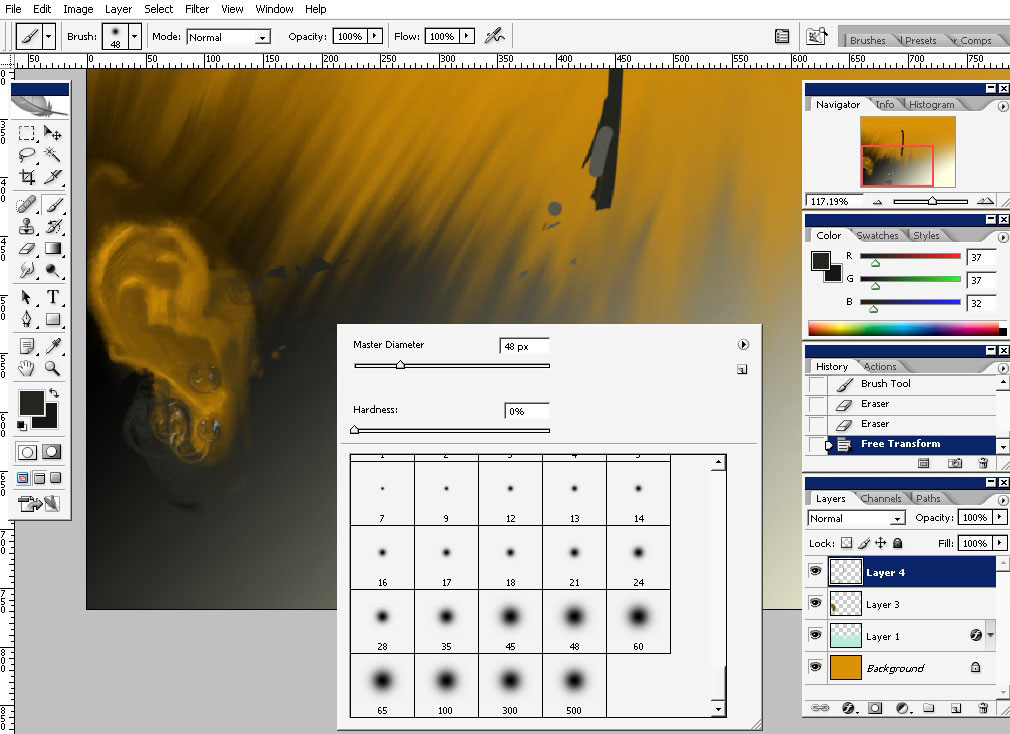
Now I’m beginning to render the ear of the character. This is maybe not a good choice, because all the elements must be rendered at a time, but anyway.
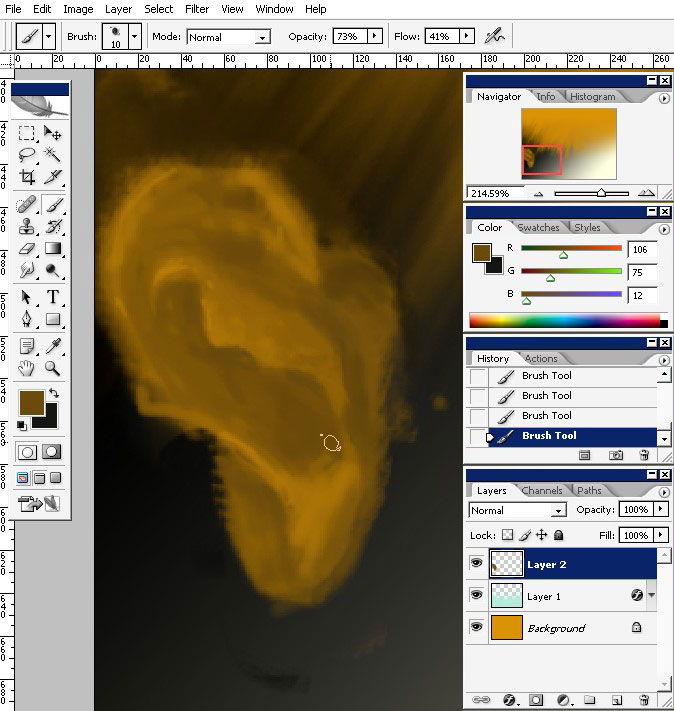
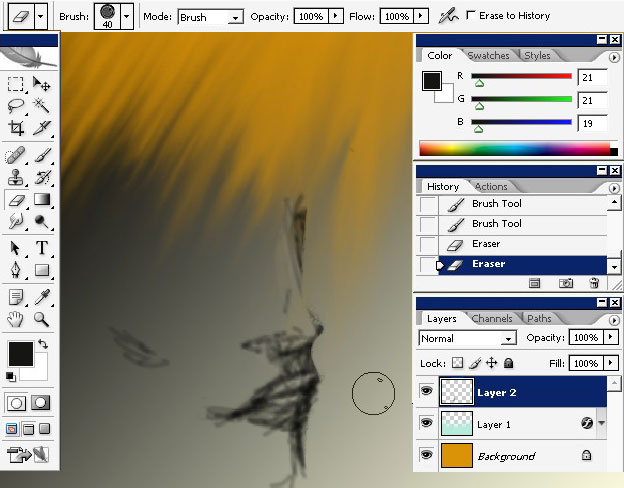
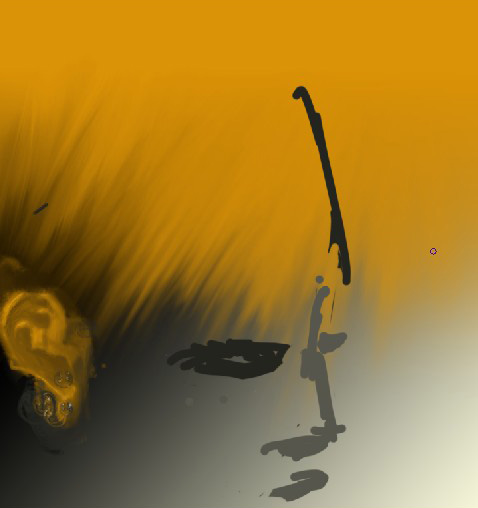
Now create a new layer and begin with the face render. I’ve erased all
the contours of the face made before, and draw new. I’m also beginning
to put some value on the contours; but this is only my way, if you
understand where the lightened and darkened areas are you may not do
that.
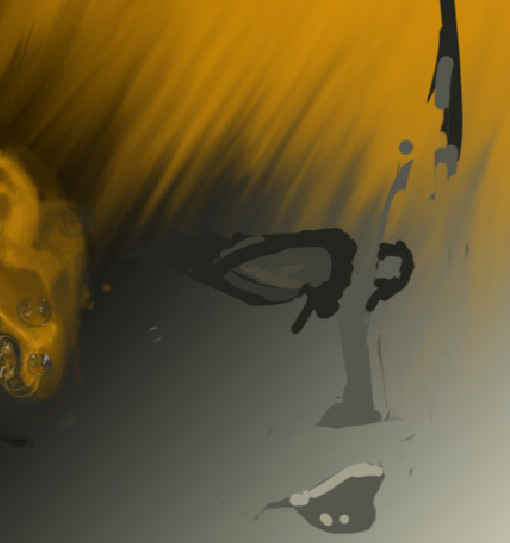
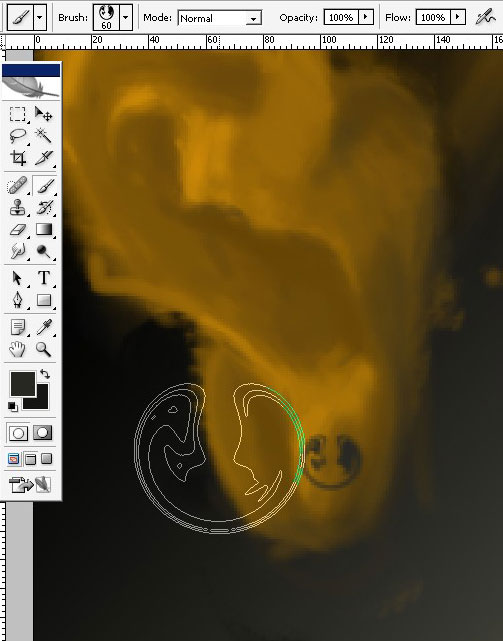
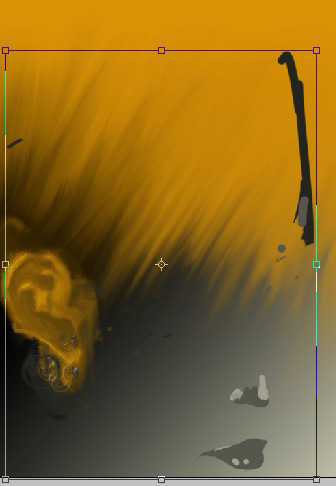
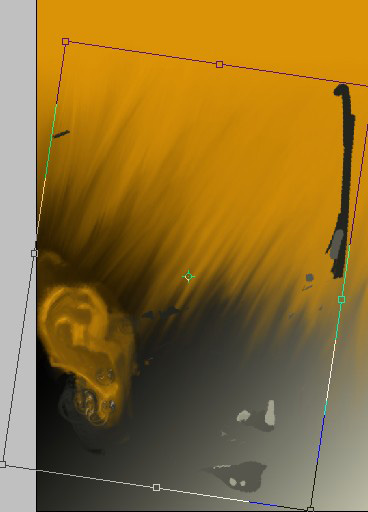
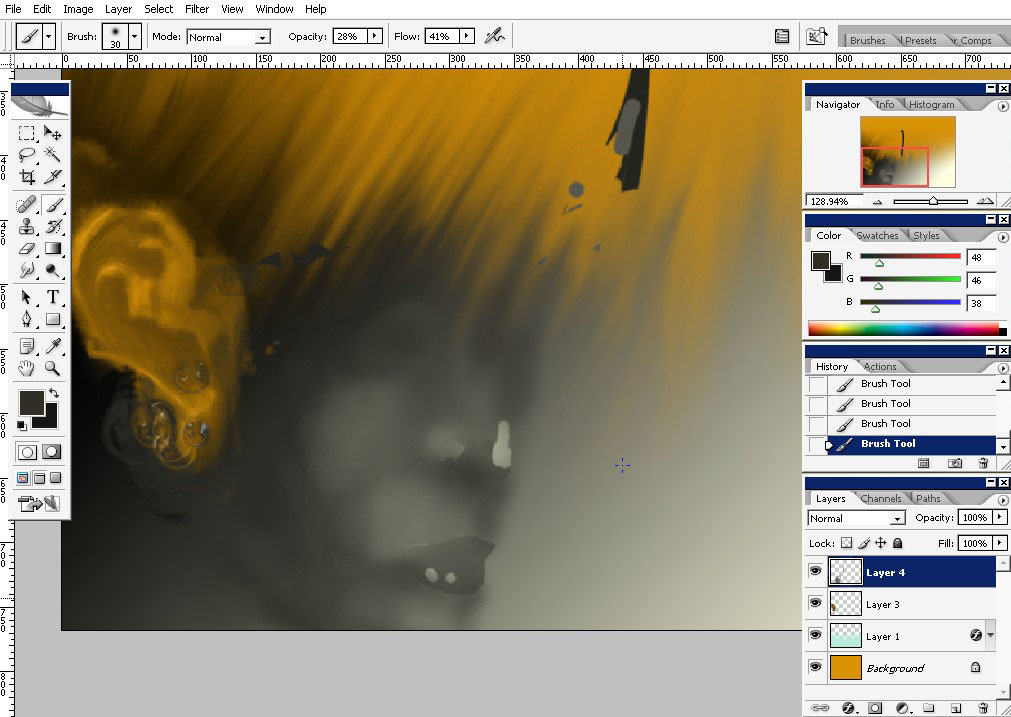
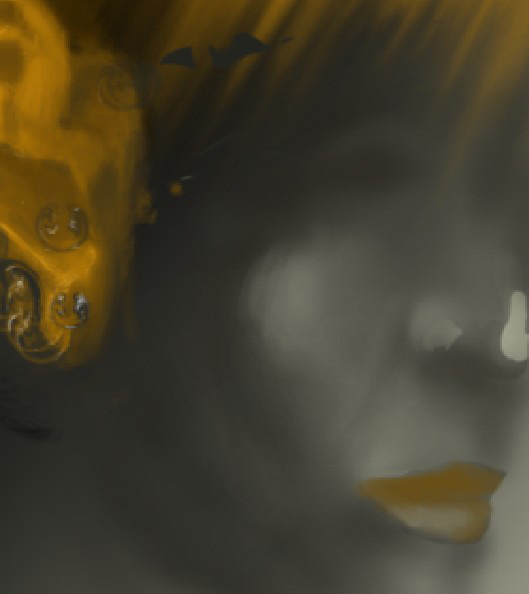
Digital media gives you endless possibilities. I’m transforming my face here.
I’m
choosing a soft edged round brush here and beginning to work over the
lightened parts of the face. In most cases the lightened areas of the
face are: Nose, area between the nose and the lips; and some other
areas of the face.

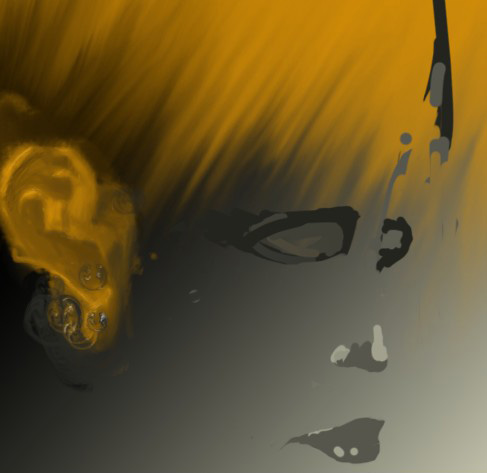
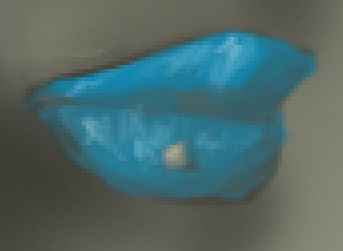
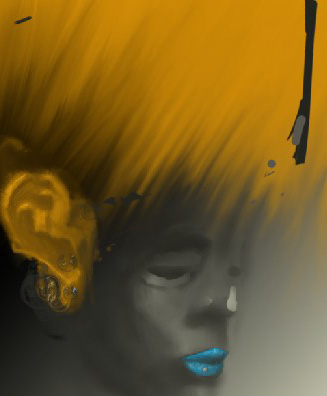
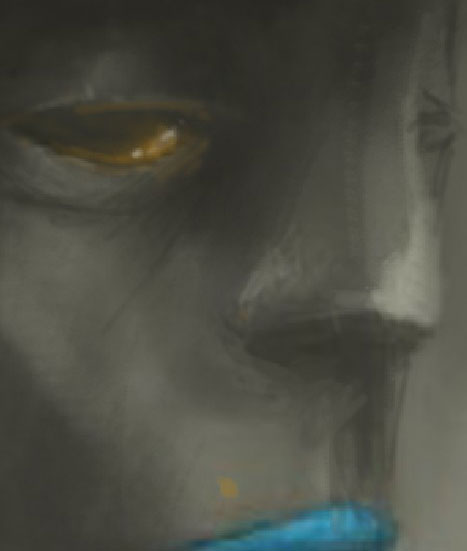
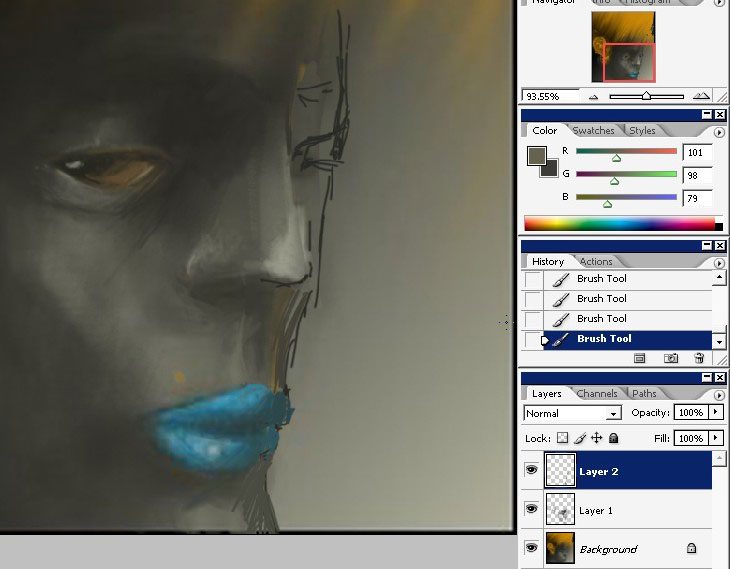
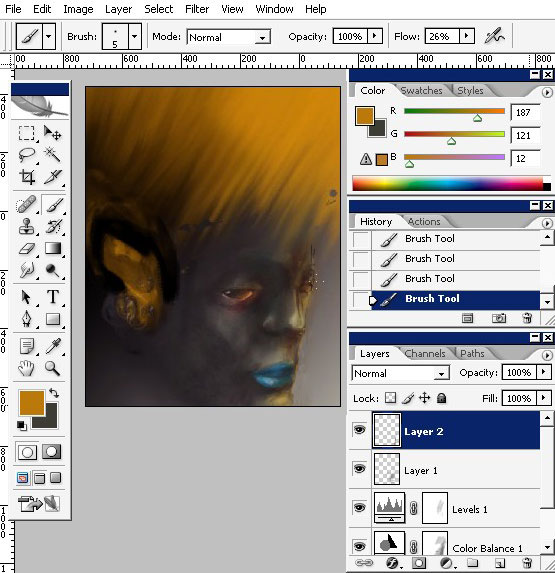
Now I will build the lips of my character. I would like them to be blue, in contrast with orange hair.
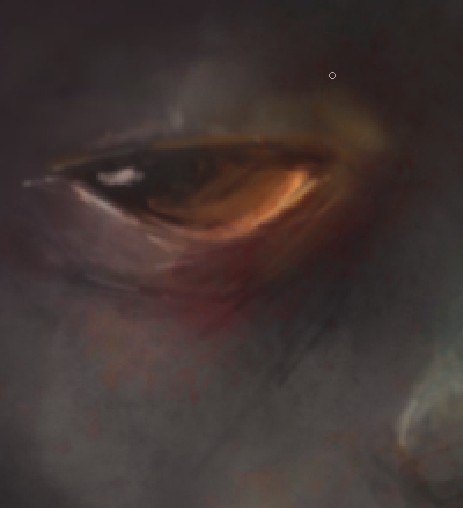
And the eyes.
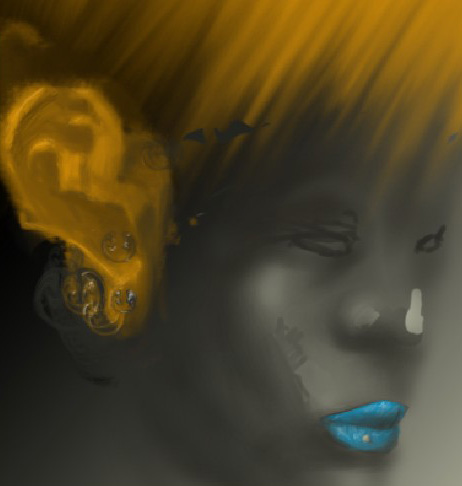

I’ve
also worked over some parts of the image with basic hard edged brushes.
And I’ve also completed the eye rendering, making this evil eye and
nose.
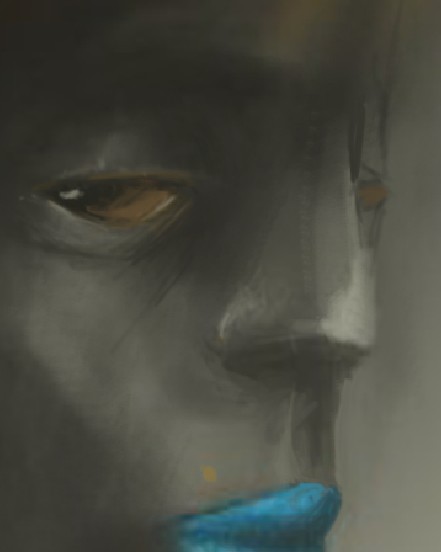
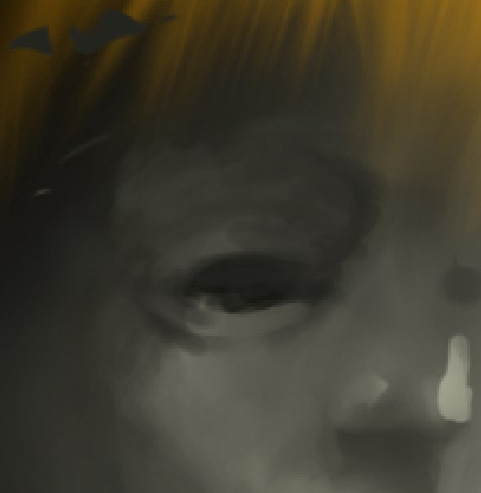
I’ve made here a big mistake. I don’t have the left part of the face done. So let’s fix that. Start with contours.

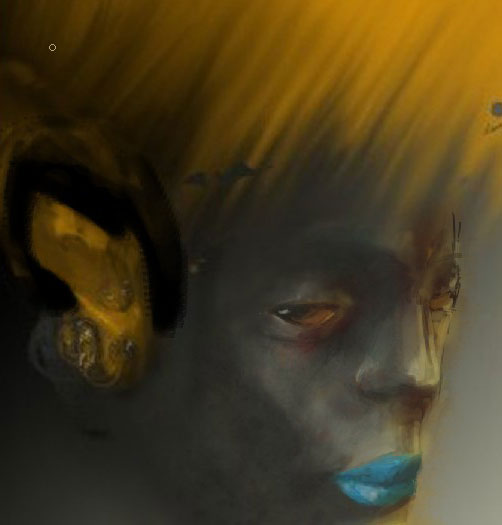
I’ve
done a little bit of falling light effect to my left side of the face.
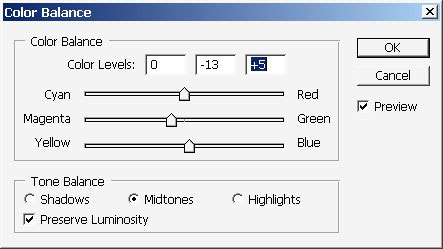
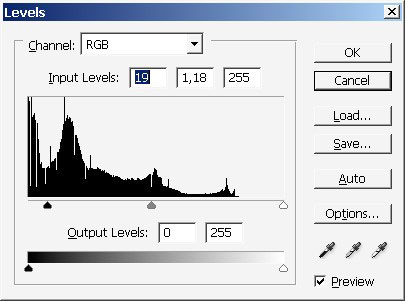
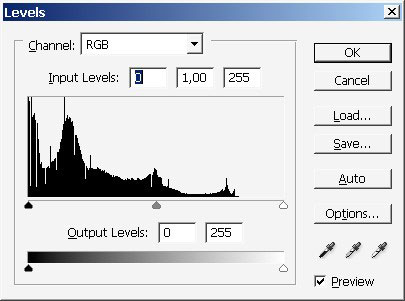
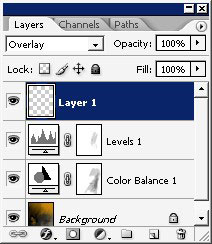
Now I would like to correct some colors of the image.
Color balance layer.
Levels layer.
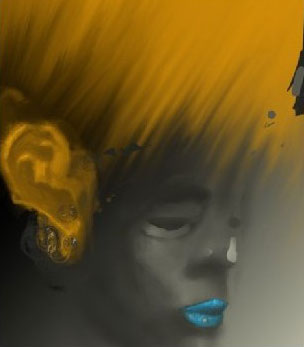
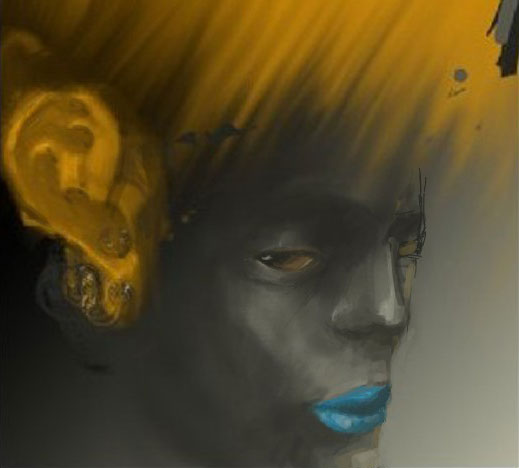
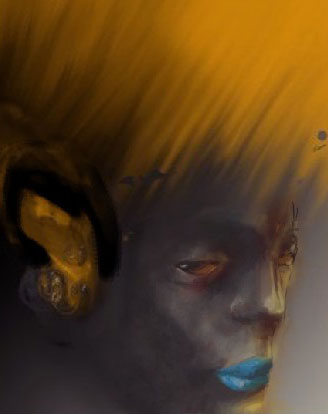
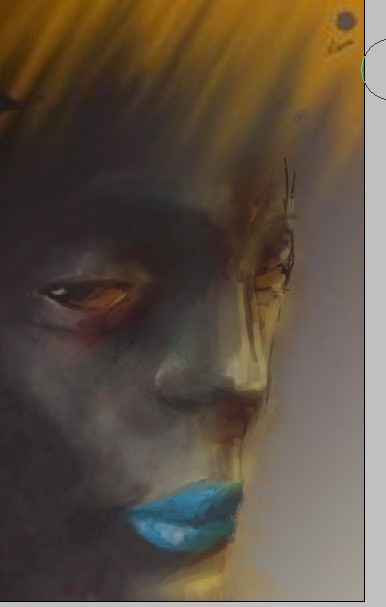
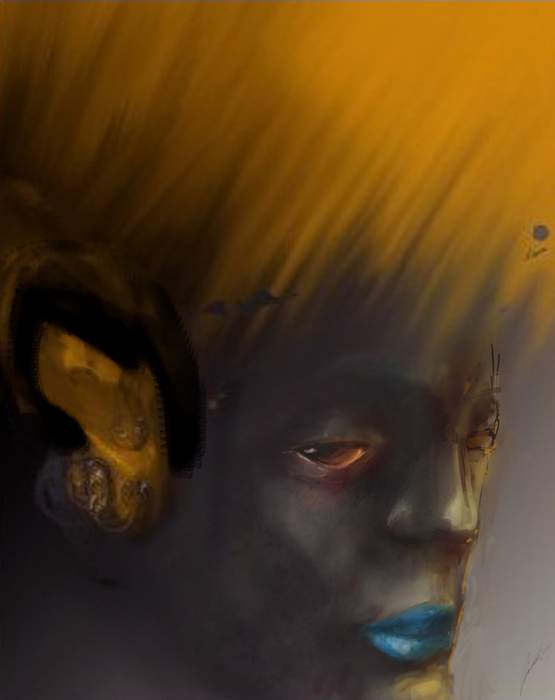
Here is the result in details.
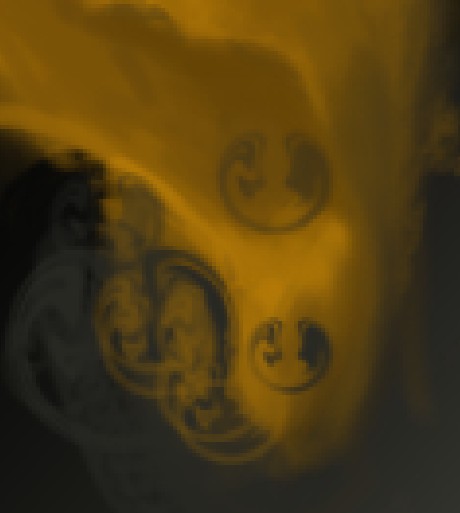
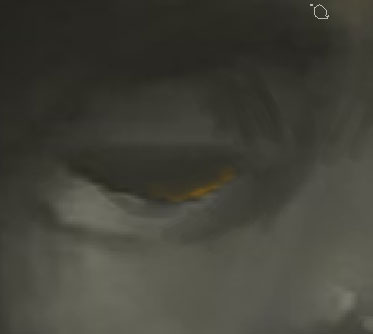
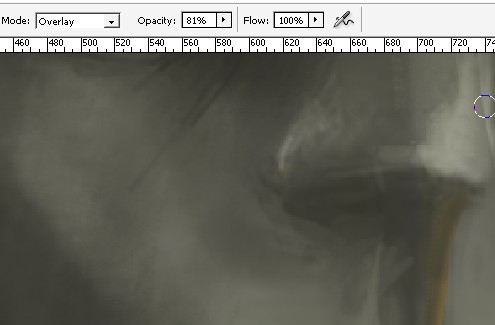
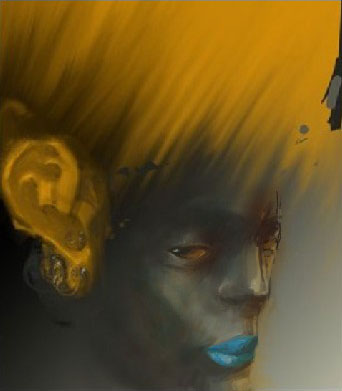
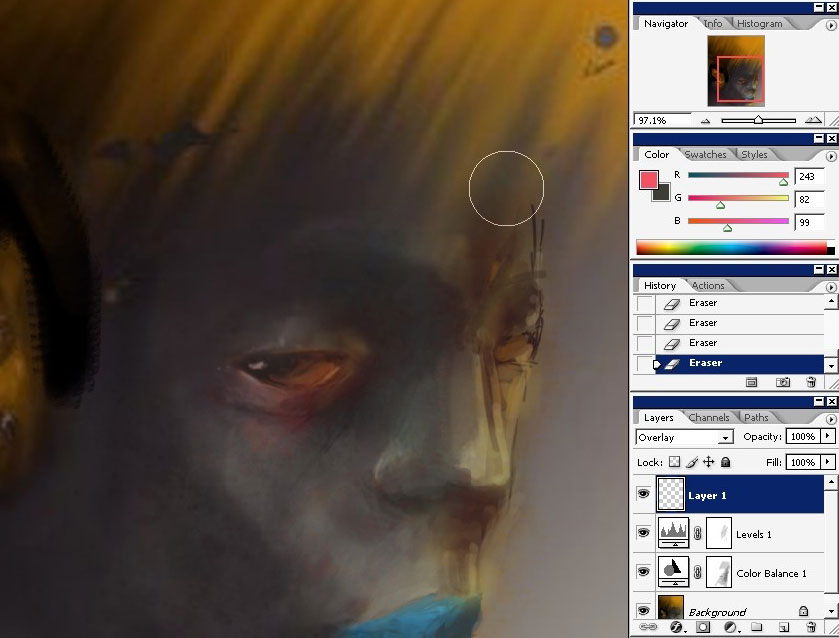
The
final step. Create a new layer and set layer mode to Overlay. Choose a
low flow any brush and pick something like red color.
Overlay the areas that should glow, as you think.
The eye, the Nose and the left border of the face:
And we are done with making a face of the monster illustration.
Comments