
Designing a beautiful interior illustration
Our subject is designing a beautiful interior illustration. I did it on big document in about 150 DPI so it can be easily printed. In this tutorial we’ll walk through the basics of Photoshop effects and Masks.
For begin we’ll make basic forms and some of the effects and after we’ll manipulate these forms sing transformation and distort tools that we have in Photoshop.
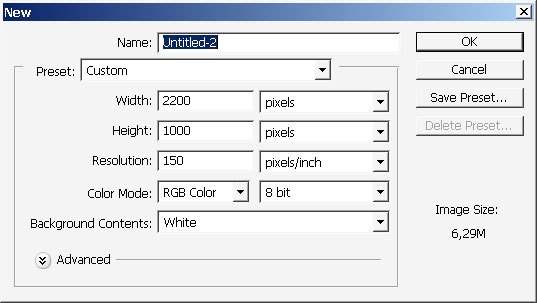
So let’s get going and start our tutorial by making a document with these dimensions.
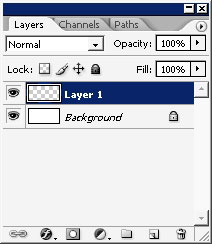
… and a new layer.

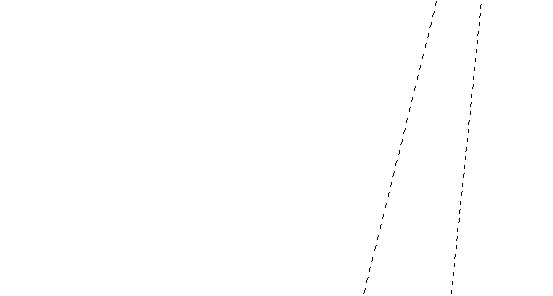
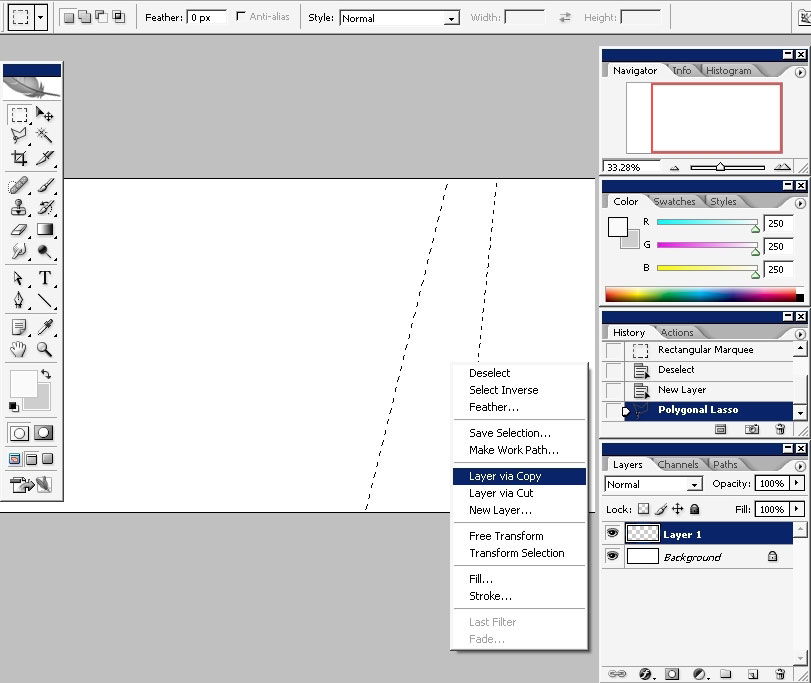
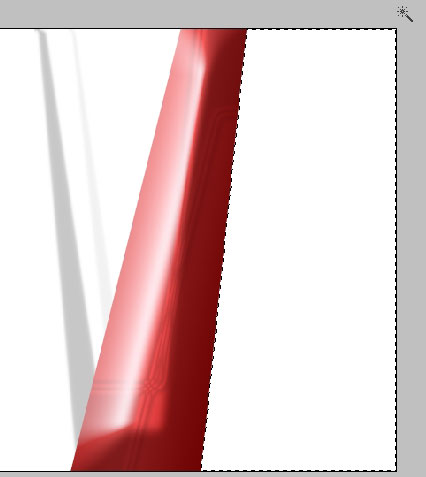
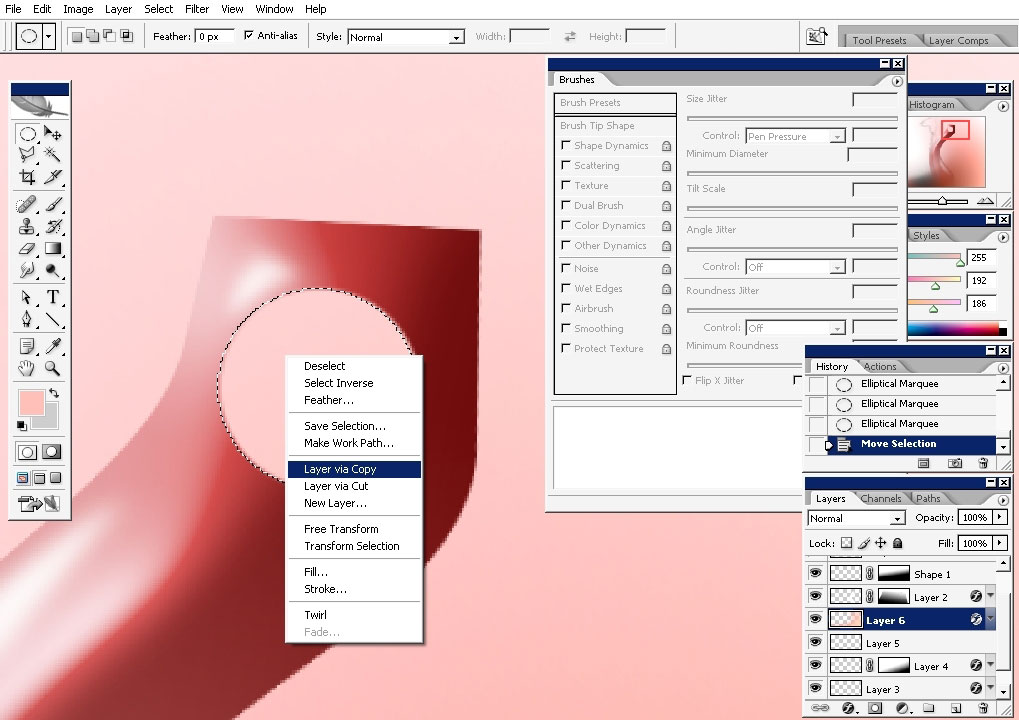
Grab Polygonal lasso tool and make a selection. Just basic form selection.
Copy the selection into a separate layer.

I’ve also temporary applied satin layer effect so the layer could be better seen on white background. As you can see I’ve selected and copied to a separate layer another shape; this time thinner and smaller.
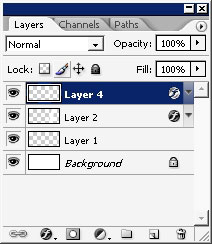
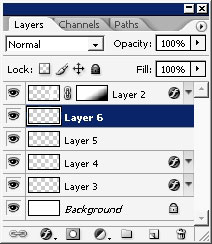
So we got to have 3 layers and a background.
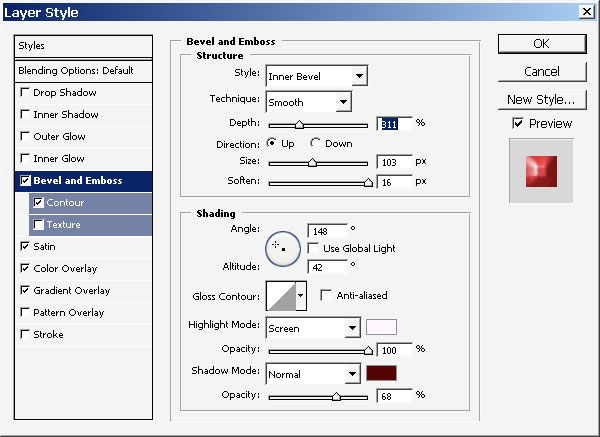
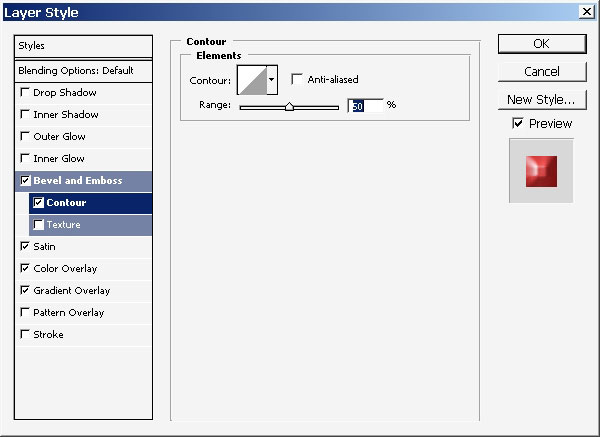
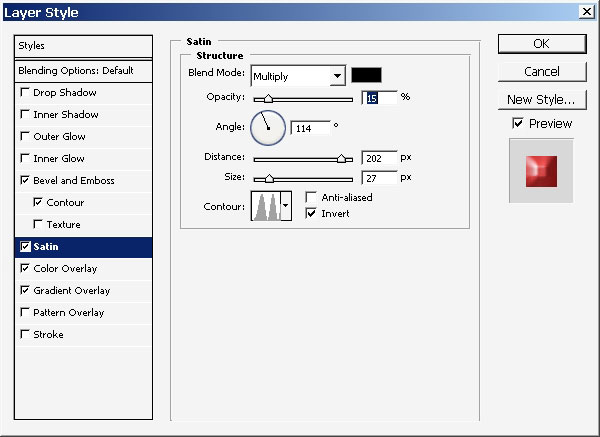
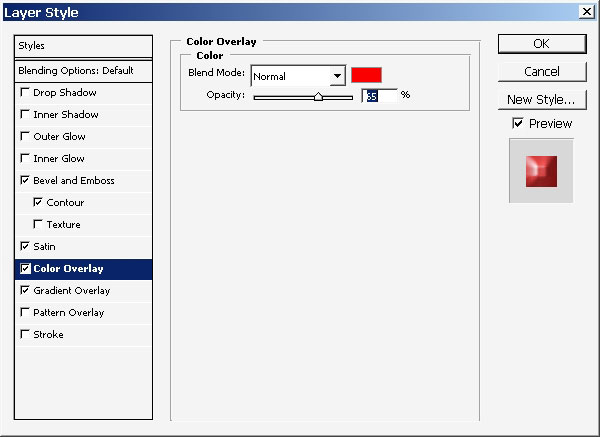
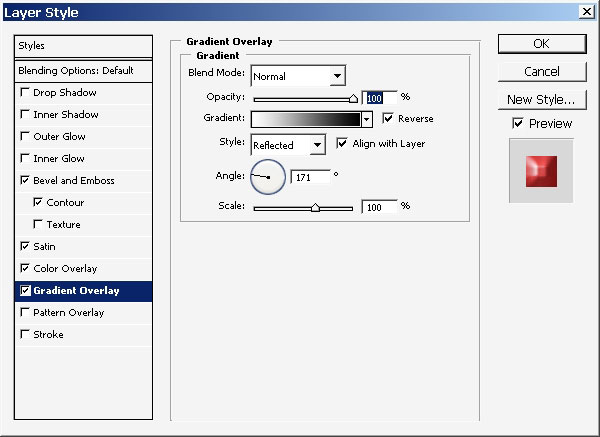
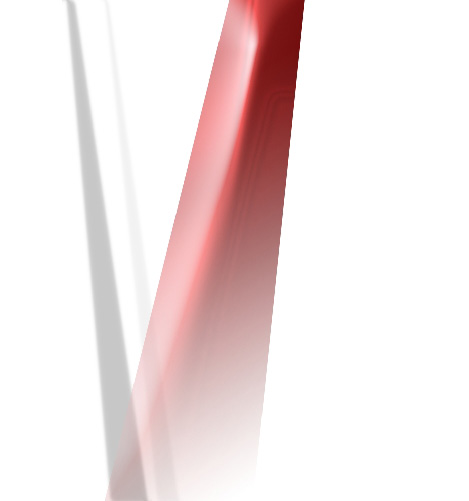
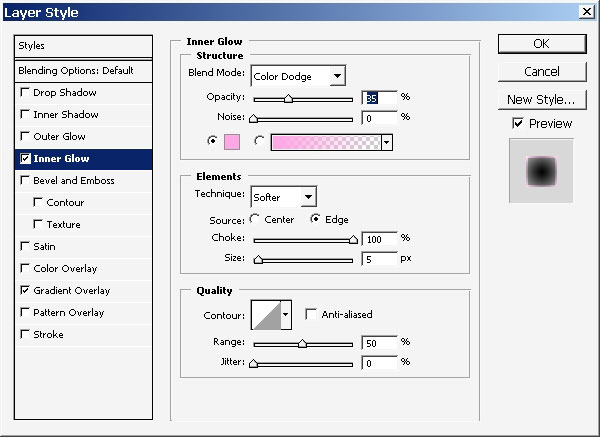
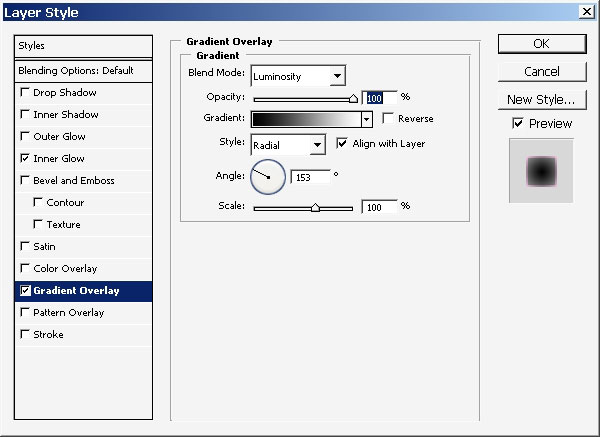
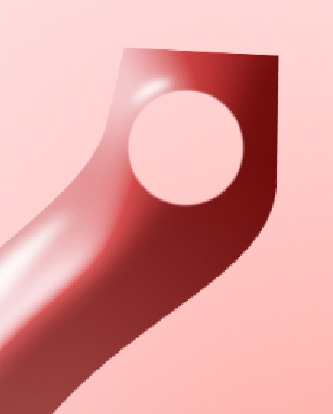
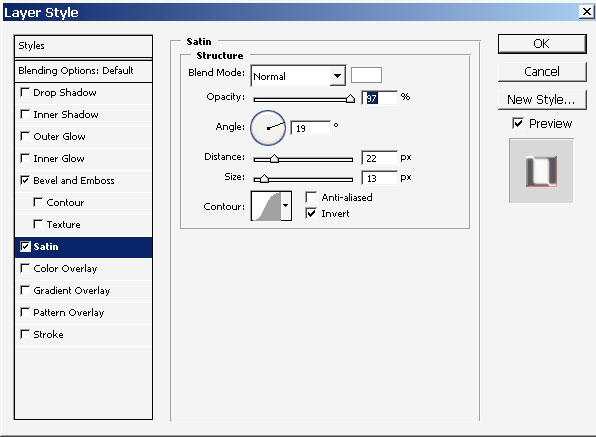
I’m now beginning to color and apply some effects using layer styles. On this one. Here you can see all the effects already applied.
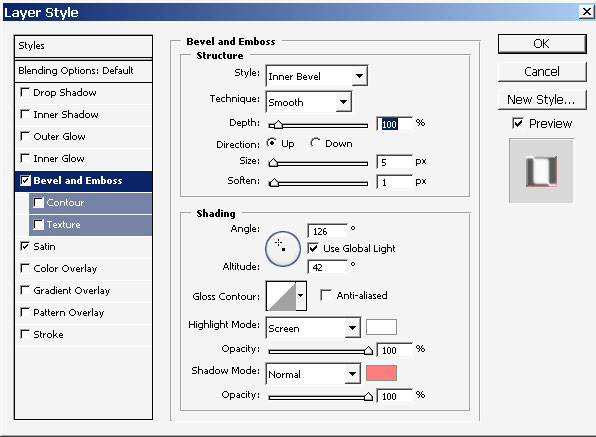
Now let’s see these effects. Watch the Screenshots carefully because the satin and bevel angles, for example, should be precise to reach this kind of effect.
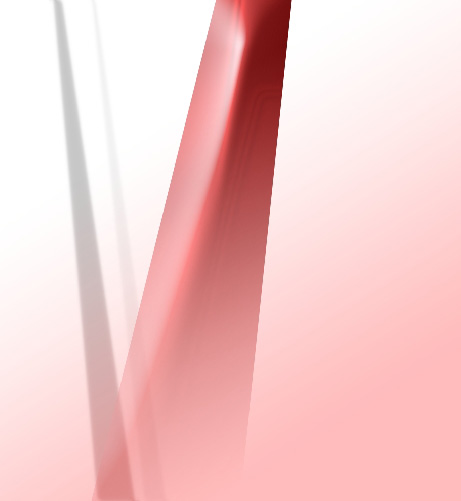
Now you’ve seen the result and I would like to apply a layer mask to have my object less solid.
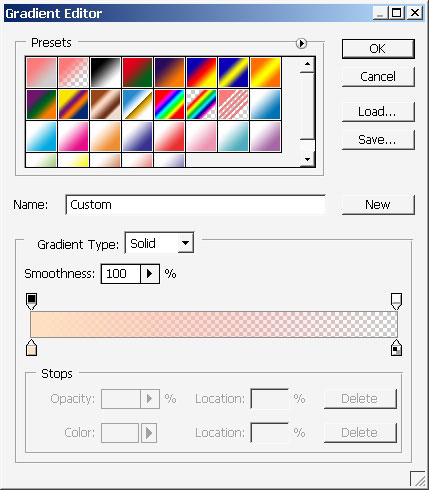
SO tape Q to enter quick mask. Use a round black to white gradient on the layer mask. See my layer mask and the effect.
The next and the final stem for this Part will be to create a layer right here.
…and overlay it with this very gradient.

So that is about it for the first part of making an interior fine art illustration.
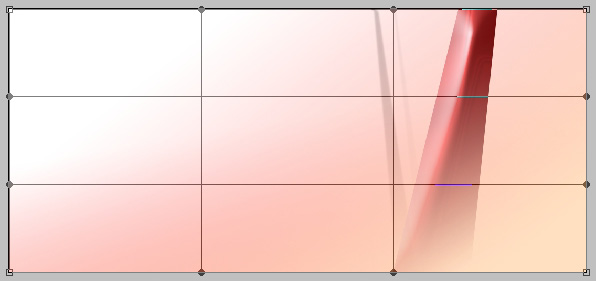
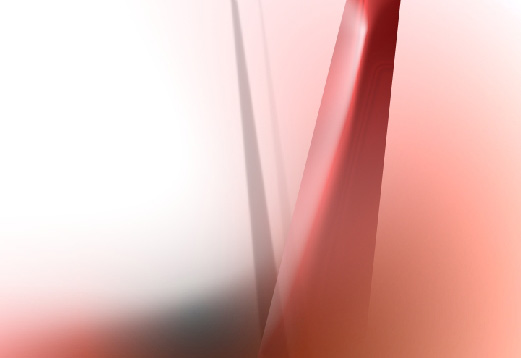
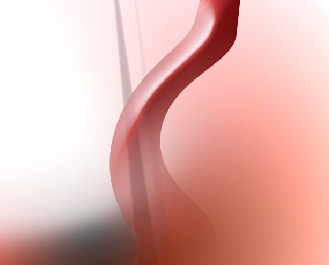
As you remember our last step was: overlaying with peach tone gradient.
Thanks to that we got some colors and basically made some sort of
background.
Stay in the gradient layer and tap Ctrl+T enter that transform image section and warp the image.
Enter that layer styles and chose some options to choose on.
As a result we get some dark tones In contrast and a little bit color change. Not so bad.
Now we are going to need a filter. Choose the layer that has the basic Element witch is red now.
Choose the Pinch filter!
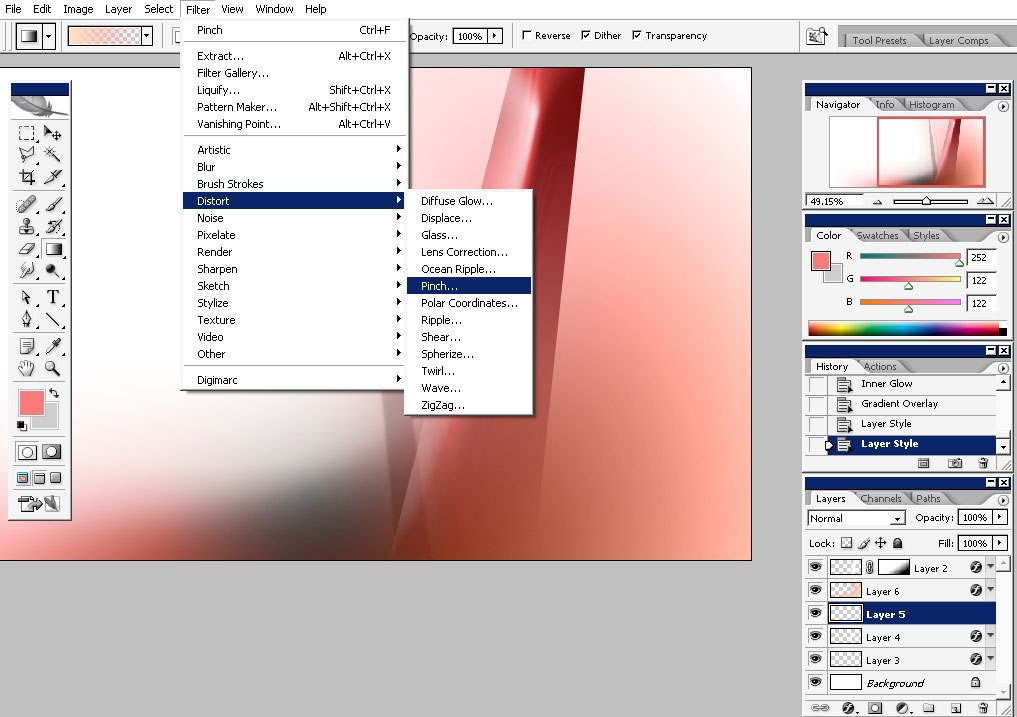
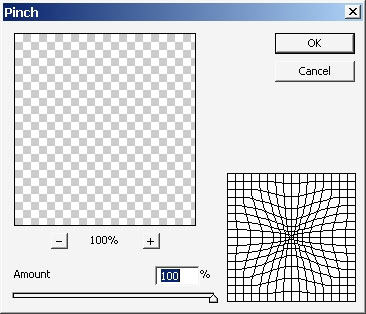
Here is our result.
I’ve just erased the whole on the top of the object. Well, maybe not the best idea but anyway….
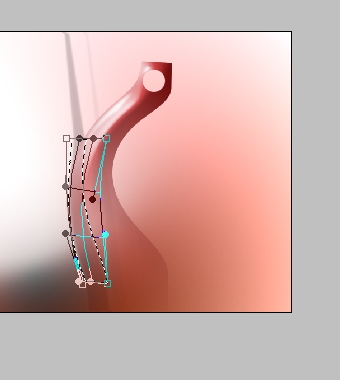
Now we are going to set some bounce lights to shine up the object.
I will use shapes for this.
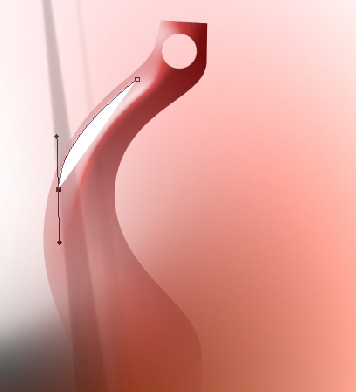
Rasterize the shape and erase the needless elements. And also with a little transformation we got this.
And a little light there. I’ve used the same method to do this.
Now we’ll take care of the background elements (grey). Transform the middle size element.
Select
the Smudge Tool, choose any kind of brush with ripped edges and do some
smudging on this layer. By doing this I will transform simple object
into something like smoke.
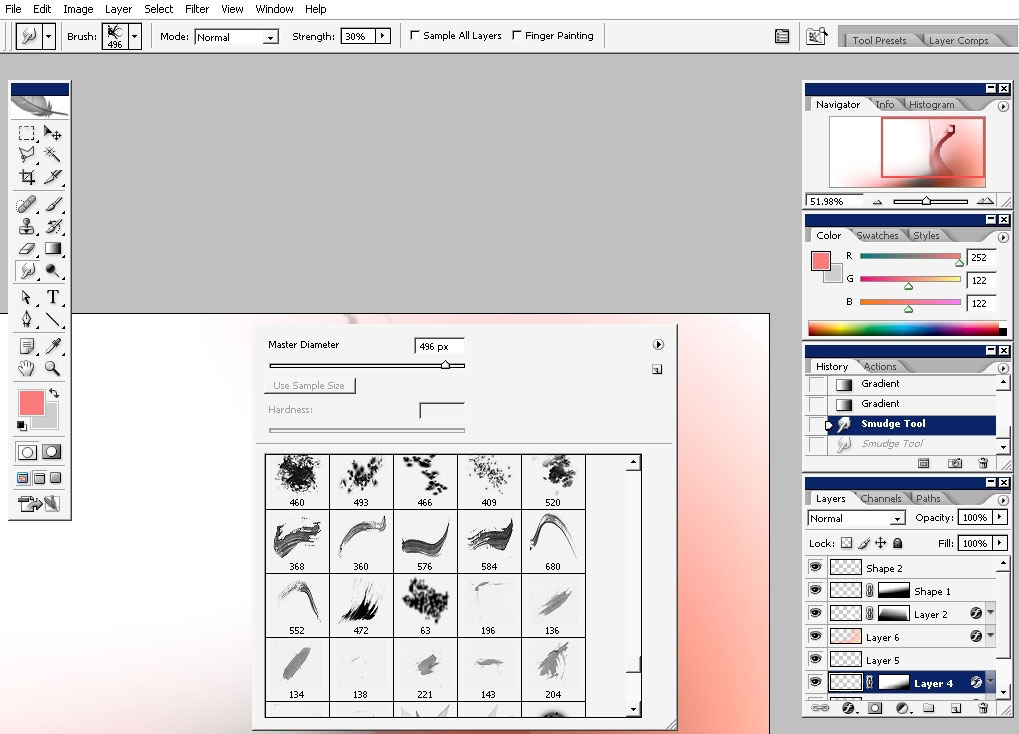
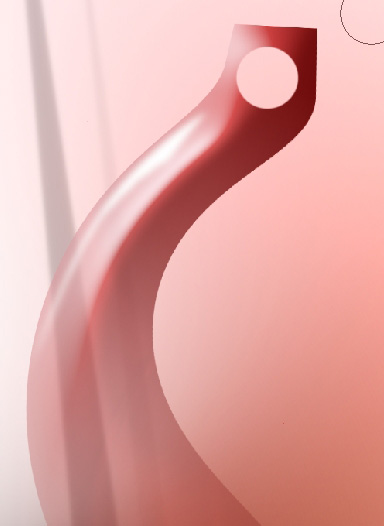
And I’m also putting some additional lights there.

Now select the Whole made on the top of the object and copy it to a separate layer.
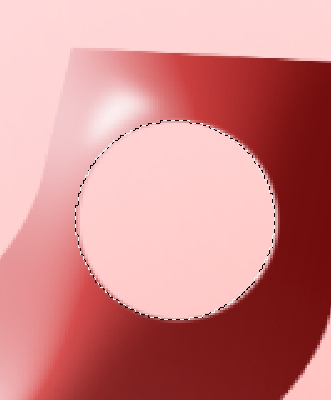
Apply some layer styles to it.
Choose
this brush. It maybe some other brushes if you have another idea. I
wanted to concentrate the viewer’s attention to that whole.
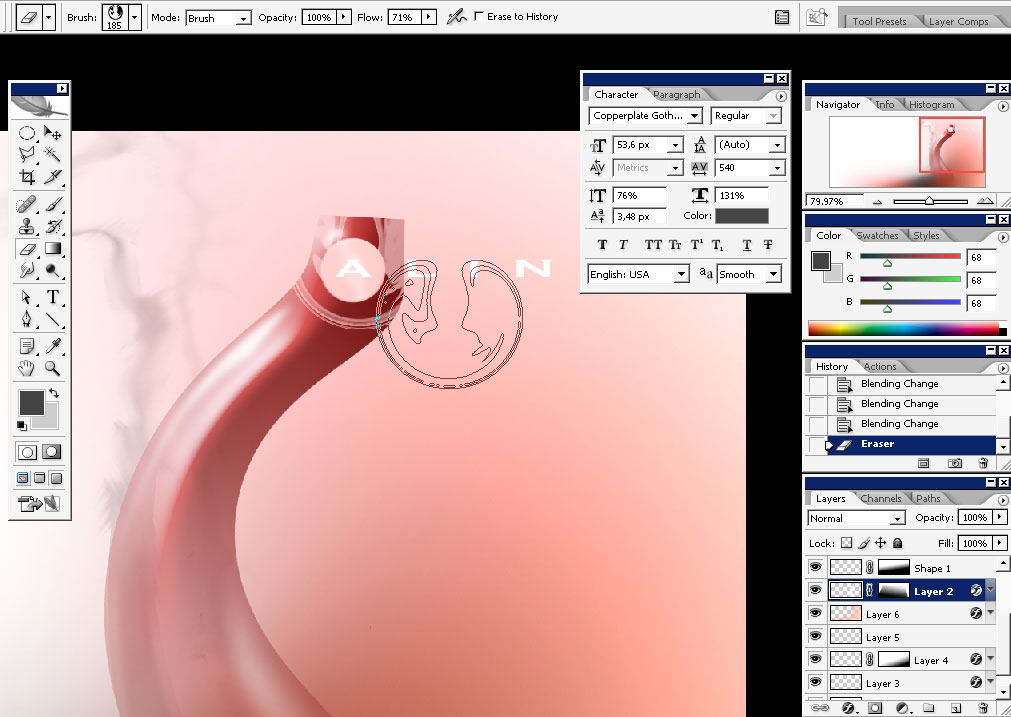
Of course I will do some text there.
Alinn – of course the word the is not known to human kind)
And we are done with this interior illustration. I’ve also managed to crop the file.


Enjoy!
Comments