
Adobe Photoshop Tutorial – Illustration effects
So for today we have another cool looking illustration that can fit an interior or something like this. In this tutorial we will use Adobe Photoshop and its color adjustment possibilities.
So let’s start with this one shall we?
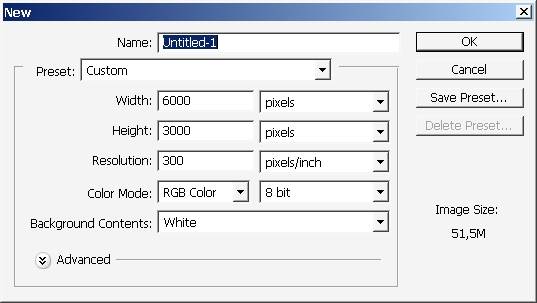
Create a new document, as usual.
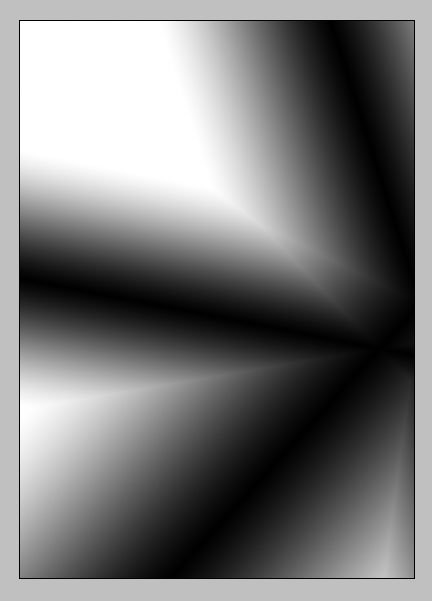
As a first part of the tutorial we will overlay some layer with gradients.

So create a new layer, choose clack a white gradient and follow me.
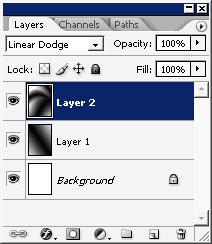
Create another layer and overlay it with gradient too.


This time set blending mode to darken and see all the settings I detail.
Here are the results of the first layer gradation.
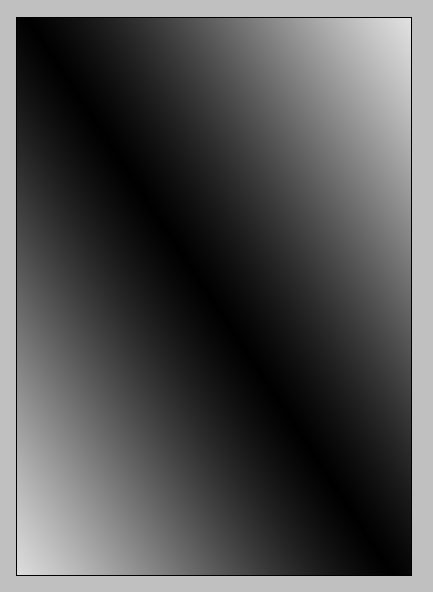
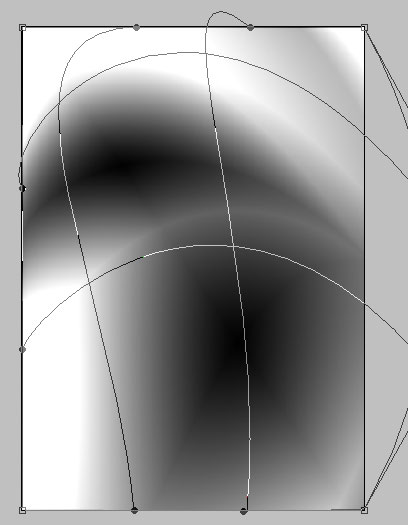
To reach this effect just try several times with Darken gradient, you can not reach the exact form like I did.
Transform and Warp the top gradient. Something like this. Moreover set the layer mode to Linea light.
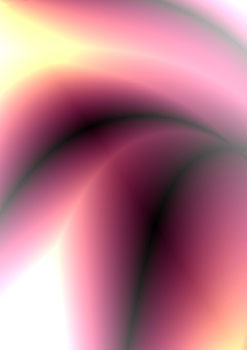
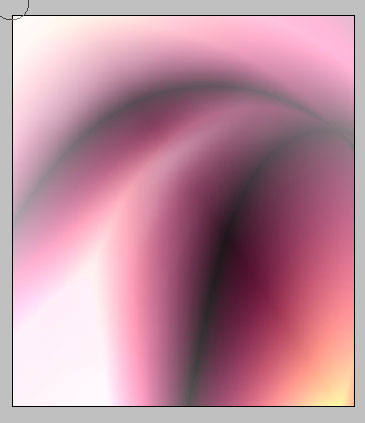
I’ve worked out some colors using Color balance adjustments.
I don’t have the precise settings but as you can see the highlights are yellow and Mids are Violet – pink.
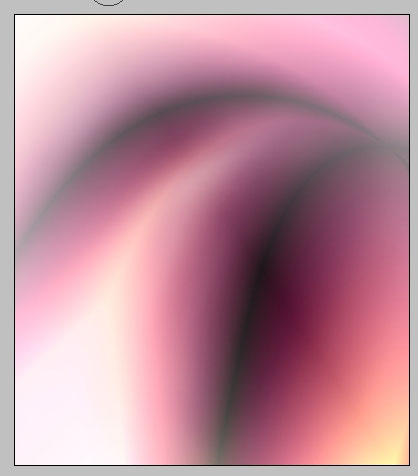
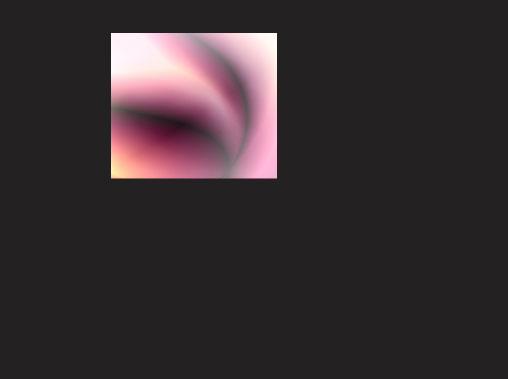
Now I would like to make the image more valued. So for this I will make some elements to fit the background.
Create a new layer and overlay it with pink to transparency gradient from top.
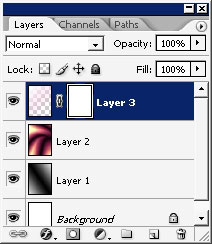
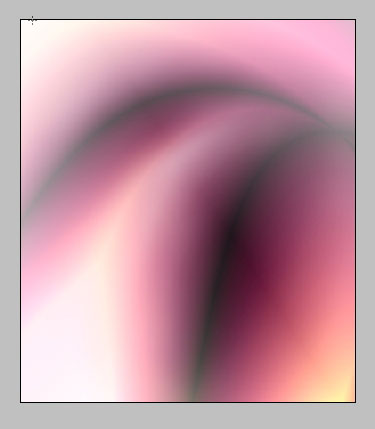
Well also use a mask on this layer and here are the gradient settings to our mask.

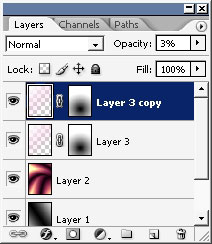
I also duplicated the gradient layer and set the top copy opacity to 3%.
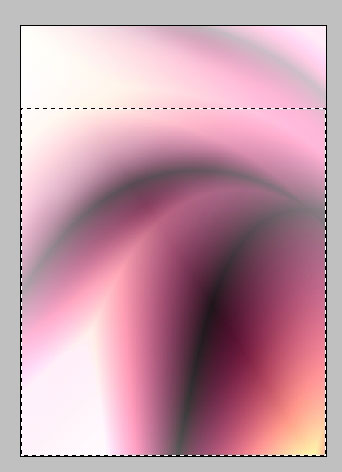
I’ve also erased a little bit of the gradient using low flow opacity brush.

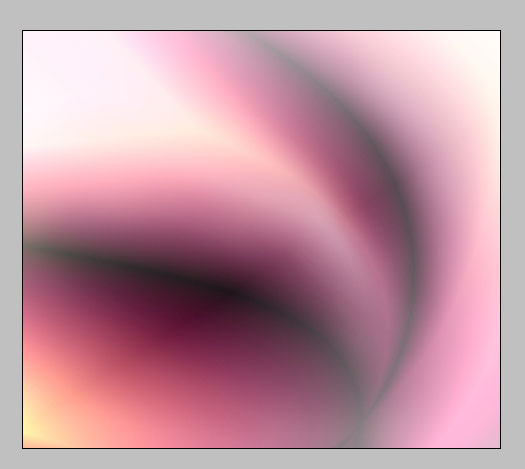
And Cropped the image to fit the composition.
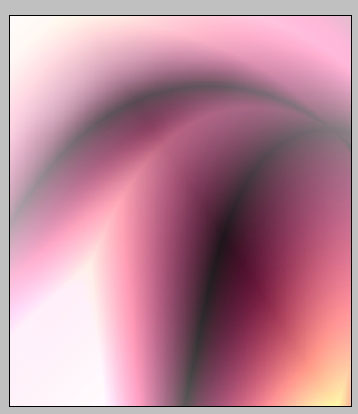
I’ve created a new layer and paint just a little bit with the same soft brush.
Flip the canvas and we are ready with our basic element, but I want to create a wallpaper from all this.
Create a new document, let’s say about 1024 x 768.
And rag our Flattened image to fit the wallpaper like this.
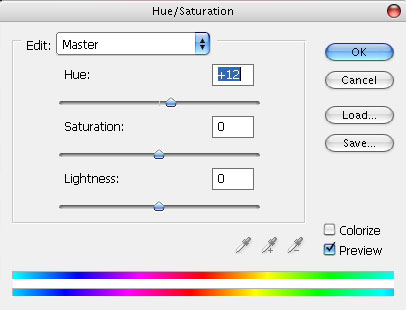
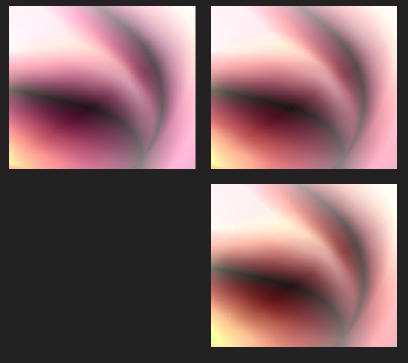
Create 4 copies of the Image and use Hue saturation adjustment on each of them. The value must be +12 on hue every time.
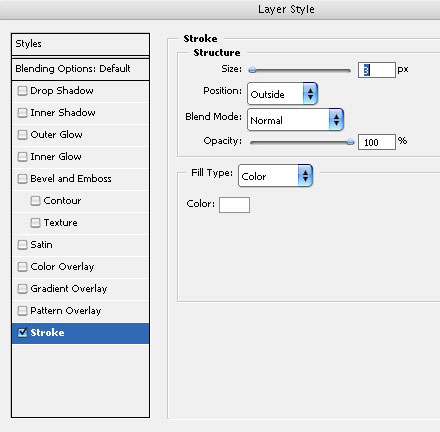
Use stroke 3 px on every copy.
Now what I did, I’ve created a copy of each of the layers (4) and merged them together.
Moreover I’ve applied motion blur filter
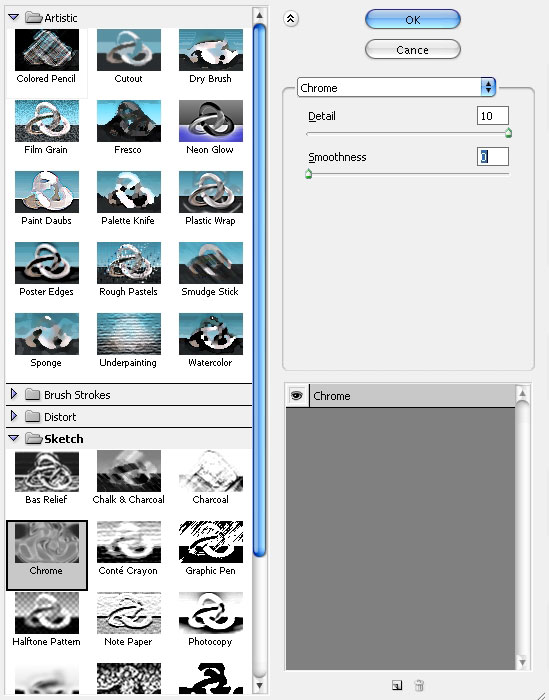
Use another Chrome filter changing completely the picture.
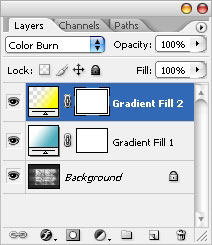
Final steps – 2 separate layers with gradients. Both set to Color Burn.
… and voila – it’s done.
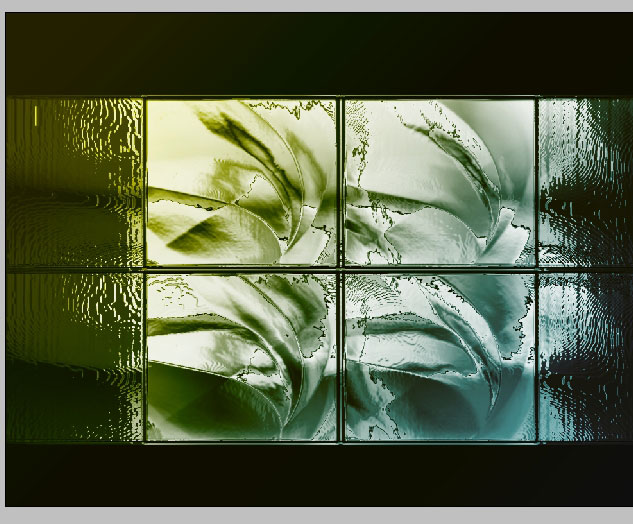
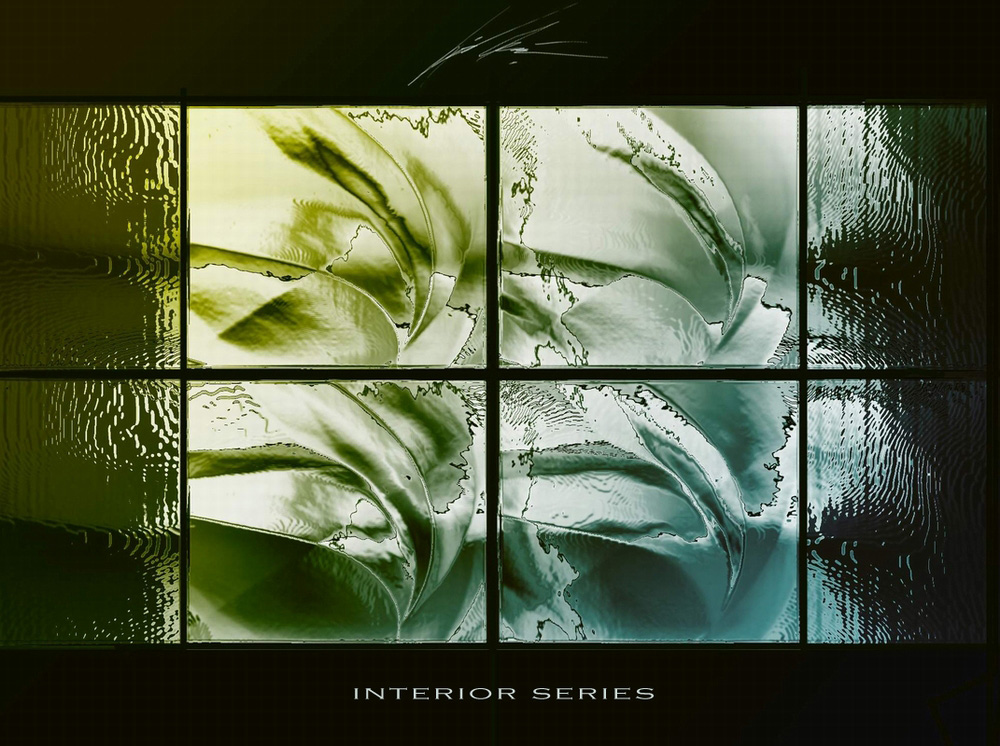
Our interior illustration is finished.
Comments