
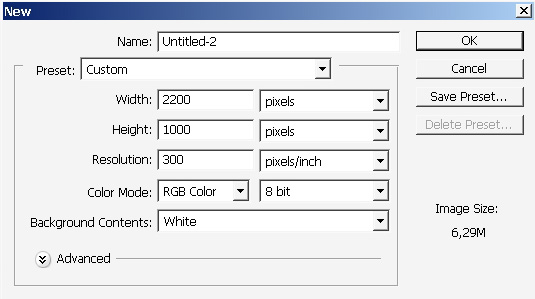
Sculpting on planar surface
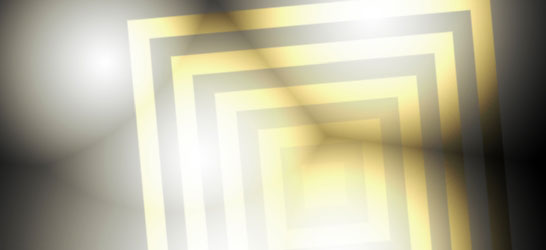
Today we are going to practice some cool shaping and almost sculpting on planar surface using Adobe Photoshop CS 2.
We will try to get as close as possible to 3D image values.
So let’s go.
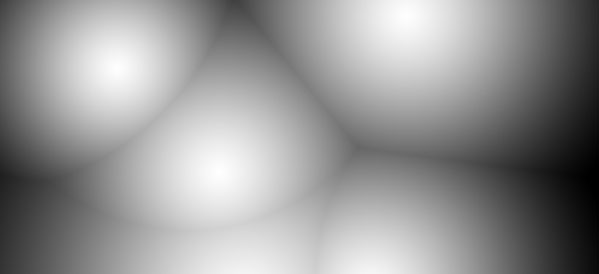
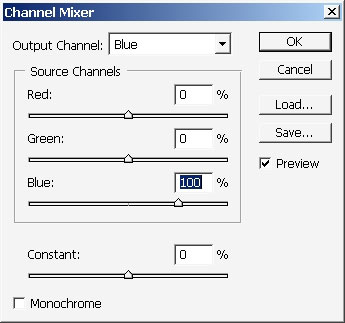
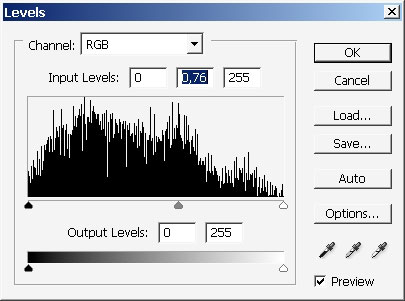
Select basic black and white gradient with these settings and overlay the area several times, not 1.


Now I will give the image some color by creating and adjustment channel layer.
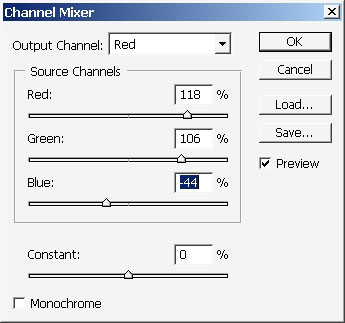
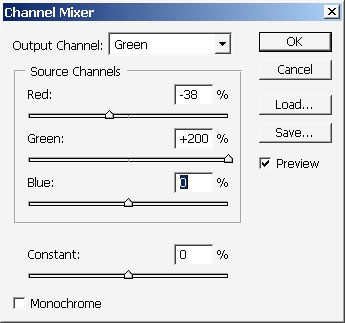
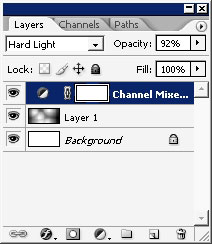
Overall layer settings:

Before applying the layer mask effect I would like you to switch off the Adjustment layer for a minute and save the image.
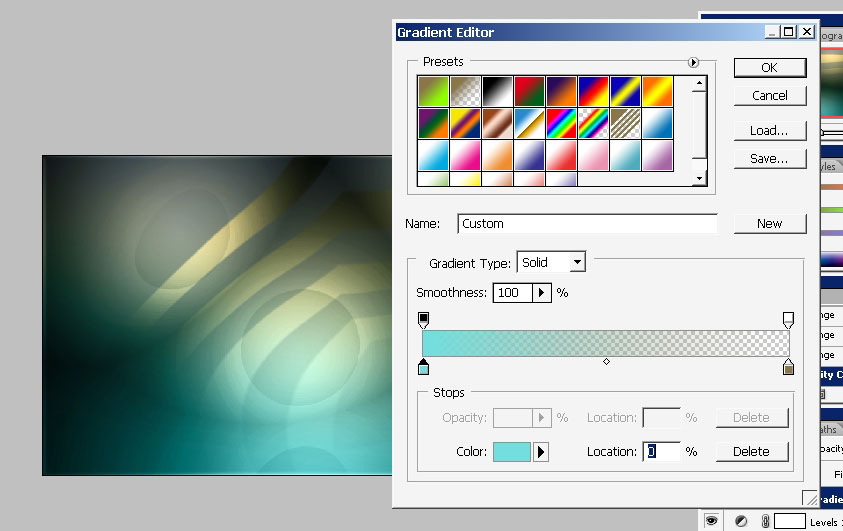
Now pick up a gradient like so (you can switch the Adjustment layer now)
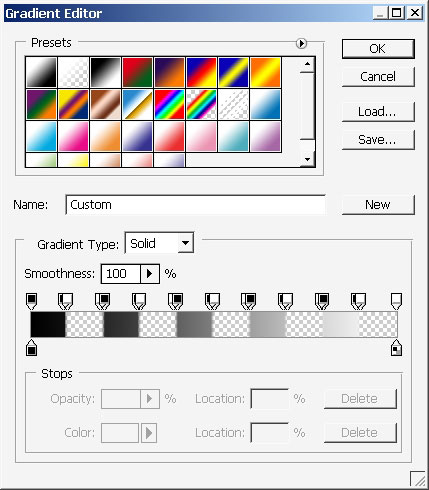
Settings:

Note to have the Adjustment layer Mask selected; when you hit the button just overlay the mask with this very gradient. The gradient will hide part of the effects.
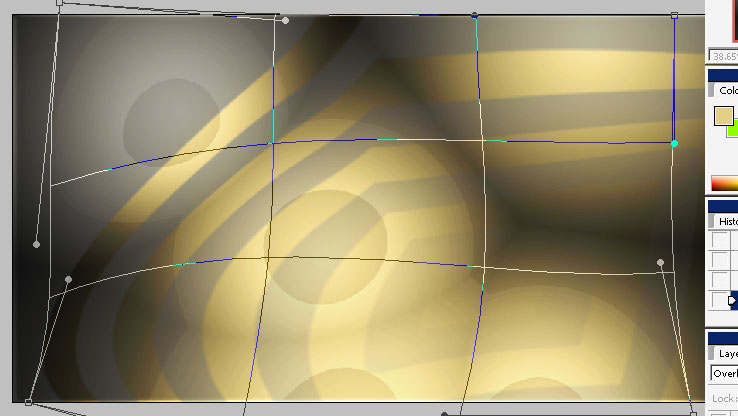
I’ve warped the picture a little bit to get rid of this cubic form.
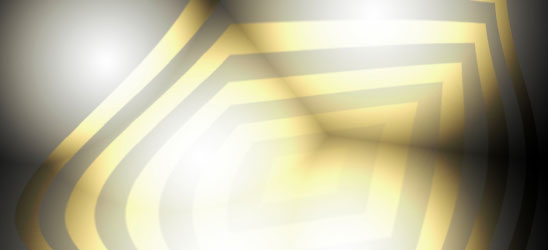
In plus to that I’ve also applied a layer effect that changed the color tone a little bit.
Now grab magic wind tool and make a selection. Note to stay on the black and white background layer.

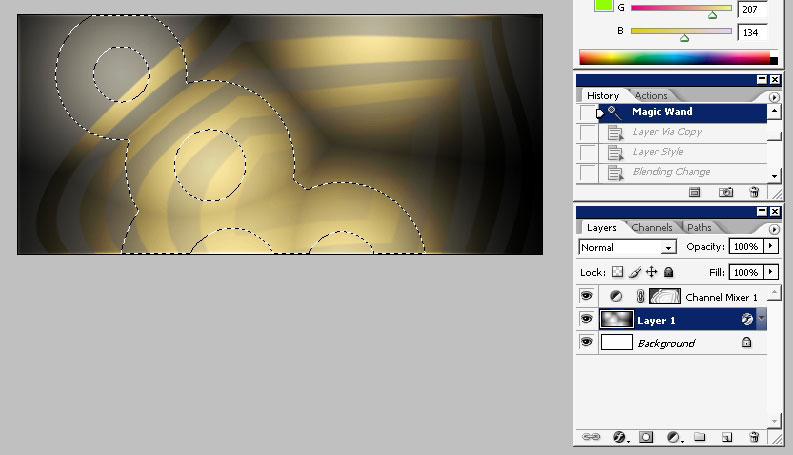
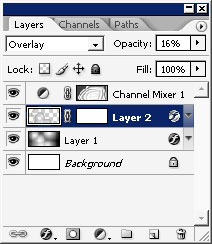
Copy the selection to a separate layer. The layer mode should be Overlay – 16% opacity.
When the layer is copied to a separate layer tap ctrl + t and then hit an icon warp.
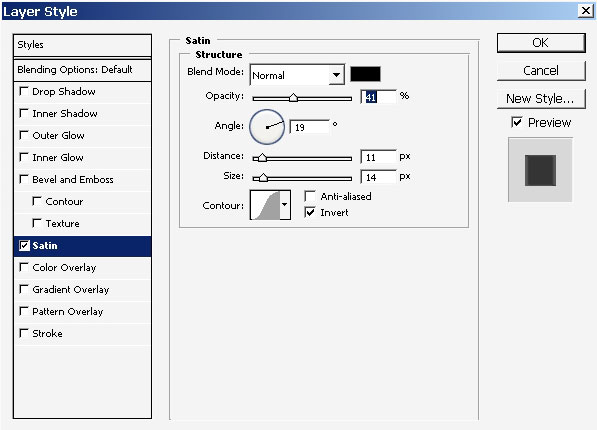
Add a layer mask to this layer

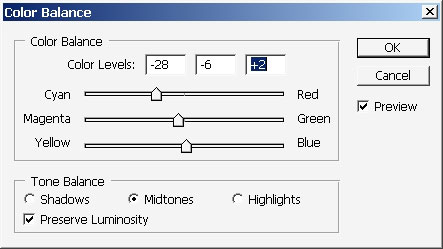
And some color and tone correction.
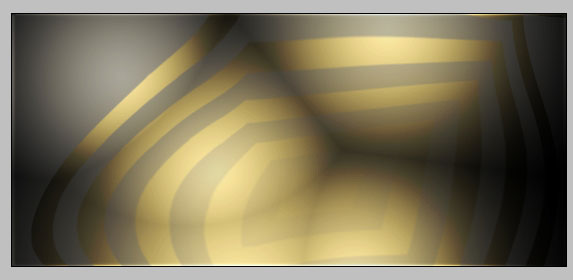
Create a new gradient layer to add some additional color.
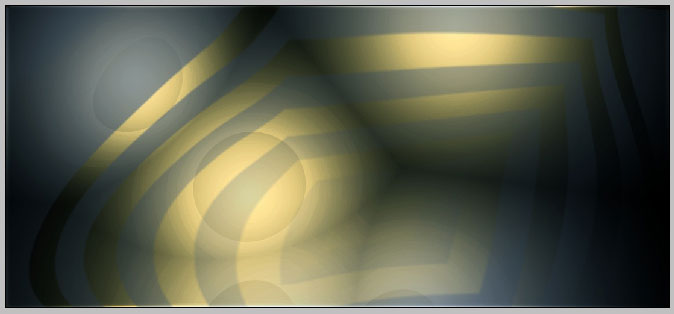
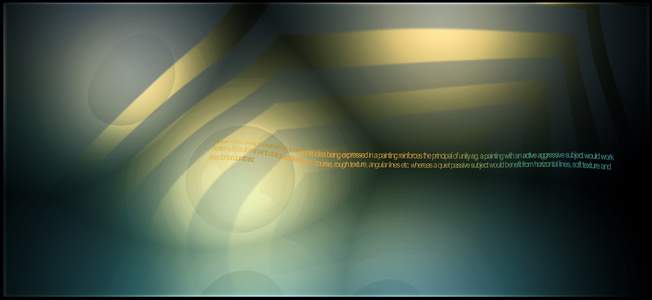
Now our basic Form study is finished here. But there is one very good effect that can help you to handle the situations when you want to make and image more 3d like.
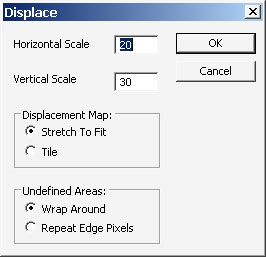
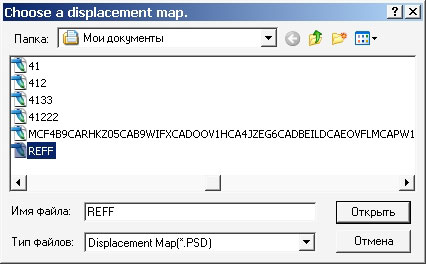
This effect is called – Displace and can be found in Filters > Distort section.
What this filter does: is that he uses black and white colors and manipulates them as value. So when is white color, the line of something will be popped up there.
Here we will make a line of text. It is better to play with straight horizontal or vertical lines.
Displace settings:
Select the so called displacement maps (acts like a mesh only in 2d)
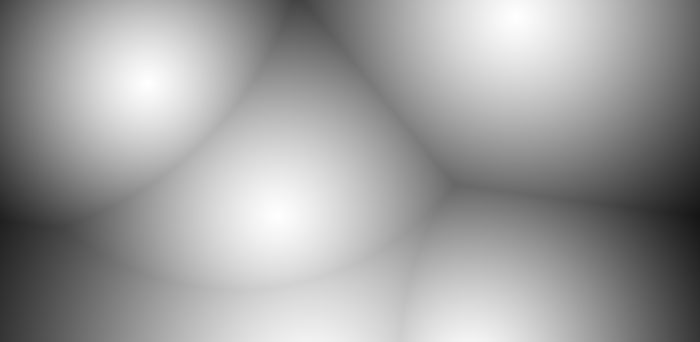
And here we have it.
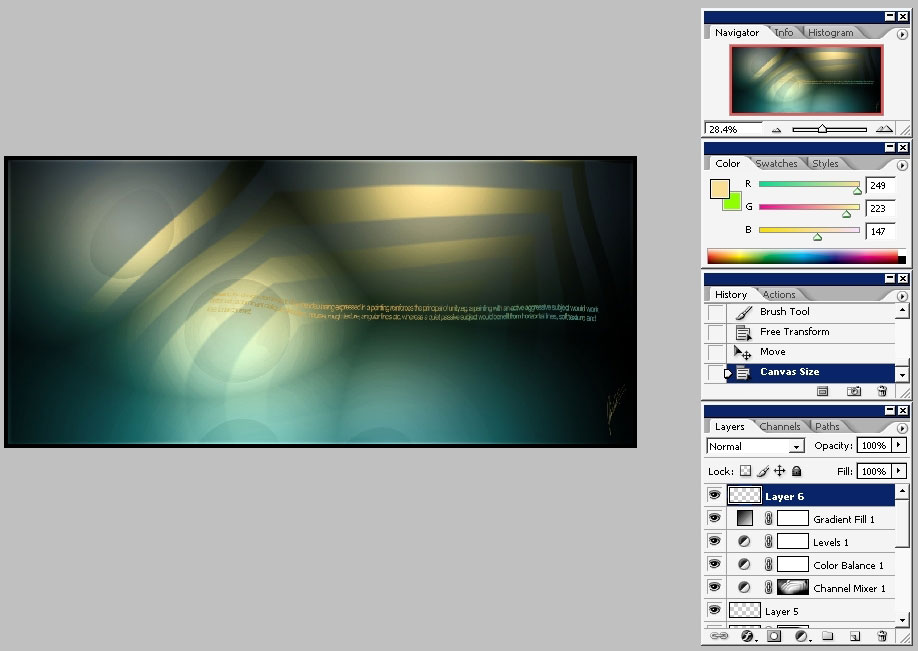
The line goes on the object like it is 3D.
Comments