
An art tutorial on face studying
Hallo. This is an art tutorial on face studying. In this one we will use Wacom as a tool and Photoshop as an application.
…Very little effects and a lot of painting using my tablet.
So let’s start, shall we?
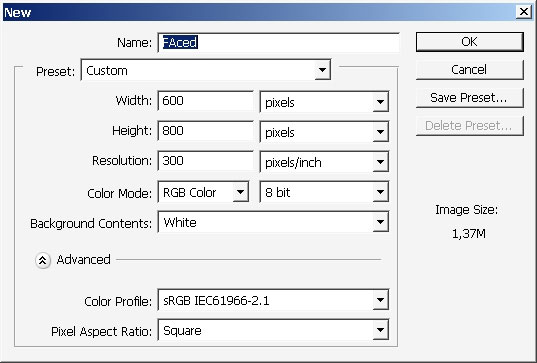
First, as usual, create a document with these dimensions.
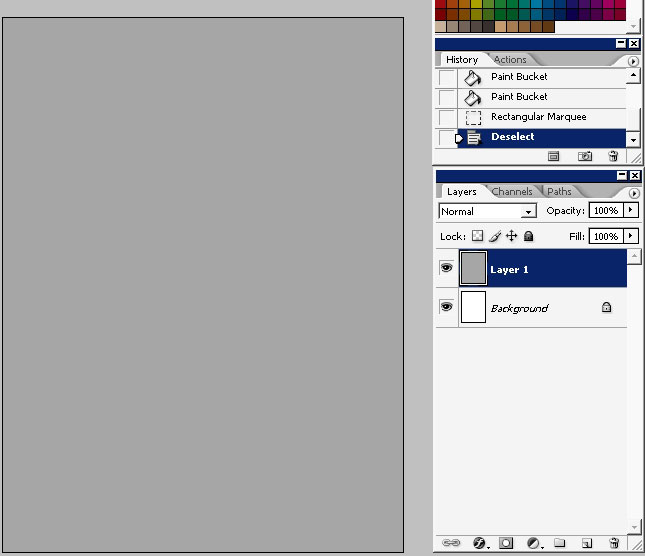
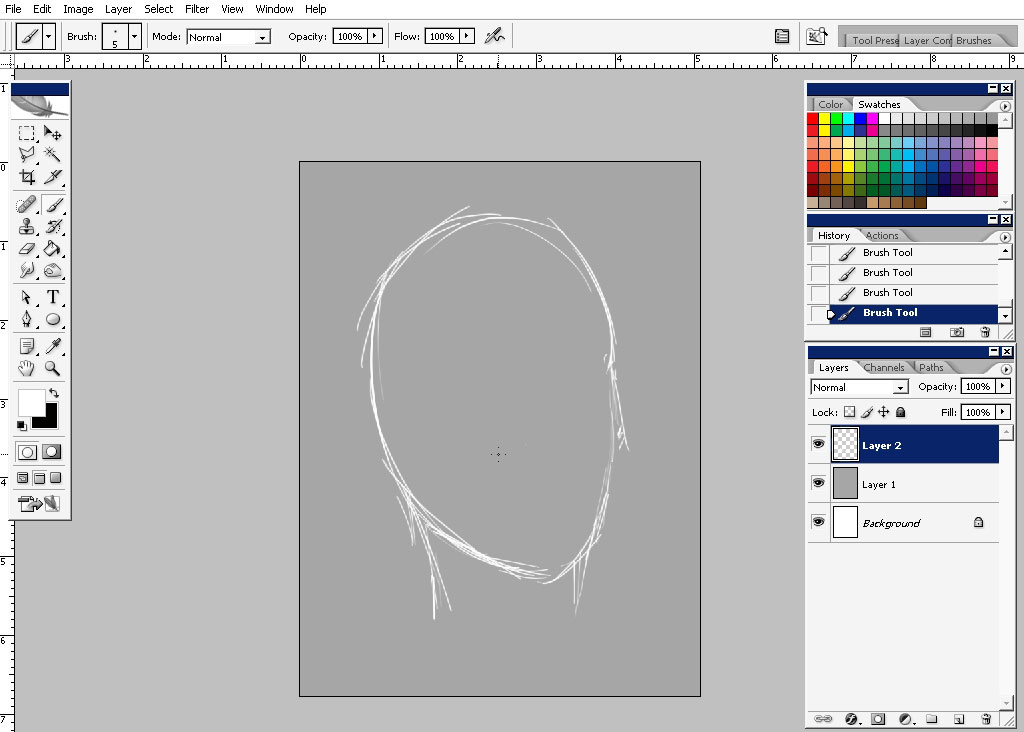
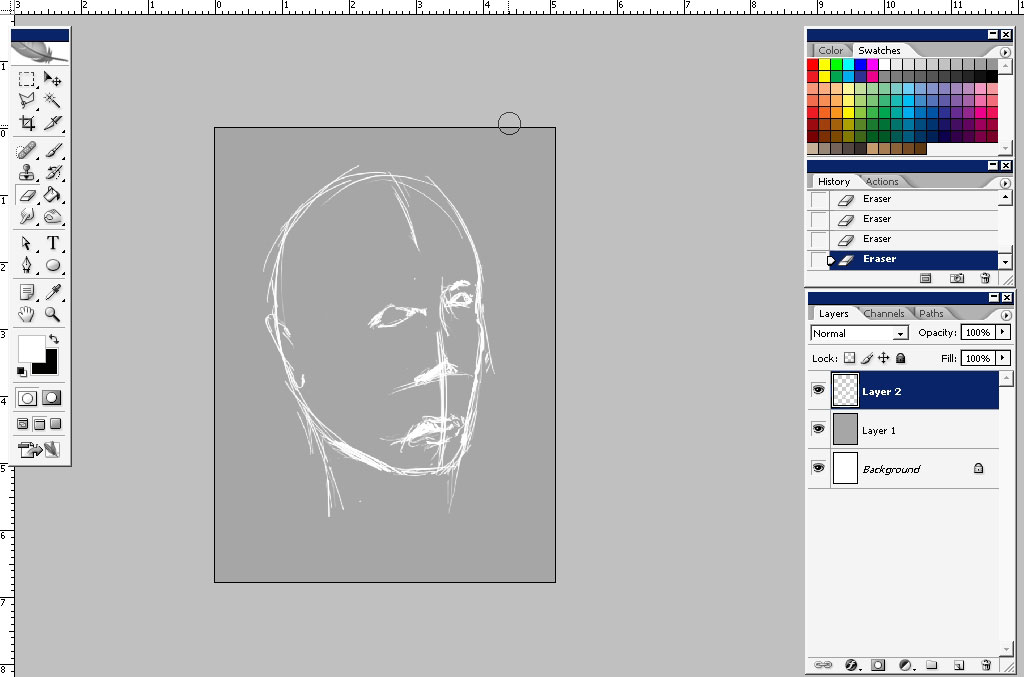
Create a layer or just fill the background with gray color. I’ve created a layer. Some say that this is more convenient to get rid of all the white color and fill the background with tone that you think will fit the image. It saves a lot of time on decisions.

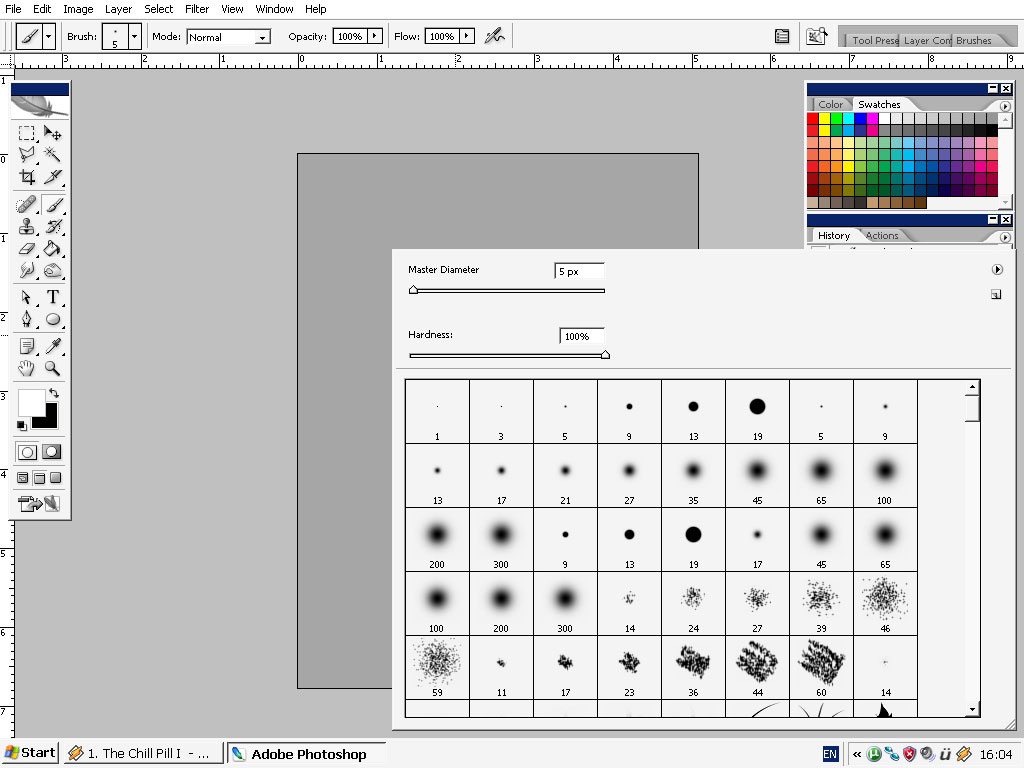
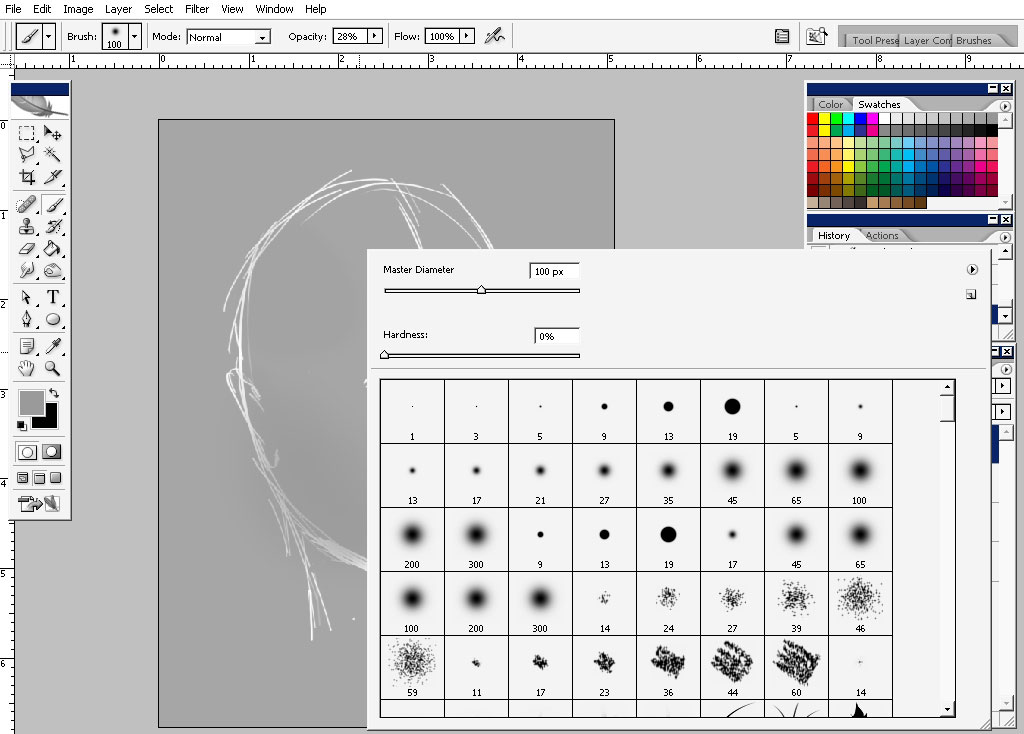
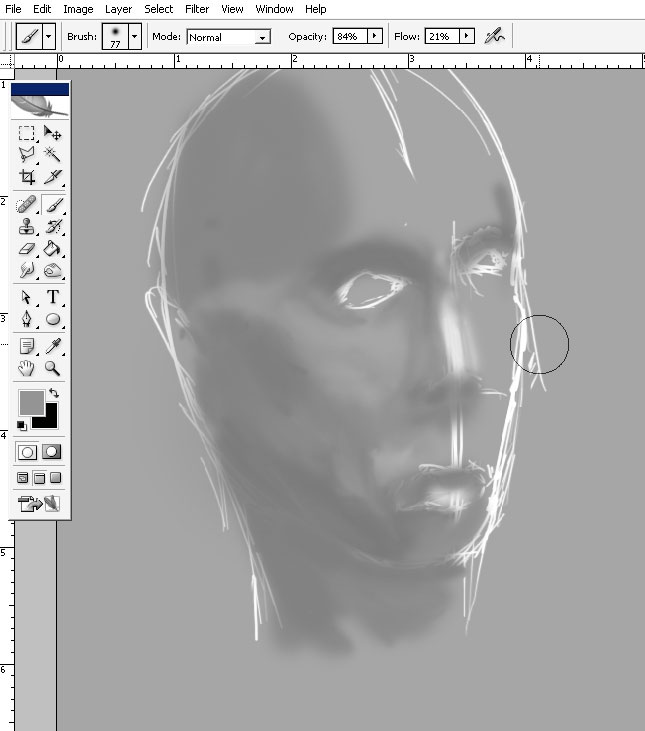
Now, chose a brush. To do line drawing I often use 1 or 2 px rough round brush with size dynamics set to pen pressure. Note that our line color is white and I think you get more information when it’s white on gray and not when black or gray on white fill.
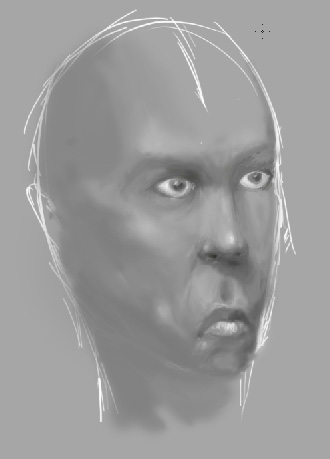
Now the human head is very looks like an egg if you know what I mean. So draw a form that is closer to the egg form.
Draw the so called vertical guide lines. The eye line should divide the scull into 2 equal parts (ordinary).
The nose line divides the lower part on 2 almost equal parts as well. The mouth line devides the part between the eyes and the chin to. Well, I think you’ll probably begin to see that well if you practice mush, especially in painting live.
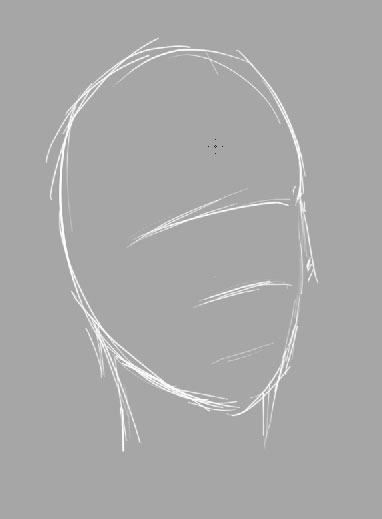
There is a line that divides the scull vertically. This is definitely easier to learn this one.
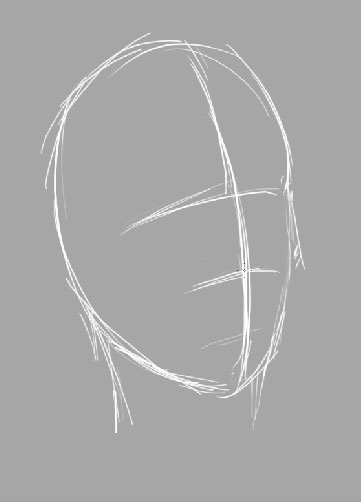
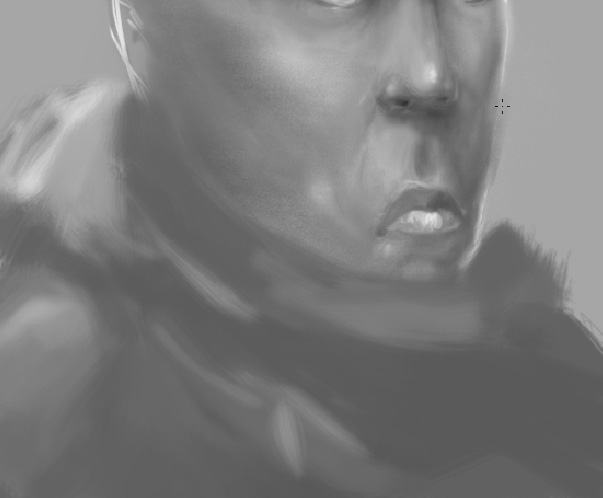
I’m beginning to set my eyes, nose and lips, basic elements.
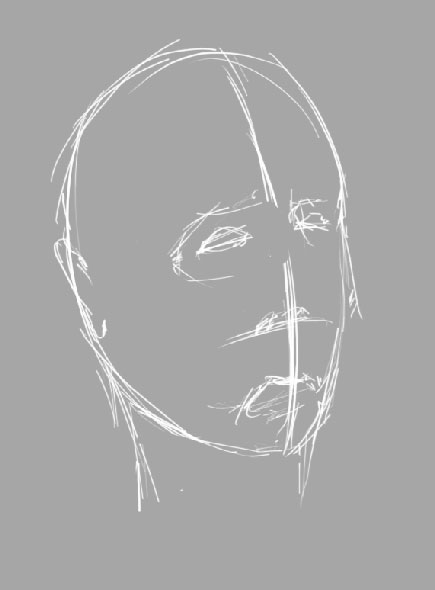
Play with them a little bit. Well actually you have to paint them correct at a time. This is matters!
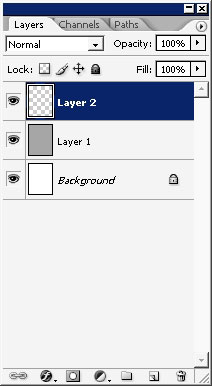
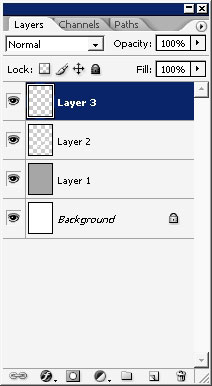
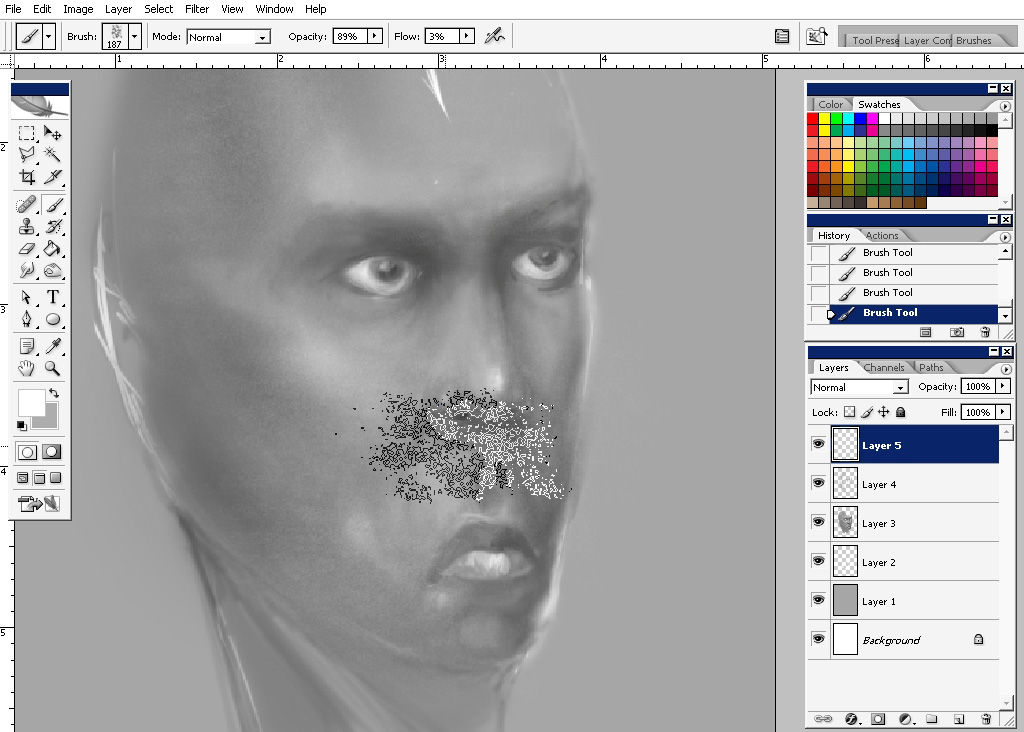
Now create a new layer and begin to sculpt your head. In this one I’ll use soft brushes. You have to know to use them all, remember which is for what style, effect and etc. this is what digital media is about too.
So here is the soft way )).
I’ll begin with darker mid tons.
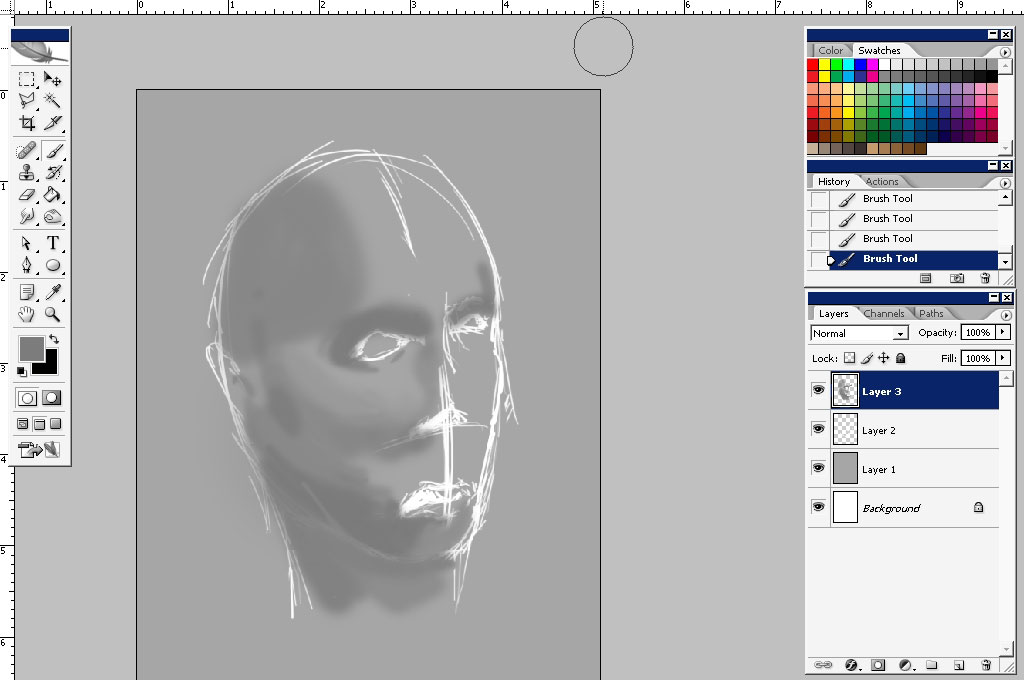
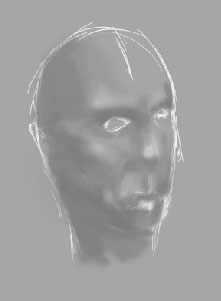
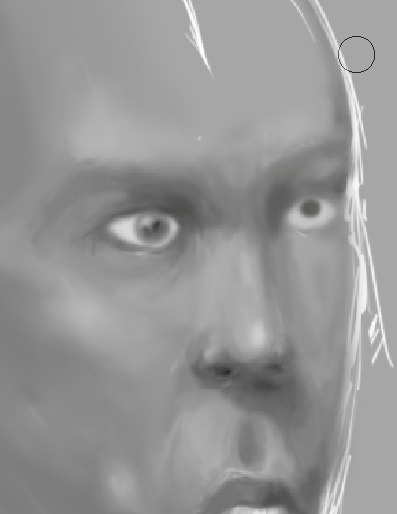
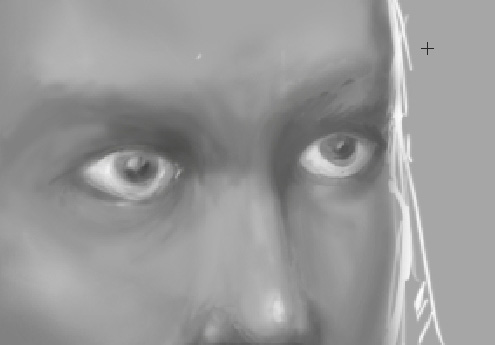
Small details like the nose, the eyes, and the lips will be dome by rough brush here.
The beginning of the eyes render, you still got to paint the edges and the surface lights with small rough brush.
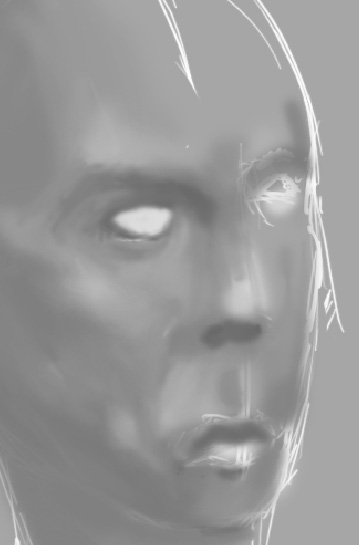
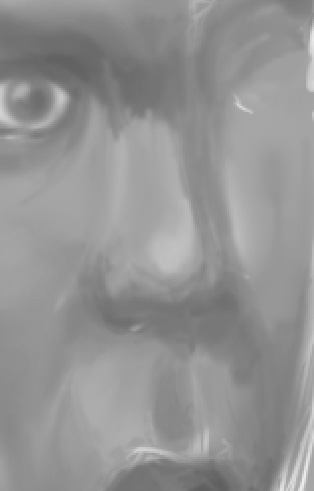
Drop some shadows with. Use not completely black, and stay with low opacity on the shadow end too.
Under the nose:
Under the eyes, but a little less dark.
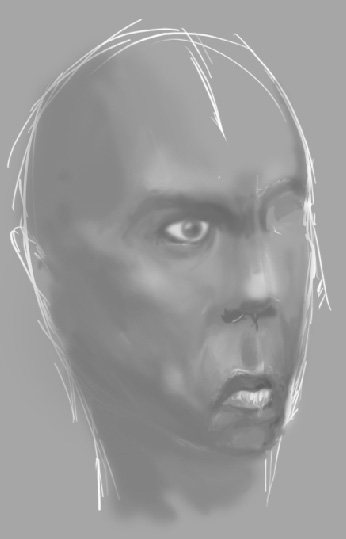
As you can see I left the right eye without a touch. This is a big mistake I think, and try to get rid of it if you have the thing to let some elements unfinished near the finish.
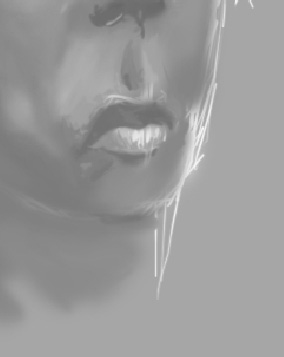
To give some skin texture you can create a new layer and use a small dot like brush. Stay with low opacity and flow settings.
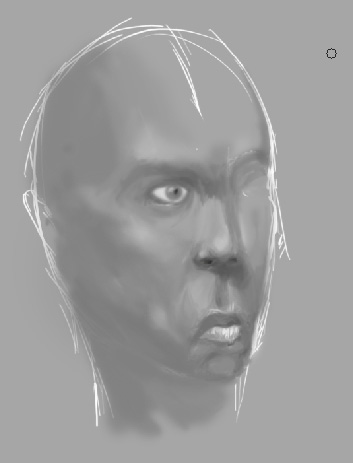
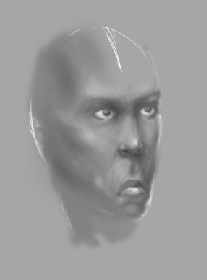
Finish the sketch with a little bit of cloth.
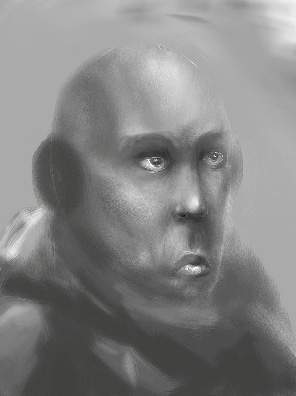
And set some levels to the picture.
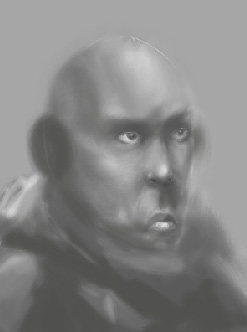
I gave the character some dump headphones instead of ears because the ears is a different story.
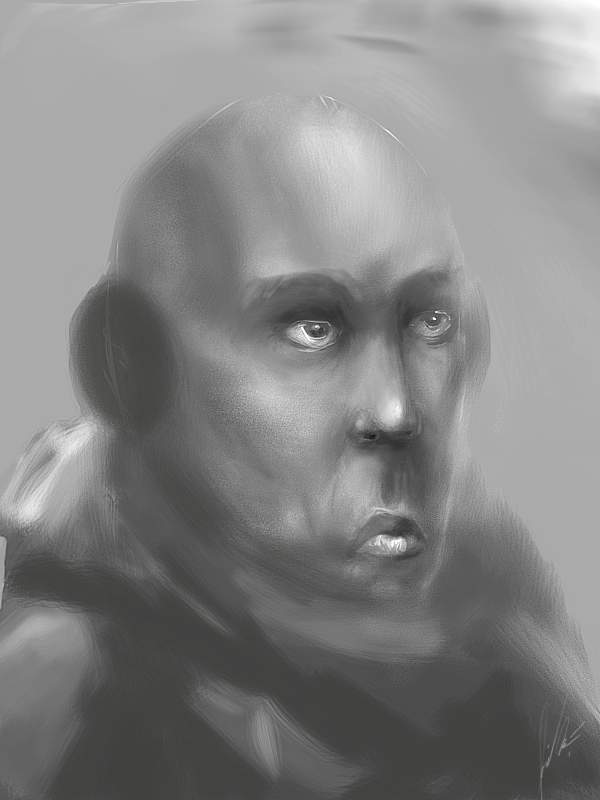
In the end I’ve given the picture mode sharpened look.
This is fast sketch. Well hare we have it. The lips of the character are too low. The horizontal guide lines hold the information bout the dimensions the head elements and the head look it self.
Try to see them in nature.
Comments