
Photo retouching
So hallo again and I welcome you in Photo retouching tutorial. In this one we will take a photo and apply some effects. Moreover we will change levels of the photos and even the look of the objects (this time portraits).
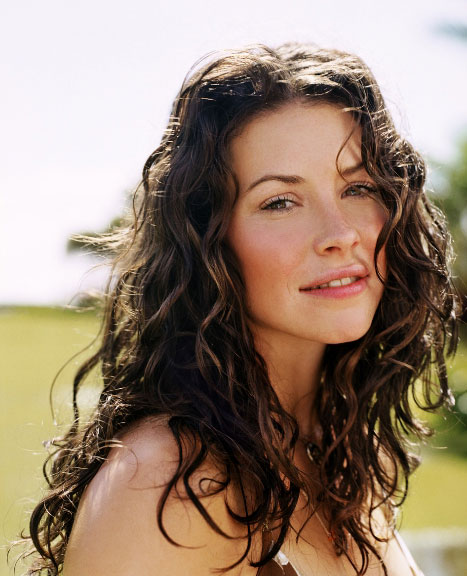
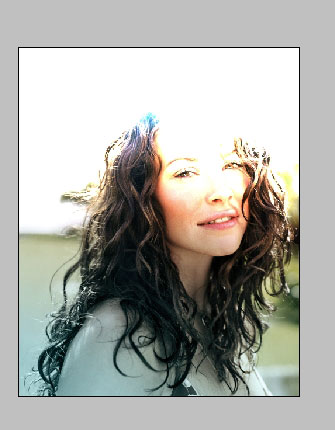
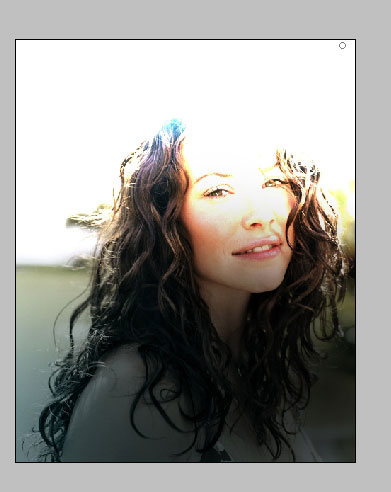
And let’s begin this one, shall we? I found this picture when surfing the internet and. I’ve chosen this one because it is a big resolution picture and it has not very mush objects. You can see the link on the top of the page.
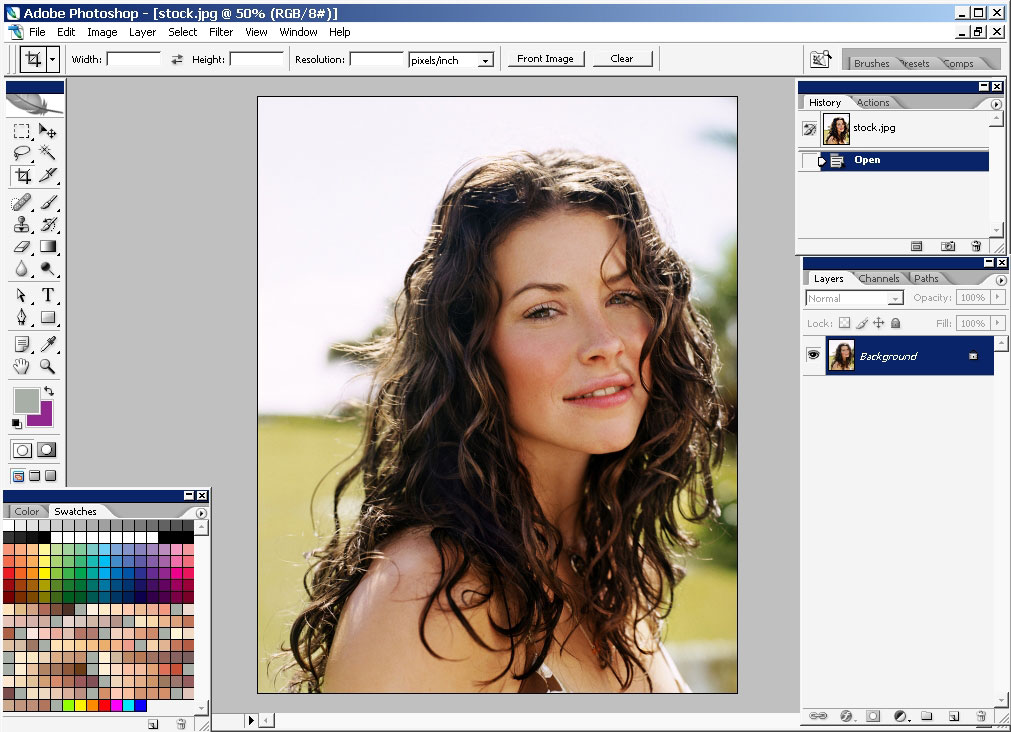
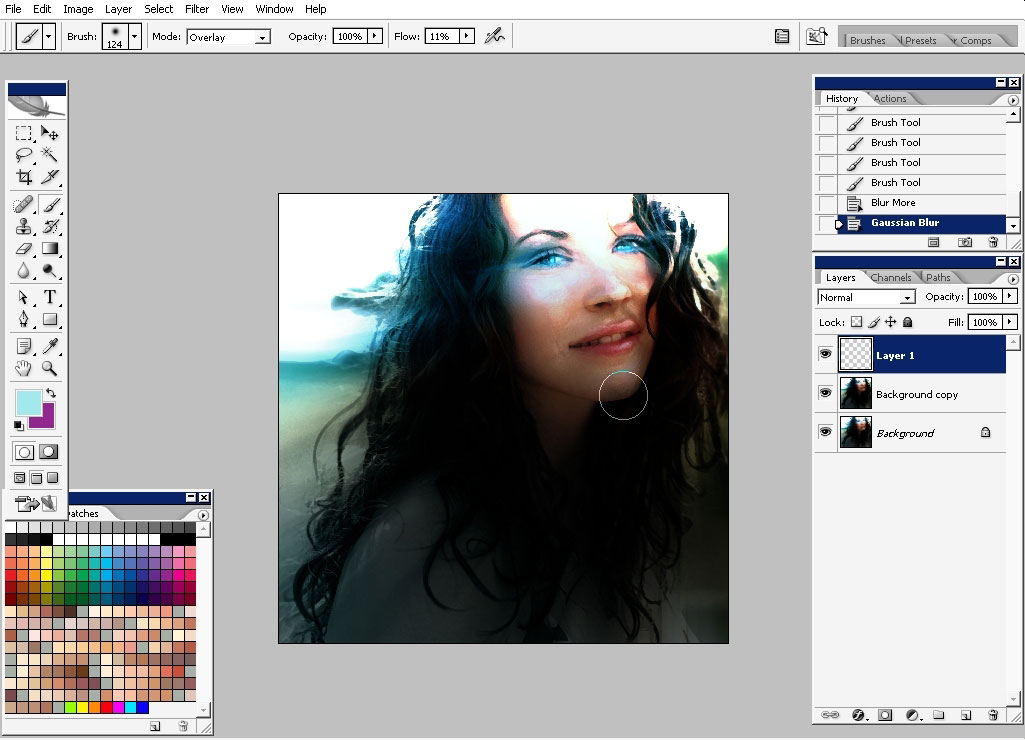
Here I have it already on Photoshop ready to play.
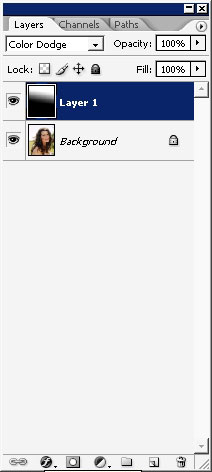
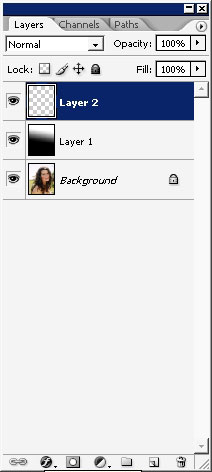
First I would like to create a lighter light source on the top and for this I’m going to use black to white gradient, on a new layer, blending mode set to color dodge.


Well in the first part of this tutorial we’ll use a lot of gradients.
And this is another….
Crate a new layer and overlay it with something like blue to transparency gradient. The blending mode is Color here.
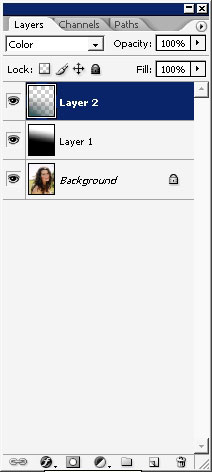
It really does not much but it did help me to understand the idea of all this then.
Next step: switch to quick mask (Q). Use black to white gradient set the areas that you want to select (and VS – which you don’t want to be created)

And here we have the mask are as a selection. Create a new layer and overlay this selected area with black to transparency gradient. This way we have created more contrast between highlighted and shadow areas.
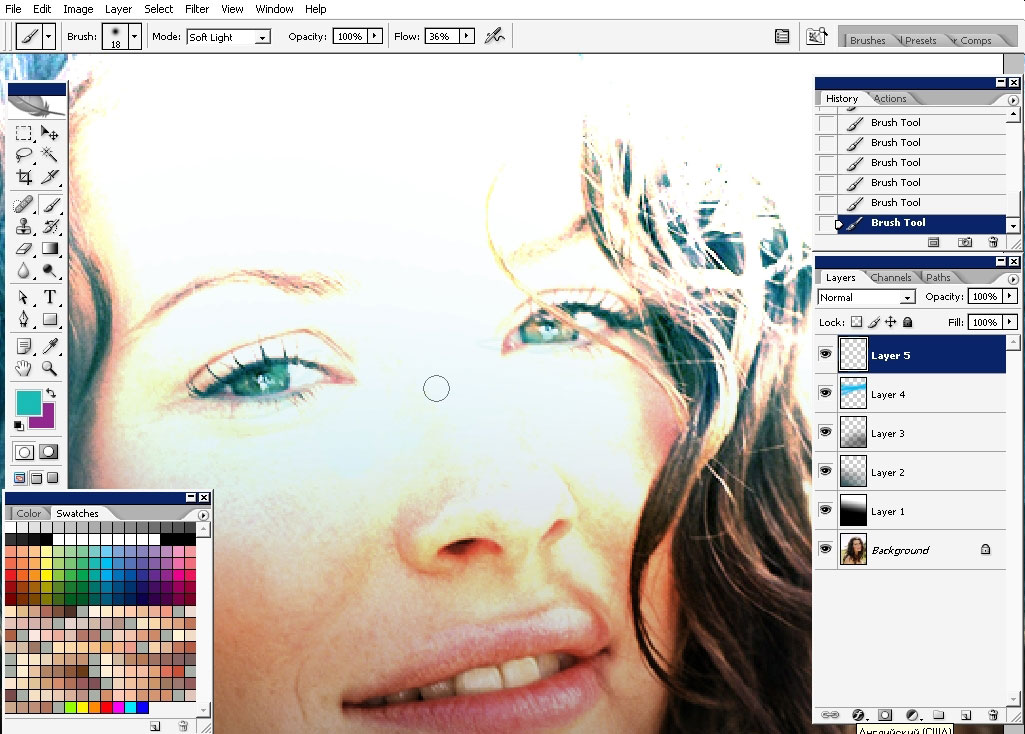
Next step: Create another layer. Set its layer mode to Soft light and fill it with 2 or 3 reflected type blue gradients.
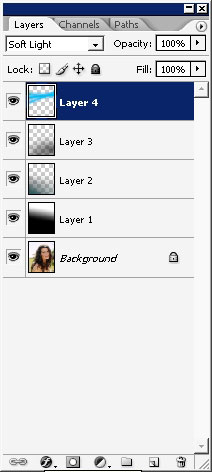
Let me show you.
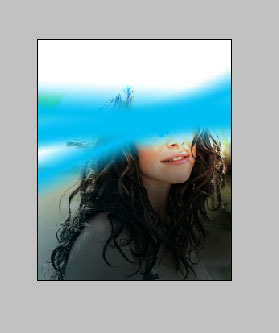
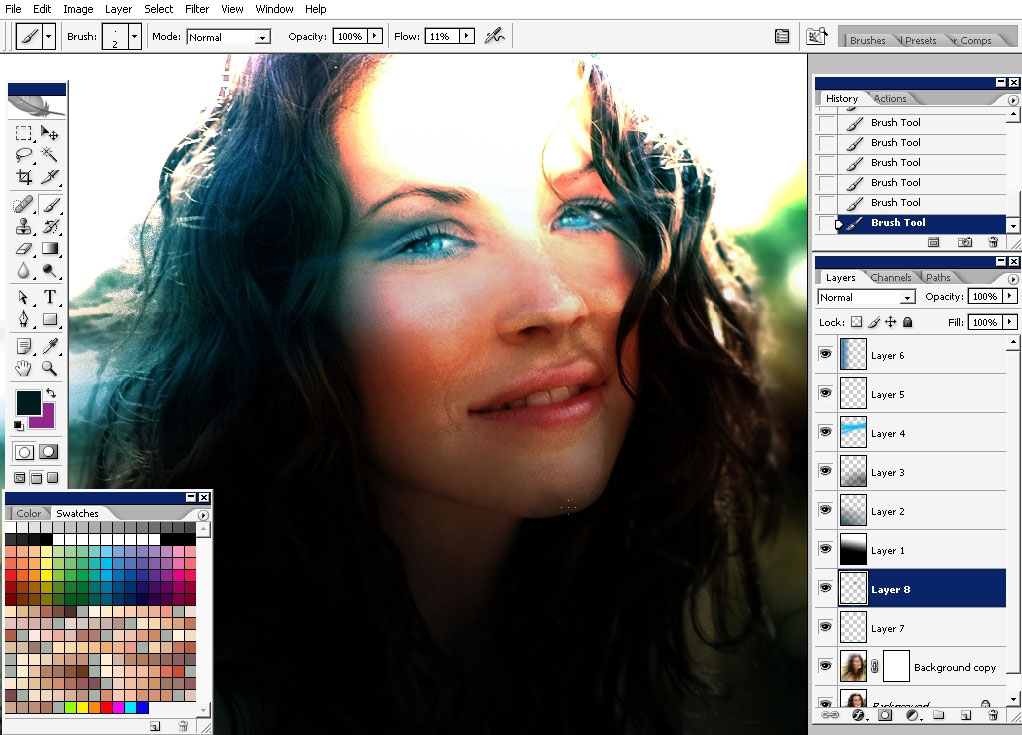
This way I want to create more blue around and in the girl’s eyes. But overlaying with this gradient did not mush of effects so we will pick up soft brush, set the flow jitter to about 2%-5%, set the mode to Screen or Overlay and do some freehand drawing.
Next step:
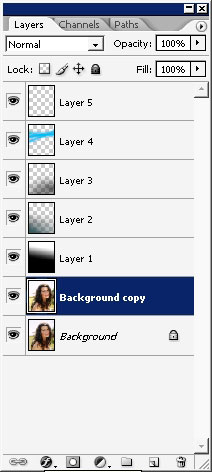
Create a copy of our initial layer (the photo itself) and go to the
filter menu. The reason, I’m using the Film gain filter as that it
manages to set some highlights just the way I want it. OF course this
gain is not what I really want to see, but we deal with that later.


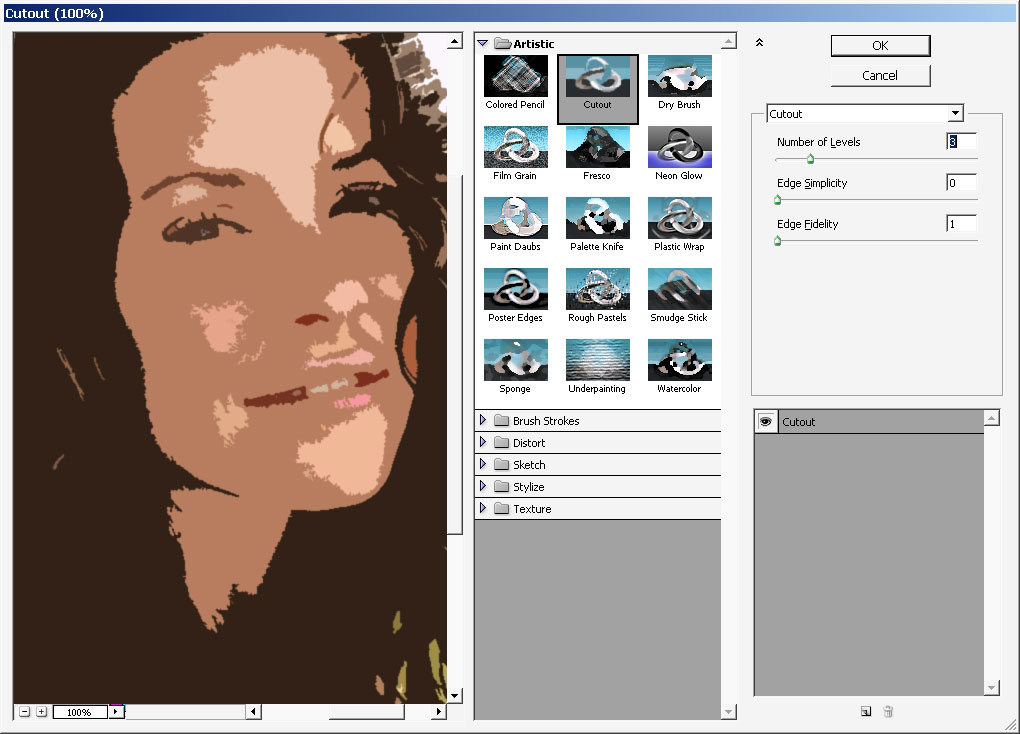
I actually wan to use another one. Cutout filter does a great job to split the tones of the image. So here we go then.
To hide the filter effects that we did I want to apply Radial Blur – Zoom filter.
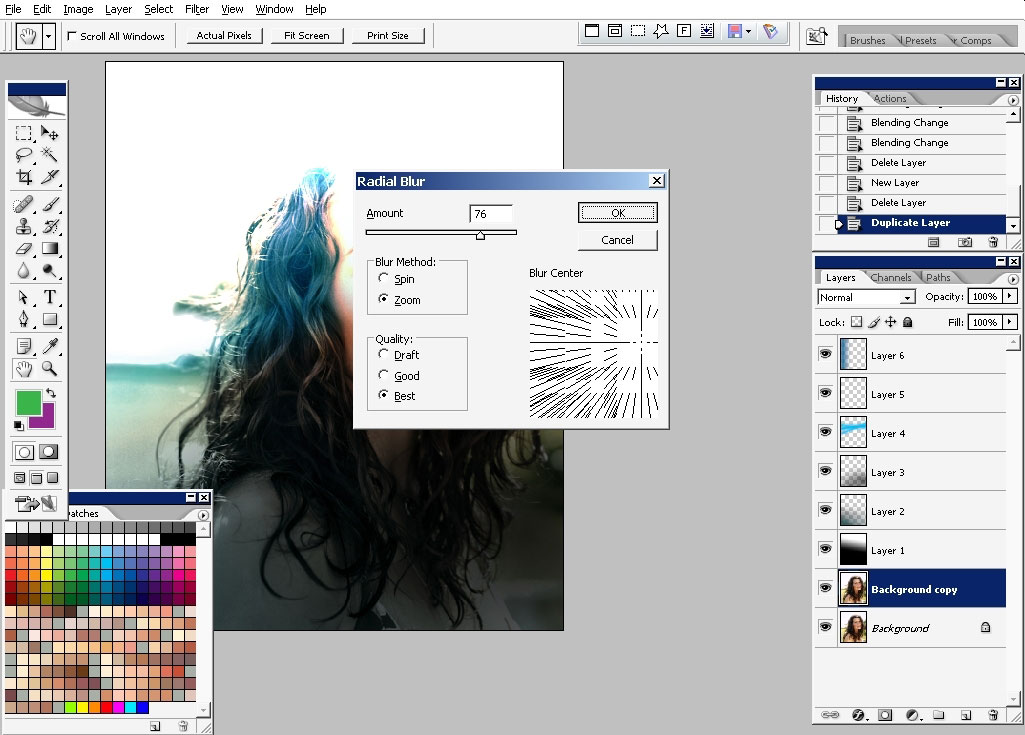
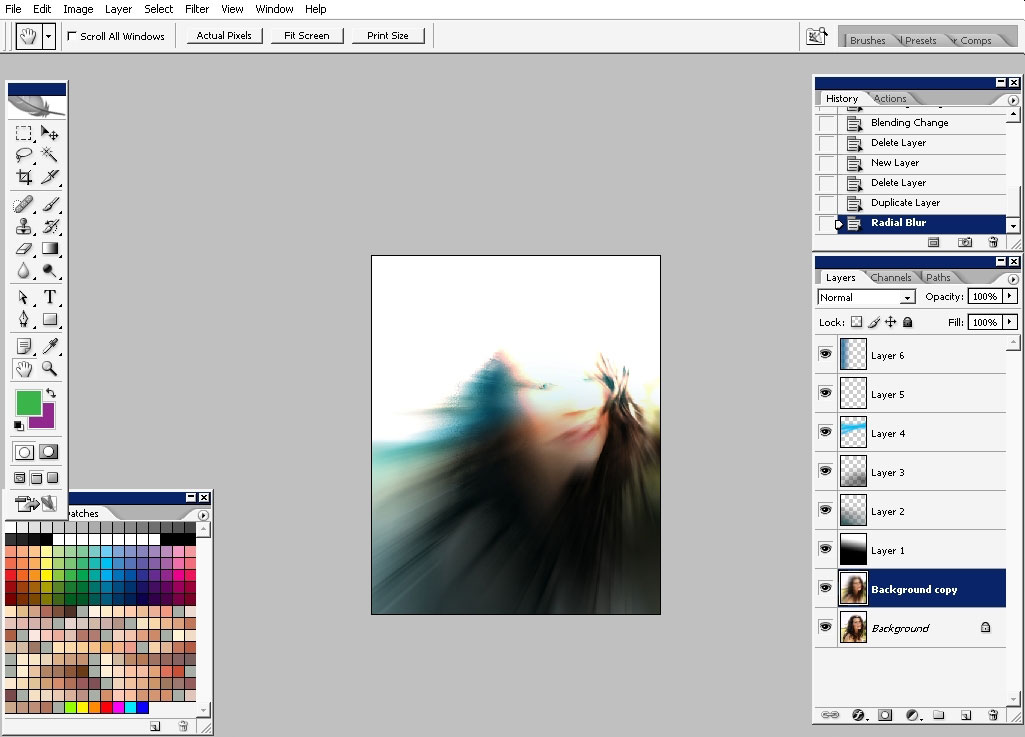
Change the blending mode o the layer to Multiply.
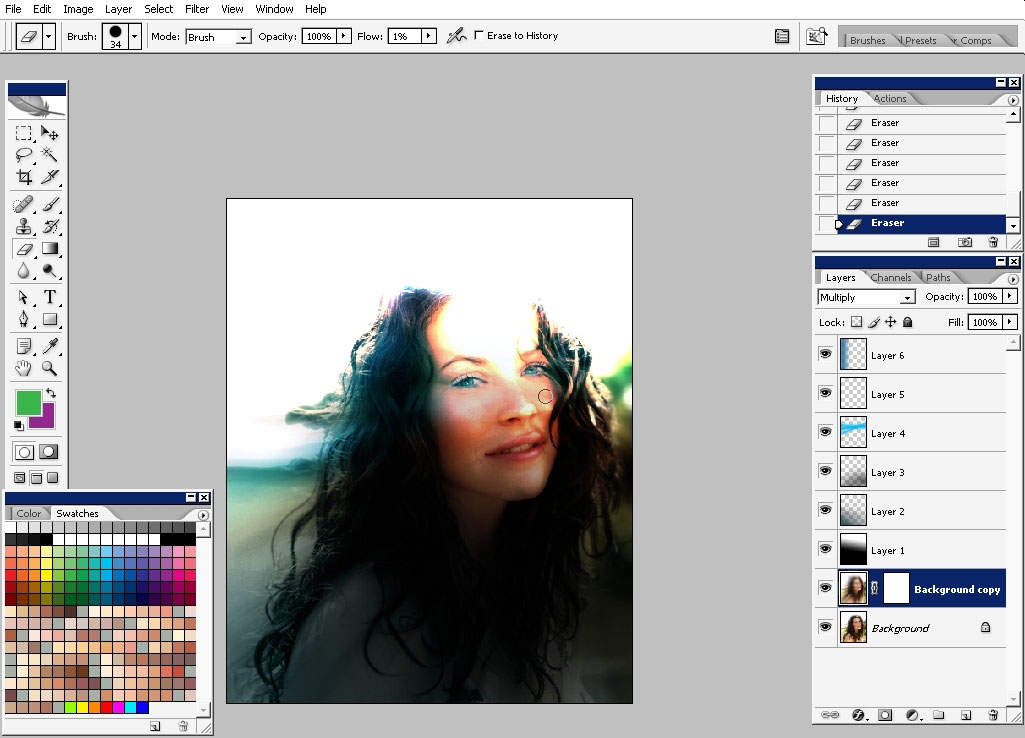
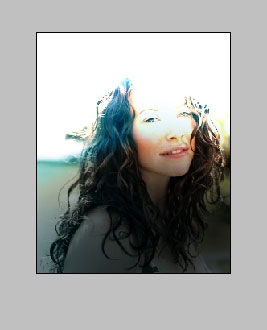
I really like the tones now.
Give a little more Blue with soft brush.
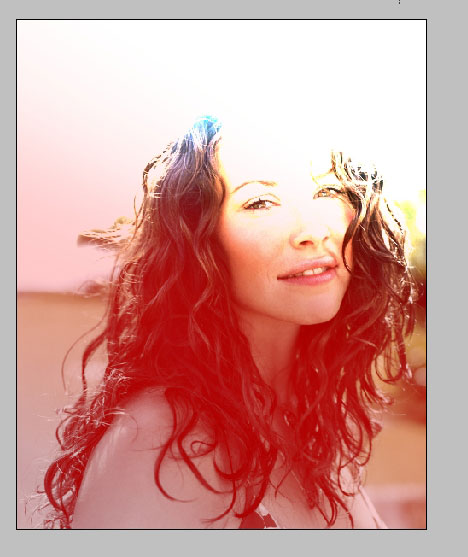
Final Adjustments:
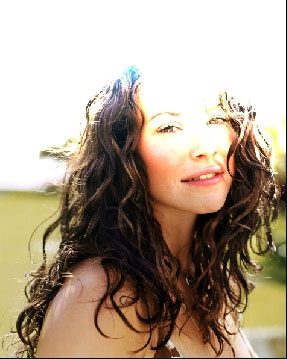
Adjust that color balance
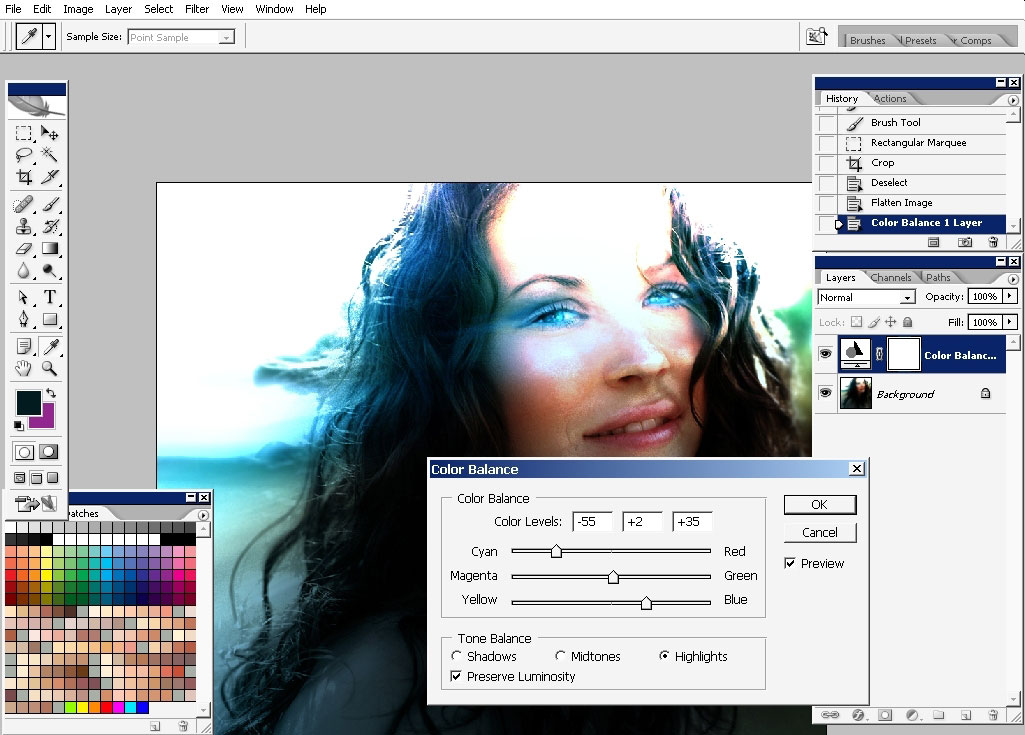
A little bit of black near the chin area and we are done with this one.
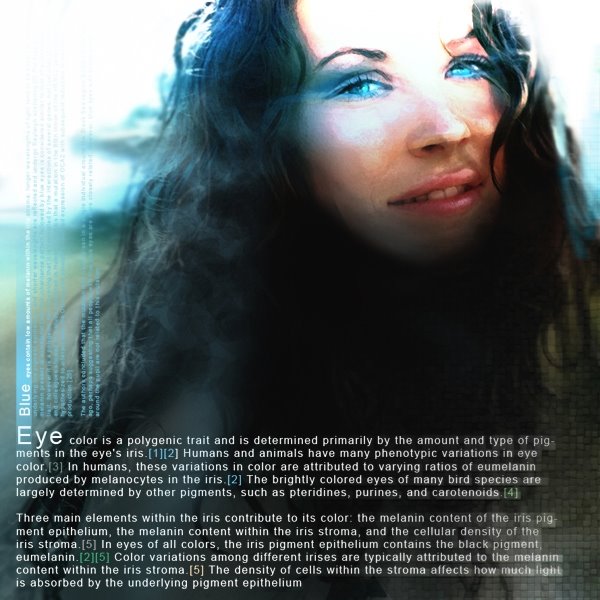
In the final variant I will paste some text there but this is more like
for the design thing.
So I hope you’ve learned something ……….and practice a lot.
Comments