
Cube – The Essets Series
Hallo and welcome in 3d into 2d integration tutorial. So in this tutorial we will cover some new techniques
using 3d sculpting software like Zbrush 3.1 and take the result further in Photoshop CS4 for further color
correction and effect composing.
So let’s go.
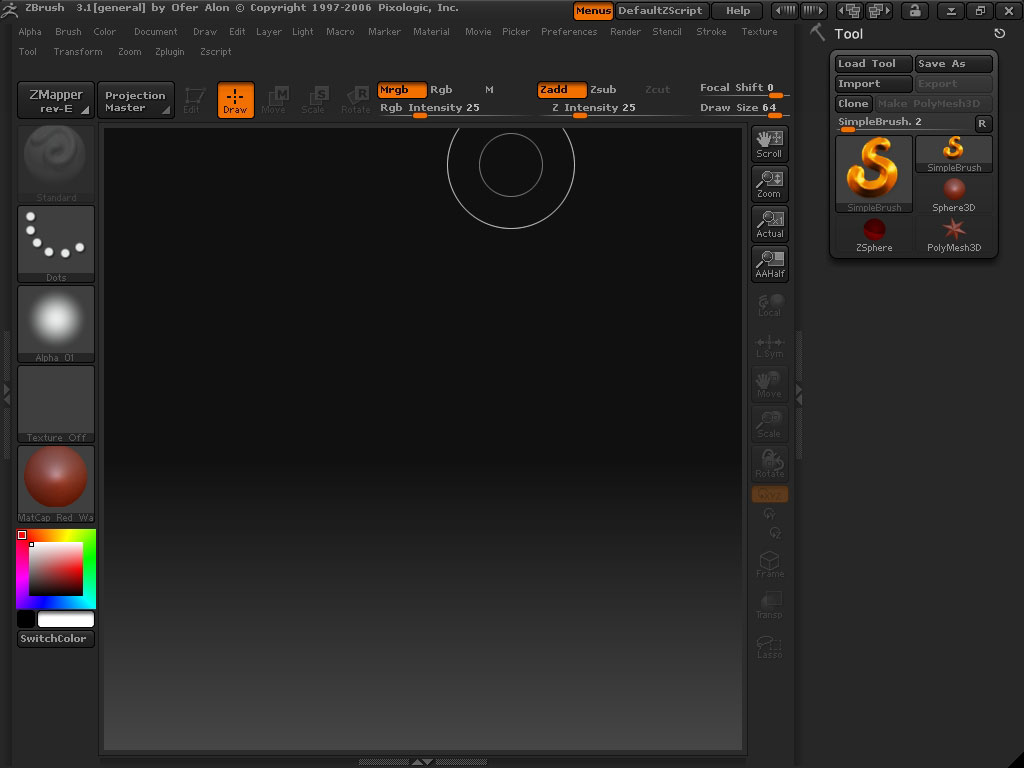

Here is the main window of Zbrush. This is a great piece of software for detailed modeling and digital
sculpting. Here are some of its possibilities.
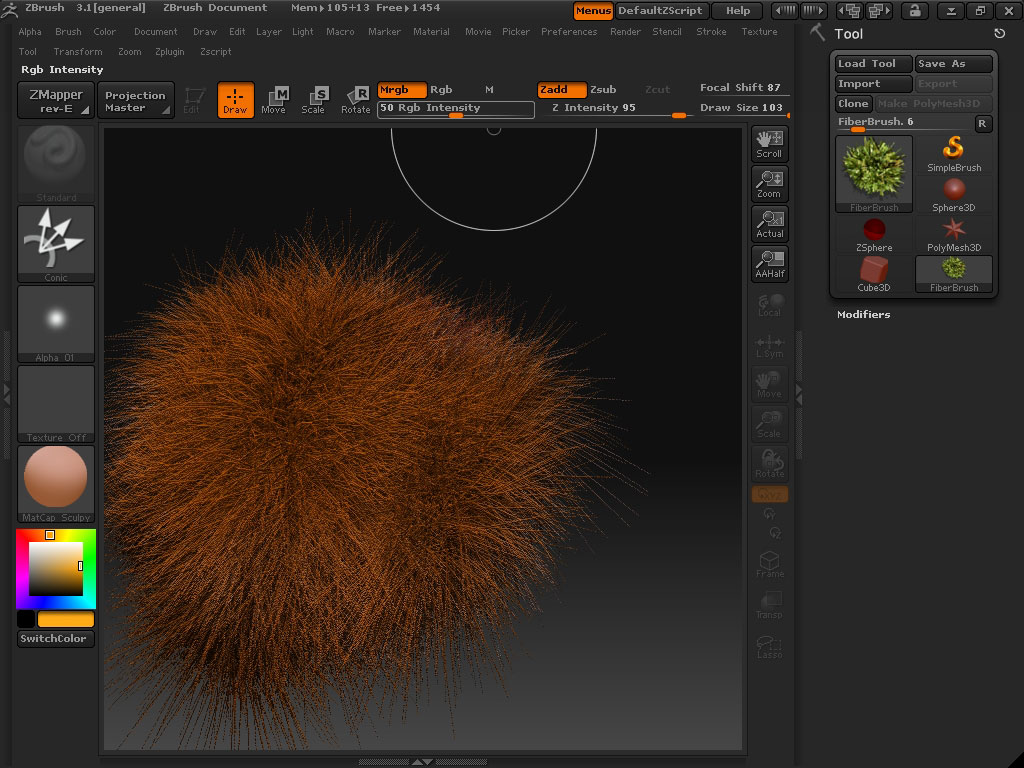
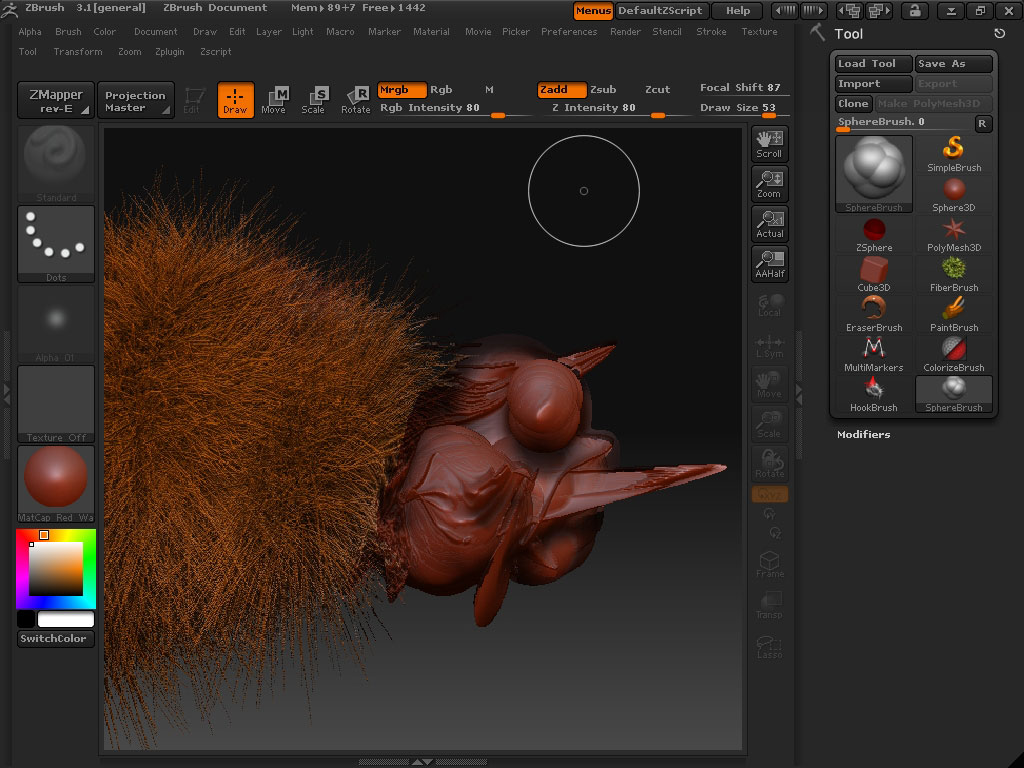
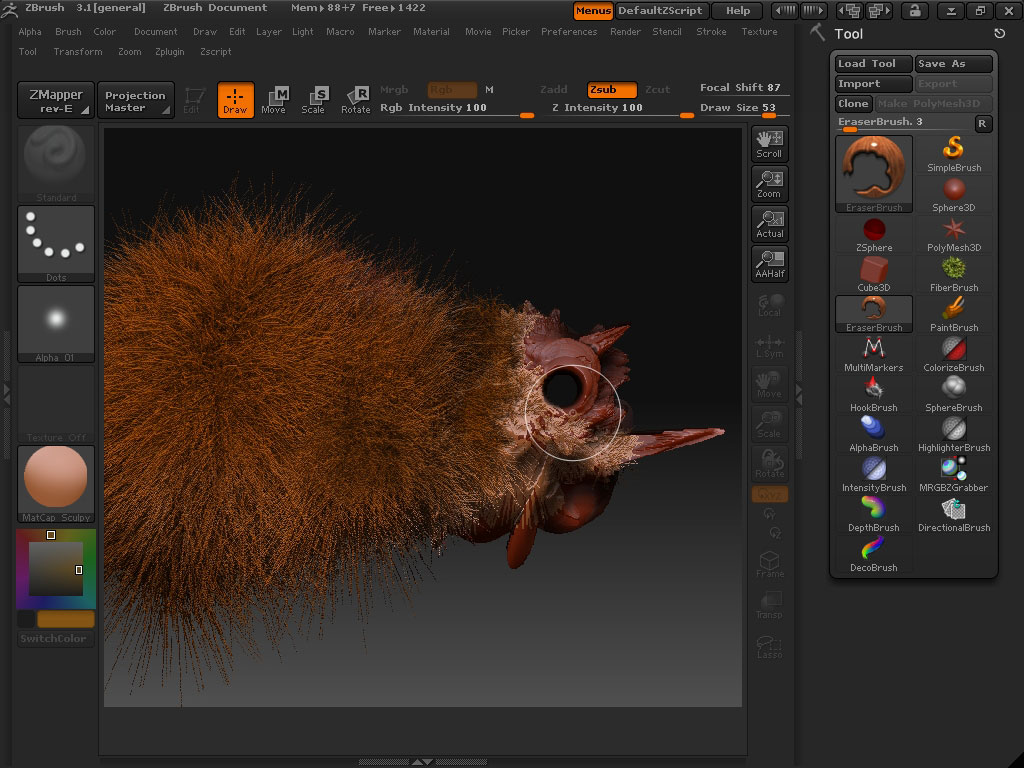
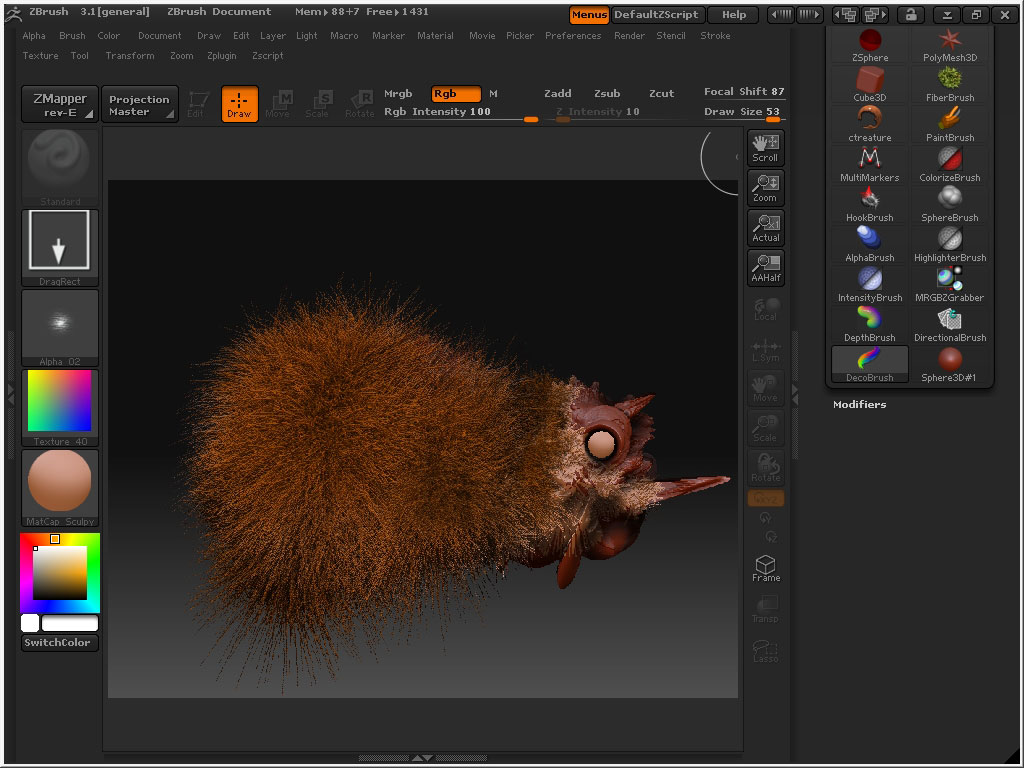
The hair really looks like 3d and we can add some of details and here is the concept doe the for example bug
concept character. This was done very fast. The virtual mud flows like real, and if you have a tablet this is
going to be a really great experience.
Let’s now design something.
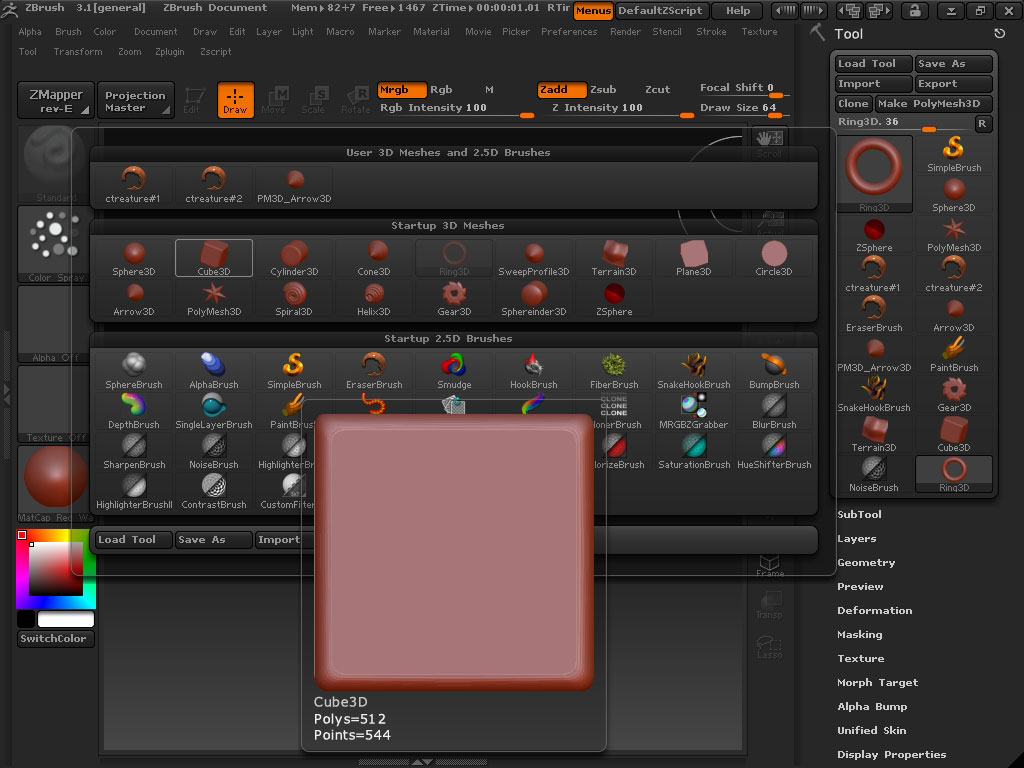
Go into the brushes menu first. You can see one right there in the left top box. Here are 2.5 brushed that are
used to imitate still but 3d shape. And 3d brushed can be used to imitate real 3d like shapes fro different
angles …. And there are actually a lot of settings on pressure, distortion, flow and many many more.
I will take a Cube brush.
Next to the brushes box you can find some strokes settings and presets. It’s actually foes for 2.5 and 3d.
It really takes a lot of time to talk about what each tool does, just try this.

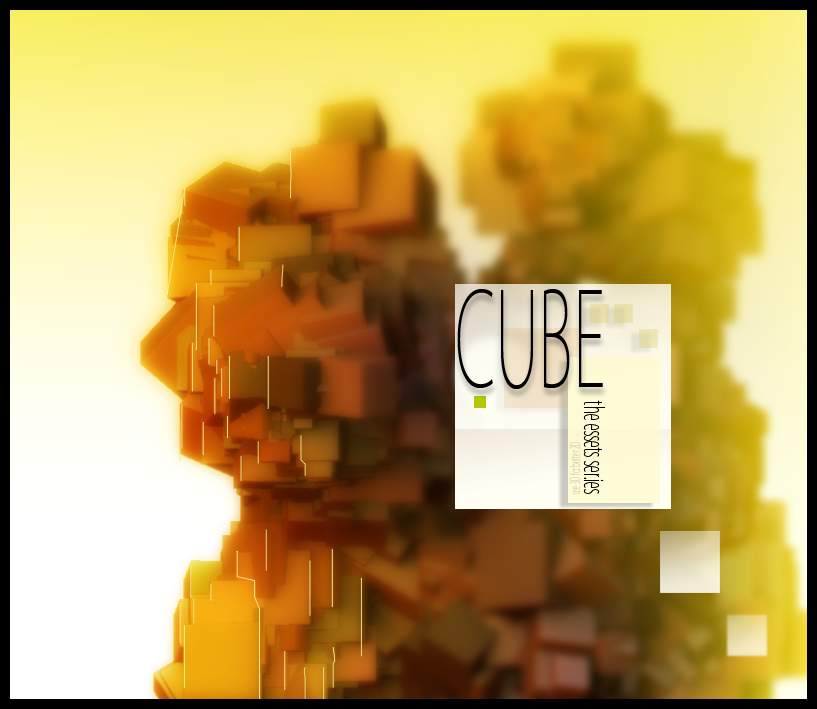
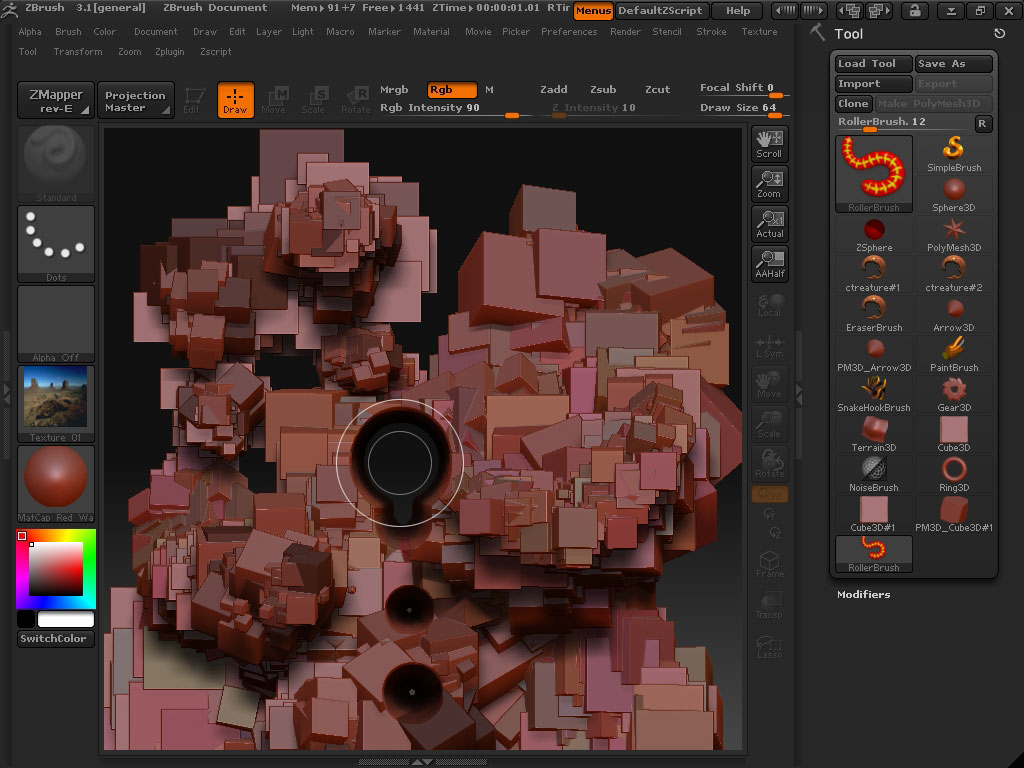
So you can see an image on the background did with Cubic brush with colorized spray stroke preset.
Here is the better view of it. I really find it attractive because it is so precise. That is why I sometimes use
3d apps.
I also am erasing the parts of the composition here just for design means.
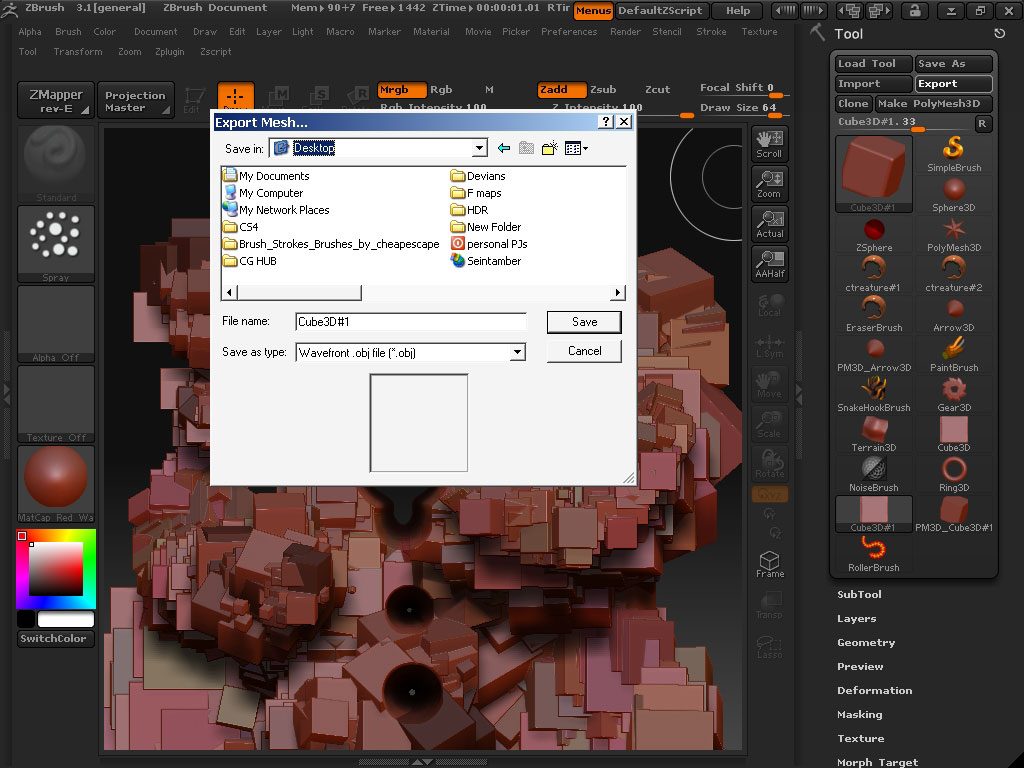
We will now save it like and .obj – object file.
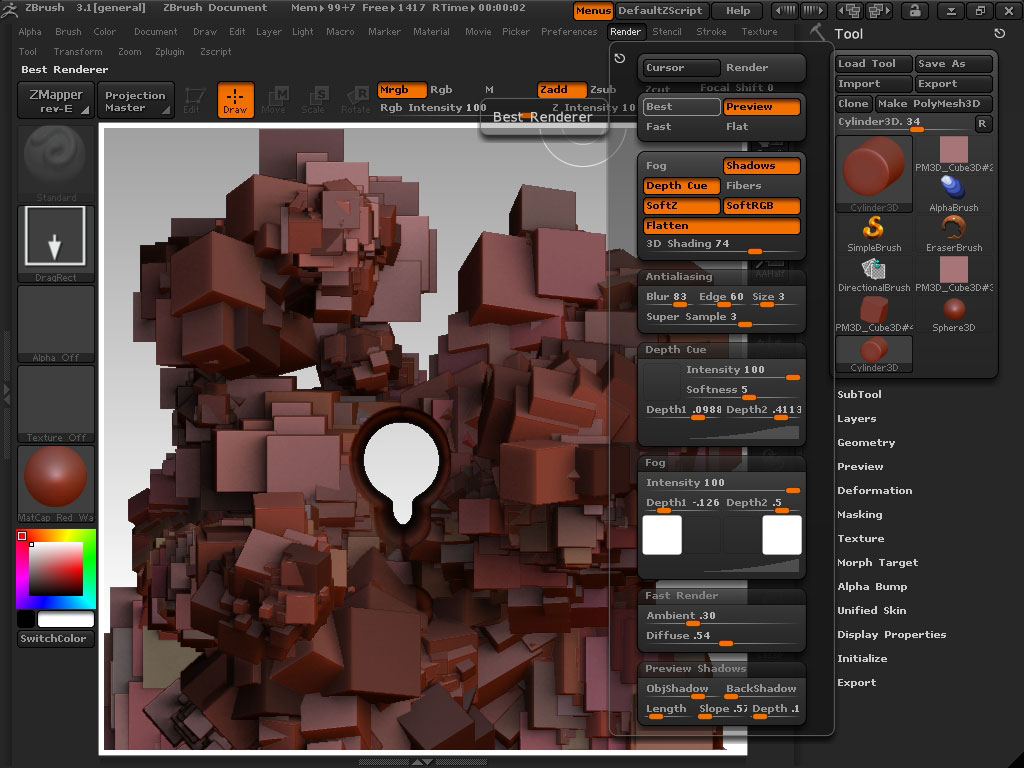
Zbrush has also integrated render with multiple settings. So let’s try to render the picture a little bit.
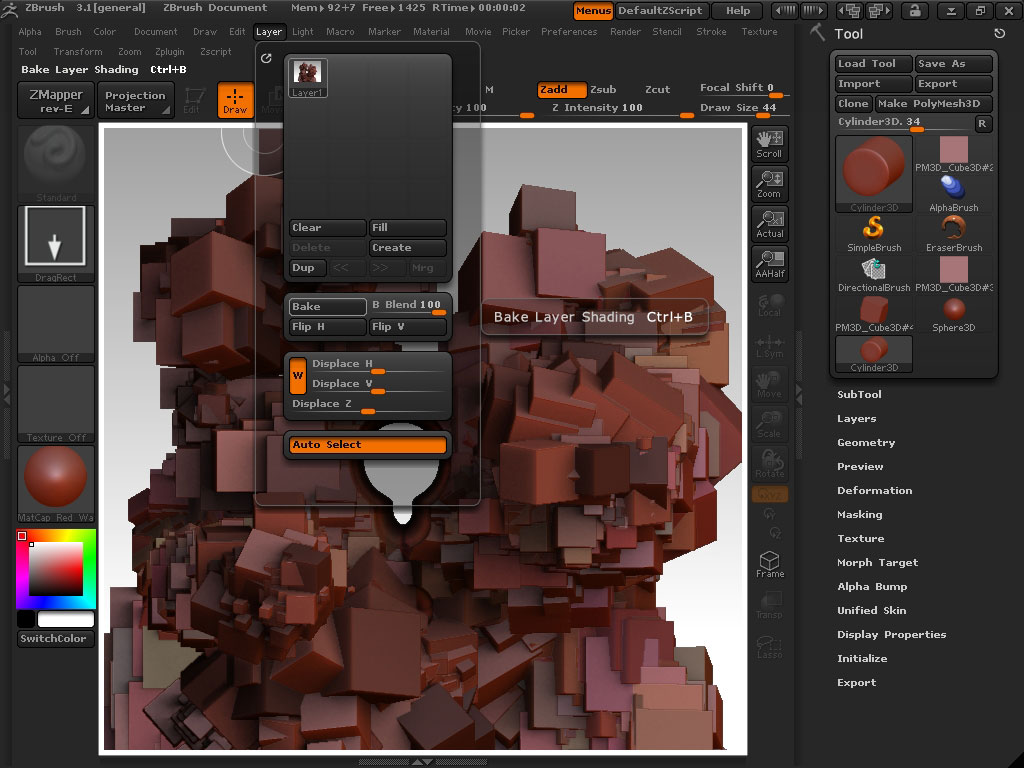
For proper blending and shading bake the layer. Only then you will be able to export the picture in PSD or other
(2d) extension.
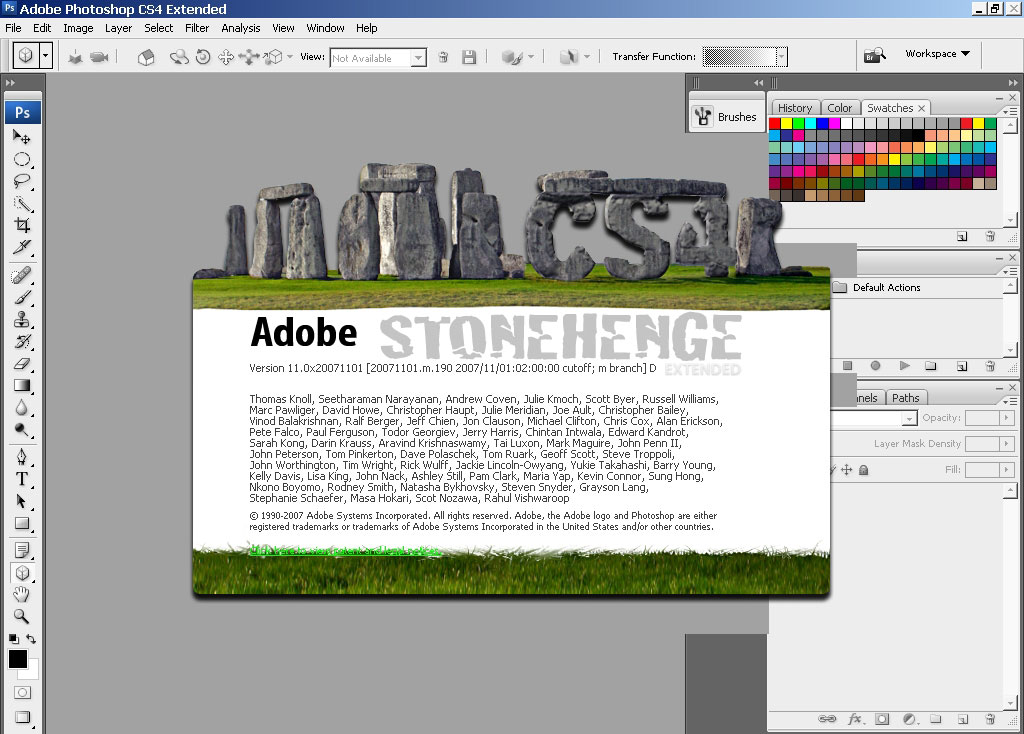
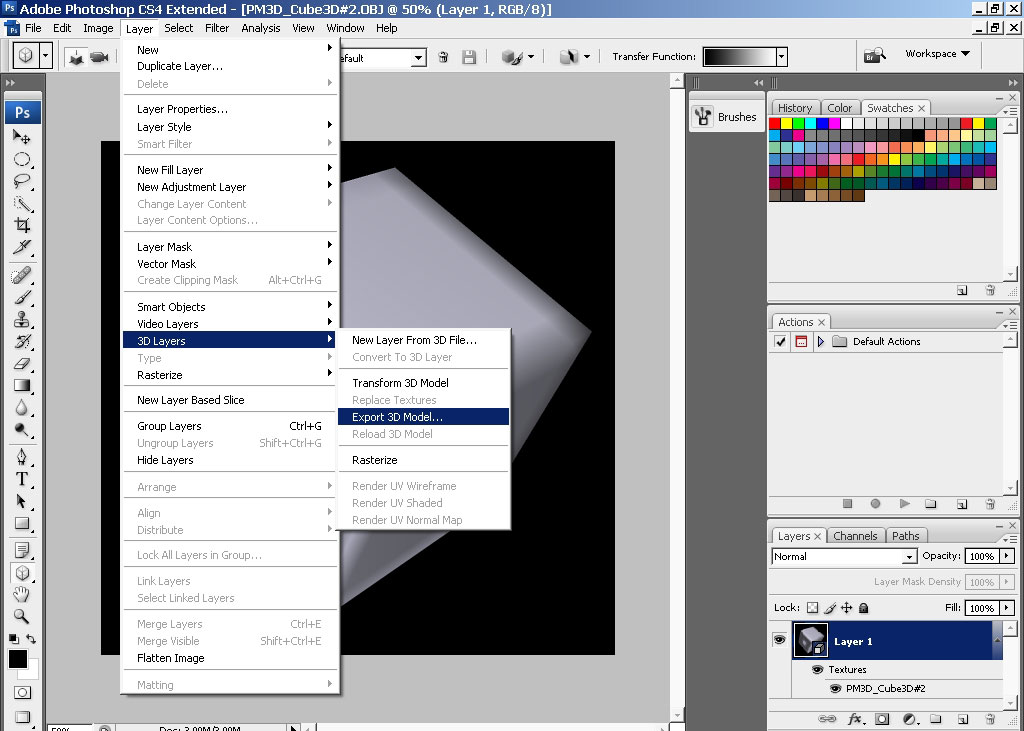
We are now in Photoshop. I couldn’t do anything to myself not to try new CS4 even a beta, with its 3d object
integration feature.
All the 3d magic lies in here.
Layers/3d Layers….
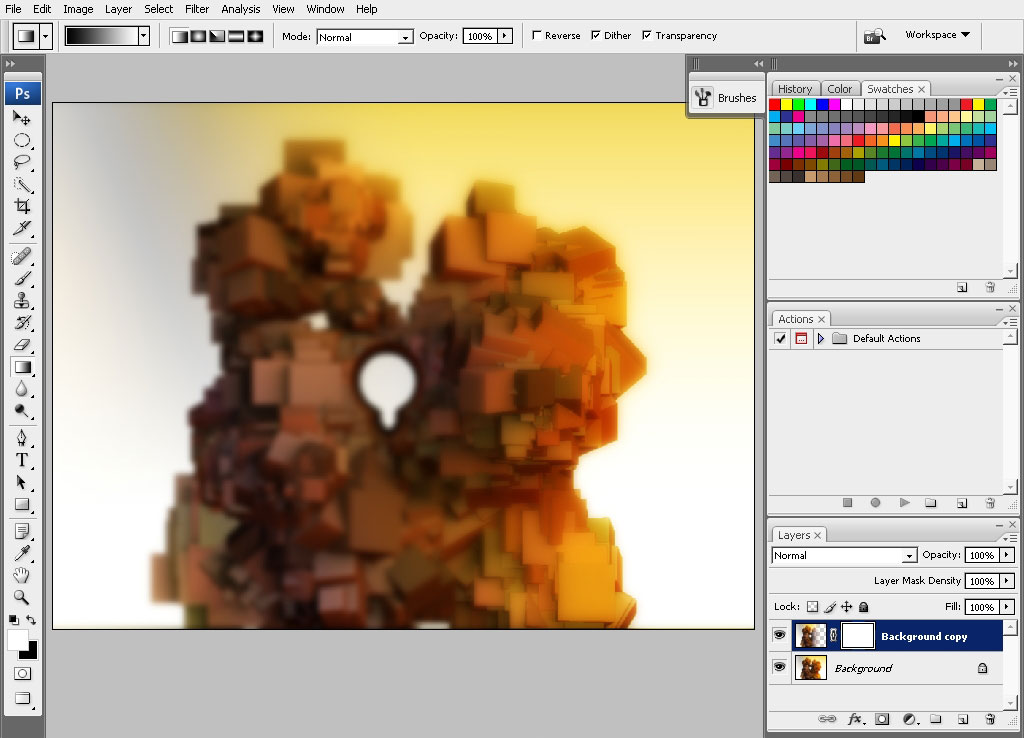
So here I have my rendered scene already with a little bit color correction.
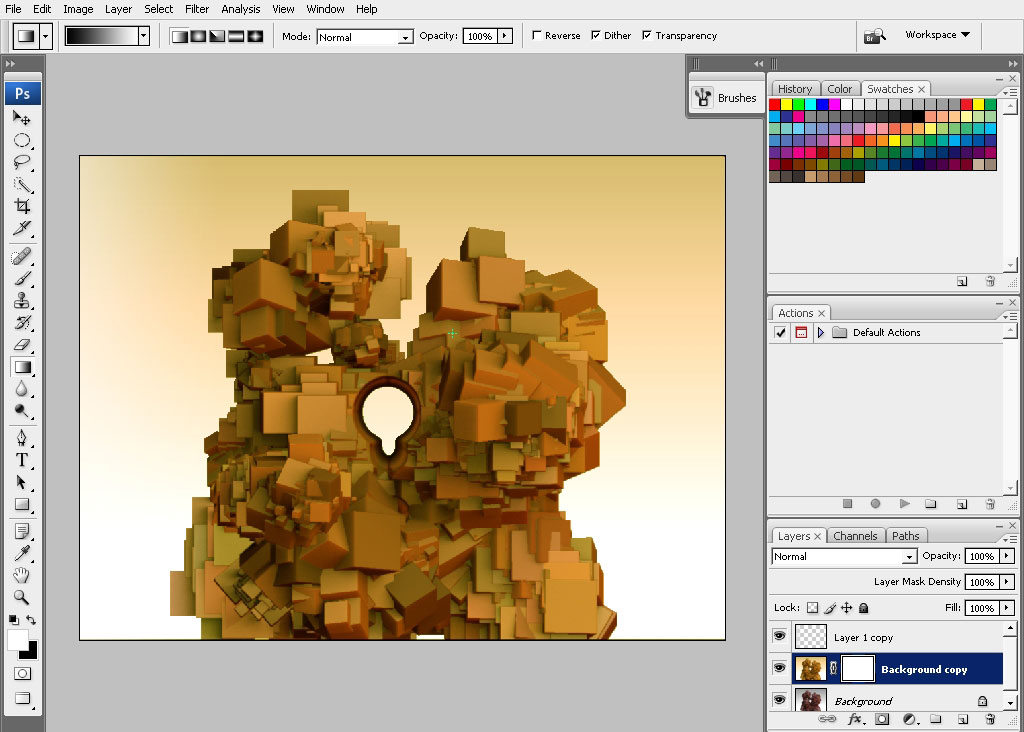
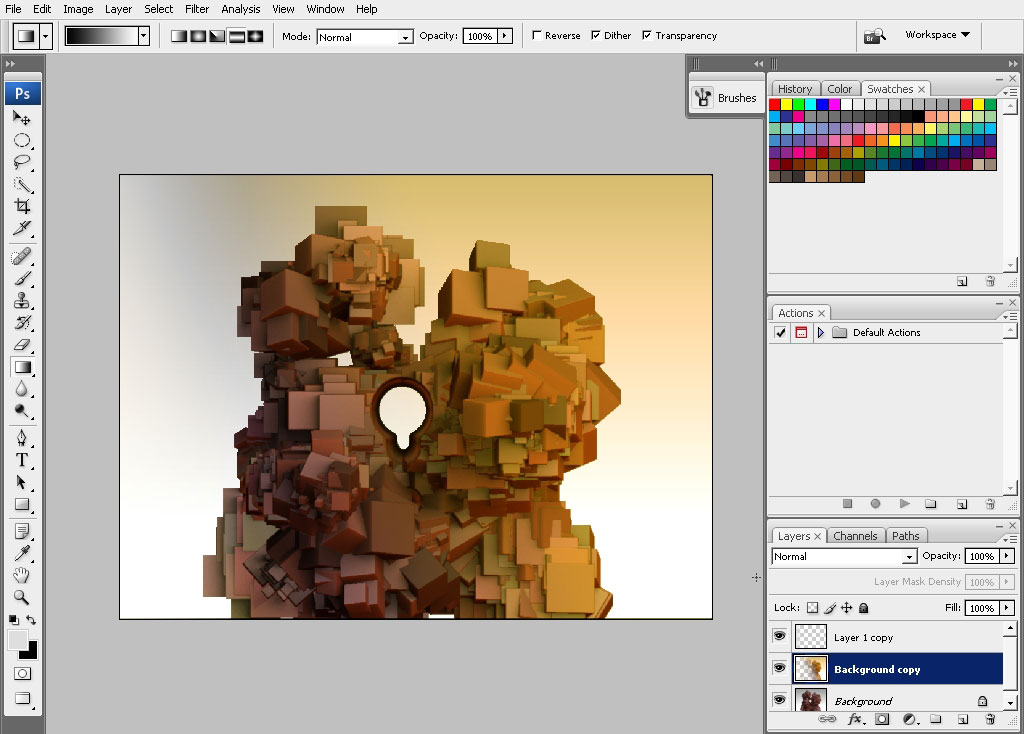
I have now only 2 layers; merge all of them, with blur filter applied on the top one.
I’ve also applied a mask to a half of the picture, leaving the blur effect only on the half of the object. This
way we will push a part of the object to the background.
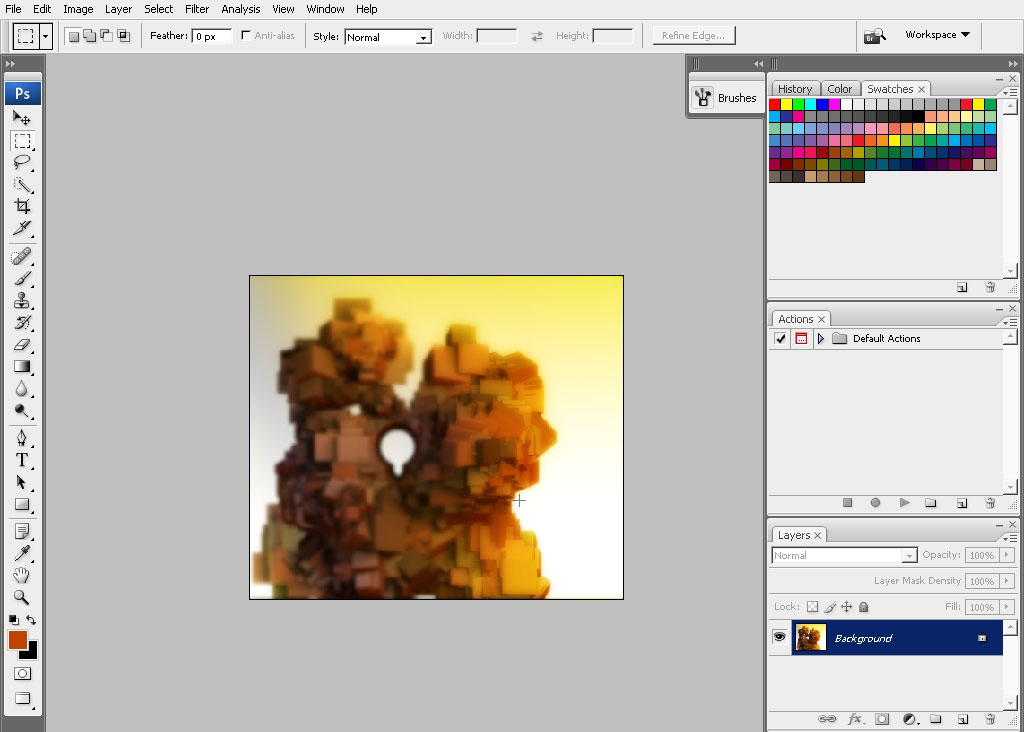
The next stage will be building some king of creating a sense to my picture turning it to a design.
I’ll be doing it with Cubes as our mane shape today is – a cube.
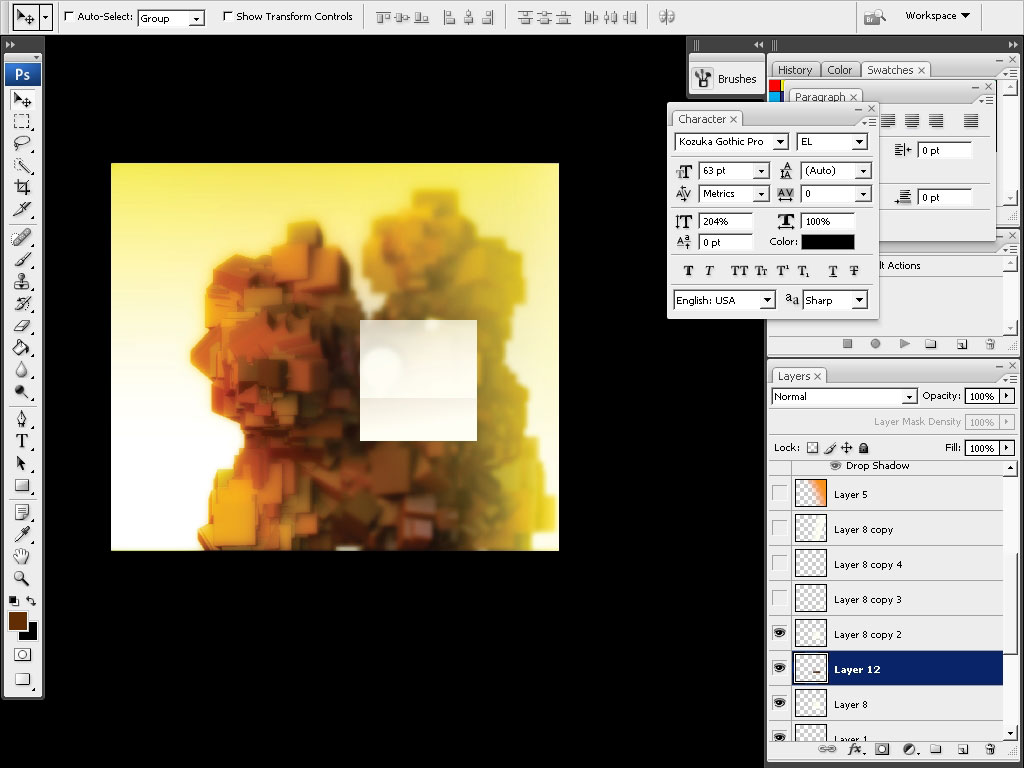
Just playing with color:
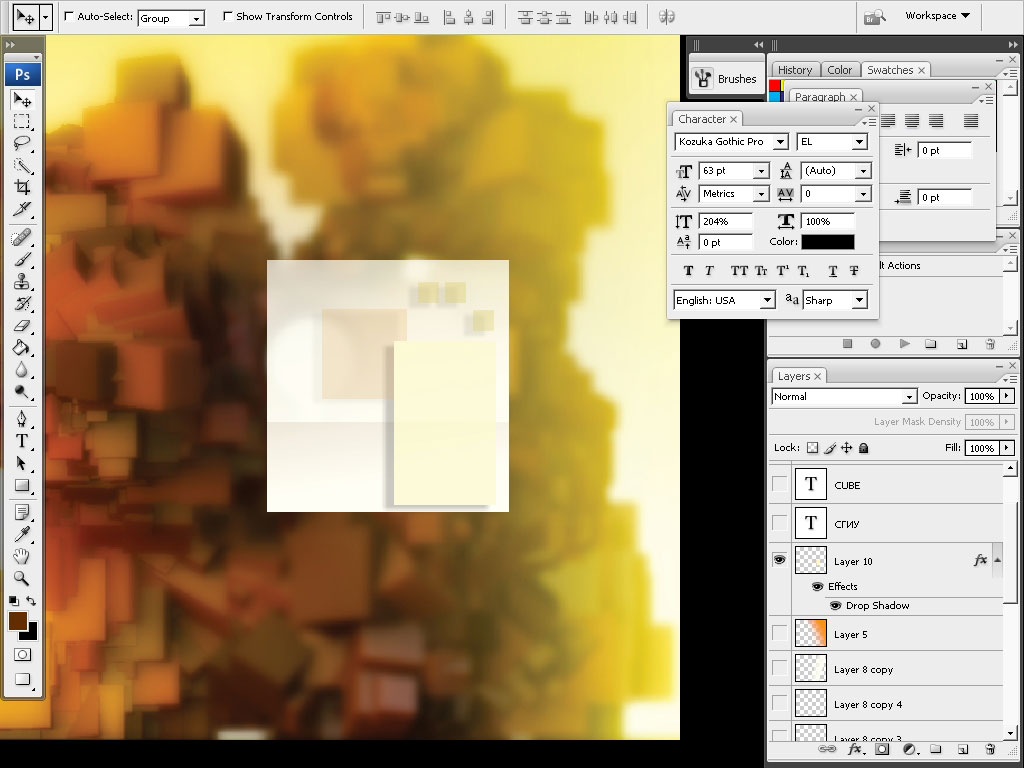
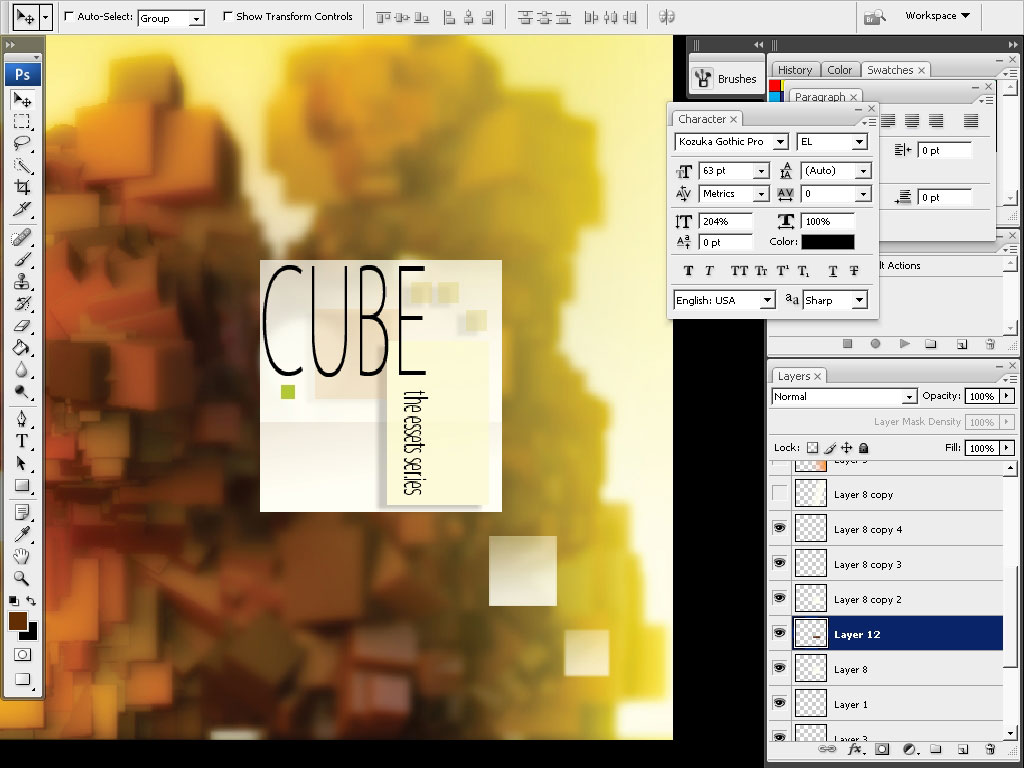
I will drop a little bit of shadow to the text.
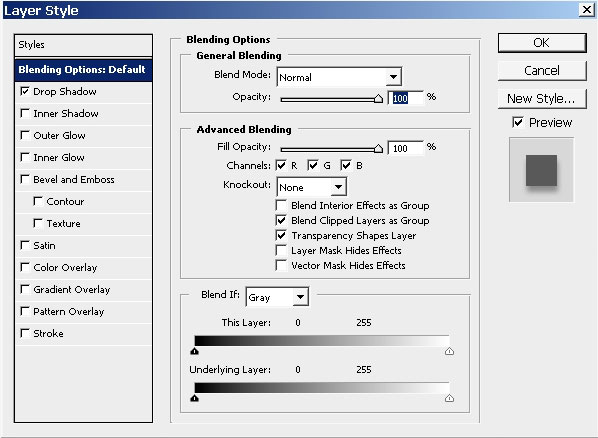
Some work over details. I’m setting the opacity and the sharpness to the elements of the illustration.
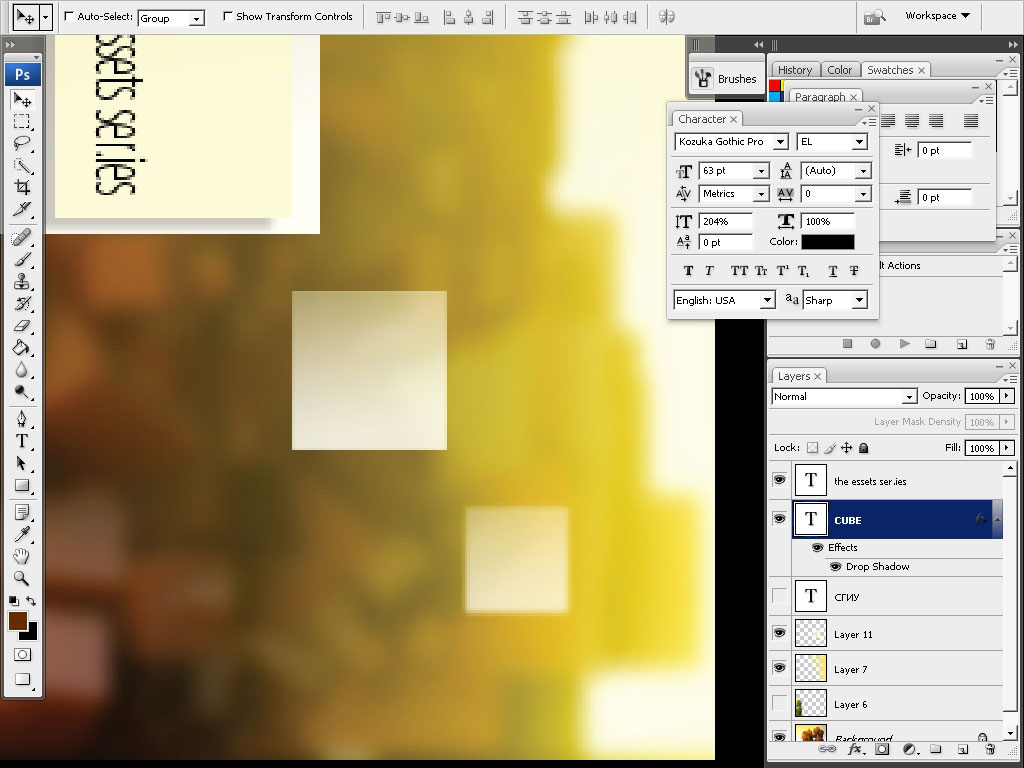
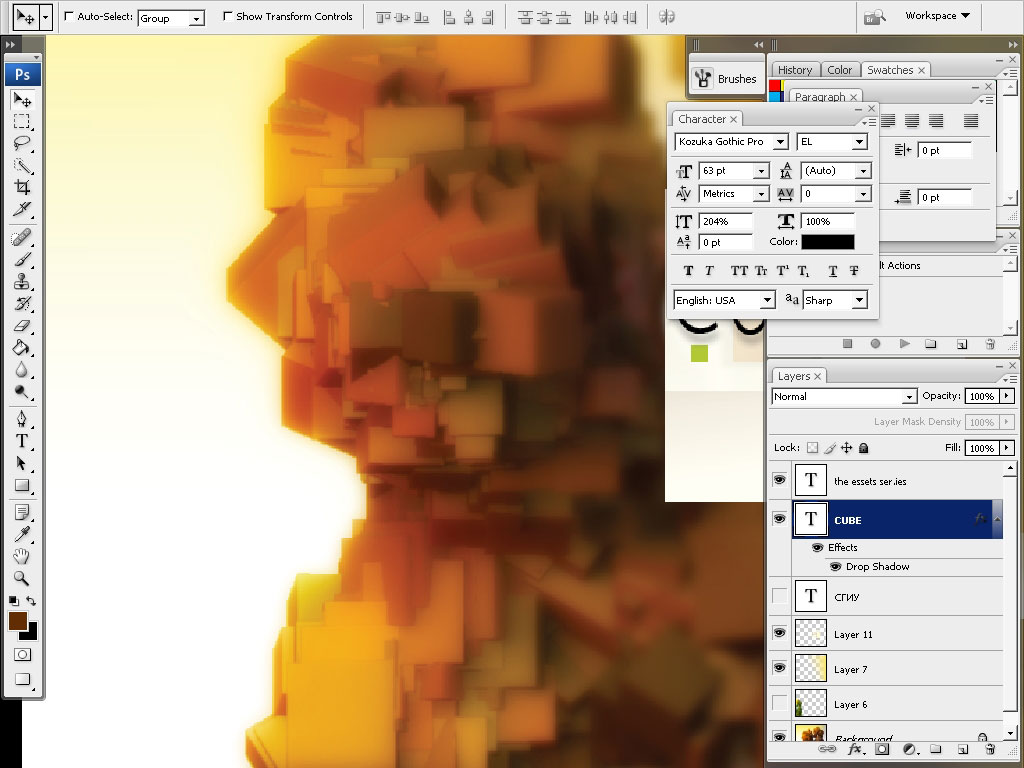
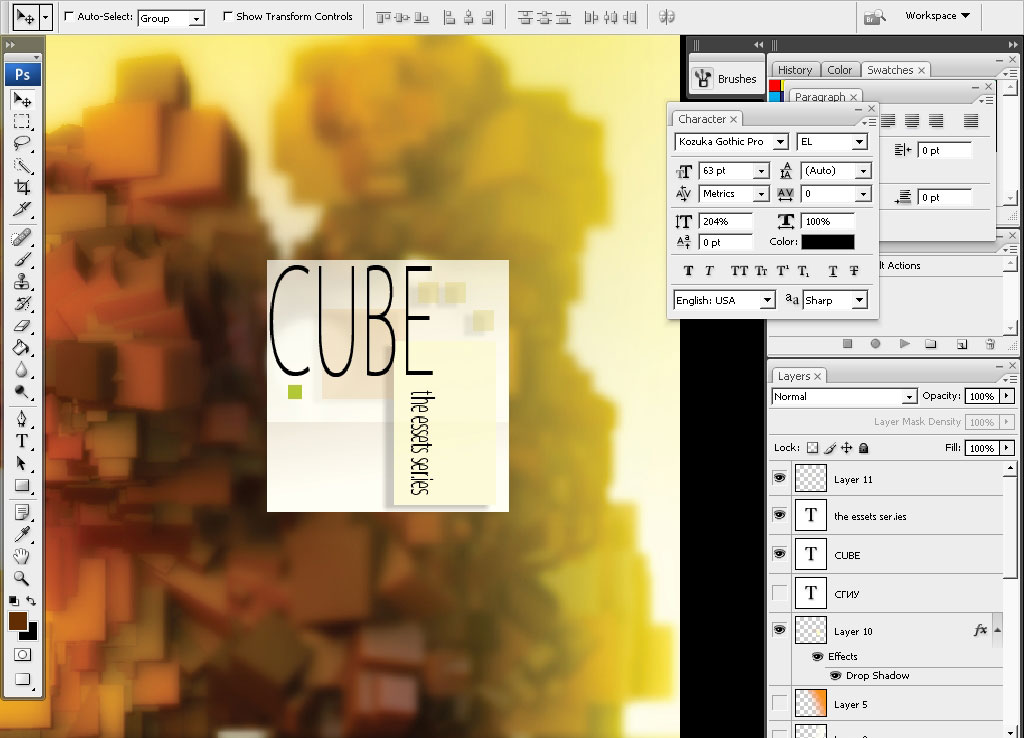
Adding some details – bounce lights done with a mere brush without any settings holding the shift key (on PC).
And I think we are done here. I hope you enjoyed this one as much as I did. Change yourself to use new
applications. You will definably find something nice in watch of the 3d application you test.
Comments