
Odyssey digital life organic tutorial
Welcome in making the Odyssey Tutorial. I guess this tutorial is a digital still life one too. Digital still life series – organic curves in combination with high tech industrial design using digital media.
So let’s make a design.
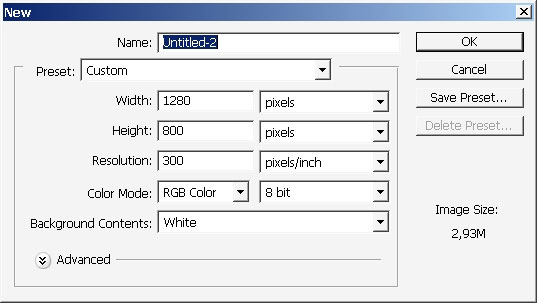
First create a document.
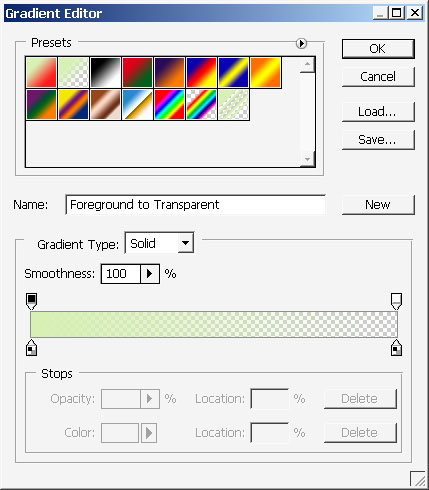
Fill it with gradient then. Here are the gradient settings.


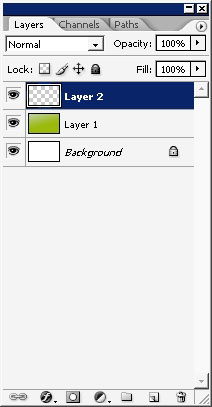
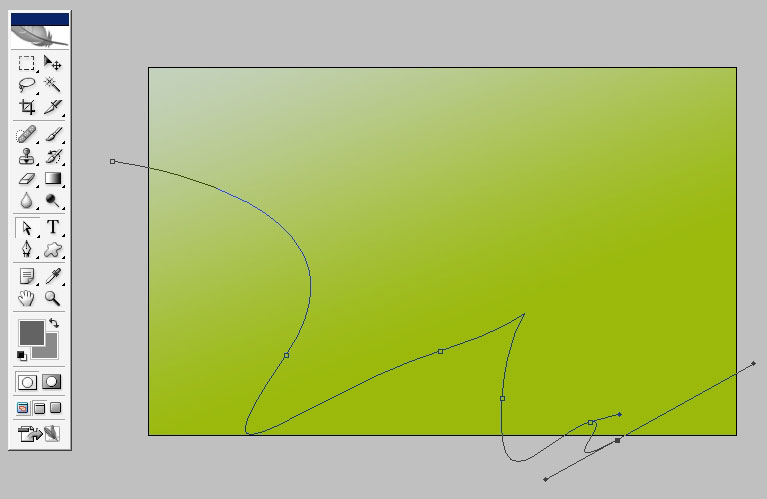
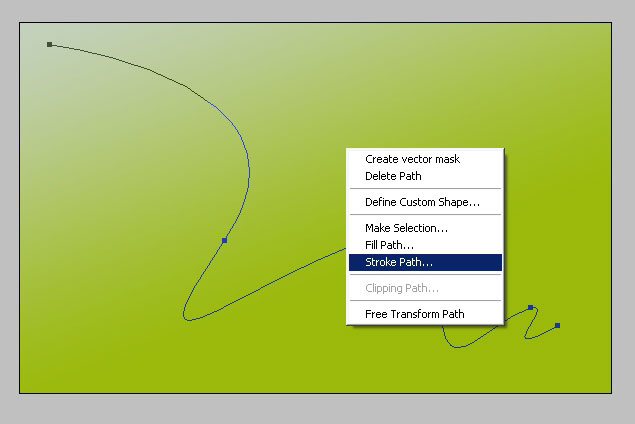
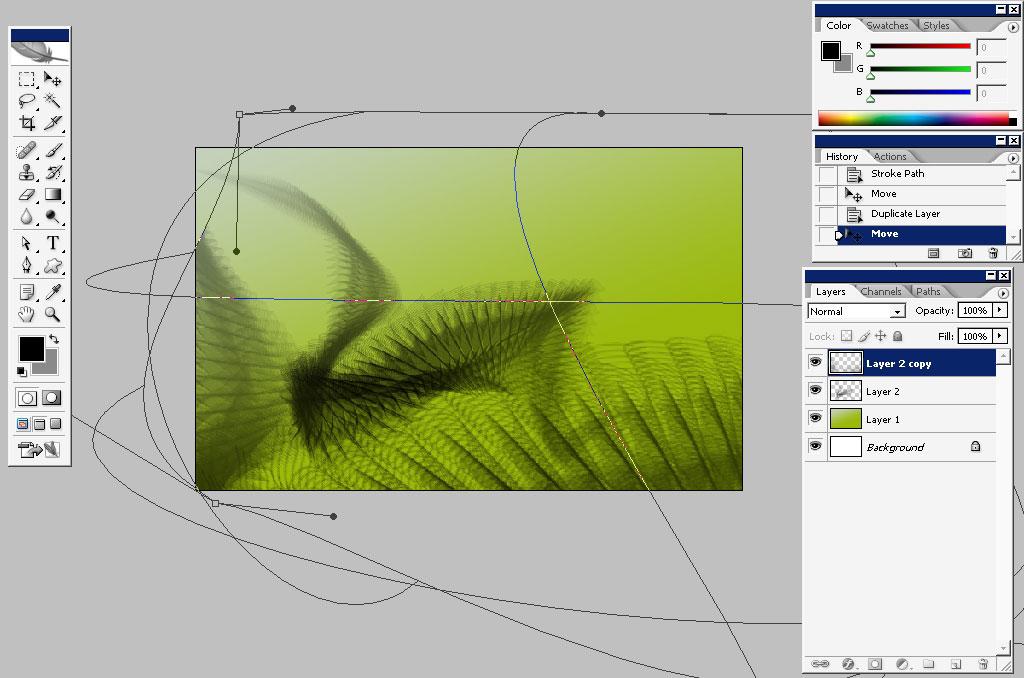
Create a new layer. On this layer we will use a very interesting technique that came from illustrator. First draw some curves using Pen Tool.
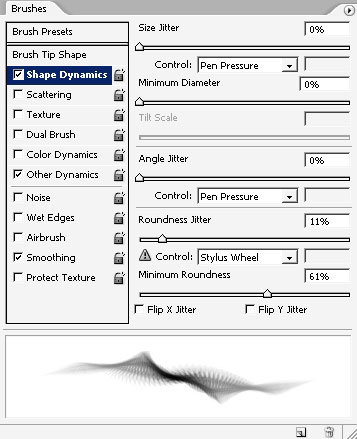
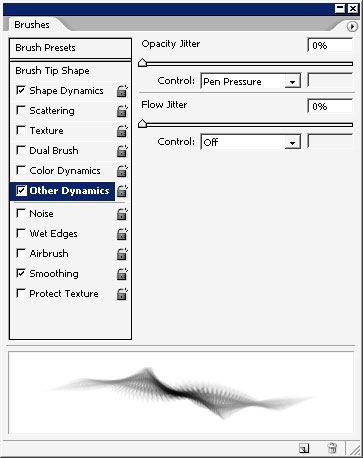
Choose a brush. I’ve chosen brush # 1047 in my list.
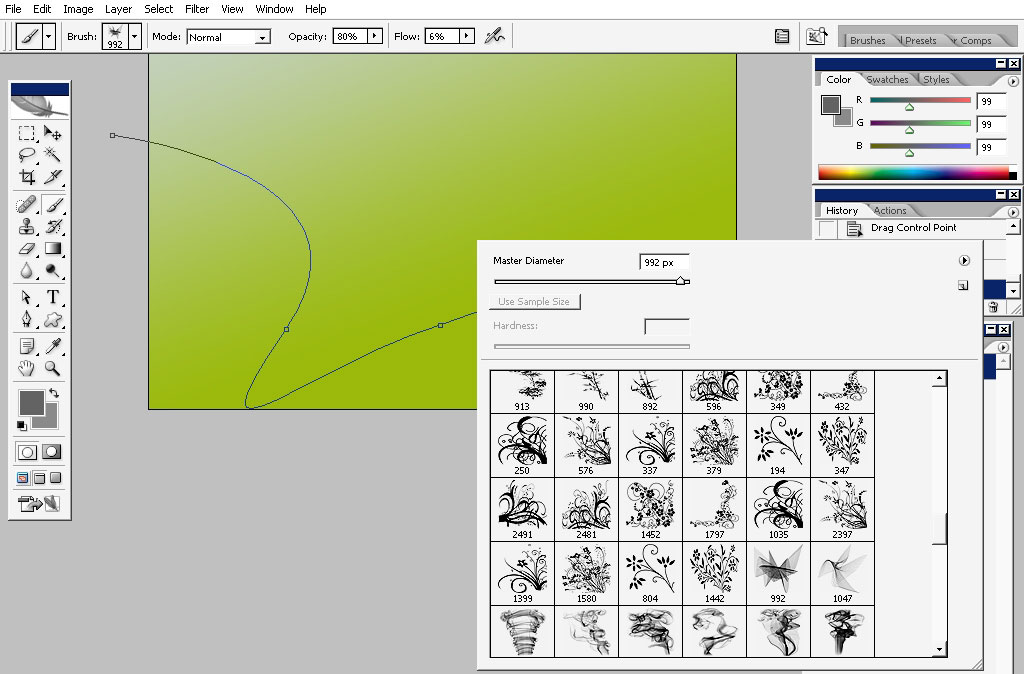
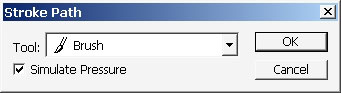
Choose the settings.

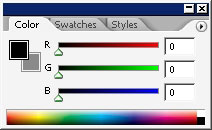
..and the color:
Choose Patch Selection Tool and select the path. Stroke it.
Result:
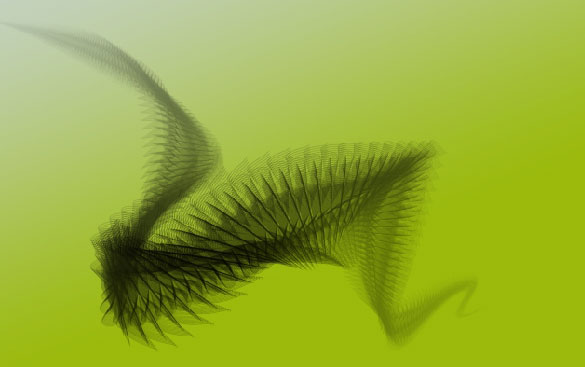
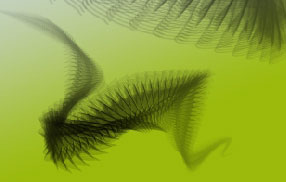
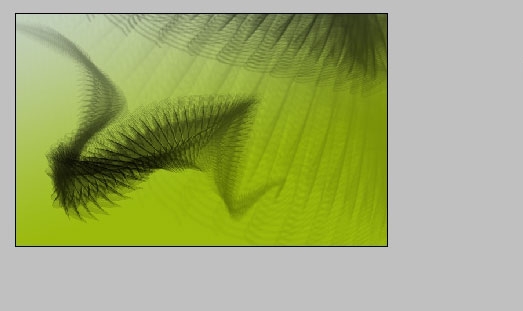
We have now a pattern which we can use like our basic design element or theme, call it as you like.
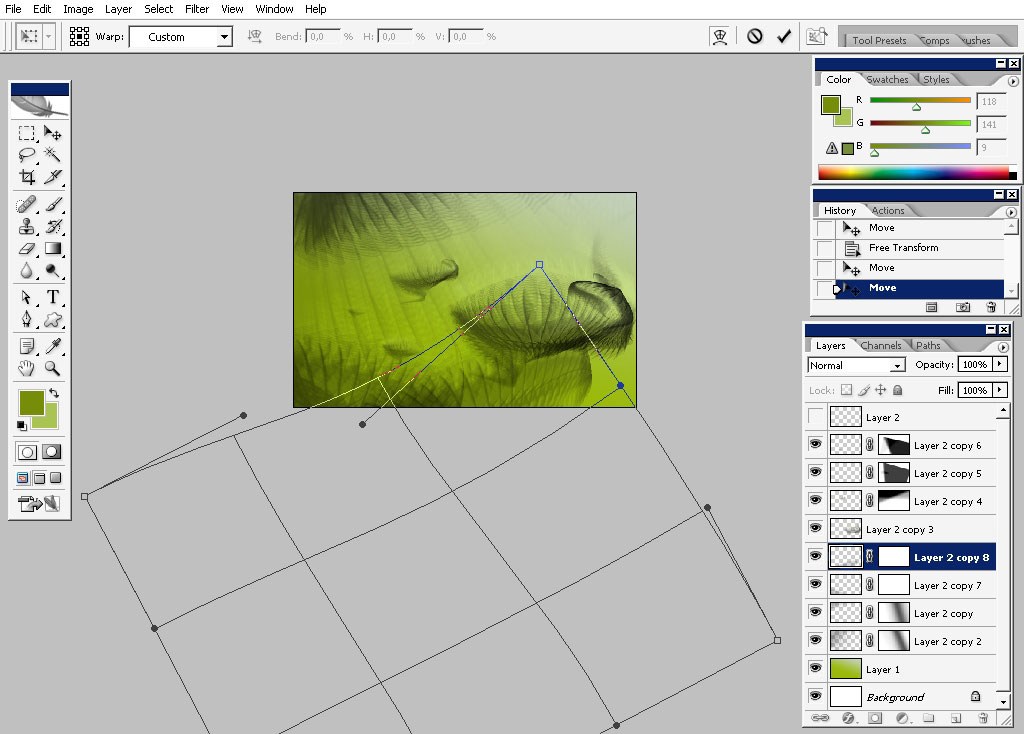
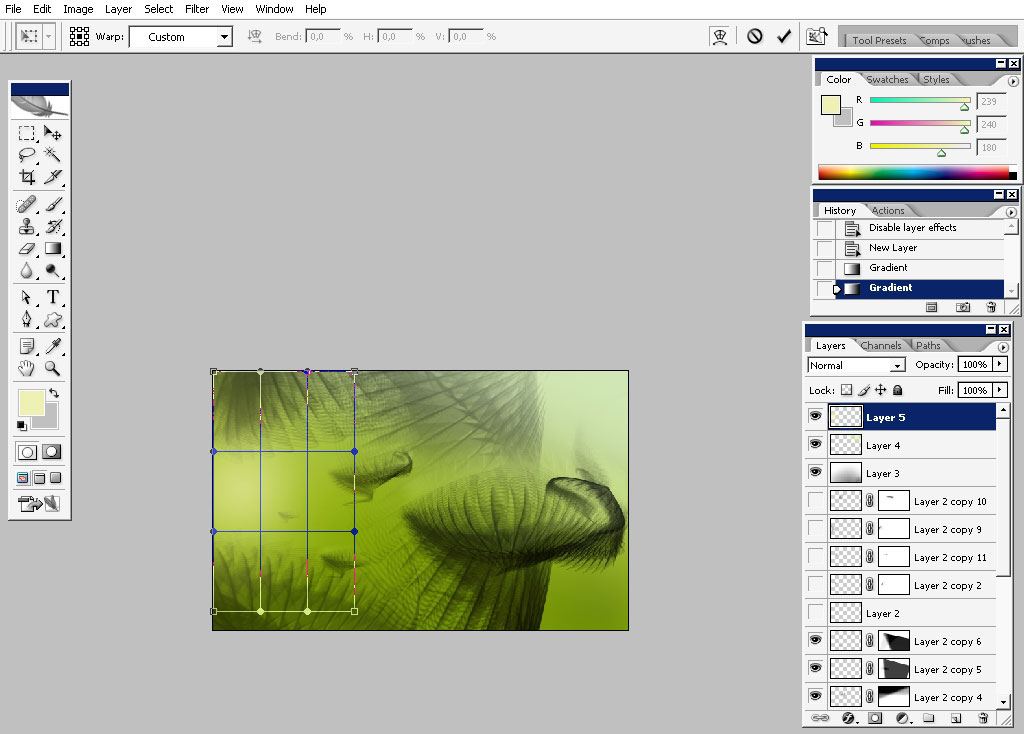
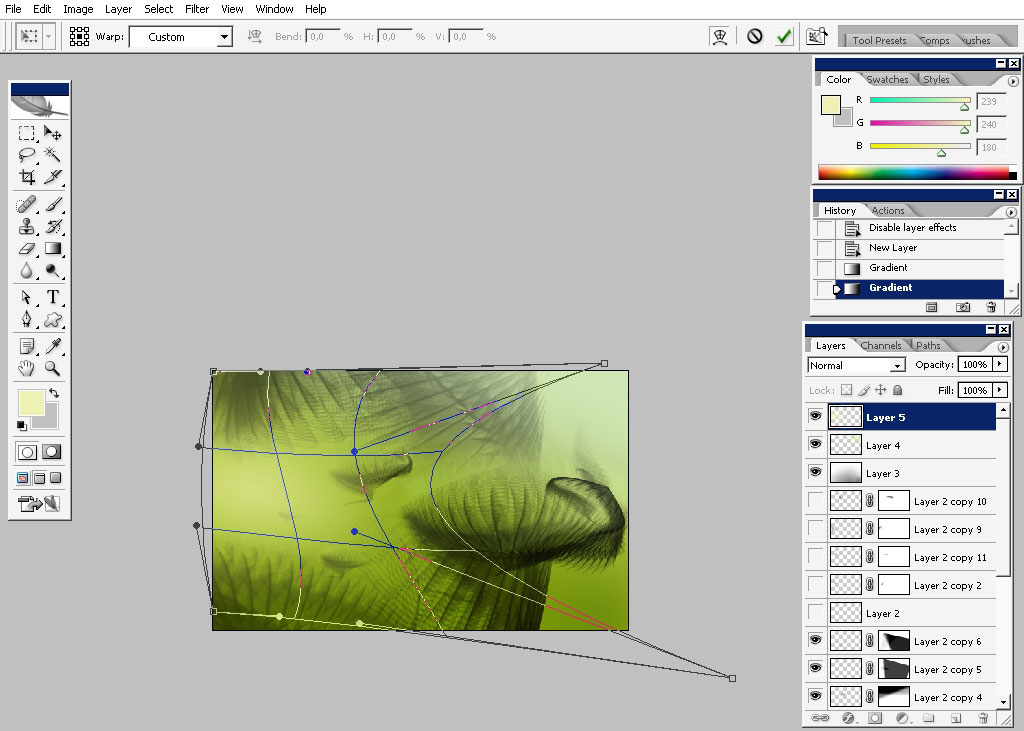
Create a copy of our pattern; make it way bigger that the original, maybe warp it a little bit.
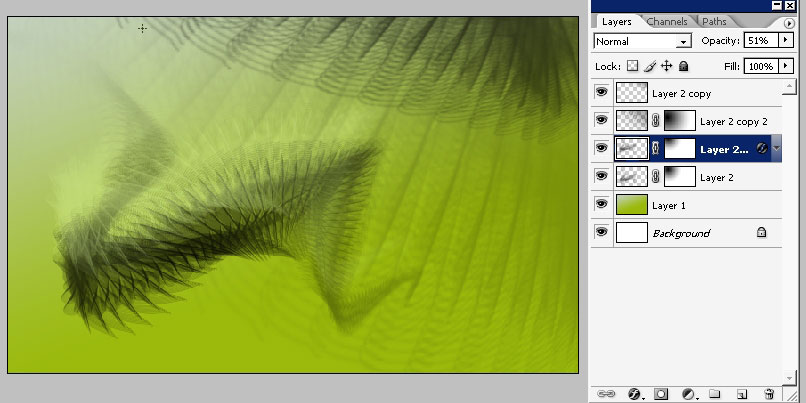
Position it at the top of the image and change the layer settings. Mode: From normal – to – hard mix; Opacity: From 100% – to – about 30-40%.

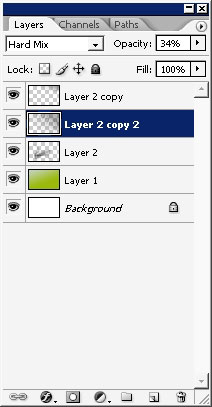
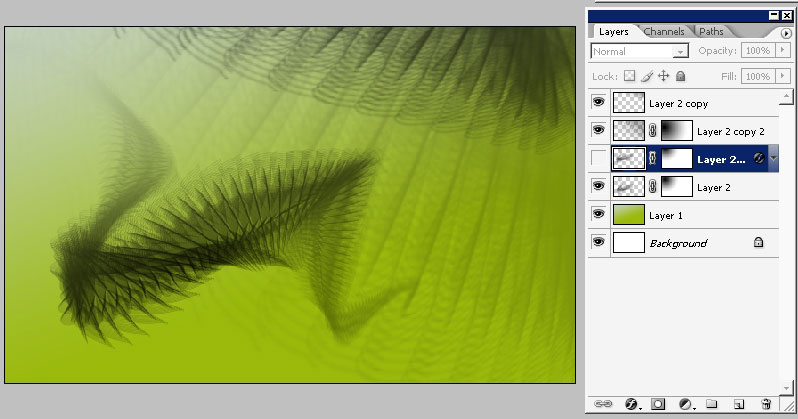
Create a copy of the initial pattern and change its color to lighter even than the background. It will create something like glow effect.
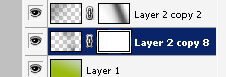
Merge the layers when you think you are done with elements order.
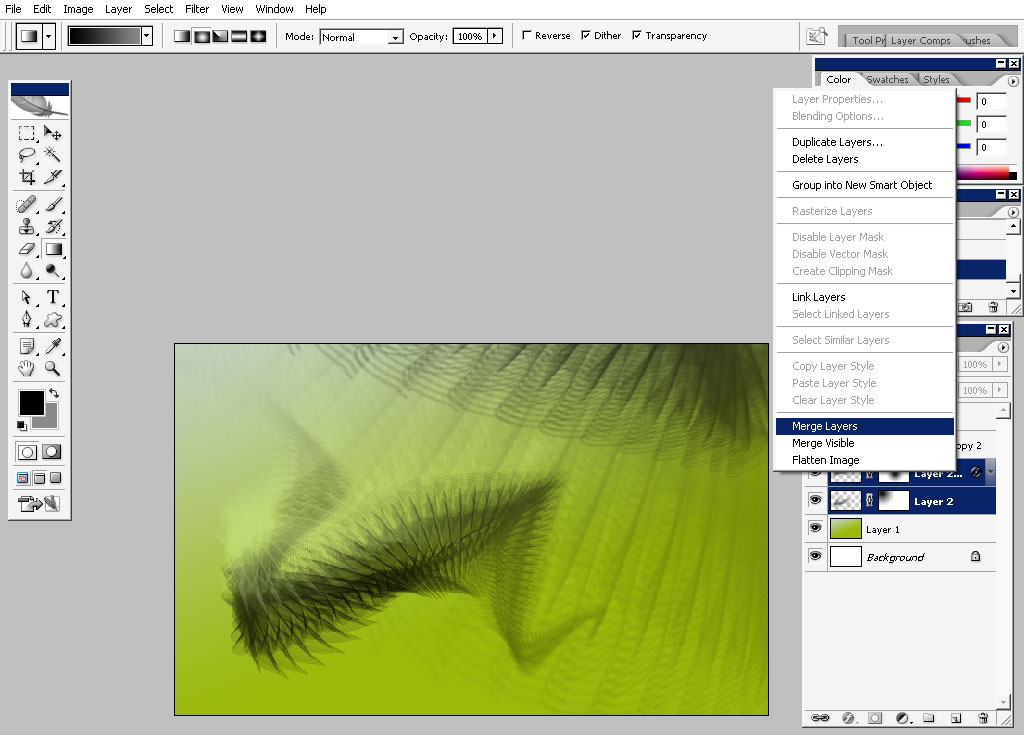
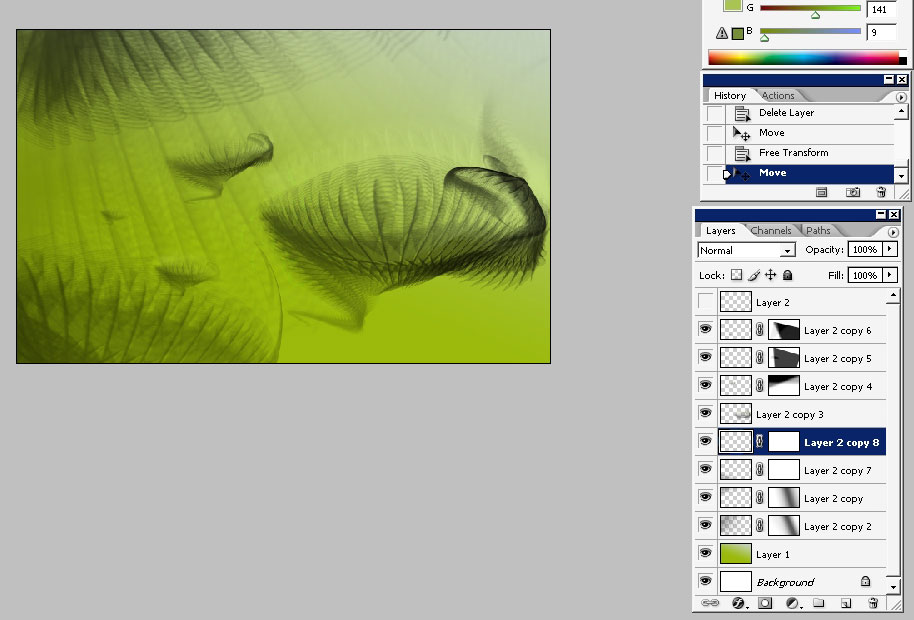
Transform the element.

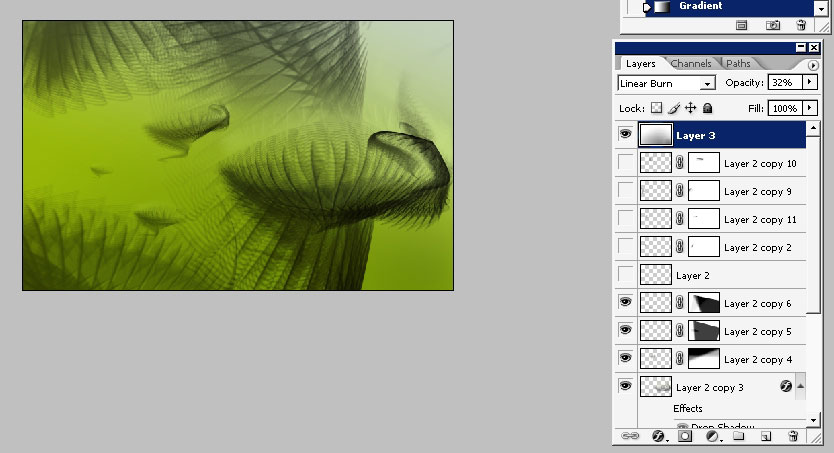
This is when the story came actually. It really looks like dirigible. I will also Pinch my background a little bit.
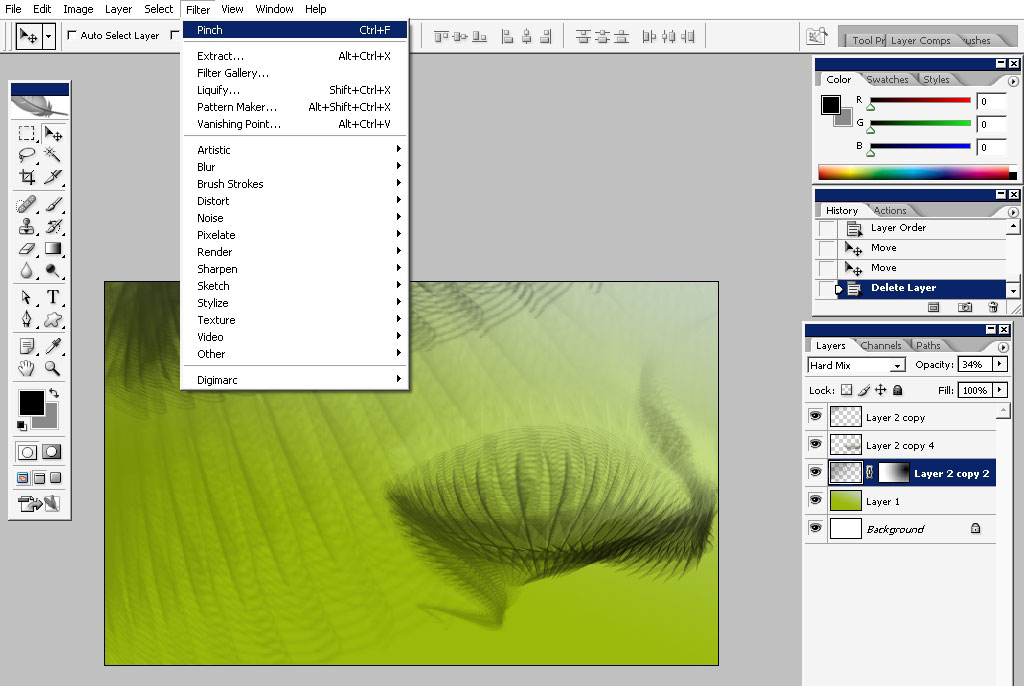
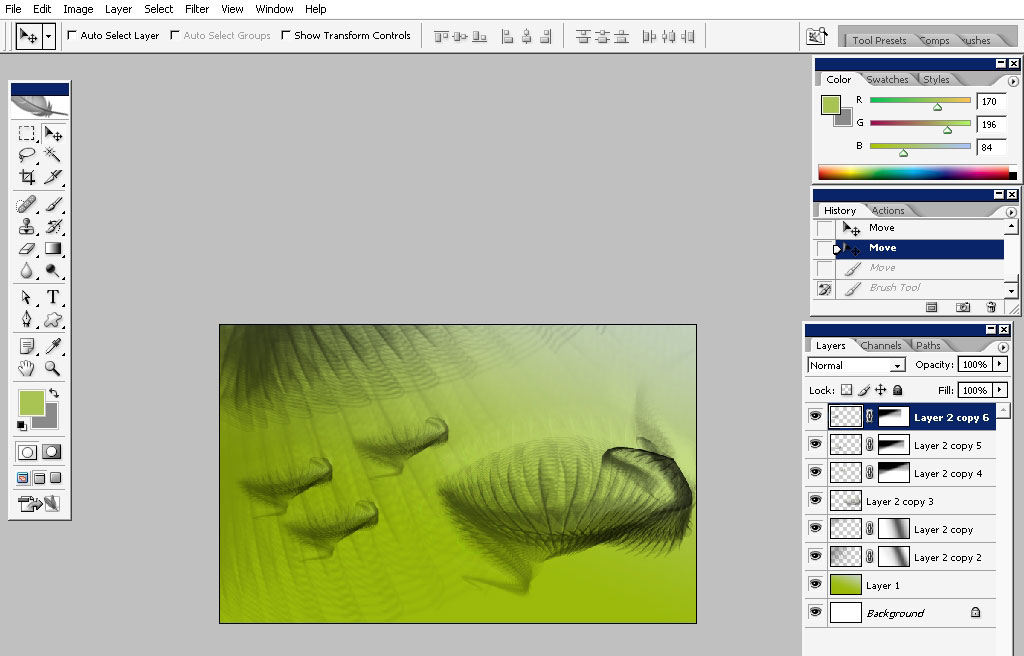
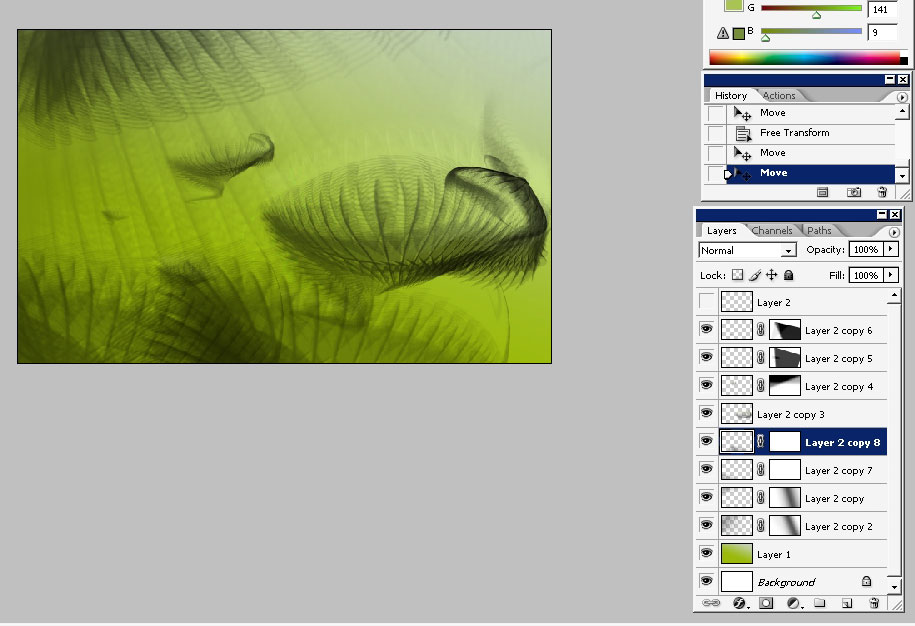
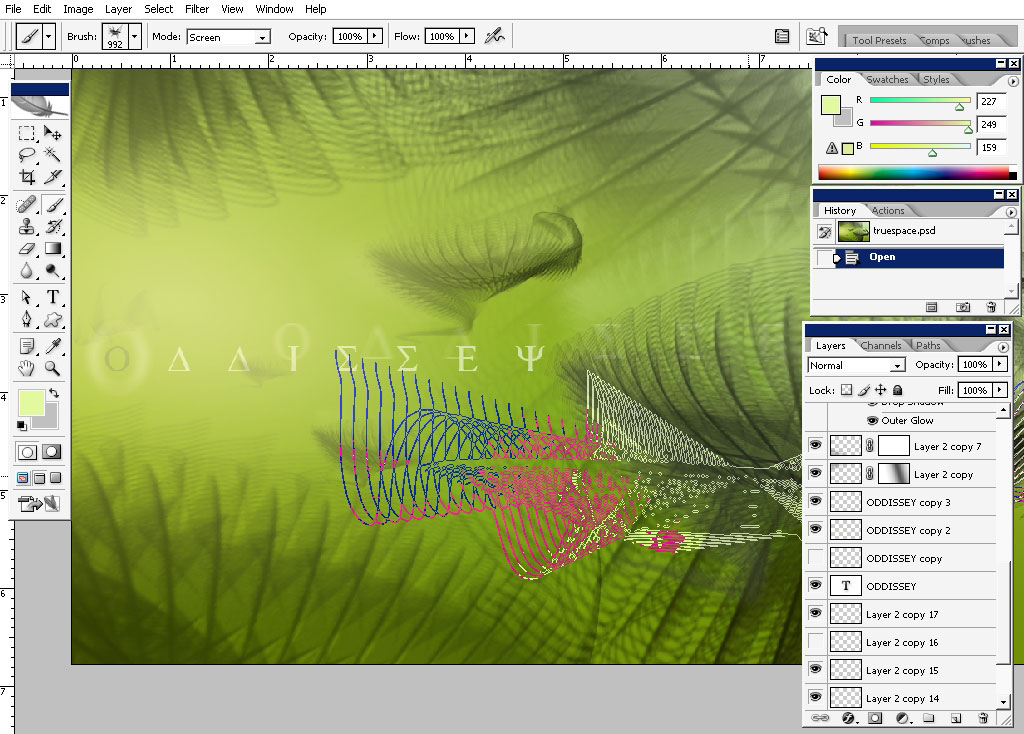
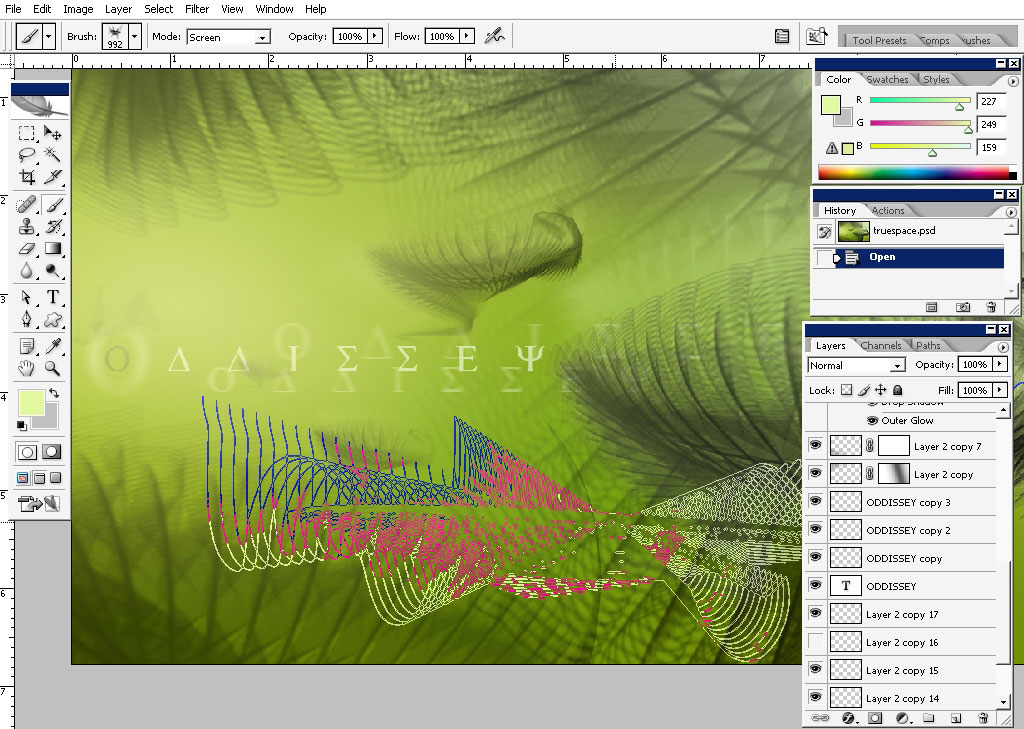
Adding some elements to the design of this thing (airship). I’m using the basic design element only,just transforming it.
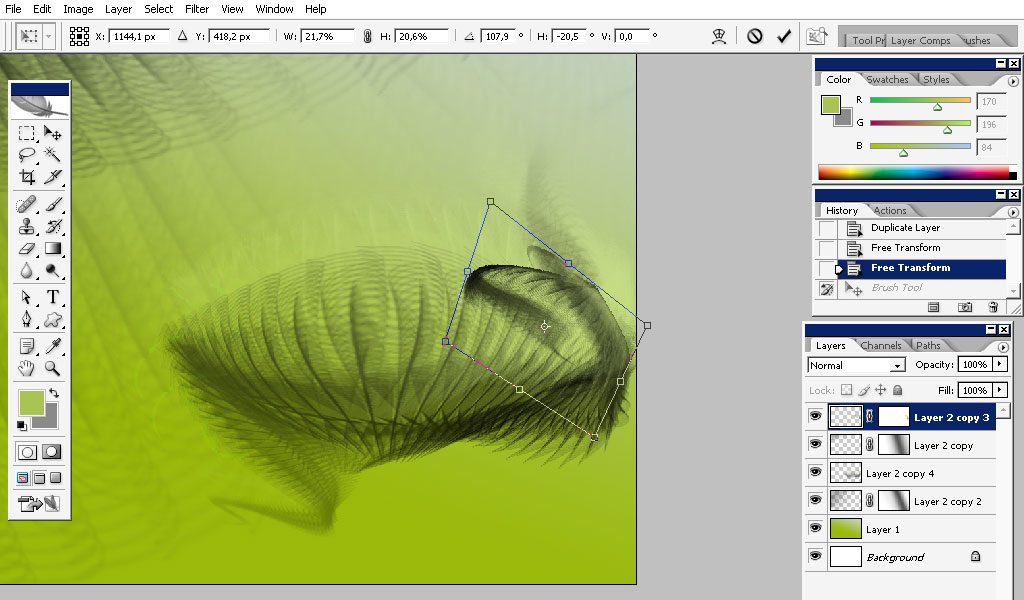
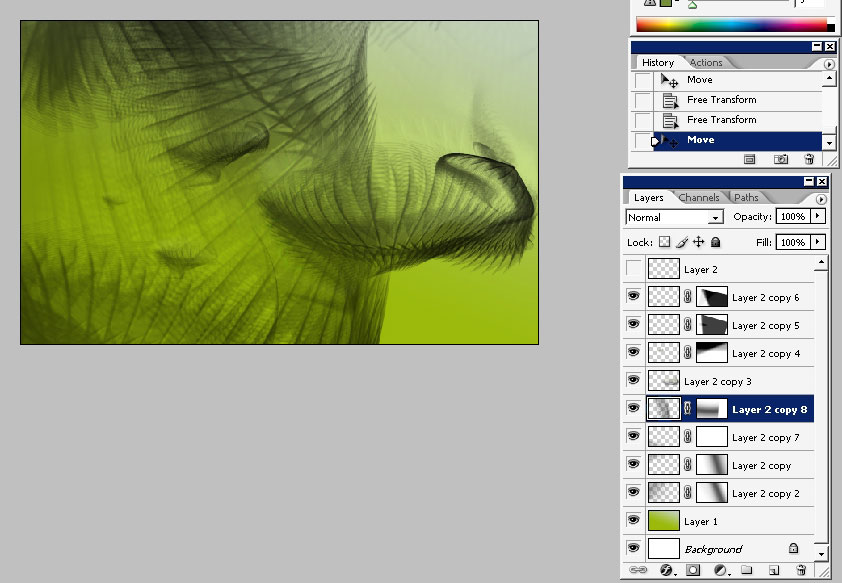
Create a copy of it.
…And some more.
This line is a perspective line – an invisible line that goes through the horizon line. That is where our ships will go.
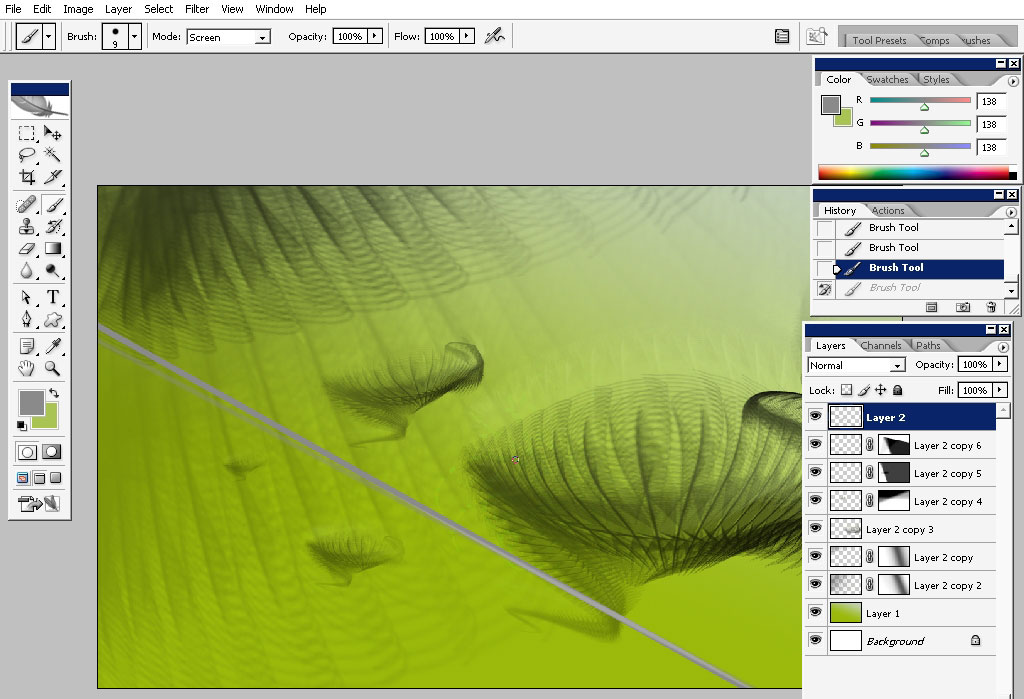
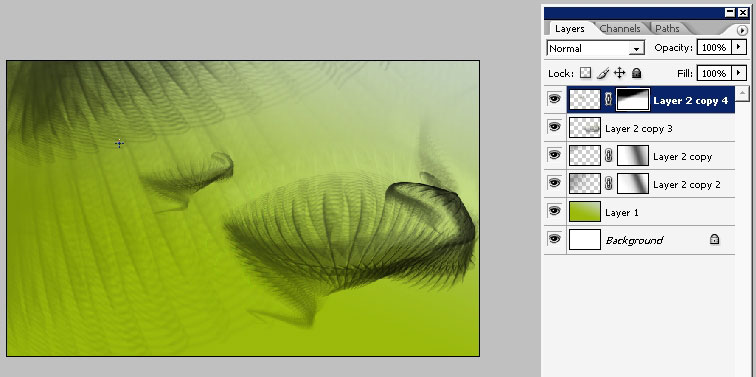
Lower
the opacity using masks or just plain eraser tool to lower the opacity
of those who are further away from the viewer’s eye.
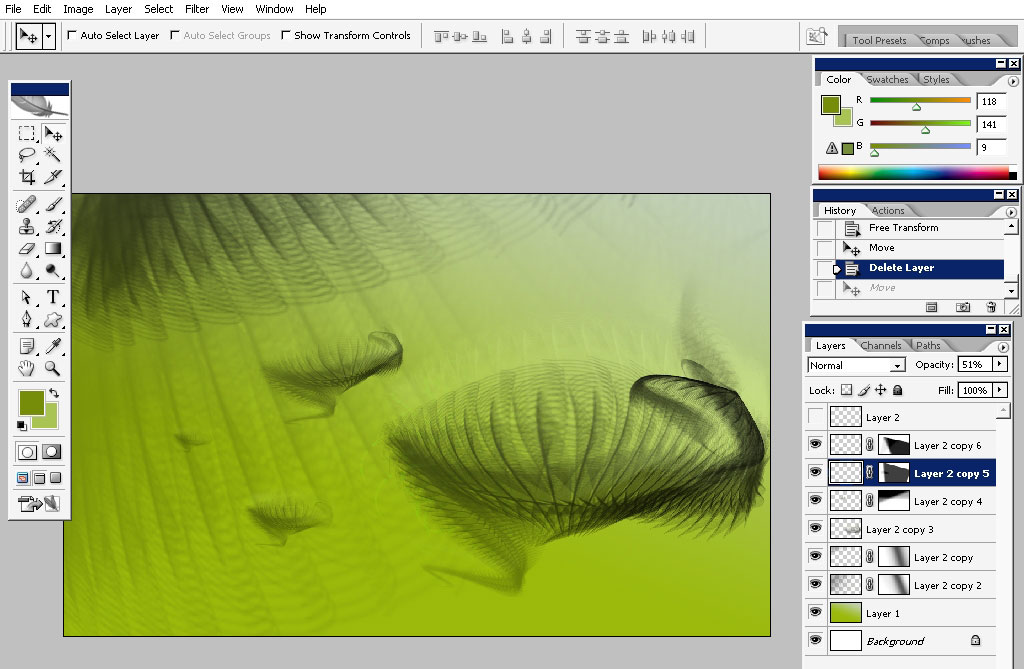
Add some element for the better view: for example add blacker pattern to the bottom of the picture.
Transform. And the result of transformation was really amazing- just what I wanted.
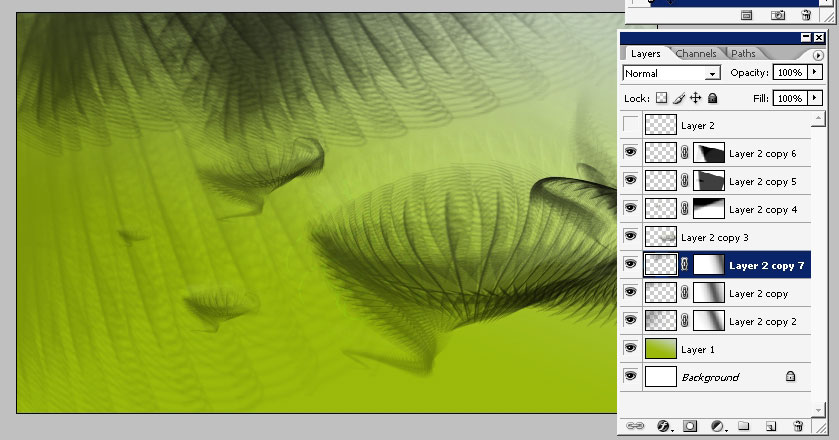
Add a mask to erase the area right in the center. Use gradient on the mask to do this.

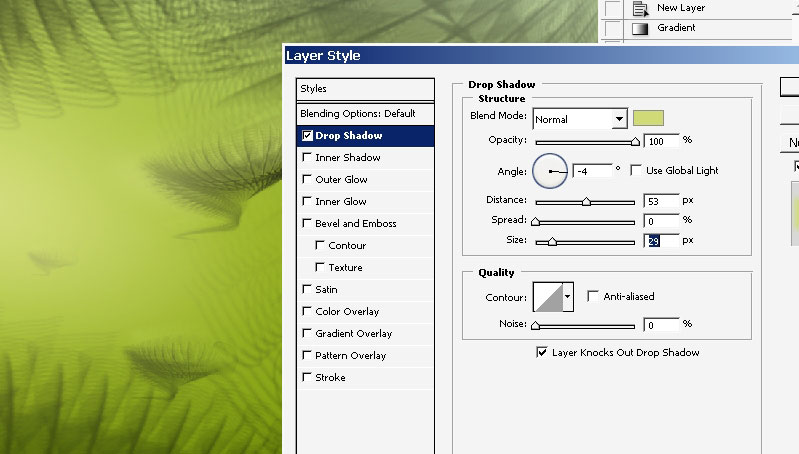
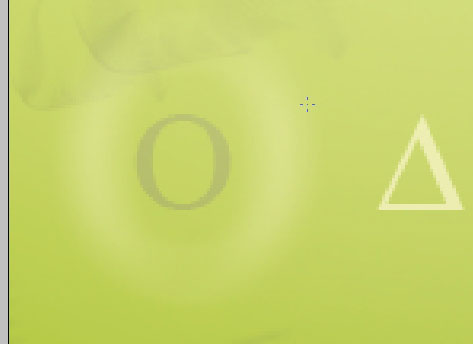
Now let’s create some lighting. First create a new layer.
Choose a gradient with the color that is way brighter that the background to transparency. Gradient shape is round.
You can see one in the top left corner and one in the left corner.
Warp the one that is in the center.
Apply an outer glow, making the layer and the picture even shinier.
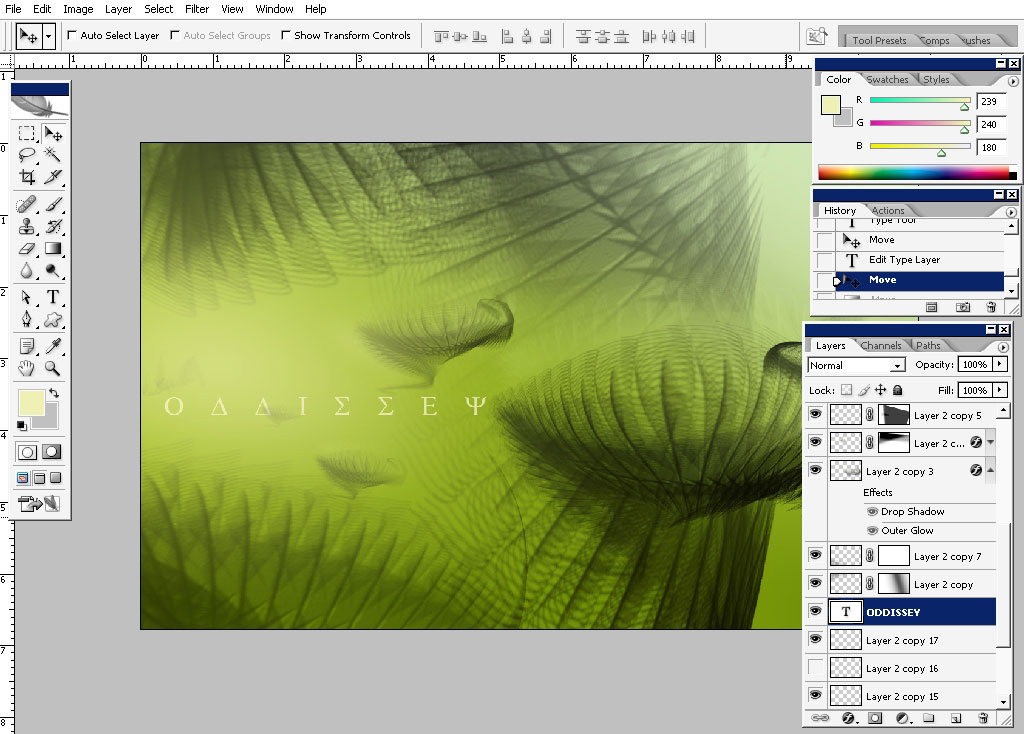
Next mini step: the text. I’ve chosen the Greek styled font to better express the feeling on the picture.
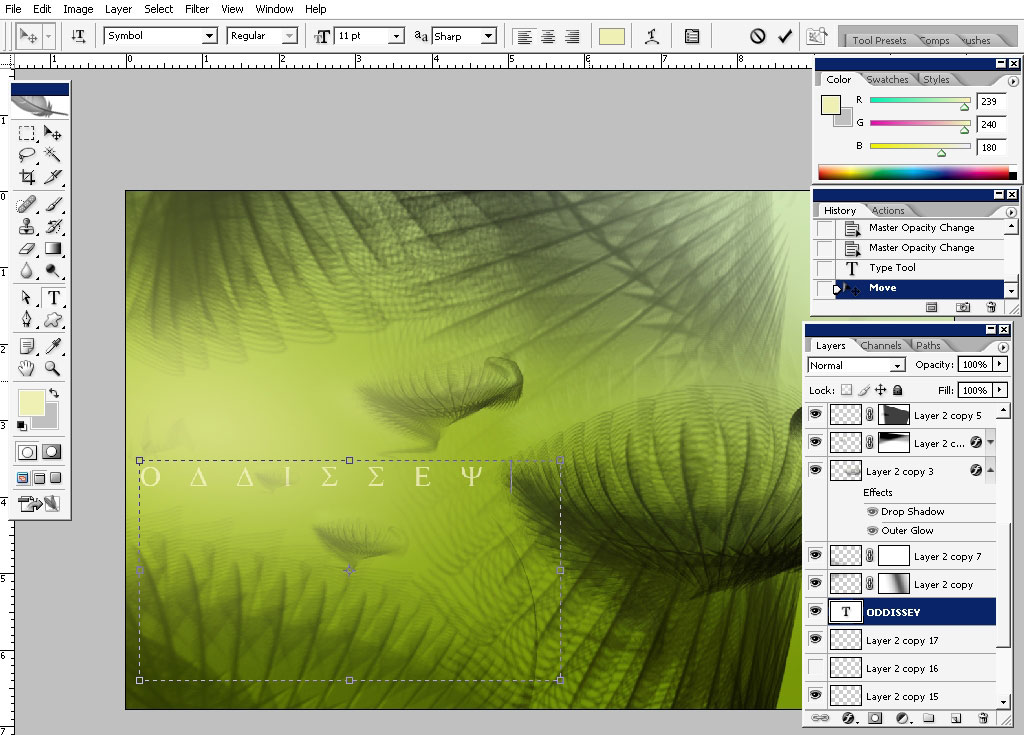
Create some copies of the text and lower the opacity of those who are on the background.
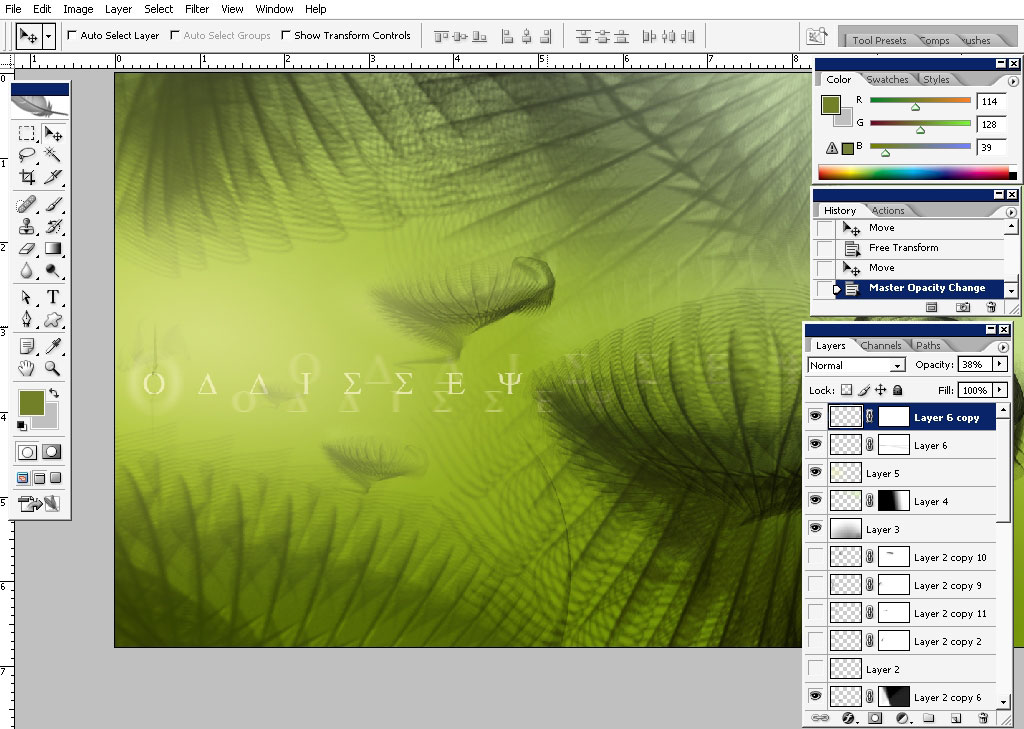
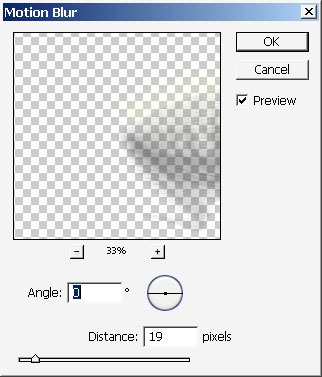
Blur some of them to create a feeling of depth.
Change the color of one of the letters for design means.
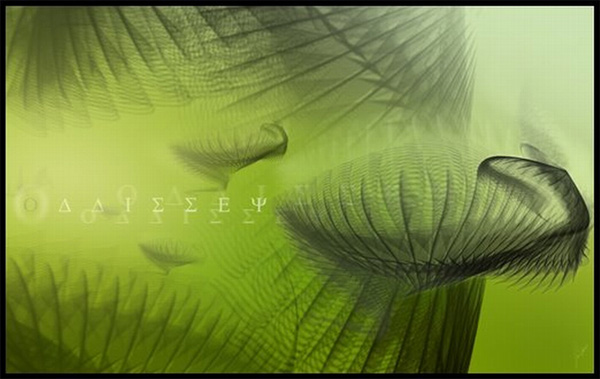
And this is it in making a digital life organic tutorial.
Thanks for reading: better to try than to read and see you next time.
Download support file: Wiv_Line_tut111.abr
View full size here
Comments