
Graphical user interface
Hallo and welcome in my GUI design tutorial. So first I want to start from some explanation here.
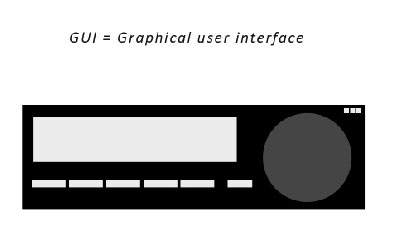
What is GUI design? Graphical user interface (GUI) is a type of user interface which allows people to interact with electronic devices like computers, hand-held devices (MP3 Players, Portable Media Players, and Gaming devices), household appliances and office equipment. A GUI offers graphical icons, and visual indicators as opposed to text based interfaces, typed command labels or text navigation to fully represent the information and actions available to a user. The actions are usually performed through direct manipulations of the graphical elements.
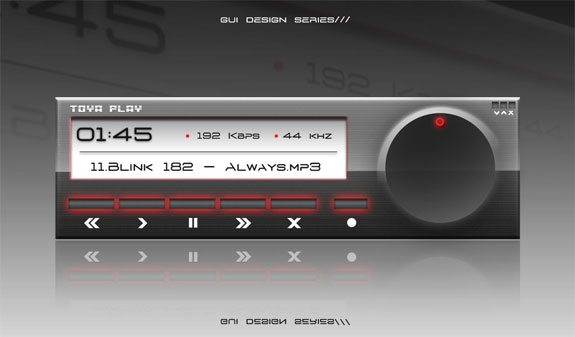
SO I think you found out what the GUI design is. As a designer you got to know this technique too. All the GUIs are basically based on layer styling in Photoshop and of course the shapes, but basically it’s all about drop or inner shadow and etc.
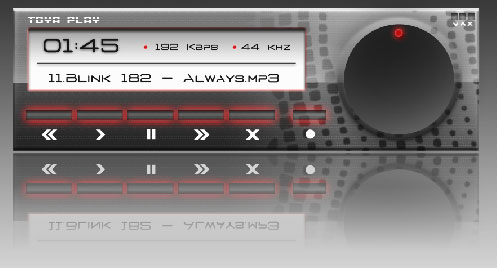
SO let’s begin. We will be creating a music Player for PC users.
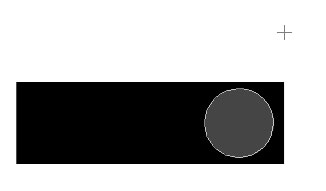
First you got to do is to create a document. Then start to create basic shapes.

Define the basic dimensions of the player.

Then try to figure out all buttons layout.
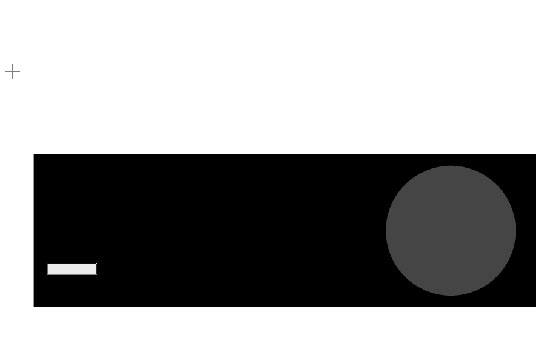
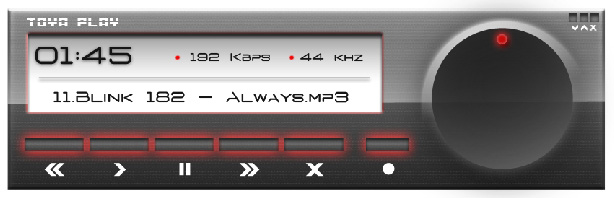
Define the position of the screen on which all the song information will be displayed.
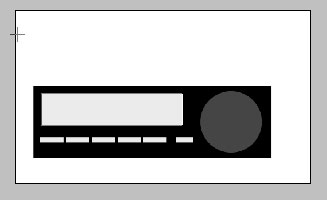
AS it is a player for windows we have to make these hide, restore, close buttons.
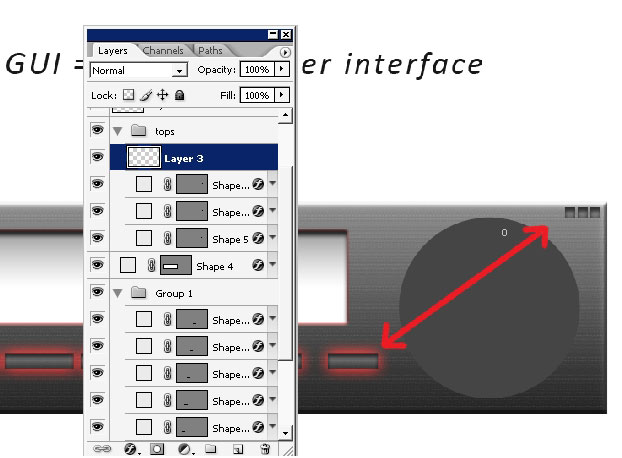
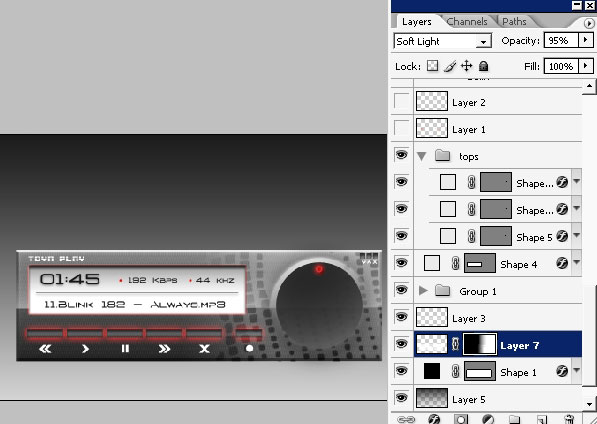
Moreover: GUI design usually consists of many, many shapes and layers. You, as a designer have to know how to save your time by not messing with all these small shapes and layers. I’m not using automatic layer select for various reasons: it’s not working properly if the layer is semitransparent or has another layer underneath.
So, do it clean)
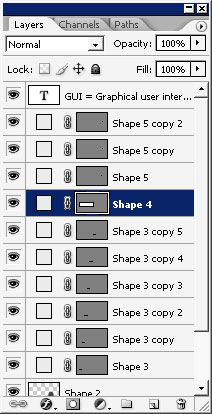
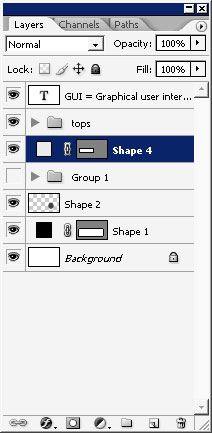
Now we have all shapes locked in separate groups.
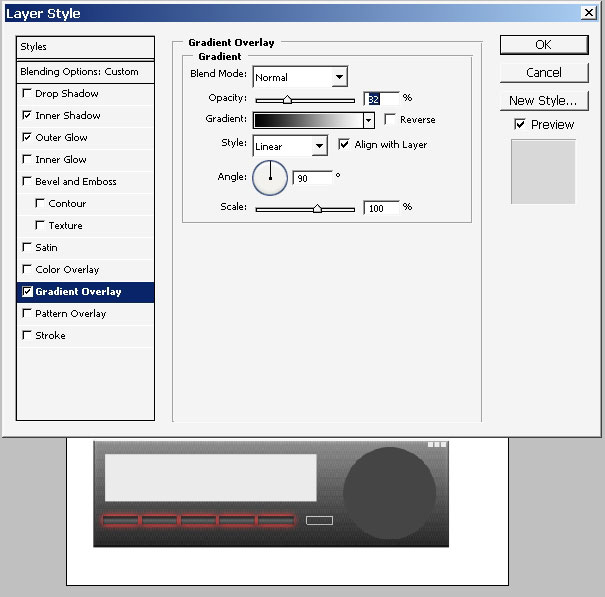
So I will divide my design on categories. We have 5 major elements to which the layers styles will be applied.
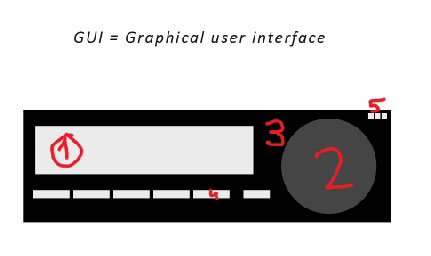
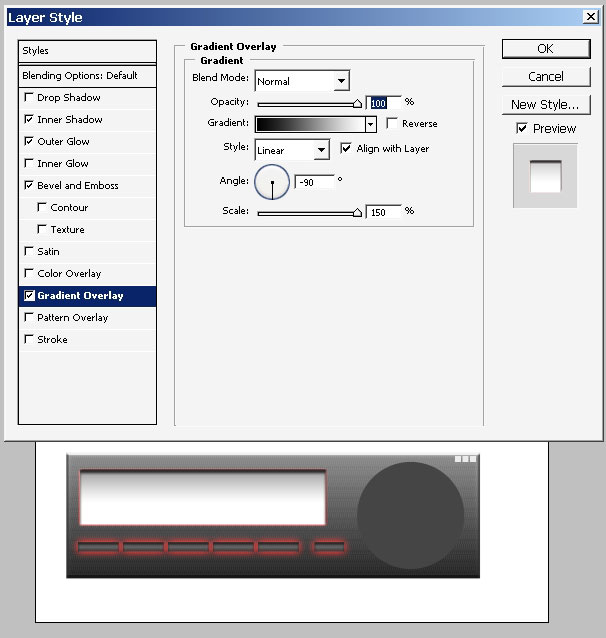
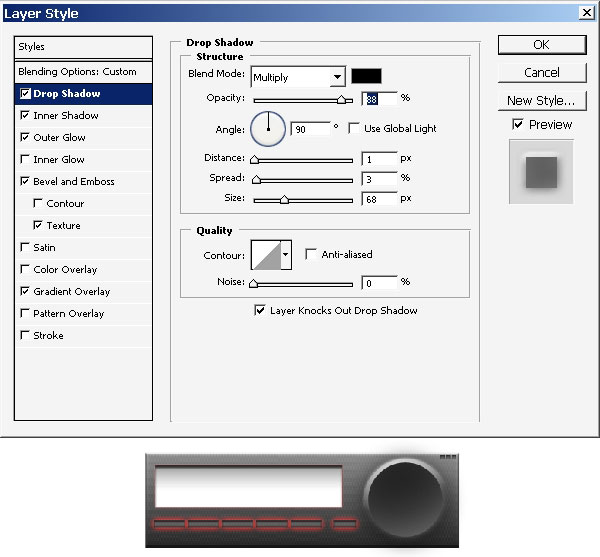
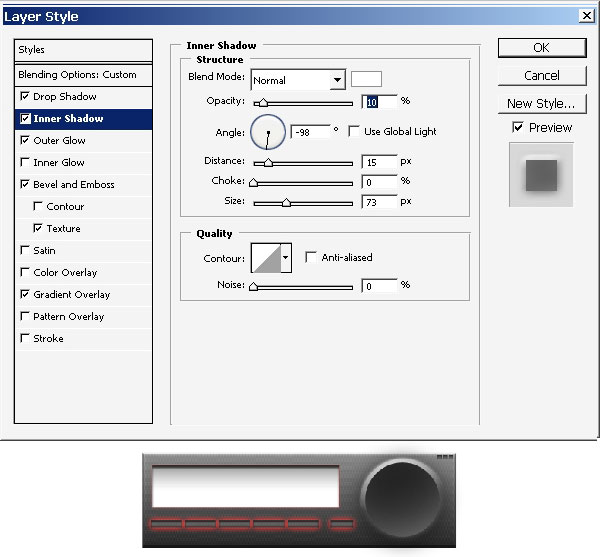
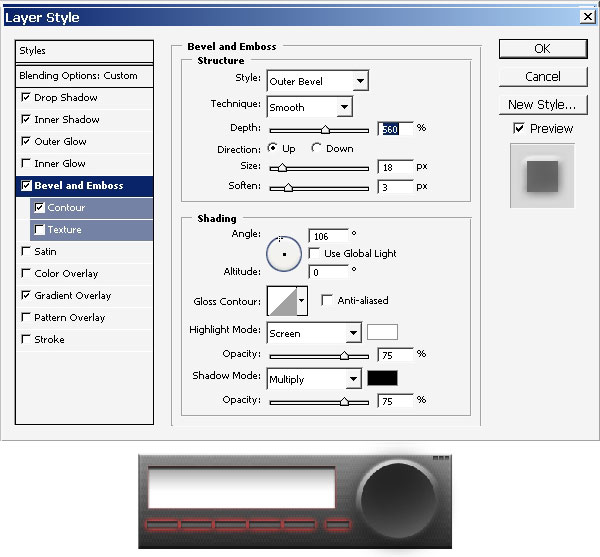
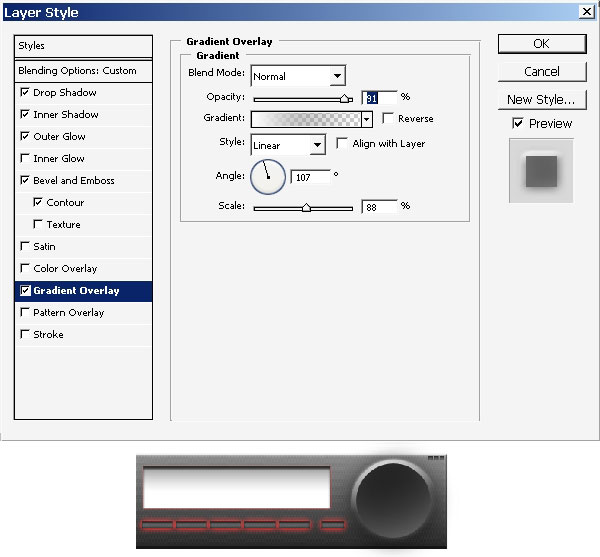
Well start not from 1st but from number 3. This is the major shape – window.
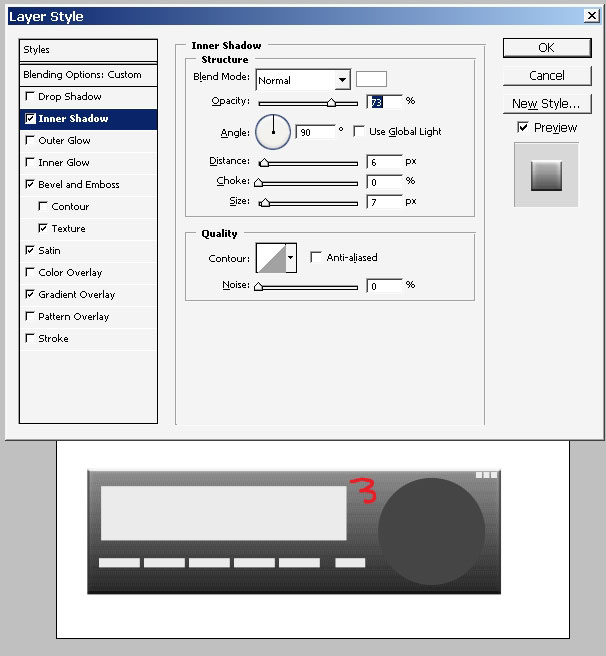
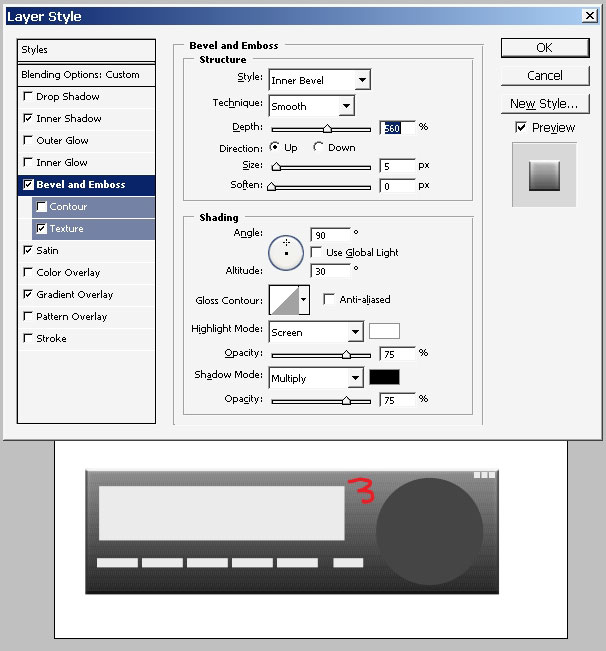
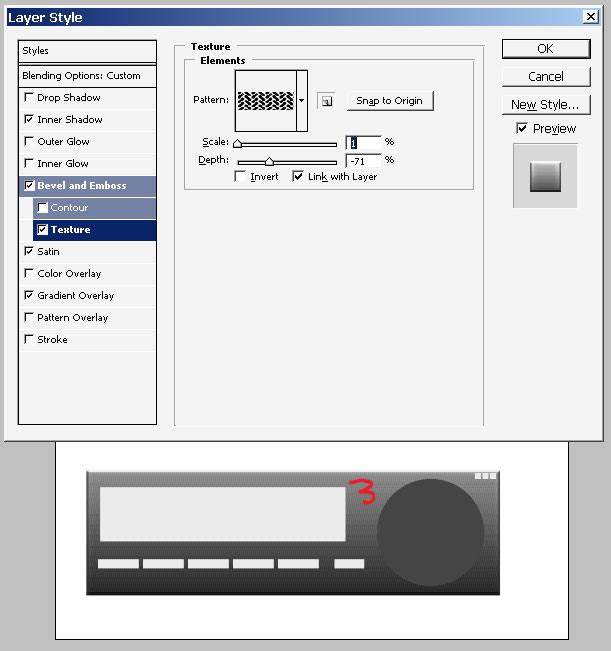
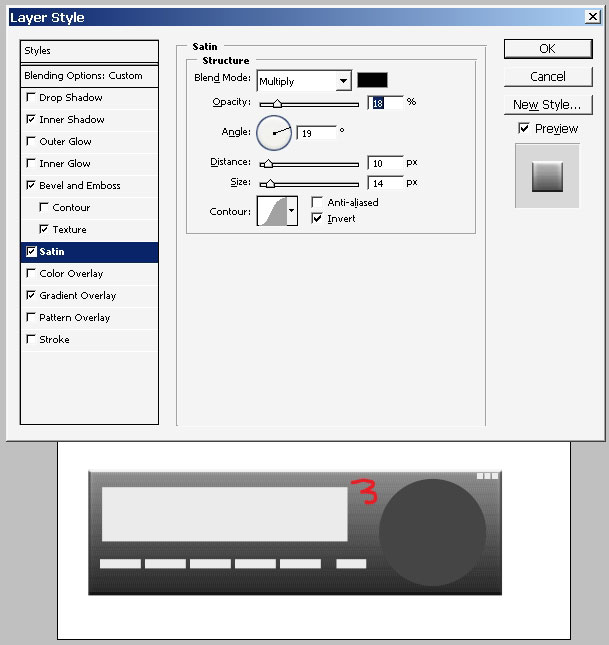
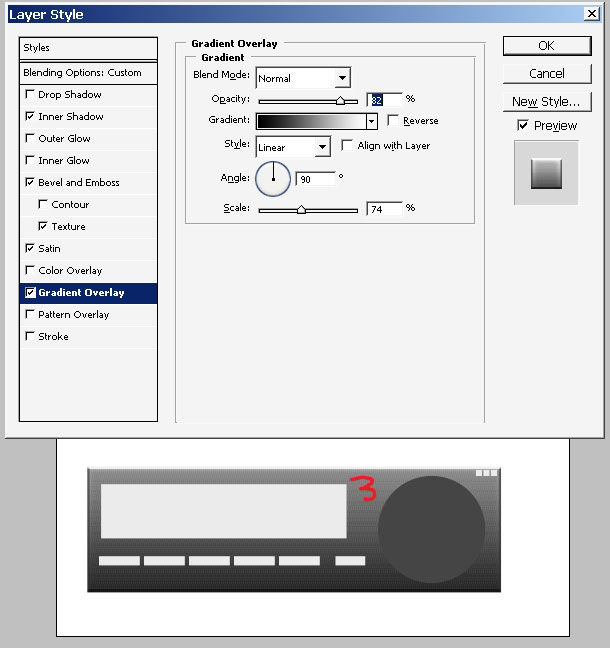
SO we now have our major window skinned up. It has volume and texture now.
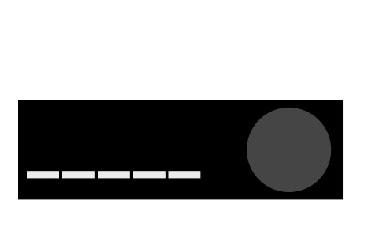
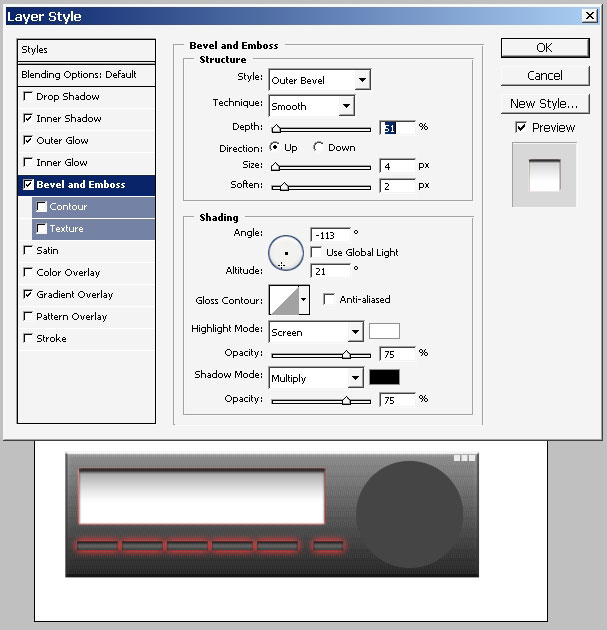
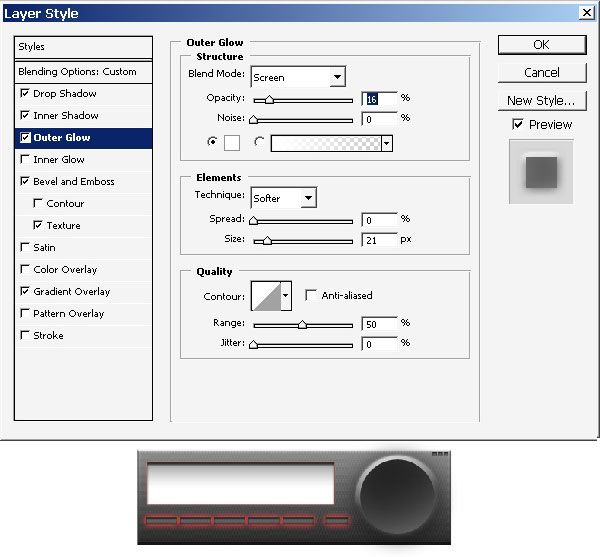
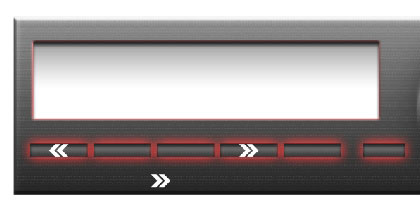
Next step the Buttons:
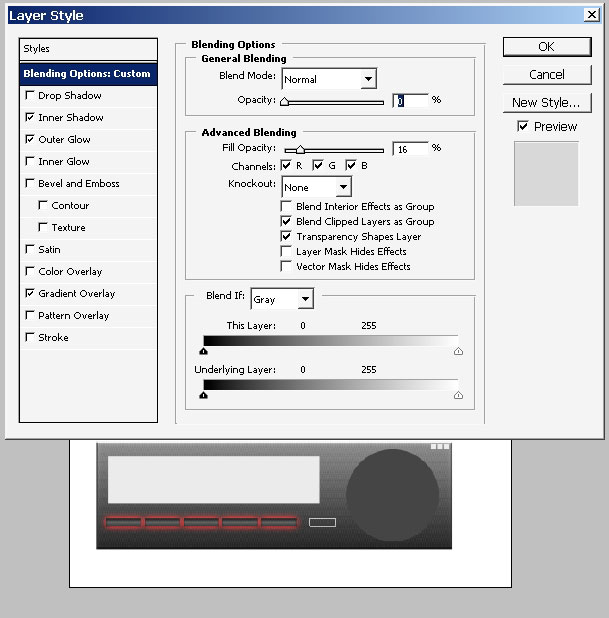
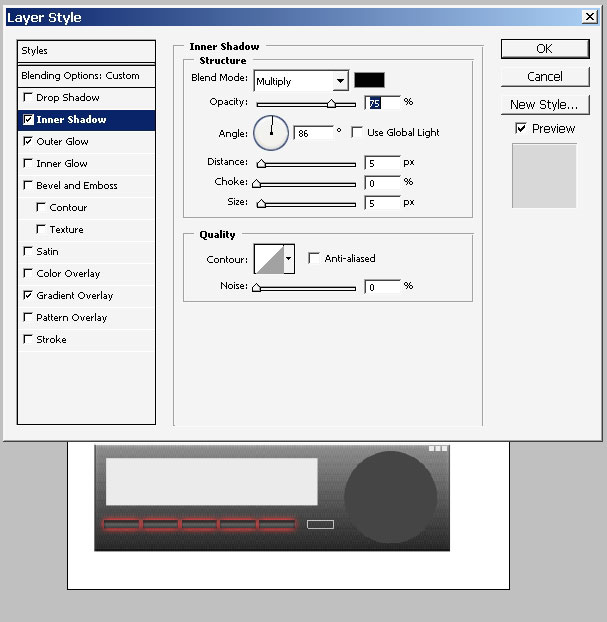
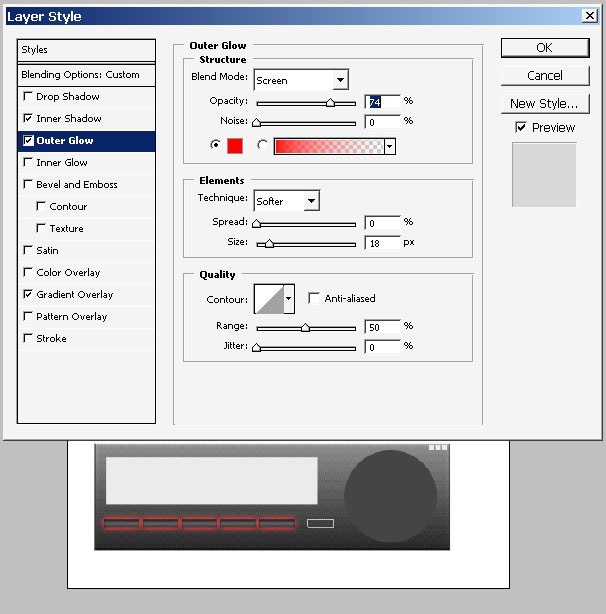
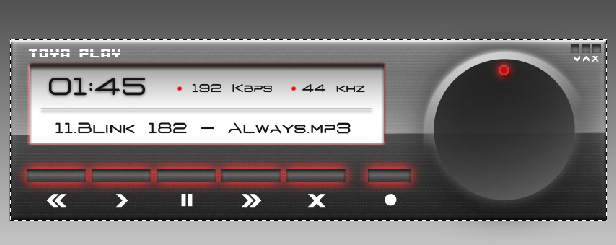
The Info Screen:
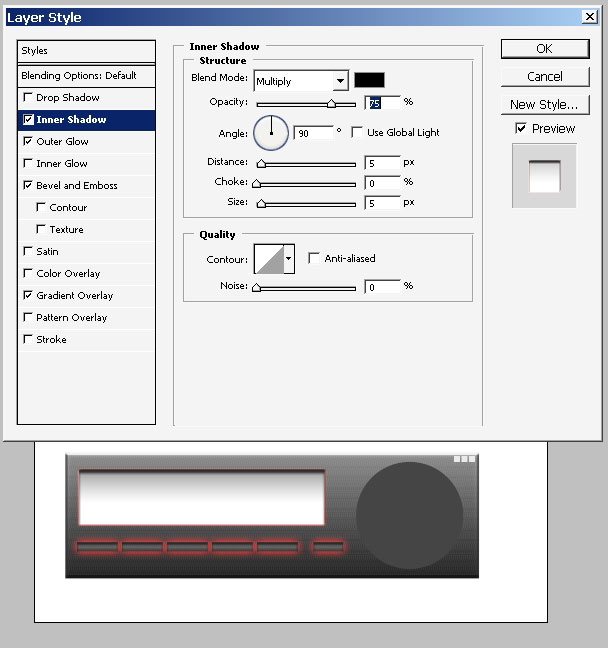

Now the windows minimize/restore/close buttons have the same layers styles like the buttons we’ve already styled. But the outer glow is turned off.
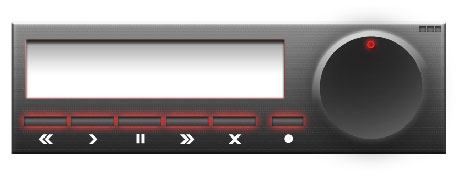
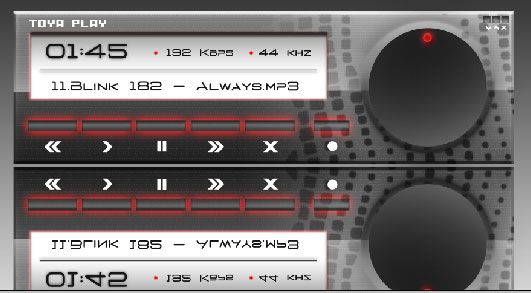
Now the big circle on the right witch I think will be volume controller.
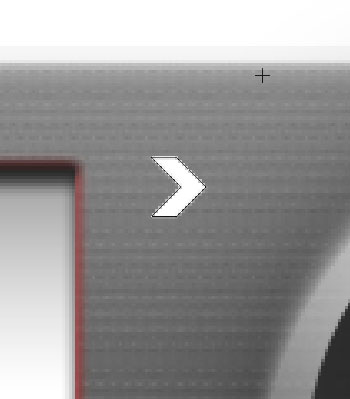
Now for more user friendly purpose I will create play rewind and etc
buttons for my player. Now for this we need some standard PS shapes,
actually only 1 single shape.
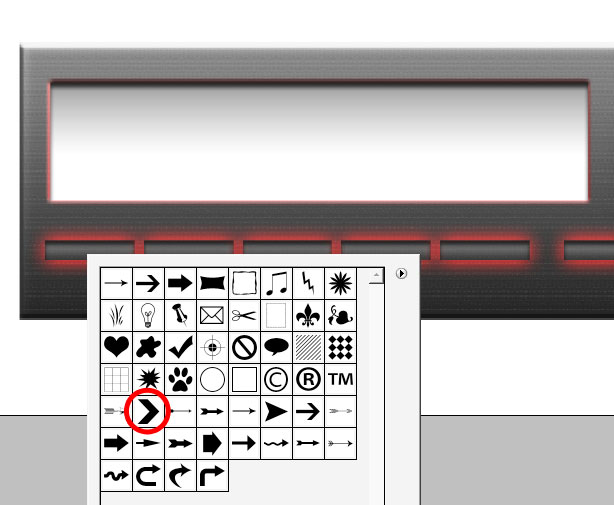
As
you can see these are the same shapes except the pause and record or
whatever it is. Well I think you have now problems in creating these 2.
Final steps make a selection like this.

And overlay it (create a new layer first) with white to transparency gradient.
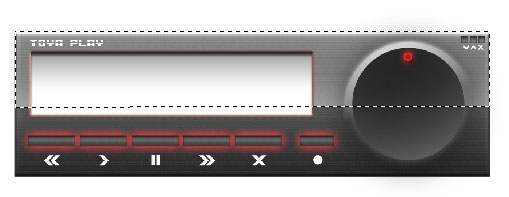
I’ve also added some information in my preview screen as if the song is playing there.
And as the final step I’d like to add some artistic elements.
Make a selection of the whole player (now) window.
Create
a new layer just next to the window layer and make just one tap on the
mouse using this very brush you see ( will be available for download).

Create a mask to the Brush layer and use black to white gradient to hide the left part of effect.

Well
I think we are ready here: we have nice and clean design made in about
one hour. Of course we could have used some additional features like
the equalizer or something like this but anyway the result looks good I
think.
And
another thing: even if you are a creative mind and good designer you
still got to know how to sell or better to say, promote your design.
Presentation is everything for you and your client.
Create a reflection that I think you already know how to create (flip 180 degrees then flip horizontally).
Use mask to blend up the effect. Moreover the opacity has to be around 56%.
Create very low opacity oversized layer copy for the background and paste some text lines.
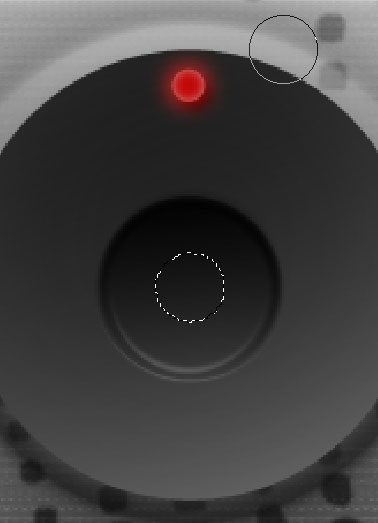
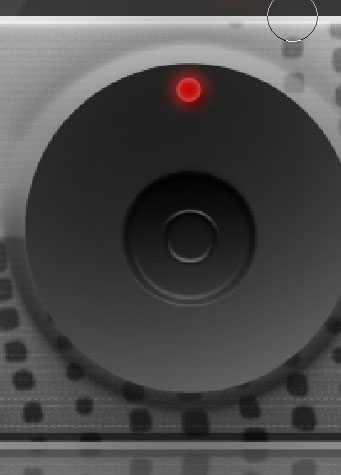
While making this GUI design I was thinking all the lime that the volume round volume controller doesn’t, really look like one.
Now is the time to change it.
Make a round selection that has to be right on the imaginary middle point.
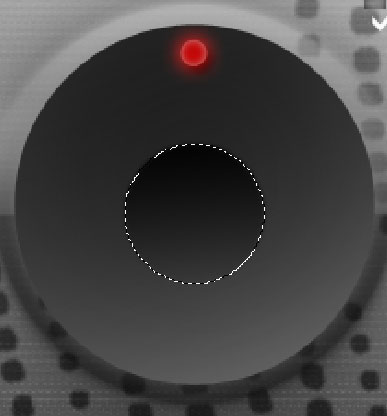
……Layer via copy and do some layer styling.

It looks better now. I want to make it even better.
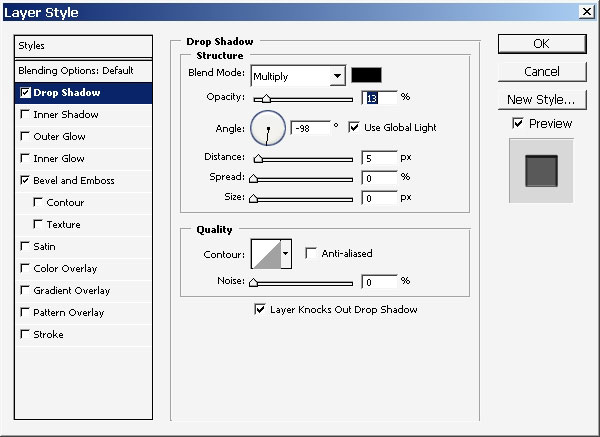
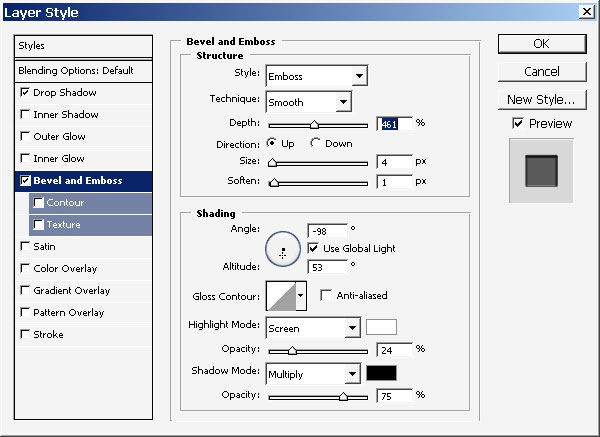
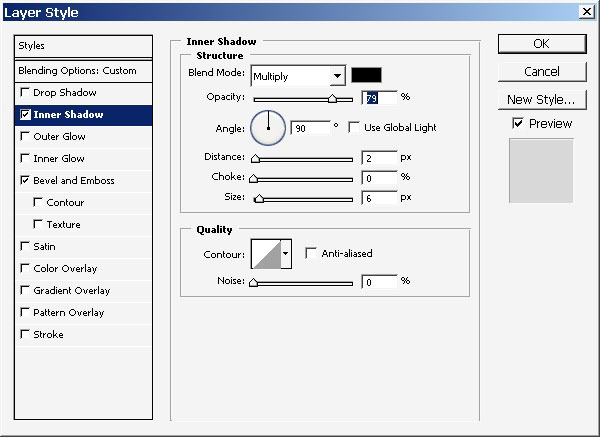
Create another selection, this time a very small one, do the same thing by copying the layer to a new one.
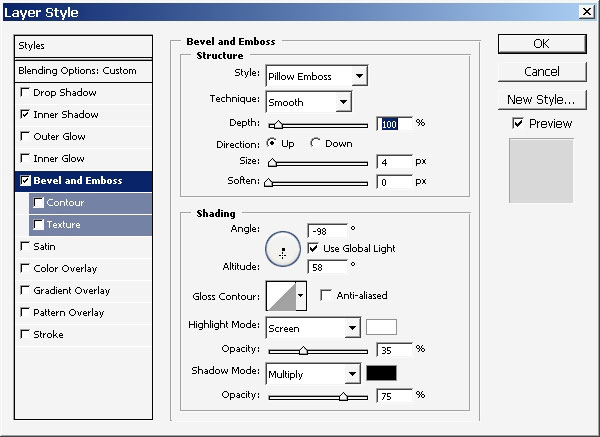
Apply these layer styles. Watch the images carefully.
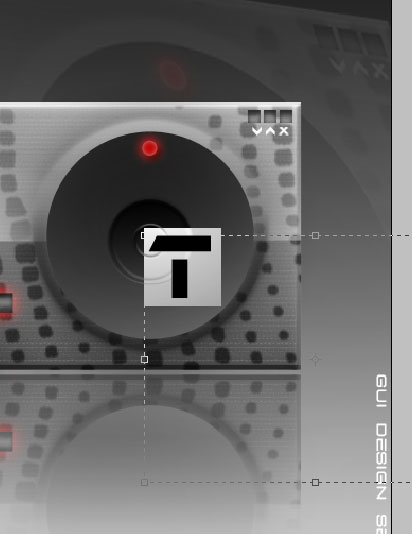
Now just pit an imaginary logo there. Just a “T” later.
And
we have finished with my first ever GUI design. Hope you’ve enjoyed
this one. I’m also giving PSD and texture Brush pack for you to
download.
See you next time.
View full size, click here
Comments