
Digital Makeover
Welcome in digital makeover tutorial. In 2 words we are going to create 1 shape using pen tool and try to do something with
it on a photo found in internet.
So let’s go, it will be clearer in progress.
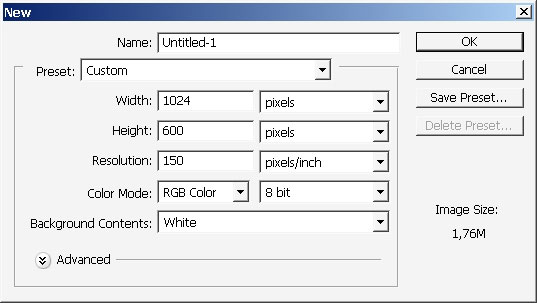
Create a document with shall we say these dimensions.
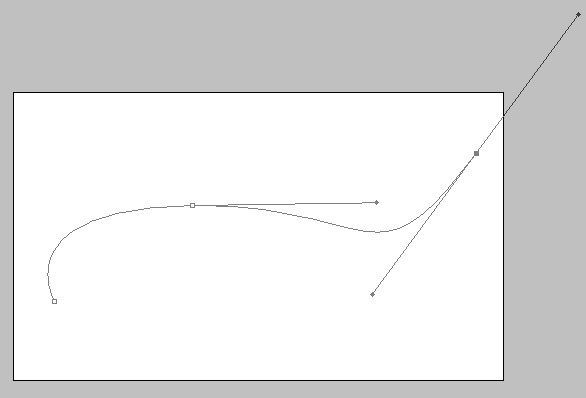
Select Pen Tool.


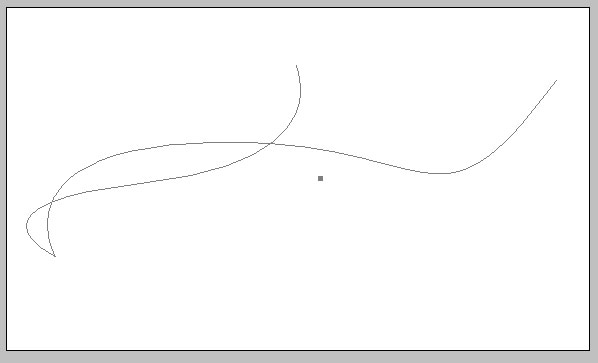
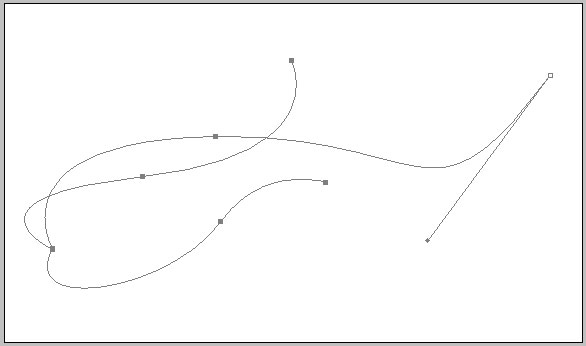
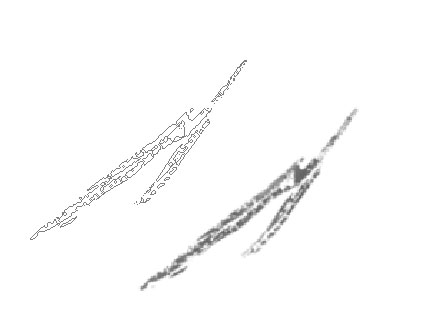
Do some curves. I will make something like 3 tails curve.
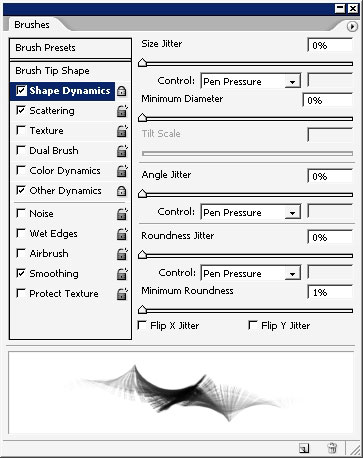
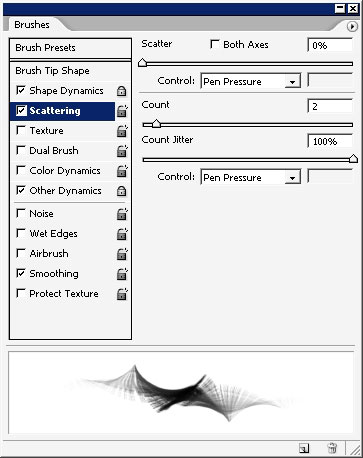
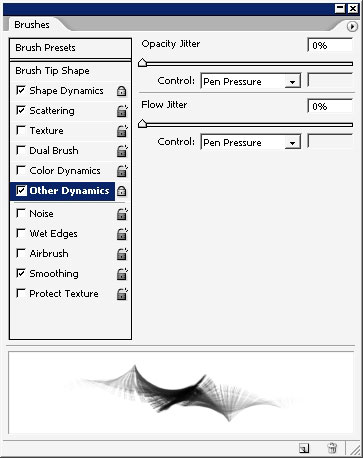
We need these curves to overlay them with a brush. Unlike in Illustrator or Corel Draw we have to define the brush and brush
settings first.
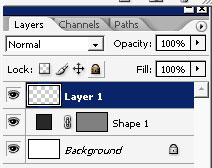
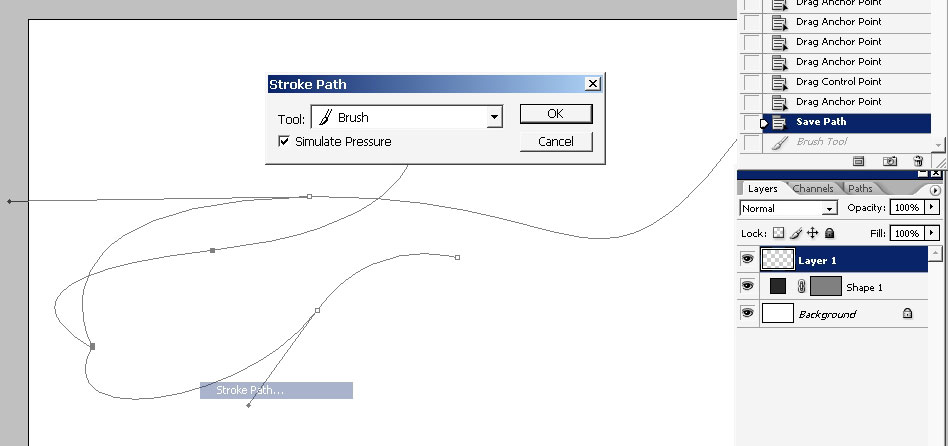
Create a new layer and watch the settings carefully.
Here is your brush Tip – you will be able to download this one (download Scratch.abr).
Select the path sing the Path Selection Tool (A) and stroke the path (turn ON the pressure simulation).
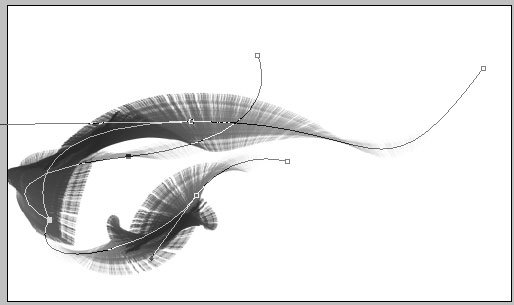
And here is the result: quite interesting.
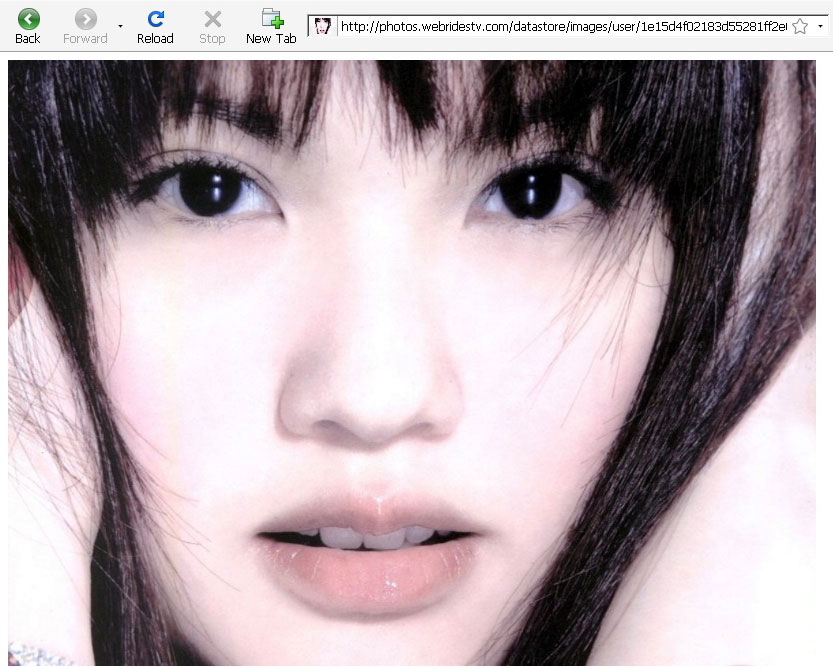
Now I’ll open Internet and type – RANDOM PHOTO – in Google search bar.

Here is a nice one.
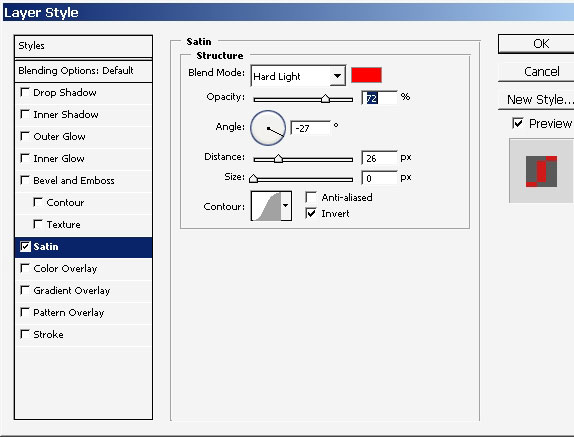
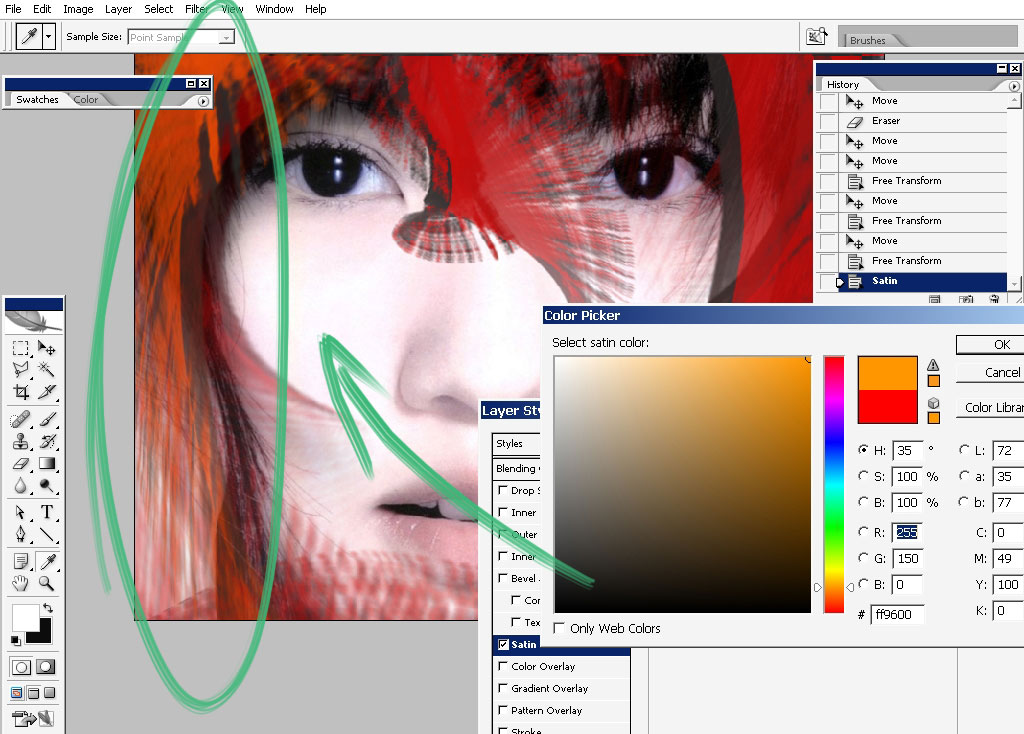
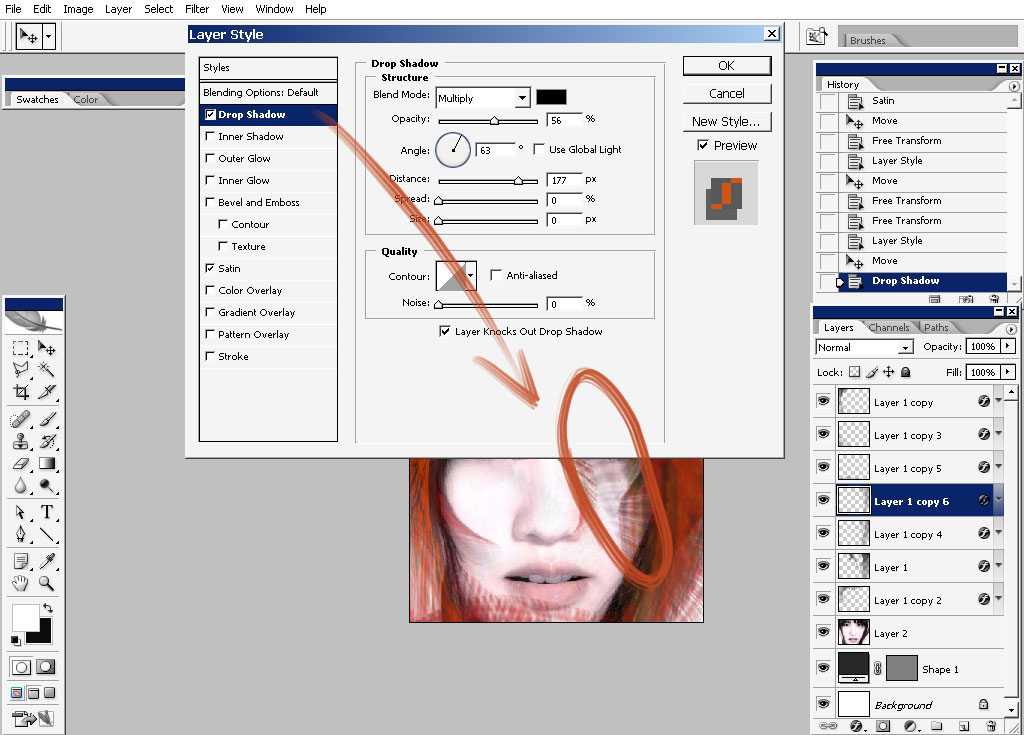
Now before we start to work with our shape, first apply only layer style to it.
Start by transforming the shape and making it a little bit bigger and wider.
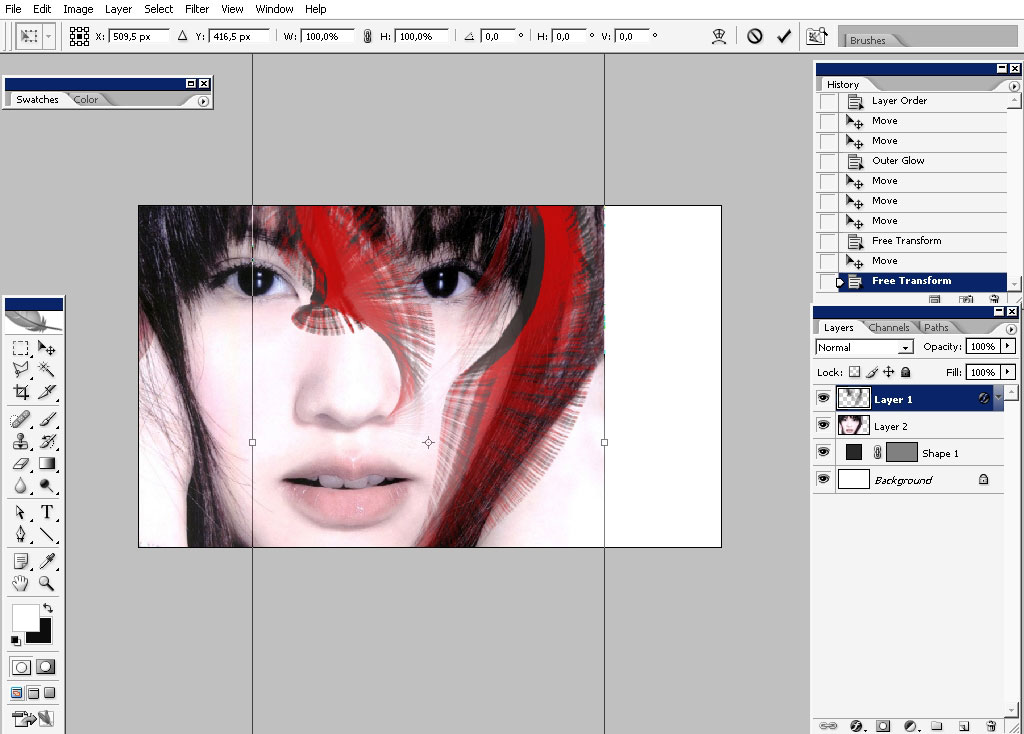
Warp it if you will .

We will be using multiple copies of this very shape we’ve created in the first part of the tutorial.
So copy the shapes and flip it horizontally and drag it to another side of the image. Use drop shadow using layers styles.
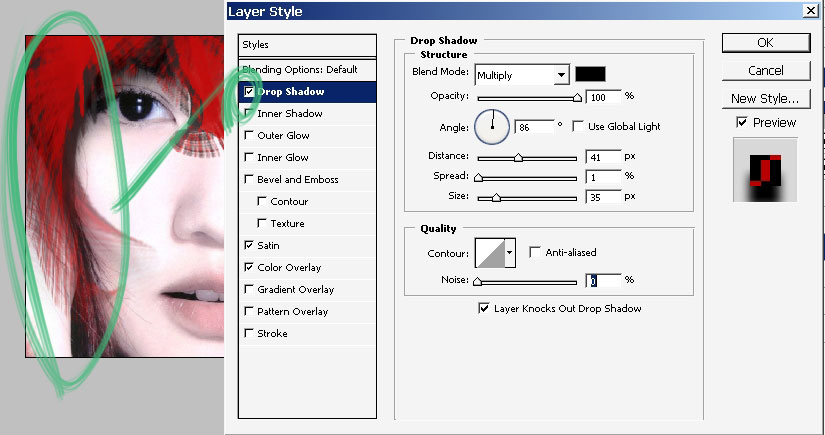
Create the copy of this shape (left one), we’ve just had business with and apply another layer style (along with Drop shadow)
– orange color overlay.
I’ve also decided to drop a shadow to the right one (the very first).
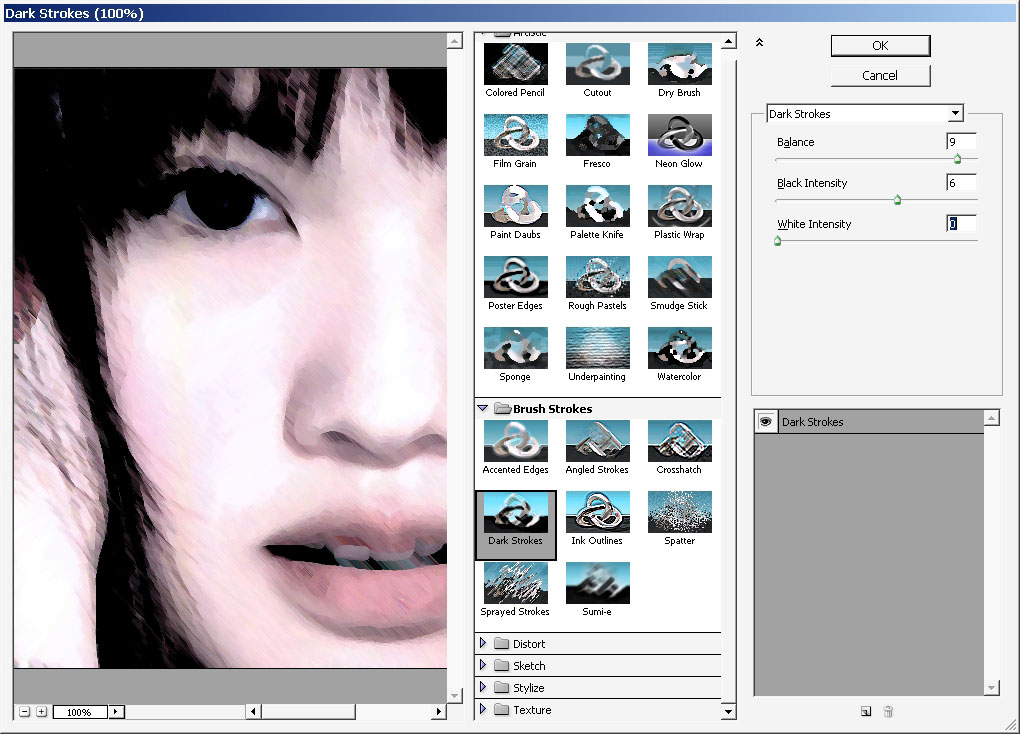
To create more painted like look to my picture I will use a Dark strokes filter that can be found (and) in the Filter gallery
(if you are using CS2 or higher).
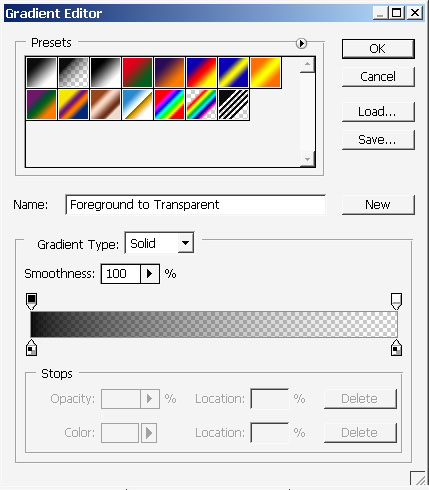
And the final step: the side shadow.
Create a layer just next to our picture and use this gradient fro left side.
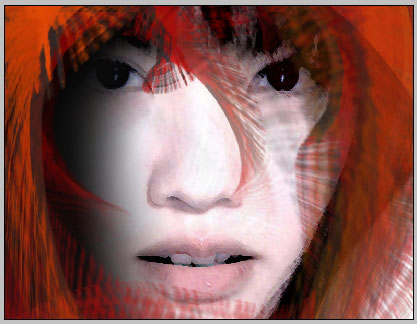
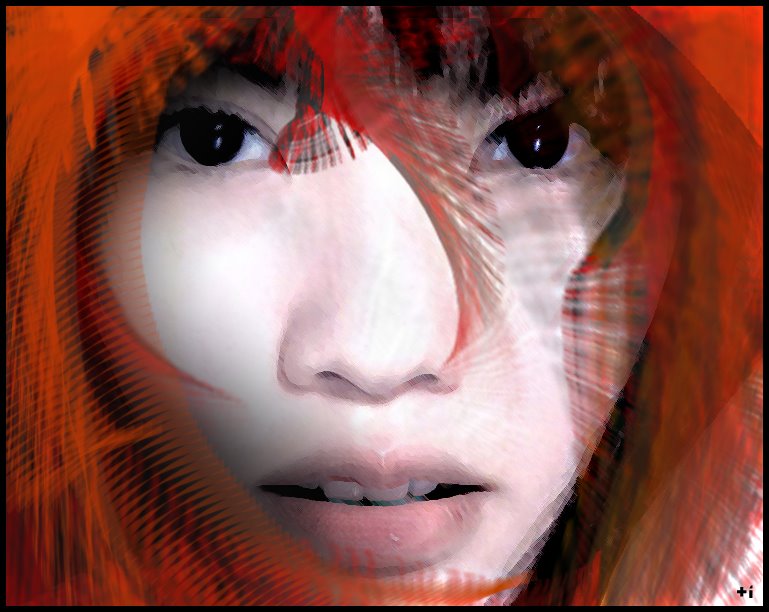
Warp it a little bit to match the face structure and that is it for our digital makeover tutorial. Hope you found something
interesting how digital collages are created. This just a little piece of all the things you can create using similar
techniques so have a good time practicing.
View full size.
Comments