

How to Turn your Image into a Color Mixture Photo in Adobe Photoshop CS5
In this tutorial I will walk you through the steps needed to turning your image into a color mixtures photo, complete with overlay effects, colour treatments and elements that you can easily create in Adobe Photoshop CS5.Layered PSD file included. Let’s get started!
Final Image Preview

Start working by creating a new document (Ctrl+N) in Adobe Photoshop CS5 with the size 1000px by 1500px (RGB color mode) at a resolution of 72 pixels/inch. Click on Add a layer style icon from bottom part of the Layers panel and select Gradient Overlay.
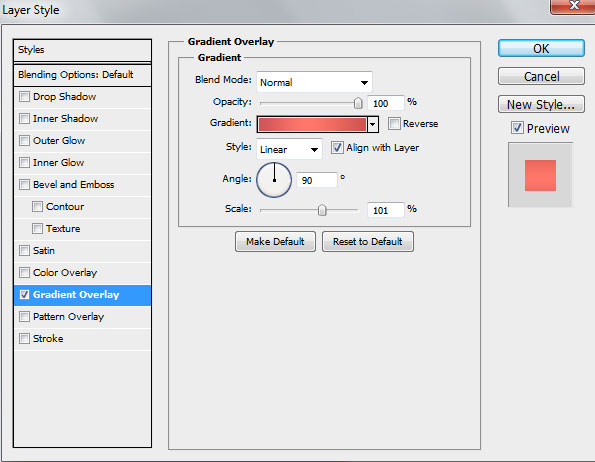
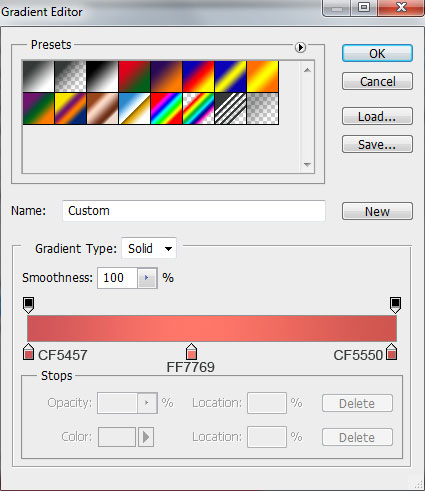
Click in the color bar to open the Gradient Editor and set the color stops as shown. Click OK to close the Gradient Editor dialog box.

We’ve got the next background:

Find a stock photo with a model represented on it, I used this Beautiful woman listening to music from Shutterstock. I would like to thank the author of this photo, or if you prefer, you can substitute similar image of your own.

Remove the background using your favorite tools like Pen Tool (P), Magic Wand Tool (W), Magnetic Lasso (L) or even a simple Filter>Extract and insert it on a new layer in our main document.

Using the Ellipse Tool (U), we’ll represent a small circle of the color #5A5281 which layer will be placed under the model’s layer:

Now, make sure you have the model’s layer active in Layers panel, hold Ctrl button and click on the circle’s layer in Layers panel. We’ll get the next selection:

Select after that the Rectangular Marquee Tool (M), right-click on the selection to select Select Inverse. Using the Eraser Tool (E), we’ll remove the model’s shoulders:

Set Fill to 9% for the circle layer.

Comments