

Dispersion Effect with Photoshop CS6/CC
The dispersion effect is relatively straight forward in Photoshop CC but can be tricky to get right. The basic idea is to separate the subject from the background and then create a copy of the subject layer. One of the subject layers is then morphed using the Liquify tool to nearly fill the entire frame.
The morphed layer is then hidden from view and using a combination of layer masks and splatter brushes we reveal the morphed subject while hiding parts of the original subject. The result creates the feeling that the subject is somehow being blown away.
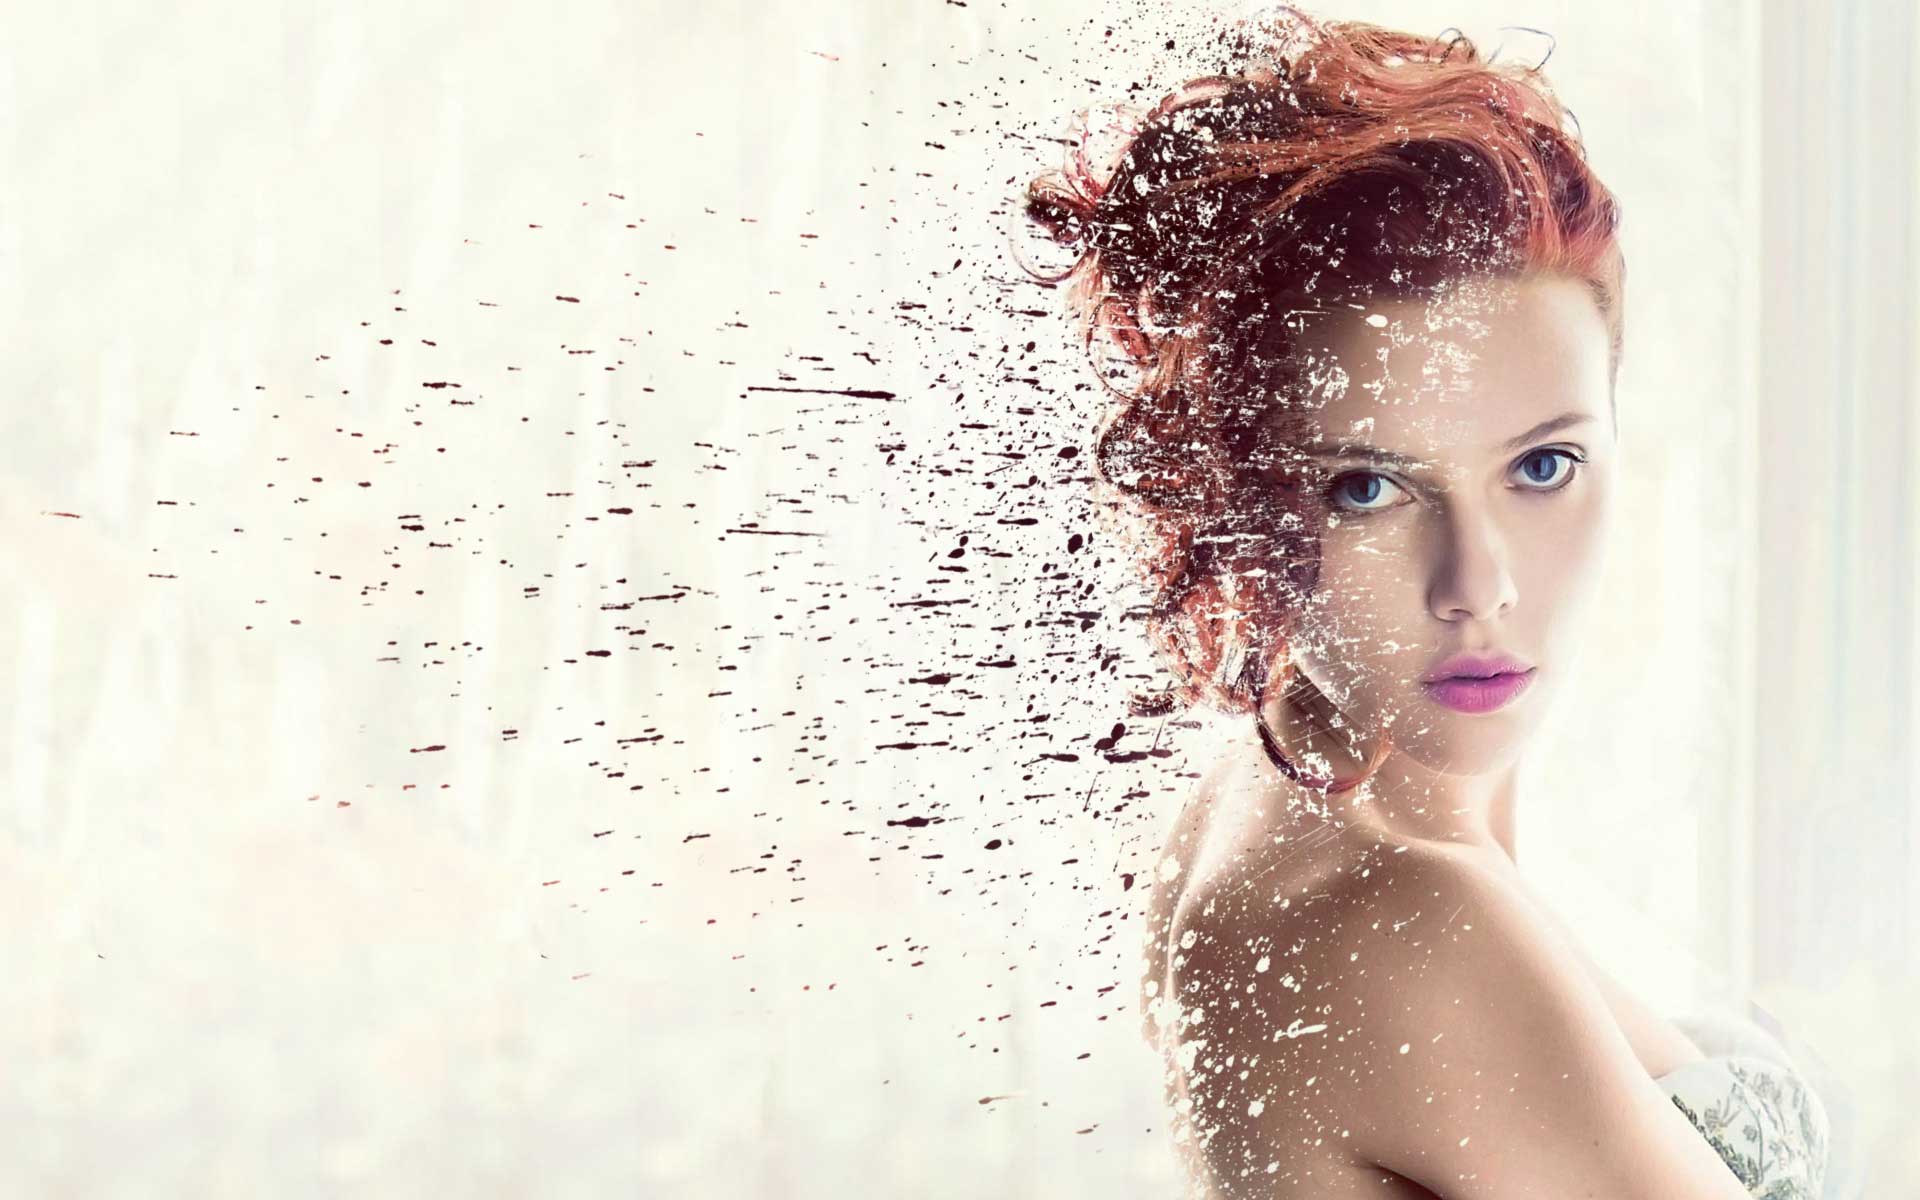
The Final Image
Required Resources
Scarlett Johansson Wallpater
Splatter Brush
Getting started
- Open up the source image in Photoshop CS6/CC
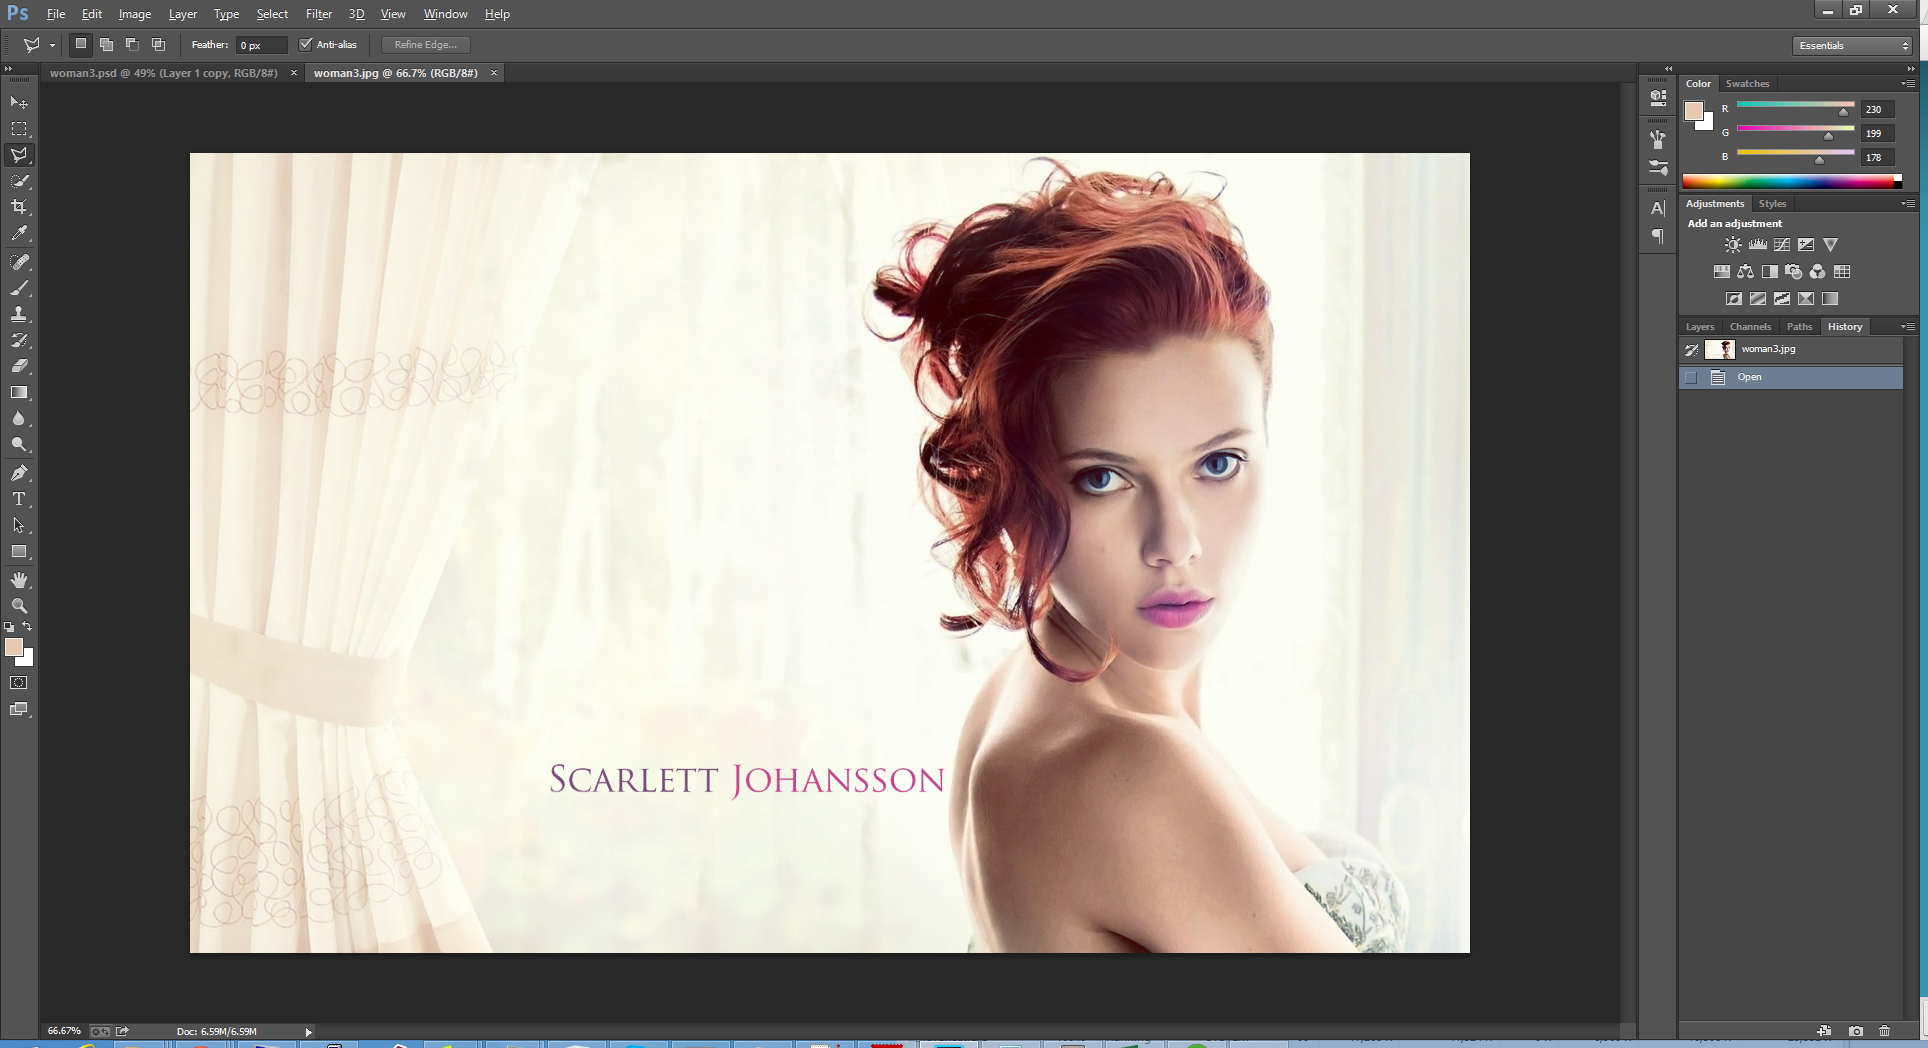
- In the Layers panel double click on the only layer (Background) so that Photoshop creates a layer. This will allow us to hide the background later on.

- With the New Layer screen shown press OK to create the convert the background into a layer.
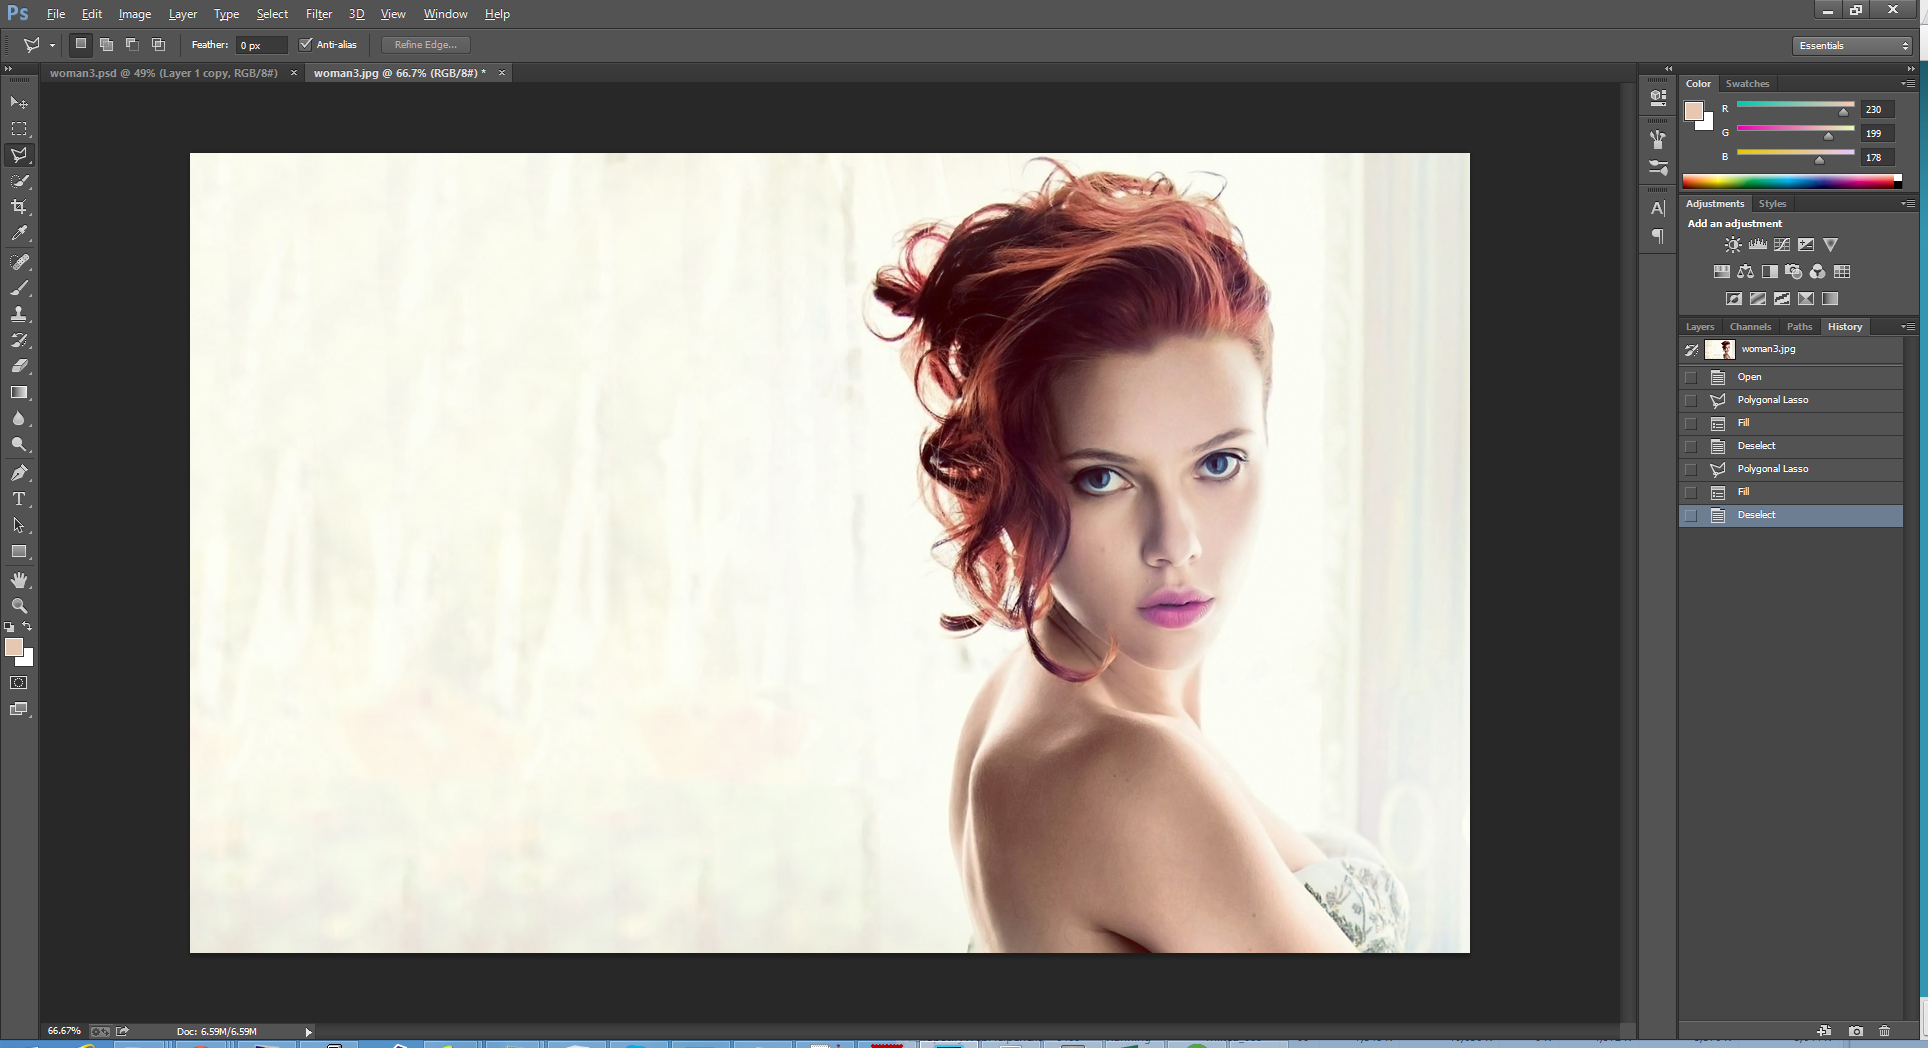
Cleaning up the background
Once open the first thing we need to do is clean up the background by removing the text as well as the curtains.
- Using the Polygonal Lasso tool make a rough selection around the text.

- With the text selected press Shift+F5 or Edit->Fill from the menu to bring up the fill box and select Content-Aware.

- Press OK
- Repeat the process for the curtains by selecting them and using the Content-Aware till.
Extract Scarlett from the background.
- Using the same Polygonal Lasso tool carefully select around the body of Scarlett, when you reach the hair area select roughly. Because we are not changing the background don’t worry about making a great selection around the hair.
- With Scarlett selected press the Ctrl+J keys to create a new copy that will only include the selected area (Scarlett).
- Holding down Ctrl click on the new layer to load the layer as a selection
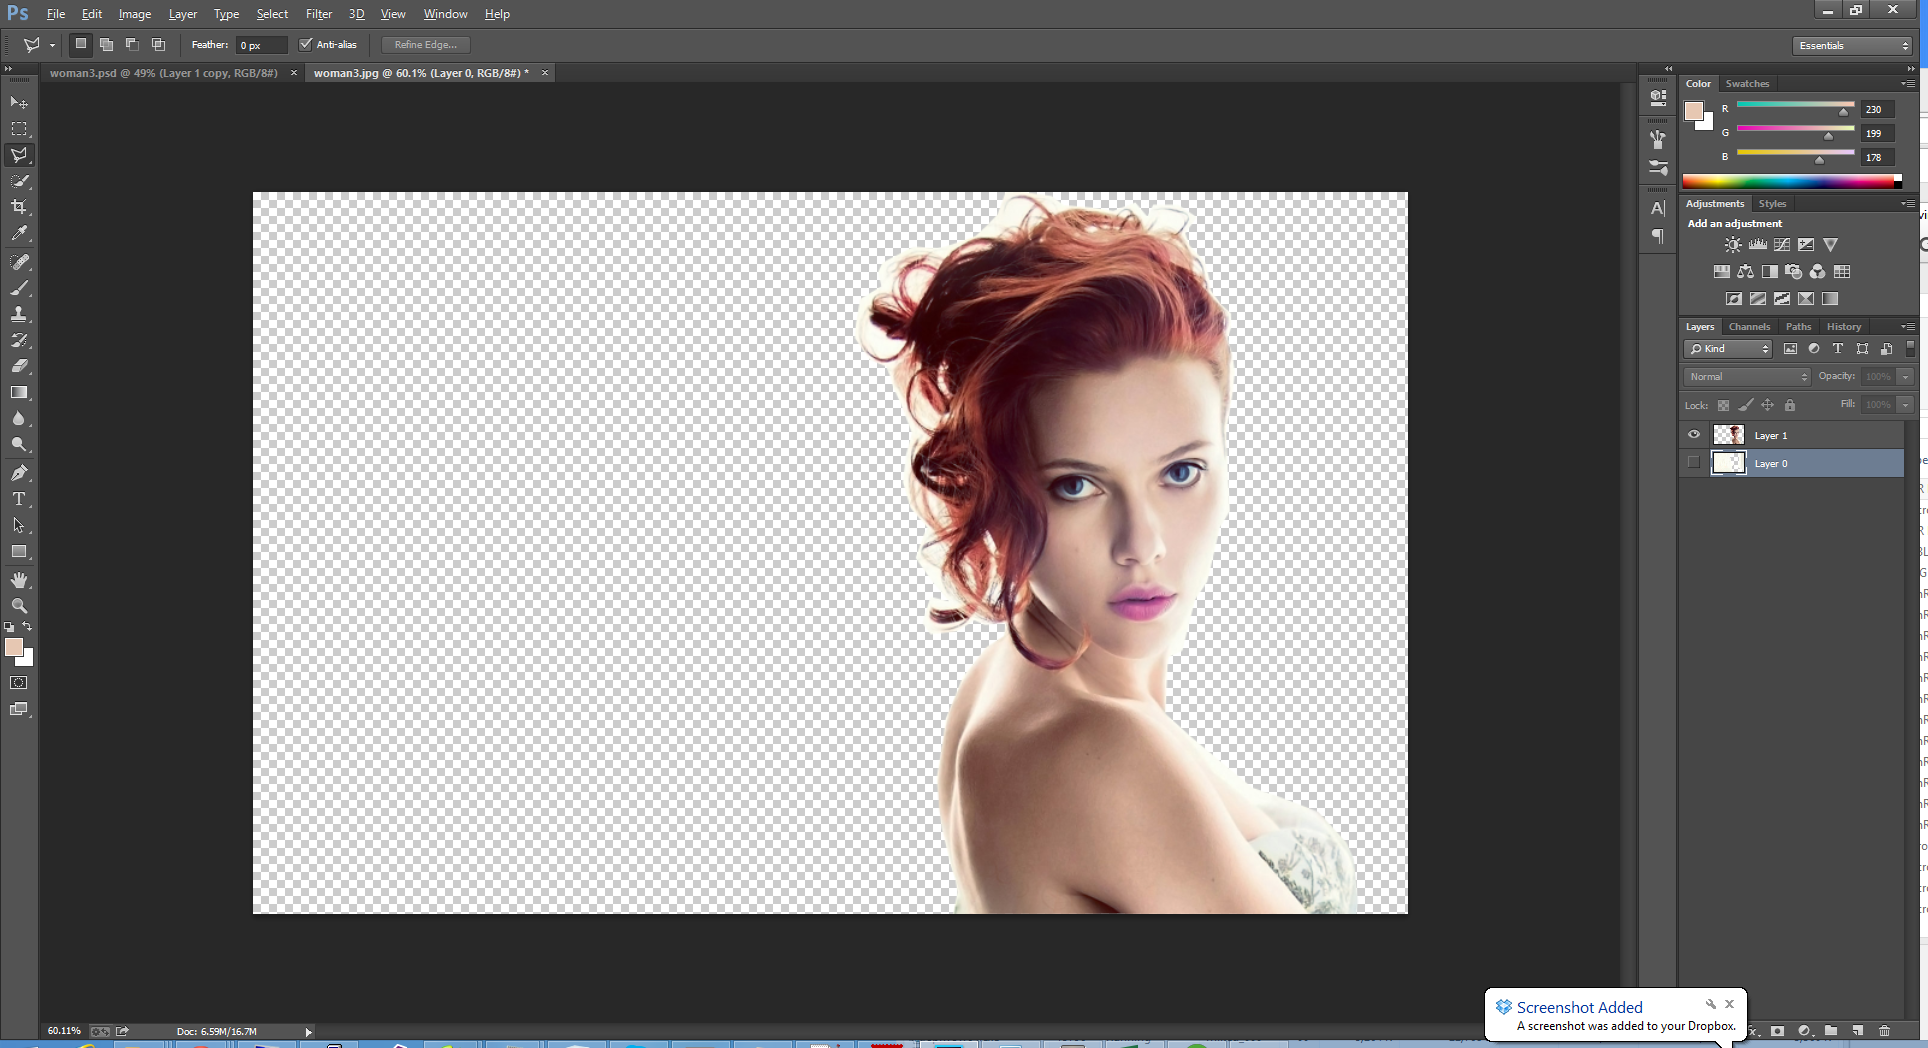
- Select the first layer and press Delete. This will delete Scarlett from the background.
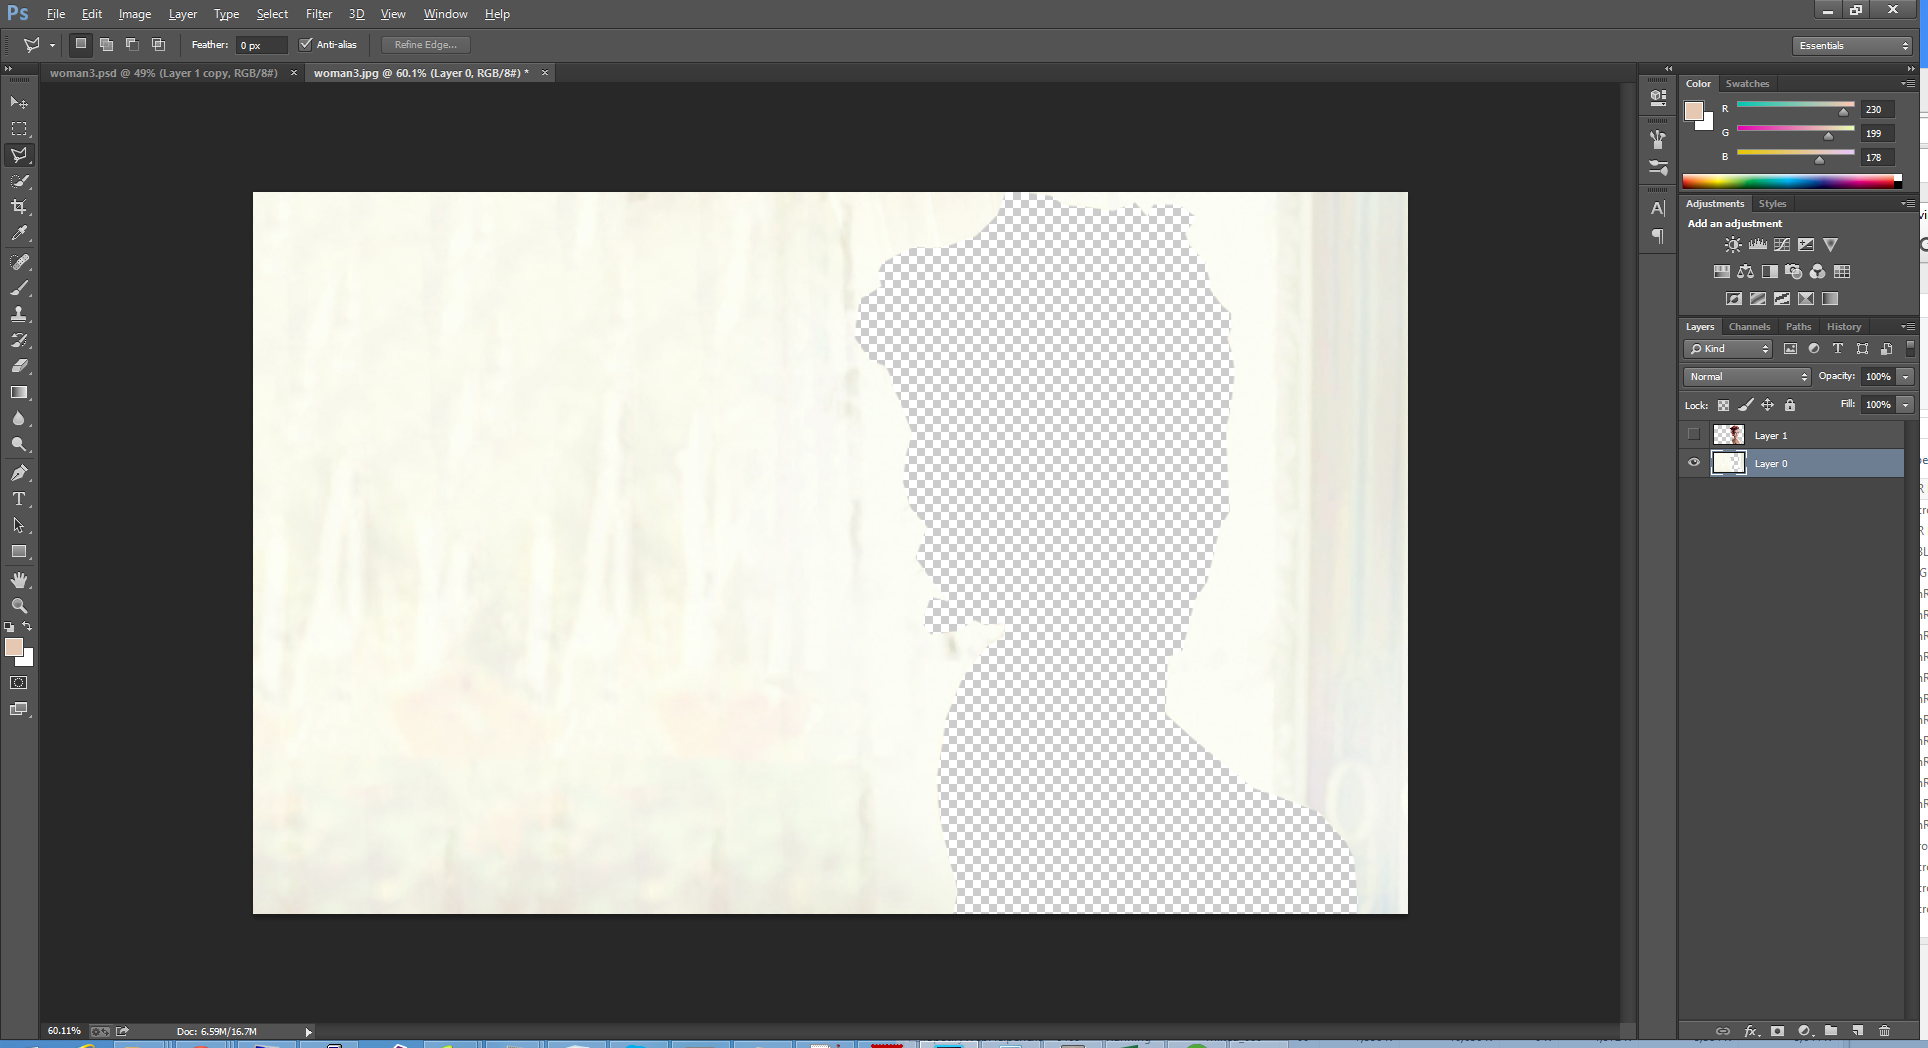
- After completing these steps we should be left with two layers, the top layer has Scarlett and the bottom layer has our background with a Scarlett shaped space in the middle!
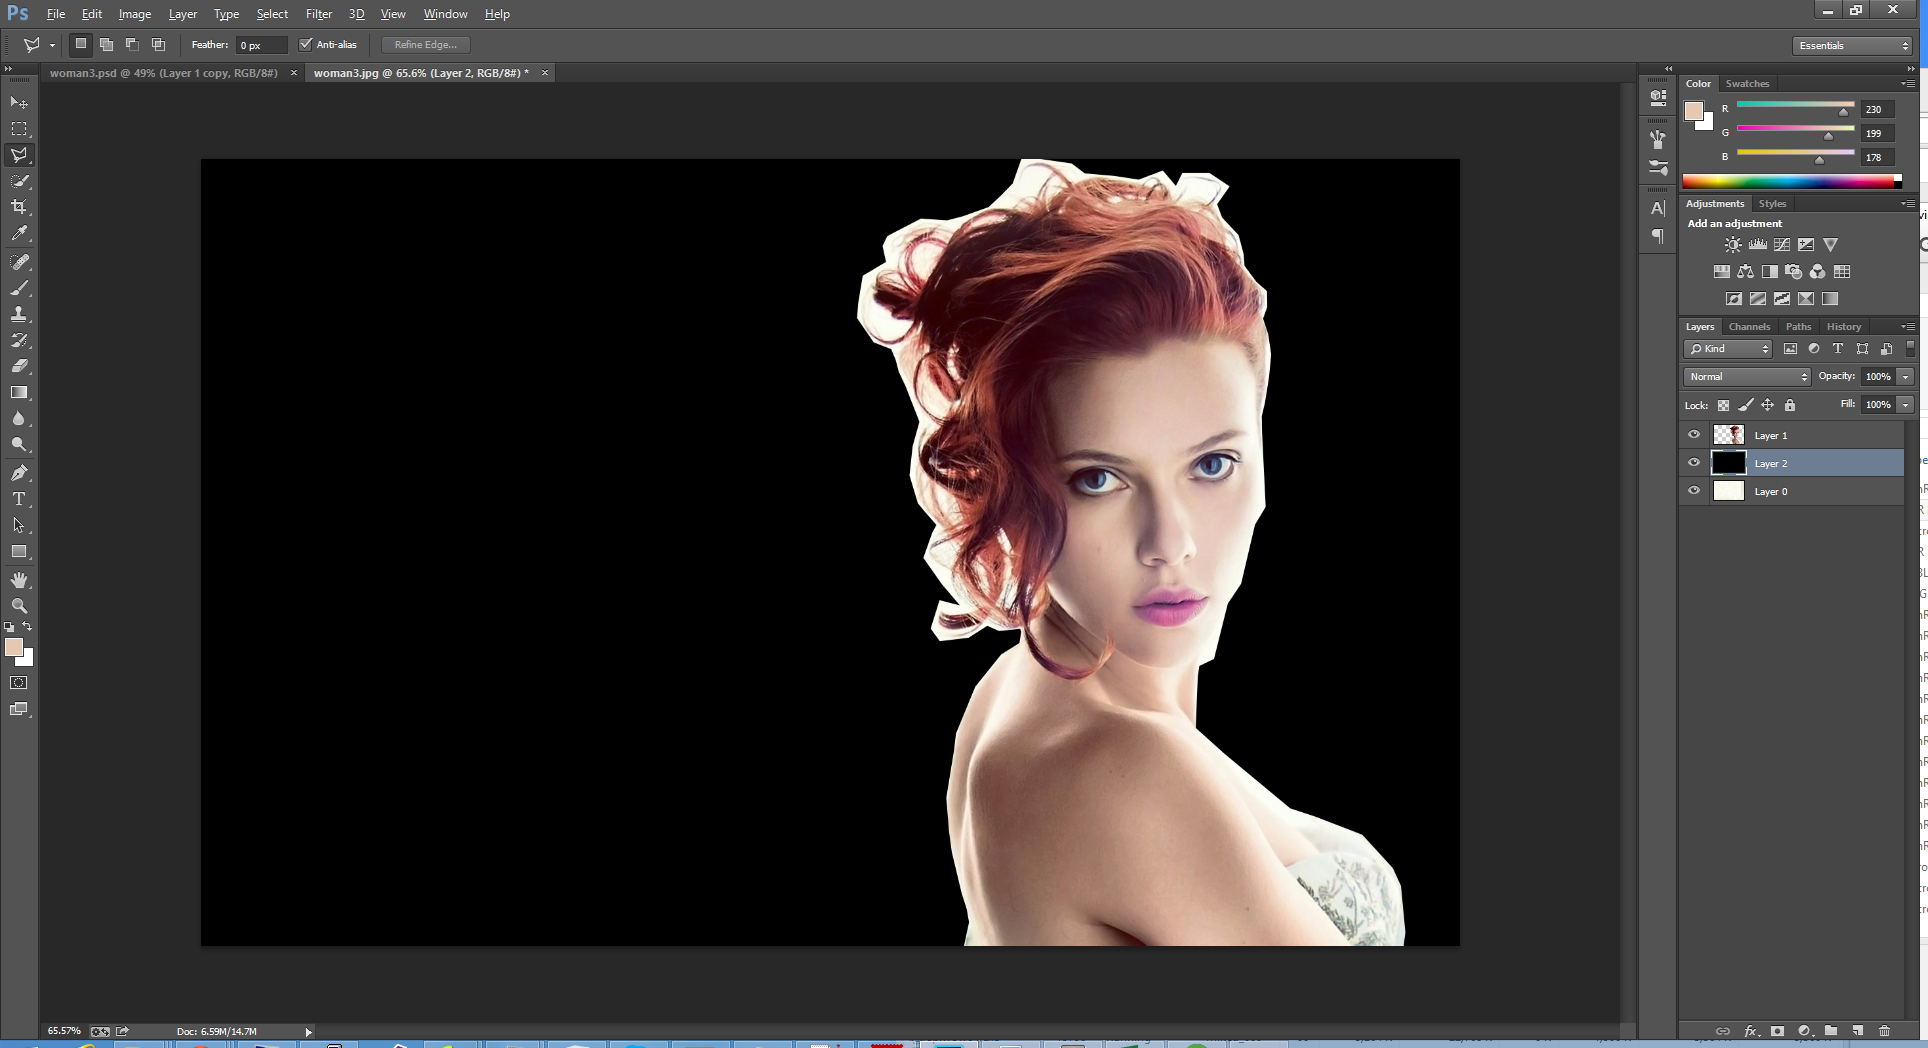
Clean up her hair
At this point we have extracted Scarlett from the background but we have left much of the space between her hair with the original background so its time to clean that up.

- Create a new layer between the background and the foreground.
- Using the Fill tool (Shift+F5 or Edit->Fill), fill the new layer with Black. This will show us the areas we need to concentrate on.
- Select the foreground image again and then choose the Background Eraser Tool.
- Take a sample of the white background by pressing Alt/Option and clicking in the white area between her hair.
- Finally paint over the rest of the hair to remove the sampled background color.
- Repeat this process sampling new areas until you have removed most of the white background and are only left with the off-white ‘fuzz’.
- Using the normal eraser tool remove as much of the fuzz as possible without touching the actual hair. The end result does not need to be perfect as we are not changing the background.
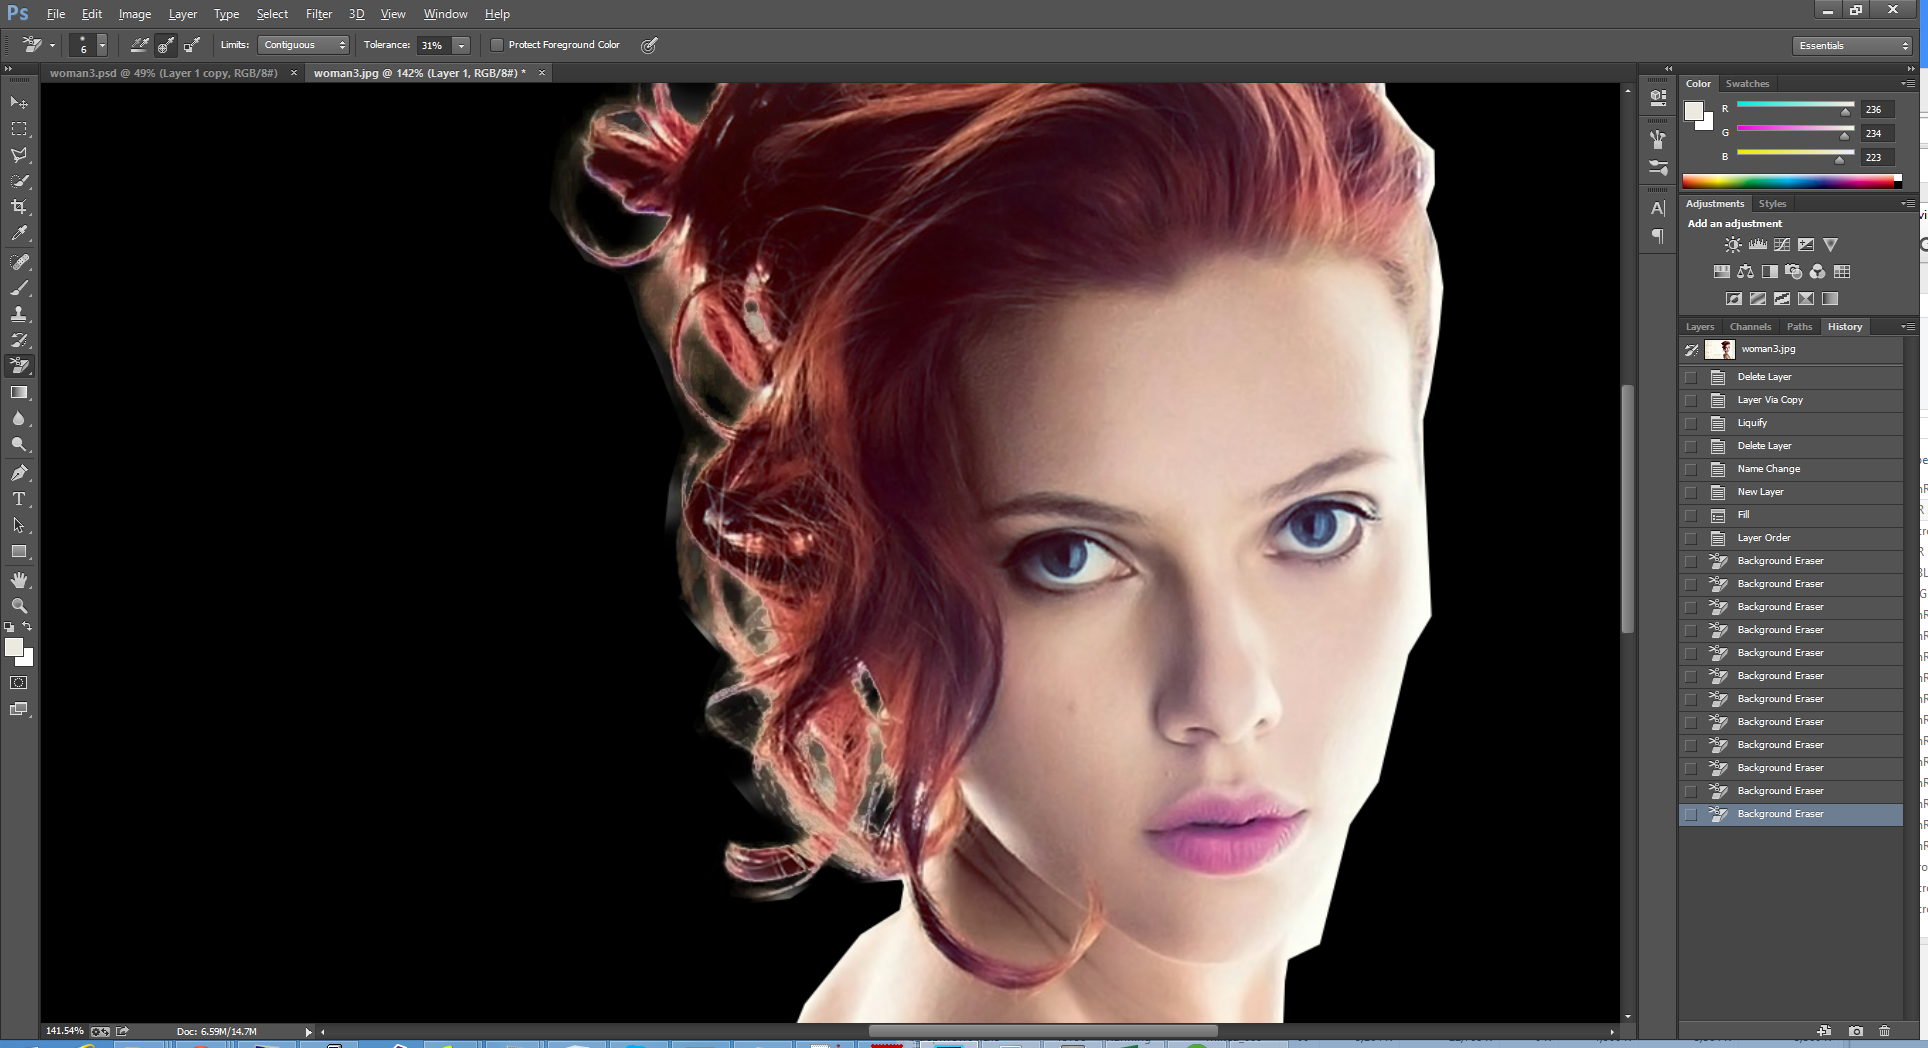
- Finally delete the black layer so that we see through to our original background again.
Page: 1 2
Comments