
The Boat – Minimal Long Exposure Photo Manipulation with Photoshop CC/CS6
In this tutorial we will be creating a minimalist fine art photo manipulation using just two images and a couple of brushes in Photoshop CC / Photoshop 2014. The image will simulate a long exposure effect from within Photoshop. The steps should also apply to CS6/Elements without any problems.
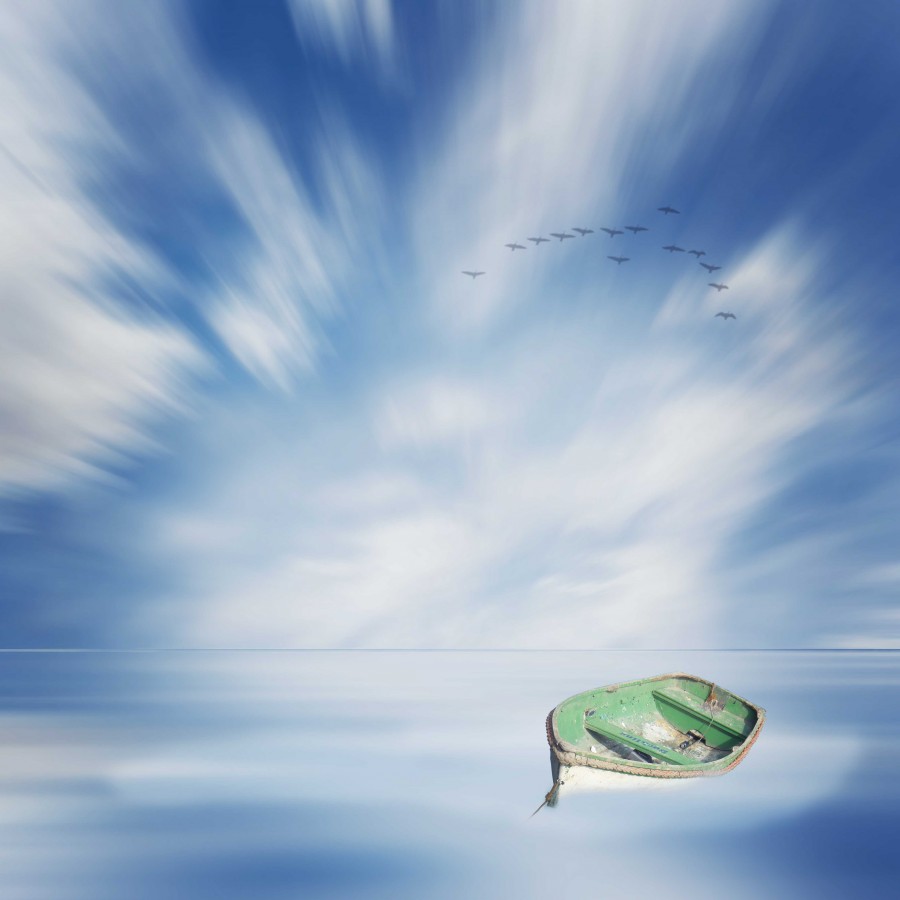
The Final Image

Required Resources
Rowing Boat By Lozzy 1992
Flying Birds Brush
Cloudy Sky
I highly recommend that you download all the resource files to your computer before starting so that you can easily follow along with the tutorial.
Getting Started
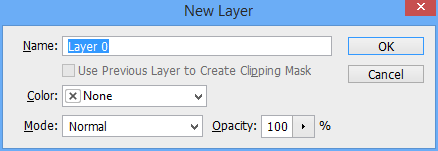
- Open up the sky image in Photoshop
- In the Layers tab, double click on Background to make it a normal layer
- Click OK
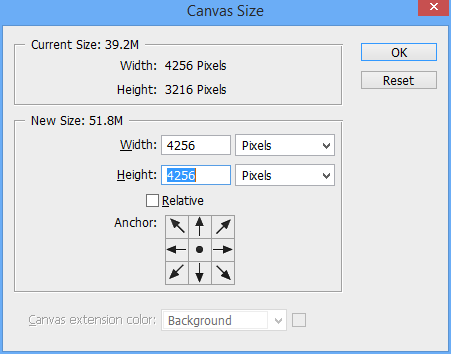
- Click on the Image menu and select Canvas Size
- We want the image to be a perfect square so make the height the same as the width (in this case 4256) and press OK
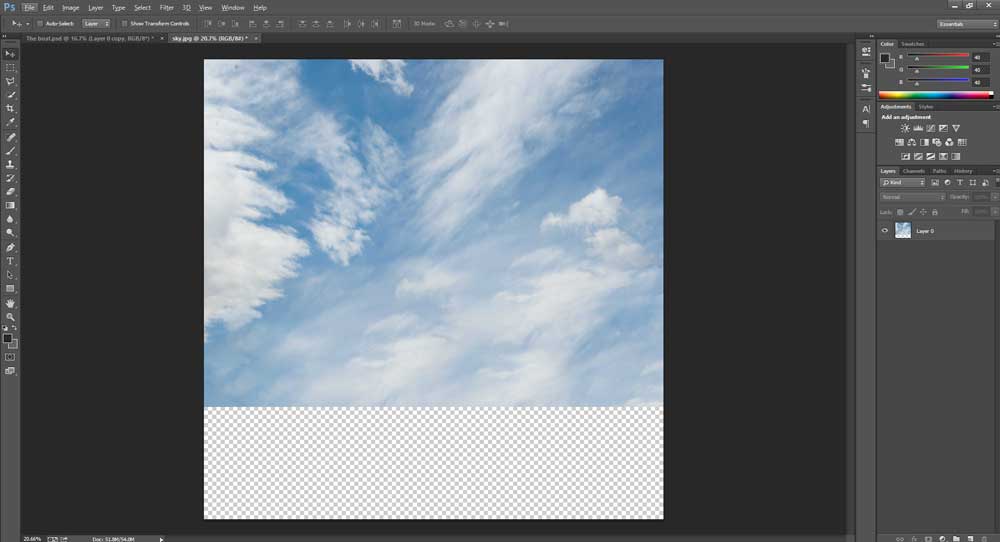
- With the Layer 0 (sky) layer selected use the Move tool to move the sky to the top of the image
- Now that we have our square format setup we can start work on the sky.
Long Exposure Sky Effect
Long exposure skies are fairly easy to create in Photoshop, all we need is a sky with clouds to work with and to apply photoshop’s Radial Blur filter with an appropriate amount. Of course you can change these amounts to whatever you like depending on the amount of blur you want to create.
- With Layer 0 selected press Ctrl+J to duplicate the Sky layer so that we can reuse it later if needed.
- Hide the original Layer 0 and rename Layer 0 copy to Sky (double click directly on the Layer 0 copy text) so that we can easily keep track of our layers later on.
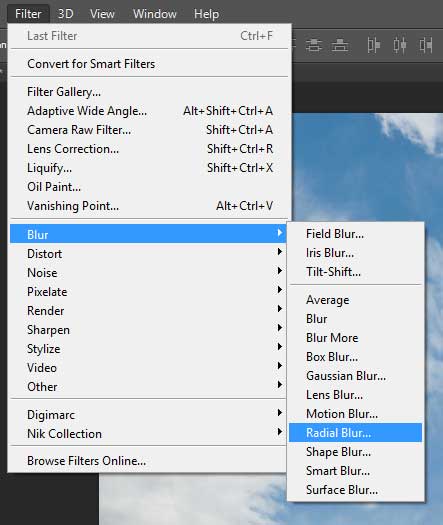
- With the Sky layer selected, click Filter->Blur->Radial Blur…
- Change the Blur Method to Zoom and Quality to Best
- We want the blue to appear as though the clouds are moving over our heads so in the Blur Center box, move the center point to around the bottom 5th of the box but leave it horizontally in the middle.
- Change the amount to 32 and press OK


Comments