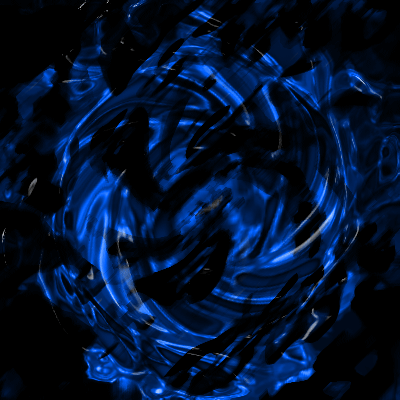
Design a portal for backgrounds.
1. Start by making a new (File > New or Ctrl+N) image with the dimensions being 400px in width and height.
2. Create a new layer (Layer > New > Layer or Shift+Ctrl+N), then set your foreground color to #0066FF and background color to #000000.
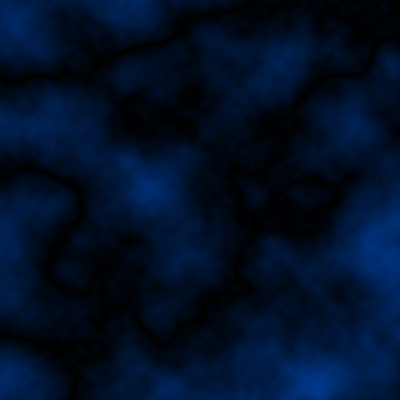
3. Filter > Render > Clouds, then go to Filter > Render > Difference Clouds:
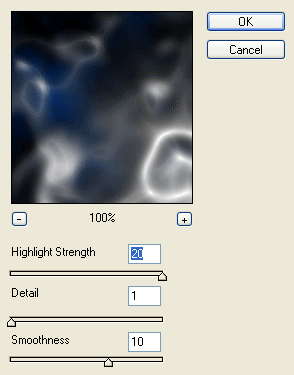
4. Filter > Artistic > Plastic Wrap:
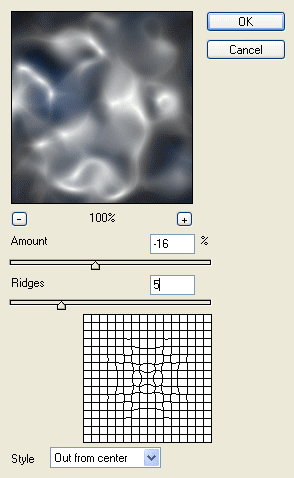
5. Filter > Distort > ZigZag:
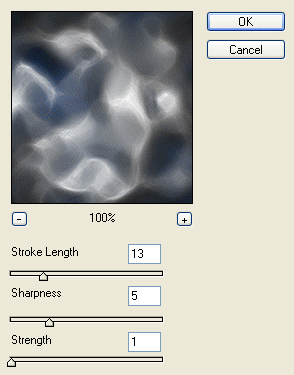
6. Filter > Brush Strokes > Crosshatch:
7. Filter > Sketch > Chrome:
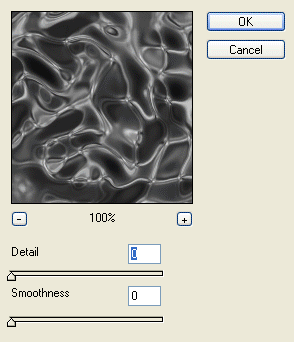
8. Filter > Distort > ZigZag:
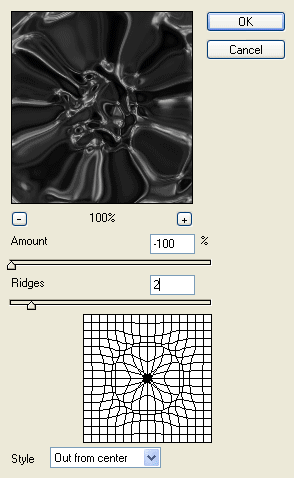
9. Filter > Distort > Twirl:
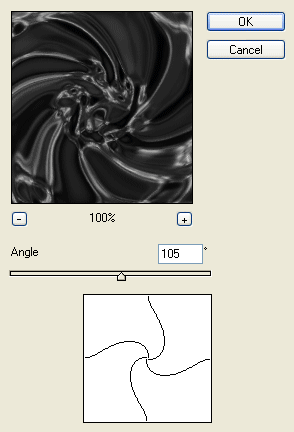
10. Now duplicate that layer and set the blending mode of the duplicated layer to Overlay.
11. Edit > Transform > Flip Horizontal:
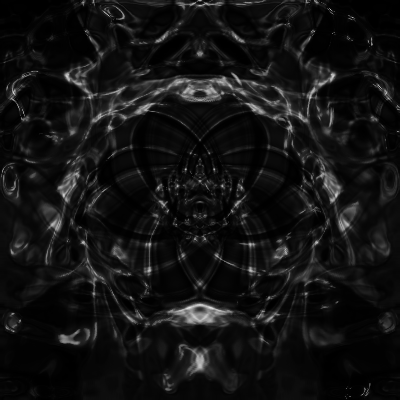
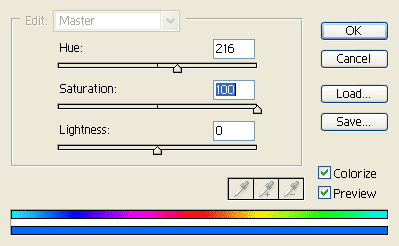
12. Image > Adjustments > Hue/Saturation (make sure Colorize is checked)
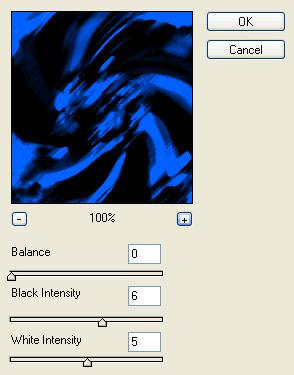
13. Filter > Brush Strokes > Dark Strokes:
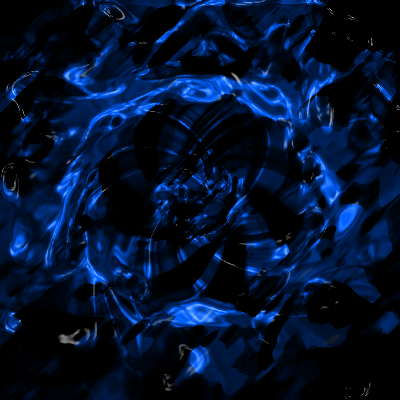
14. Now your image should look somewhat like this:
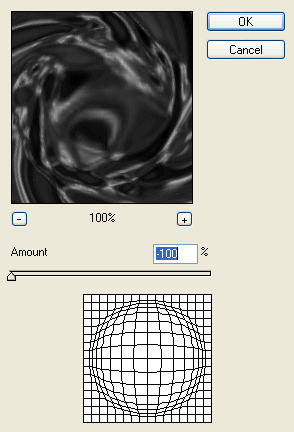
15. Now go back to layer 1 and add the following: Filter > Distort > Pinch:
16. Were done!!! Your final result should look similar to the one below:


Comments