
Playing With Styles – Part 2
Click the Layer Style palette tab to bring it to the front. If you can’t find the palette, choose Window Show Layer Styles. If the palette is in the palette well, grab it by its name title and drag it out.
From the Layer Styles menu, choose Complex.
Then click on the List View button at the bottom of the palette. It’s the one on the left.![]()
We’ll start with a simple, single style. Click on the Dry Mud style way down at the bottom of the list. See how that style looks, below. The shadow is part of the style. You don’t have to add it.

Clear that style, by clicking Default Style (None) at the top of the list.![]()
It’s an annoying fact of working with Elements styles, that you can’t get rid of just one of the styles you’ve added. The only way to clear any style is to click the Default Styles button, and that removes all styles, not just the last one.
If you add a shadow, a bevel, and a Complex style, and decide you’d rather have a different Complex style, you have to hit the Default Style button and start all over again. All applied styles are cleared when you click that button.
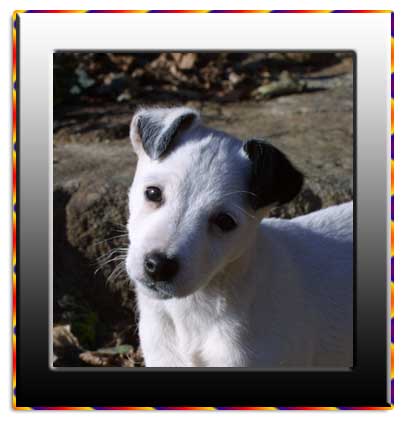
The frame shown below was created with the Rivet style followed by the Toy style. The order in which you apply the styles affects the way they will appear. Try applying the Toy style first, and you’ll see a totally different result.
Comments