
Using Palettes – Layers
The Layers palette is where all the action takes place. From it, you can control the position and the appearance of all the data in your image. It would not be an exaggeration to say the Layers palette is at the heart of any image editing (Figure 3-29).
Apart from giving you control over layers, the palette also gives you access to Layer Styles and layer Blending Options. Layer Styles are simply effects, such as drop shadows, bevels, glows, and so forth, applied to a layer. Blending Options is a feature that lets you apply advanced blends to layers, as opposed to the simple blends that you can apply from within the Layers palette.
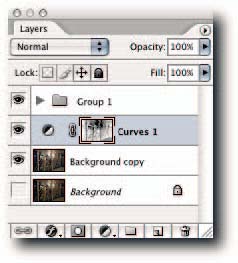
FIGURE 3-29: The Layers palette, at the heart of Photoshop.
Locking and Unlocking Layers
The four lock icons at the top of the layer stack allow you to partially or wholly lock the layer content (Figure 3-29). Locking content can be useful, for example, when you want to paint but do not want the paint to intrude into the transparent area, or want to paint but not move the content accidentally. From left to right, the icons allow the following controls:
– Lock Transparent Pixels—Clicking the icon locks the transparent areas on the layer— useful for filling and painting without affecting the transparent pixels on the layer.
– Lock Image Pixels—Clicking the icon prevents filling and painting. You can still move, crop, and slice the content, but changing the color values is not allowed.
– Lock Position—This is essentially the opposite of Lock Image Pixels.While the icon is in the down position, you may change the values of the pixels but not move them on the grid.
– Lock All—Just as its name implies, clicking this icon locks the transparent areas and prevents editing and moving of all pixels on the layer. Basically, about the only thing it will permit is slicing and cropping.
Take note, the icons act as toggles; click a second time to unlock.When Lock Image Pixels is selected, Lock Transparent Pixels is not available. This may seem paradoxical until you realize that the transparent areas also contain pixels (see the Tip that follows). If all the icons are grayed out, the options are not available for the current layer.

Adding Color to Layer Tiles
Sometimes you can create so many layers that it can be difficult to find one particular one when you are quickly scrolling the tiles up and down. Although this may not be the case very often when you manipulate images, it soon becomes the norm when you design interfaces that contain, for example, buttons with text overlay and each button having a normal, over, and down state. For this kind of work, organizing the layers into groups is essential. However, you can speed up your workflow by colorizing layers and thereby making it easier to find them in the palette.To do so, Right-click (Windows), Ctrl-click (Mac OS) on the visibility icon and select a preset color from the pop-up menu (Figure 3-30).
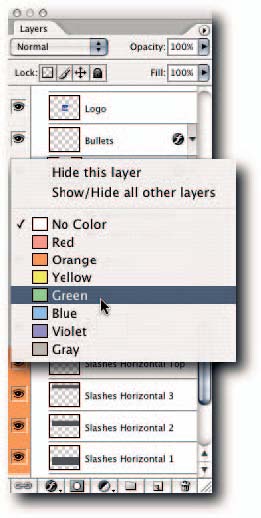
FIGURE 3-30: Assigning a color to a layer for easier identification.
Specifying Palette Thumbnails, Icons, and Masks
You now have the choice of viewing dynamically changing thumbnails or old-style thumbnails for layers, composite thumbnails for layer groups, and generic icons for adjustment layers. To specify your preference, open the Layers Palette Options dialog box from the Layers palette menu and then make your choice (Figure 3-31). Here’s what happens when you select an option:
– If you select Layer Bounds under Thumbnail Contents, the thumbnail will grow dynamically as you move content out of the document bounds.
– If you select Entire Document, the thumbnail will show the content within the document bounds.
– If you select Show Group Thumbnails, a thumbnail made from a composite of the layers in a group will be displayed; otherwise, a generic group icon will be used to identify the group.
By default, a reveal-all mask is added each time you create an adjustment layer, ready for you to work on should you need it. If you prefer not to have the mask added automatically, you can deselect Use Default Masks on Adjustments in the Layers Palette Options dialog box.
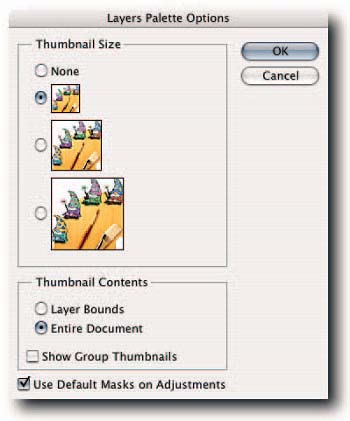
FIGURE 3-31: You can specify in the Layer Palette Options dialog box how you want to see thumbnails, icons, and masks for adjustment layers by default.
Comments