
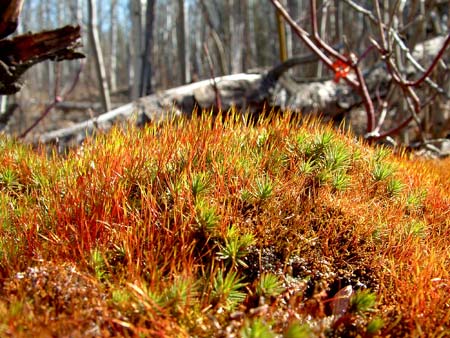
Autumn Effect
One of the most important aspects of a photograph is color. I’m going to show you a unique way to change the color of your photographs to get fantastic results. One of the most common ways people change colors is by merely using the Hue Saturation tool, which can often get you by, however, it often looks dull.
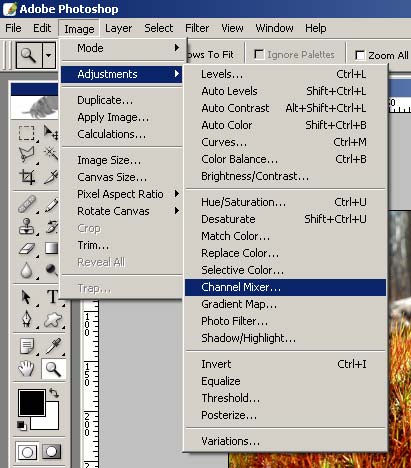
What I’m going to show you today, can invovle the Hue Saturation tool upon completion, but I’ve chosen to keep the default results. First go to Image / Adjustments / Channel Mixer. Once in this window you will see a drop down menu, four bars and a check box. The drop down menu (Output Channel) – You can leave as red. The source channels is what we want to look at. The Constant and Monochrome options are also not apart of this tutorial.
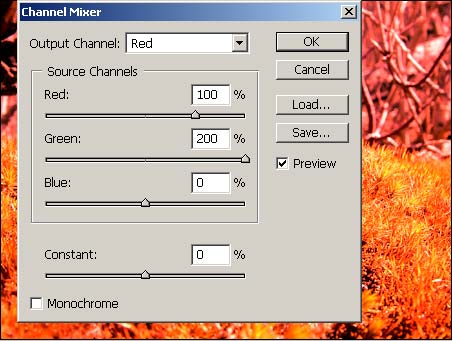
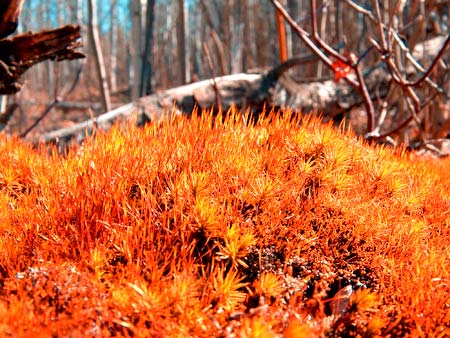
The first thing you need to do is move the green source channel to +200%. This is the same concept as infrared light filters. Than move the blue source channel down to -200%. This should give you quite the nice effect.

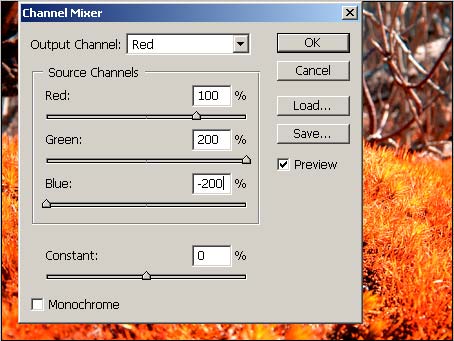
And you should get something that looks like this:
Comments