Tips about how I made the series of Sketchbook wallpapers (
see wallpapers ).
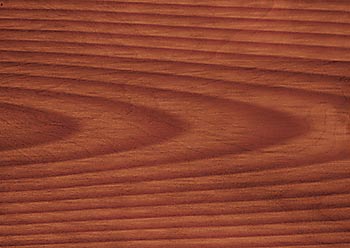
In this simple tutorial, I will write how I made Sketchbook series of wallpapers. I wanted to
draw small sheet of notebook paper on wooden table. To start, I found an appropriate stock image of wood texture from
www.sxc.hu.
To make background more interesting, open Effects menu – Distort – Lens correction, and set
Vignette amount to about -30..35.
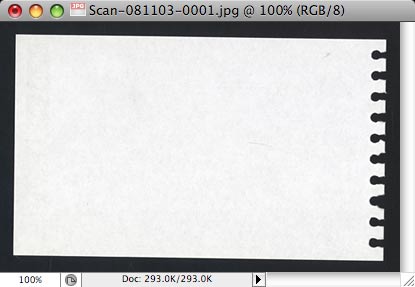
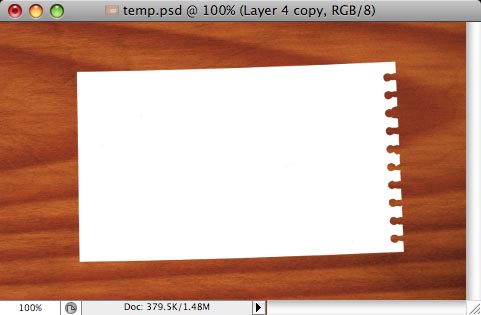
I could draw sheet of notebook paper using vector tools, but I decided to take actual sheet and
scan it. Because paper is white, I put it under black book and scanned this way.
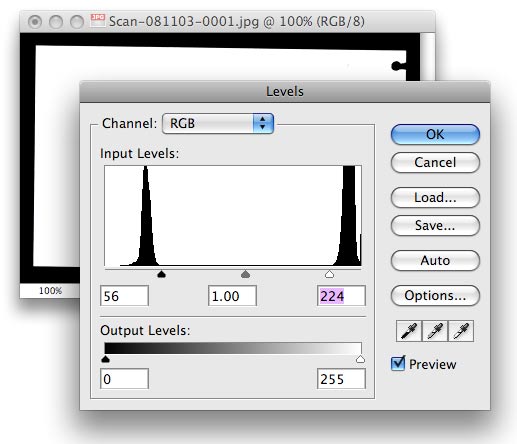
Open scanned image in Photoshop, open Levels (Ctrl-L), move black triangle to the right as shown
here, and white rectangle to the left. Paper should become completely white (no light grey) and background completely
black.
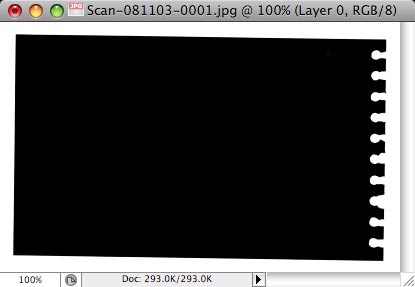
Invert image (Ctrl-I). Then, if your image is “flattened” (there is only one layer called
Background) you should “un-flatten” it. To do it, double click Background layer and click OK. It should be claled Layer 0
now. Now, this layer can contain transparency (we will need it now).
Remove white from the image. Use the following commands:
– Ctrl-A (select all)
– Ctrl-C (copy)
– Q (enter quick mask)
– Ctrl-V (paste)
– Q (quit quick mask)
– Del (delete selection)
– Ctrl-D (deselect)
Then use Ctrl-U (Hue/Saturation window) and set Lightness to -100.
Invert image – our paper is white again. Copy and paste it to our original file (with wooden
background).
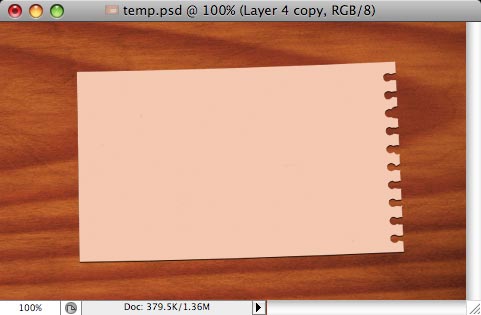
If you prefer, you can use the same Hue/Saturation window (Ctrl-U) to make paper beige color
(use Colorize checkbox for that).
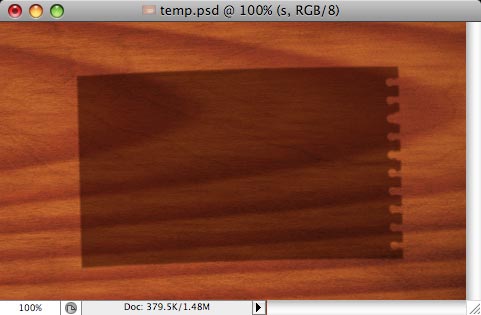
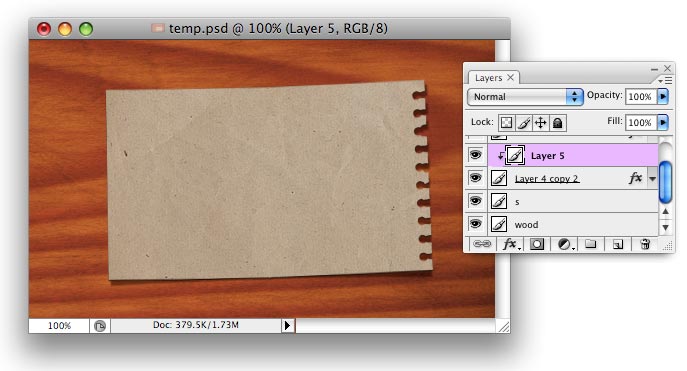
Next step is to create shadow that will make paper edges “flow” above the wood a bit. Duplicate
layer with paper, make it black (Ctrl-U, lightness = – 100). Open Edit menu – Transform – Warp. On Toolbar, set Warp mode to
Arch, and Bend = 2.
Apply a little Gaussian blur (Effects menu – Blur – Gaussian blur) with radius = 1-2 px. Set
layer mode to Soft light or Overlay.
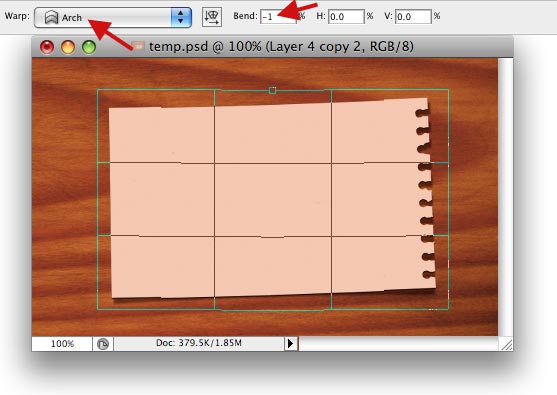
In Layers palette, move layer with shadow under layer with paper. Select layer with paper and
make similar transform, but warp the other side (Edit – Transform – Warp): Warp = Arch, Bend = -1 or -2.
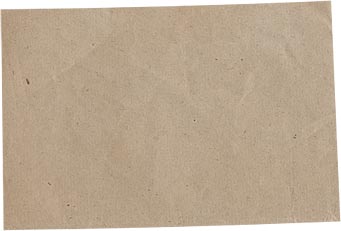
Find appropriate texture for paper. This is texture I have in my stock images storage.
Paste it in new layer above layer with paper…
… and Create Clipping Mask (Ctrl-Shift-G), from Layer menu.
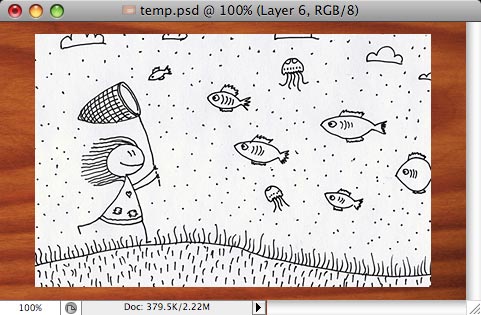
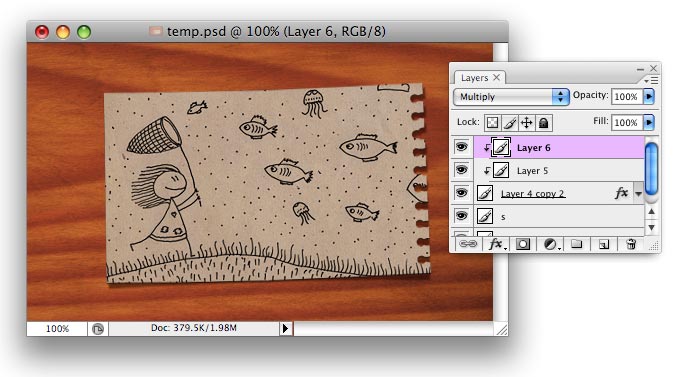
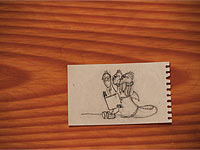
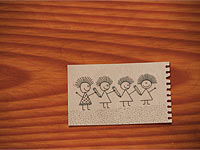
Scan the sketch, paste it into new layer right after layer with paper texture.
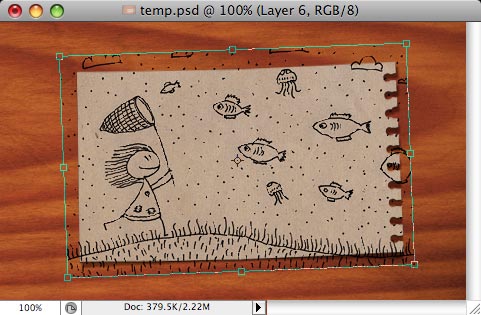
Set layer mode to Multiply, then Transform (Ctrl-T) as needed – resize and rotate.
Finally, Create Clipping Mask again (Ctrl-Shift-G or from Layer menu).
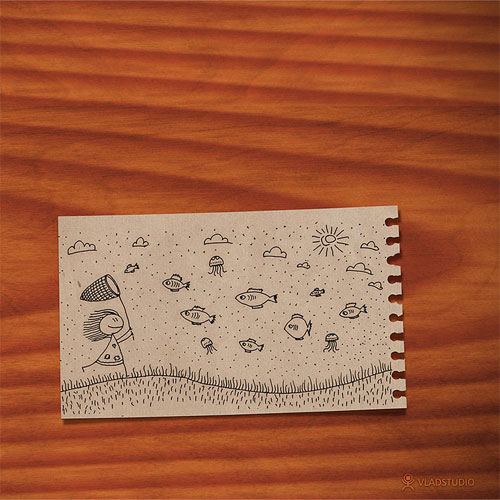
That’s all!
Comments


Comments