Edit Your First Travel Destination
Edit Your First Travel Destination
Now you will learn how to use the editor you’ve just applied to edit a travel destination. During this section you will learn how to:
- Insert an image
- Apply text formatting
- Create links
To complete this section, you only need your web browser—you can edit everything online.
- Load the Travel Agency homepage in a browser. Then, click Edit content to load the editor.
-
The first step is to style the title. Select the Paradise Island text and from the CSS style pop-up menu, and select the pageName class:
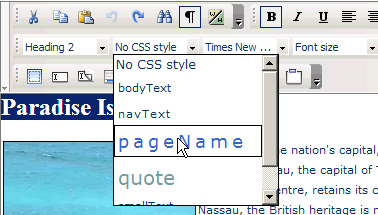
Figure 39. Select the desired CSS class from the menu
-
The editor displays the formatted header just as it will look in the browser after you save the content:
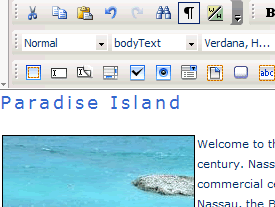
Figure 40. Changes are immediately displayed in the editor
-
Replace the default image with a new one. First click on the image and press the delete button to remove it. Then, click the Insert Image button in the KTML toolbar:

Figure 41. Click the icon to access the Remote File Explorer
-
After the Remote File Explorer loads, click the Browse button to select one or more files on the disk that will be uploaded to the server. To insert the uploaded image, select it and click Insert:
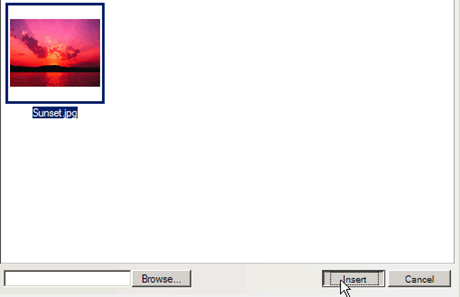
Figure 42. Insert an image to replace the default one
-
The new image is displayed inside the editor:
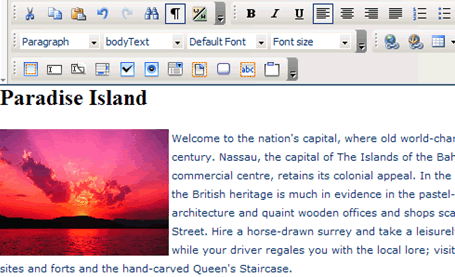
Figure 43. New images are rendered as soon as they are inserted
-
To apply formatting to the text you can use the text formatting toolbar options. Simply select the text you want to change, and press the corresponding button to make the text italic, bold, or underlined.
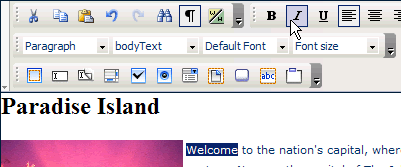
Figure 44. Click the toolbar button to apply formatting
-
Creating links is just as easy. First, you select the text to turn into a link and then click the Insert Link button:

Figure 45. Insert a new Hyperlink
-
In the dialog box that loads enter the desired URL:
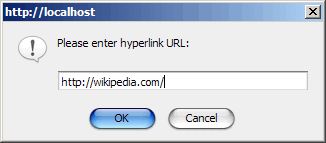
Figure 46. Enter the hyperlink URL
-
Click OK and the link has been created:

Figure 47. New link in the editor.
- If you want to replace the text, you can simply copy it from a word document. Microsoft Word adds some specific markup that makes the HTML code difficult to read and use. All extra tags added by Word will be automatically removed when pasting.
To save the changes that you made, click the Update Record button. You will be redirected to the site home page that will display the updated text:
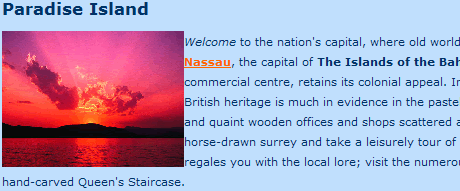
Figure 48. Changed preview
KTML Lite offers more than just text formatting, hyperlink and image insertion—users can insert and format tables, upload documents, manage them using the integrated file explorer, create links to them, or even create HTML forms.
KTML also comes with a more advanced version, featuring advanced Property panels for images, tables, form elements, and virtually any element in the editor, checking spelling, XHTML clean-up and even a remote image editor.
Where to Go from Here
In this article you have learned how to use Dreamweaver 8 and KTML to create a simple application that allows visual content editing. Before you can call the application complete, there are several things to do:
- Implement a User Authentication system using Dreamweaver server behavior. Create a login form, and set the Edit content link to be displayed for logged in users only.
- Create a page that lists all travel destinations, and a page to add new destinations. For the list you have to create a recordset and use a dynamic table, while for the page to add destination you will use the Insert Record Form Wizard in Dreamweaver.
- Enhance the page for adding destinations by replacing the textarea with KTML Lite, as shown above.


Comments