
Table Wood Texture
1) Open Adobe Photoshop and create a new image, I used the dimensions 300 x 300, but any size will do for this effect. Set your foreground color to #999999 and your background color to #FFFFFF. Once you have done this, goto Filter > Render > Clouds and keep doing it until you get an acceptable set of clouds, as shown below.

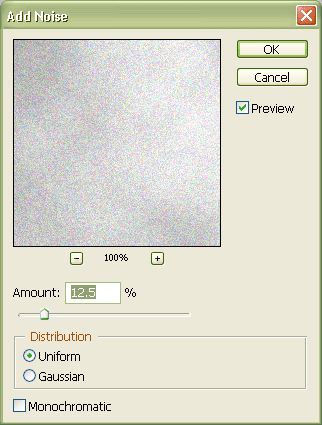
2) Next, we are going to add noise to this image. To do this, goto Filter > Noise > Add Noise… and use the settings below.
3) Once you’ve added the noise, we are going to pixelate the image, goto Filter > Pixelate > Facet. You should see the same effect below.


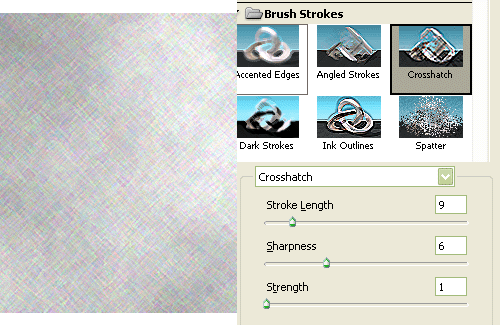
4) Next, lets add a crosshatch by going to Filter > Brush Strokes > Crosshatch, and your render so far should look like mine below, using those settings.
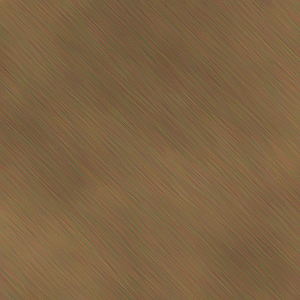
5) Lets make the wood grain look better by going to Filter > Brush Strokes > Angled Strokes. See below for example.

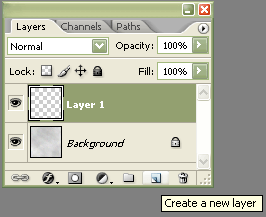
6) Add a new layer, like shown below and
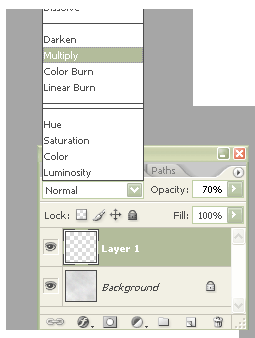
7) Change the blending mode to Multiply, and opacity of the new layer to 70%.
8) Take the Paint Bucket Tool (G) and fill the new layer with the color #6F4009. The hit Ctrl + E and merge the 2 layers together to have 1 versitile layer.
Comments