
Photoshop Fine Art Effects – Cubism
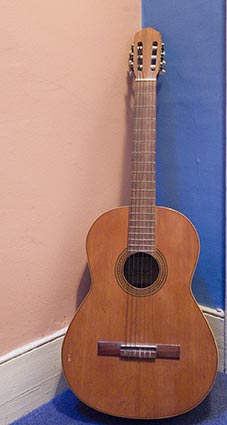
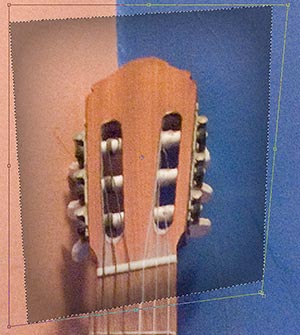
Open a photo of an old guitar and a simple background.
 |
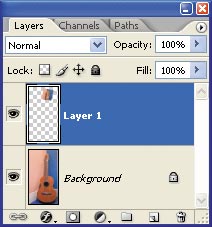
1. Use the Marquee tool to select one part of the image and then use Ctrl/Cmd + J to copy it into its own layer.
 |
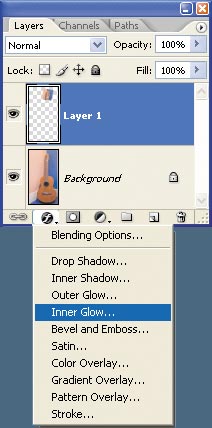
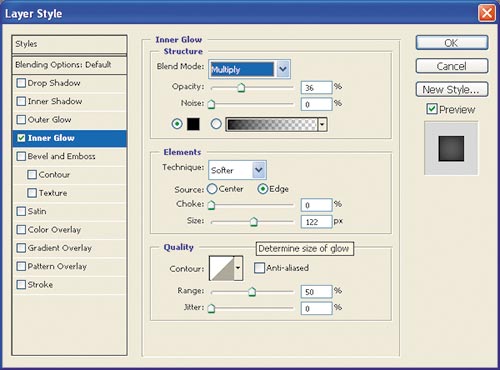
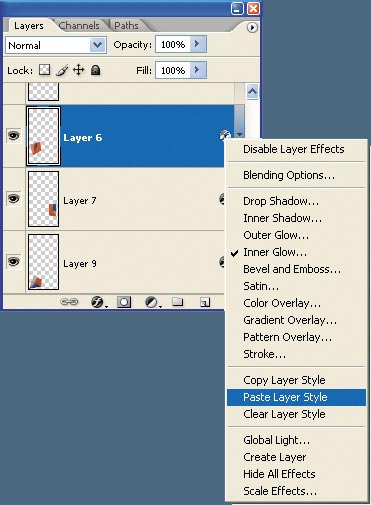
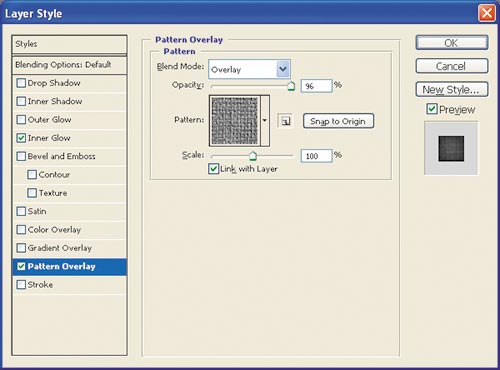
2. Click the Layers palette’s “Add a layer style” icon and select Inner Glow. Set the blending mode to Multiply and increase the size and reduce the opacity.
 |
3. To give the new layer a different angle, Ctrl/Cmd + click the layer in the Layers palette to select its non-transparent pixels. Choose Edit > Free Transform and stretch the layer by dragging any of the bounding box handles. Alternatively, rotate it by moving the cursor just outside the corner and dragging when the cursor changes into a curved, two-sided arrow.
 |
4. To skew the layer, hold down the Ctrl/Cmd key and drag a corner when the cursor changes to a solid arrow. When the layer shape looks right, double-click inside the bounding box or press the Enter key.
 |
5. In the Layers palette, activate the original image layer again and repeat steps 1–4 until all the image areas have been abstracted into layers. Once you’ve defined your layer style, as in step 2, you can Right/Ctrl + click the layer in the Layers palette and copy the Layer Style. Paste the style to other layers as you create them.

 |
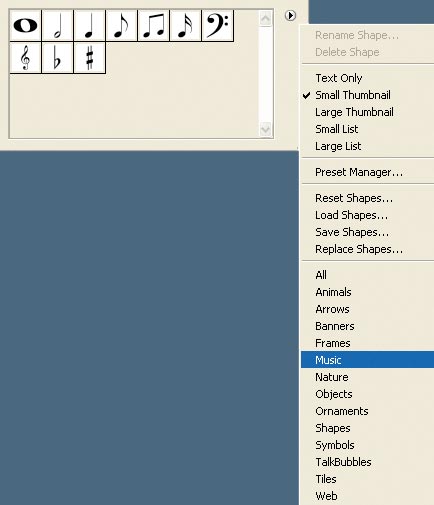
6. Consider adding some text with the Type tool (T) or using the Custom Shape tool (U). Photoshop ships with musical notes in a set called Music. Select a shape and drag it over the image.
 |
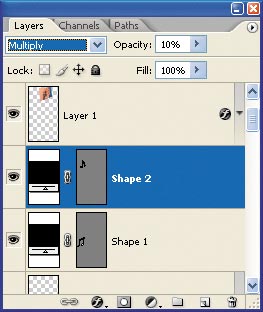
7. Another nice touch is to vary layer blending modes and opacity. The impression of the musical note was created by using the Multiply mode and a 10% opacity.
 |
8. At any point you can double-click the layer in the Layers palette and change the Layer Style. Experiment with Pattern Overlay and other modes. If you want to use your chosen style on other layers, remember that from Photoshop version CS2 you can to use the Shift and Ctrl/Cmd keys to select and target multiple layers.
 |
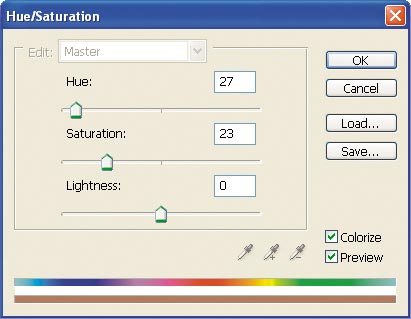
9. Add a Hue/Saturation adjustment layer. Check Colorize, adjust the sliders, and click OK. The layer can be positioned anywhere in the layer stack so it affects the layers below it.
 |
10. You can add more than one Hue/Saturation adjustment layer. Each has a cumulative coloring effect, but you can restrict the effect by painting a layer mask with black. Making sure it remains the active layer, hold Shift + Ctrl/Cmd and click other layers to build a selection, and then fill it with white.
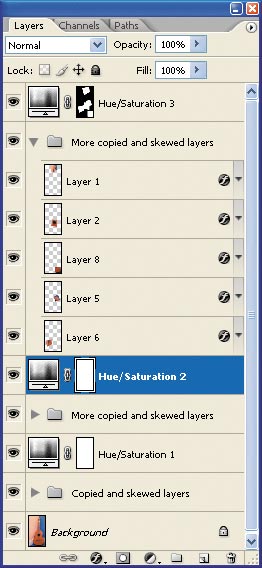 |
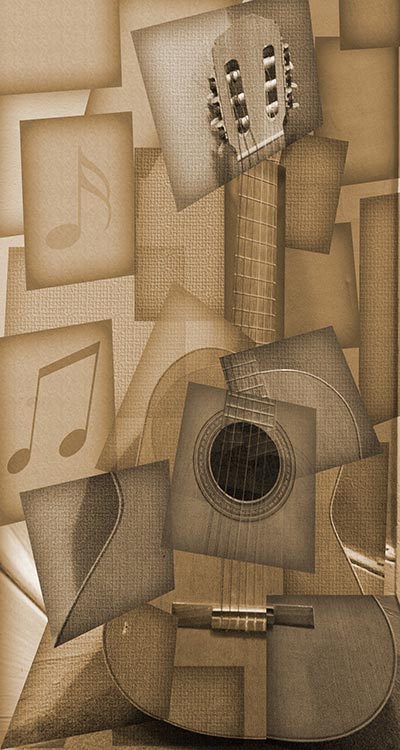
Final: A very ordinary photograph has been transformed into a Cubist image by slicing the original into 25 layers and applying a variety of Layer Styles.
 |
Comments