
Deconstructing FreeHand graphics Part 2: Finish the drawing
June 15, 2006 | 0 comments
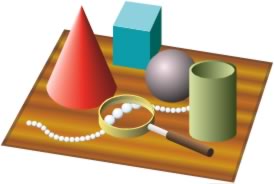
Finish the drawing
The only thing left to do is resize the wood-grained surface to fit the drawing and position it correctly behind the other objects.
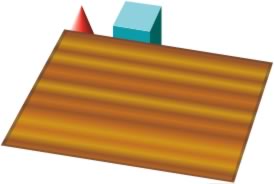
| 1 | Use the Pointer tool to drag the wood-grained surface into position over the simple grid. |
| 2 | To manually scale the wood-grained surface to match the size of the simple grid, double-click it with the Pointer tool, and then drag the corner handles to resize the group. When you are finished, choose Edit > Select > None to deselect the group.
|
| 3 | To place the wood-grained surface behind the objects in the still-life, choose Modify > Arrange > Send to Back. 
|
| 4 | Choose Window > Panels > Layers to display the Layers panel, and then unlock the Simple Grid layer by clicking the padlock icon for the layer. |
| 5 | Select the simple grid in the drawing area by clicking it with the Pointer tool, and then choose Edit > Clear to remove the simple grid. |
You have now completed the tutorial. Be sure to save your work.
Comments